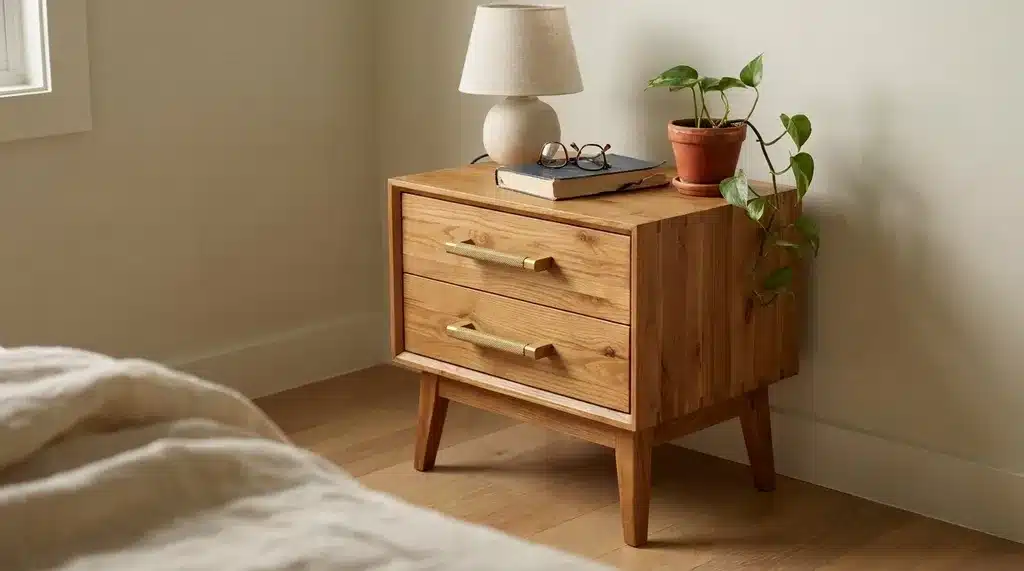

You don’t need a workshop or any prior experience.
And you definitely don’t need to spend $200 on something you can build yourself for under $40. Literally! If you don’t believe me, read ahead.
A DIY nightstand is one of the best first woodworking projects you can take on.
And when you’re done, it’s actually useful.
I’m going to walk you through every step that makes sense, even if this is your very first build.
Working time: 3-5hrs | Total time: 4-6hrs | Difficulty level: Beginner | Estimated cost: $25-$80 |
People needed: 1-2
Why DIY a Nightstand?
A nightstand is the small table that is placed right next to your bed. It holds your lamp, your phone, maybe a glass of water.
But store-bought ones? They are often flimsy, mostly overpriced, or just don’t fit your space.
So I say, why not build your own?
A DIY nightstand is one of the easiest beginner builds out there.
The design is basic – just four legs, a top, maybe a shelf or drawer, and it doesn’t have to be complicated!
You control the size, the finish, and the cost.
Most DIY projects cost under $40 and take a single weekend.
What You’ll Need – A Beginner-Friendly List
Gather all the listed materials and start from there. Everything here is easy to find at your local Home Depot, Lowe’s, or any hardware store.
Wood:
- 1×12 pine board (for the top and shelves)
- 1×2 pine boards (for support pieces)
- 1×4 pine boards (for the sides)
Tools:
- Circular saw, or miter saw (for cutting)
- Power drill and drill bits
- Sander or sandpaper (80-grit and 120-grit)
- Measuring tape
- Speed square (keeps your cuts straight)
- Pencil (for marking)
Hardware & Supplies:
- 1¼-inch wood screws
- Wood glue
- Wood filler (hides screw holes)
- Primer and paint, or wood stain and sealant
- Tack cloth (wipes away dust before finishing)
Optional but helpful:
- Clamps (hold pieces together while glue dries)
- Safety glasses and a dust mask
Cut List: Every Piece You Need Before You Start
Before you touch your saw, write this down or print it out.
Take it to the lumber yard and the staff there can help you verify the pieces if anything looks off.
This cut list is for a basic open-shelf nightstand: a top, two side panels, one bottom shelf, and one mid shelf.
Dimensions are for a finished nightstand of approximately 24 inches tall × 16 inches wide × 12 inches deep — a standard size that sits level with most queen and full-size mattresses.
From your 1×12 pine board:
- Top panel: 1 piece at 16 × 12 inches
- Bottom shelf: 1 piece at 14½ × 10½ inches
- Mid shelf: 1 piece at 14½ × 10½ inches
From your 1×4 pine boards:
- Side panels: 2 pieces at 24 × 3½ inches
From your 1×2 pine boards:
- Front and back support rails: 4 pieces at 14½ × 1½ inches
- These hold the shelves in place and add rigidity to the frame
Pocket hole guide:
- Drill ¾-inch pocket holes on the underside of the top panel (keeps them hidden once assembled)
- Drill ¾-inch pocket holes at both ends of each support rail
- Use 1¼-inch pocket hole screws throughout — these work with the ¾-inch thickness of your pine boards
Before You Cut, a Few Things Worth Knowing
Pine boards are sold by their “nominal” size, not their actual size. A 1×12 board is actually 11¼ inches wide. A 1×4 is actually 3½ inches wide.
The dimensions above already account for this — but if your boards measure slightly different at the store, adjust the shelf widths accordingly.
The side panels stay fixed. The shelves are what you adjust.
Double-check every measurement against your actual boards before cutting. Mark with a pencil, not a pen because pencil lines sand off cleanly.
And always cut on the waste side of the line, not through it.
Step-by-Step Instructions to Make a DIY Nightstand
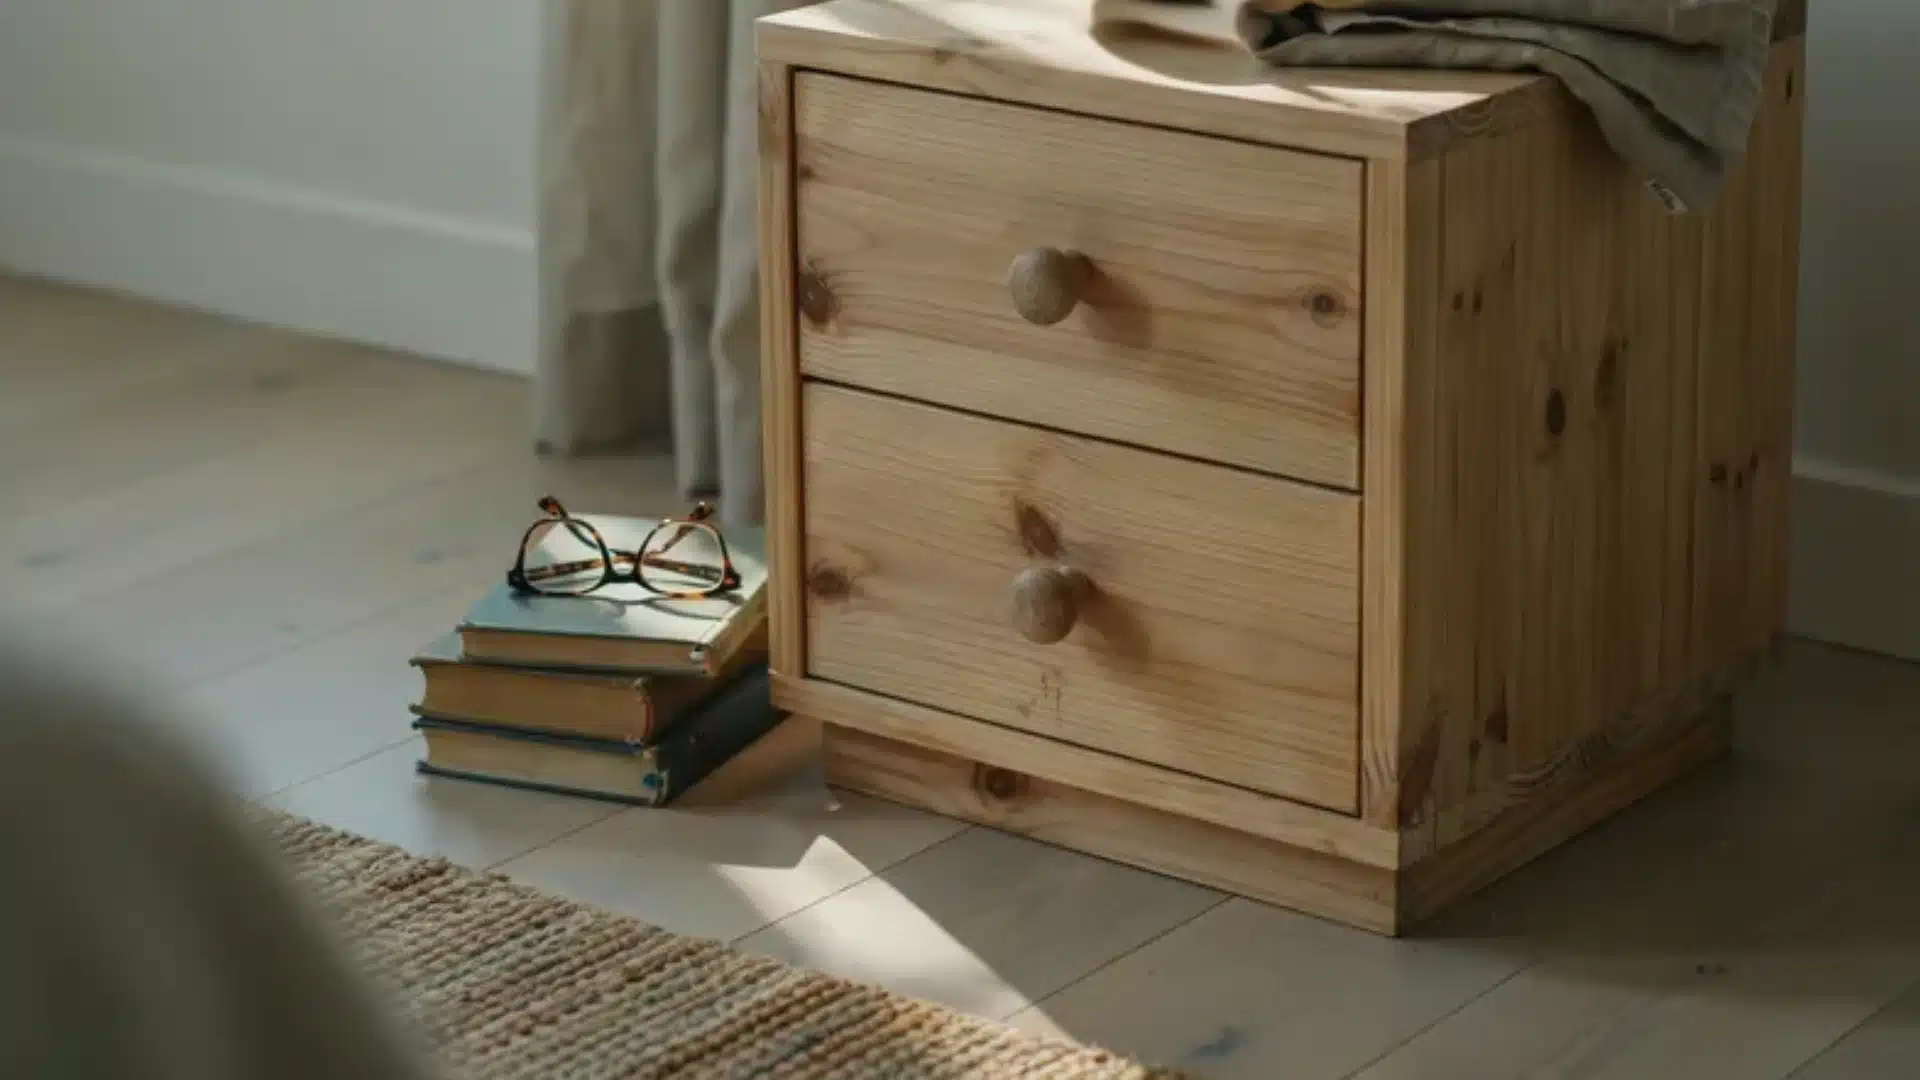
I’m not going to rush you through the steps. First, gather all the materials, then follow these instructions.
Take your time, read the steps properly, and come follow along!
Step 1: Measure and Mark Your Wood
Get your measuring tape and pencil. Mark out all your pieces on the pine boards before cutting.
For a basic nightstand, you need a top piece (around 16×20 inches), two side panels, and a bottom shelf. Double-check every measurement before moving on.
Do not cut too short, or it’ll all be messed up.
Step 2: Cut Your Boards to Size
Set your circular saw to follow the pencil lines you marked.
Cut slowly and steadily. Keep your speed square handy to check that each cut is straight. A slightly crooked cut will alter every joint later.
Step 3: Sand Every Piece Before Assembly
Sand all your cut pieces with 80-grit sandpaper first. Then go over them again with 120-grit.
This removes rough edges and splinters.
It’s much easier to sand flat boards now than to sand a fully built nightstand later. Run your hand across each piece to make sure it feels smooth.
Pay extra attention to the end grain, the rough edges at the cuts. These soak up stain unevenly if you don’t sand them well.
Step 4: Dry-Fit Everything First
Before any glue or screws, hold all your pieces together to check the fit.
Lay them out on the floor exactly as they’ll be assembled. Check if something looks off maybe a gap, a wobble, or a piece that’s slightly short – then fix it.
Assembly goes much faster when you already know where everything goes.
Step 5: Apply Wood Glue and Clamp the Joints
Put a thin, even line of wood glue along each joint.
Press the pieces together firmly. Then clamp them in place and leave them for at least 30 minutes. Don’t skip checking the clamps.
The pieces that shift while drying create gaps that will be a problem later.
Step 6: Drive in Your Screws
Pre-drill pilot holes before driving your 1¼-inch screws. This stops the wood from splitting.
Drive each screw until it sits just below the surface of the wood. That small dip is what wood filler is made for. Go slowly near the corners, as pine splits faster.
If your drill keeps stripping the screw head, switch to a fresh one.
Step 7: Fill the Screw Holes
Dab a small amount of wood filler into each screw hole using your finger or a putty knife.
Slightly overfill each hole, as wood filler shrinks slightly as it dries.
Leave it for 20-30 minutes. Once dry, sand the filled spots smooth with 120-grit sandpaper and run your hand across the surface. You should feel nothing but flat, even wood.
Step 8: Prime, Paint, or Stain Your Nightstand
Now this is the fun part of the entire project. Start by applying one coat of primer first if you’re painting – it helps the paint stick and covers the wood grain.
Let it dry fully, then apply your paint in thin, even coats.
If you’re staining instead, apply the stain with a cloth, working in the direction of the wood grain. Wipe off any excess within 5 minutes, or it gets patchy.
Two thin coats of paint always look better than one thick coat.
Paint feels dry to the touch in an hour. But it isn’t fully hard for 24-48 hours. Make sure you put your nightstand somewhere out of the way and leave it alone.
Once fully cured, flip it upright, check that all four legs sit flat on the floor, and make any necessary adjustments.
Built Your First Nightstand? Here are 3 Variations to Try Next
The basic open-shelf build you just completed is the foundation.
Once you know how wood joints work, how to pre-drill without splitting pine, and how stain behaves on end grain — the rest is just applying those same skills to a slightly different design.
These variations are listed in order of difficulty.
1. Single Drawer Nightstand
This is the most natural next step from the basic build.
You’re essentially building everything you already built: the frame, the shelf, the top, and adding one wooden box that slides in and out on metal drawer slides.
The box itself is just four pieces of ½-inch plywood glued and screwed together with a plywood bottom. The drawer slides cost around $12 a pair at Home Depot and come with full fitting instructions in the box.
The only part that trips up first-timers is the drawer front — getting the gap even on all four sides takes patience, not skill.
Fit it last, after everything else is assembled, and adjust from there.
Difficulty: Beginner to Intermediate Extra cost over basic build: $15–$25 What you'll learn: drawer box construction, installing drawer slides, fitting a face frame
2. Crate-Style Nightstand
This one barely qualifies as woodworking, which is exactly why it’s worth including.
Buy two identical wooden crates from a craft store or online (Michaels and Amazon both carry them for around $10–$15 each).
Stack them, screw them together through the inside back corners so they don’t shift, sand any rough edges, and finish however you like.
Total build time is under an hour. No saw required if you don’t want to add a top — the upper crate surface works fine as-is.
It looks intentional, it’s genuinely functional, and the whole thing costs under $35.
Difficulty: True beginner (no power tools required) Extra cost: $20–$35 total What you'll learn: working with pre-made components, surface finishing, stable stacking
3. Floating Wall-Mounted Nightstand
No legs. No floor contact. Mounts straight onto the wall like a shelf, with the brackets hidden inside the unit so it appears to float.
This design is ideal for small bedrooms where floor space matters, low-profile beds, or anywhere a standard nightstand feels visually heavy.
The build itself is straightforward. It’s essentially a shallow box with a back panel and internal keyhole brackets that hook onto wall-mounted screws.
The part that requires care is the wall mounting. You need to hit a stud, or use the right wall anchors for your wall type.
Get this wrong and it comes off the wall. Get it right and it’ll hold 30 lbs without moving.
Before you start: check your wall type. Drywall over studs is easy. Plaster walls are a different process. If you’re renting, check your lease before drilling.
Difficulty: Intermediate Extra cost over basic build: $10–$20 (keyhole brackets, wall screws) What you'll learn: wall mounting, internal bracket installation, working to tighter tolerances
Customizations I Recommend You Try
Building the basic nightstand is just the beginning. Once it’s done, you’ll almost certainly want to be creative with it.
Here are some of the best ways to do that.
Add a Drawer
A single drawer gives storage without making the build much harder.
Use a simple wooden box with a drawer slide kit from any hardware store. It costs around $12 per pair and comes with full fitting instructions.
Try Two-Tone Paint
Paint the body one color and the top a contrasting shade. This is one of the easiest ways to make a basic nightstand look fancy.
Build in a Charging Station
Drill a small hole, around 1½ inches wide, through the back panel or side.
Thread your phone charger cable through it. Your nightstand now has a built-in charging spot with no cables cluttering the surface.
Use Peel-and-Stick Wallpaper on the Sides
Cut a strip of peel-and-stick wallpaper to fit the side panels of your nightstand.
Pattern, texture, color, whatever goes well with your room. And it peels off cleanly if you change your mind.
Stain Instead of Paint
If your pine boards have a nice grain, let it show. A warm walnut stain or a light oak stain gives the nightstand a natural, wood look.
Apply with a cloth, wipe off the excess, and seal with a clear coat.
Conclusion
So, that was it. I hope you understood the instructions clearly and are ready to work on it soon.
A DIY nightstand is not only fun to make but also very functional.
Start simple. Get comfortable with your saw and drill. Then try a drawer, a custom finish, or a second one for the other side of the bed.
Got questions about this? Drop them in the comments below. I read every single one, and I’m happy to help you.
People Also Ask
1. What Type of Wood is Best for a Nightstand?
Pine is the best choice for beginners. It’s cheap, easy to cut, and widely available. Poplar and plywood are the best alternatives if you want something sturdier.
2. What is the Rule for Nightstands?
Your nightstand should sit within 2-6 inches of your mattress height. Too low or too high makes it awkward to reach from bed.
3. What is a Floating Nightstand?
A floating nightstand mounts directly onto the wall with no legs. It saves floor space and works well in smaller bedrooms or tight spaces beside the bed.