

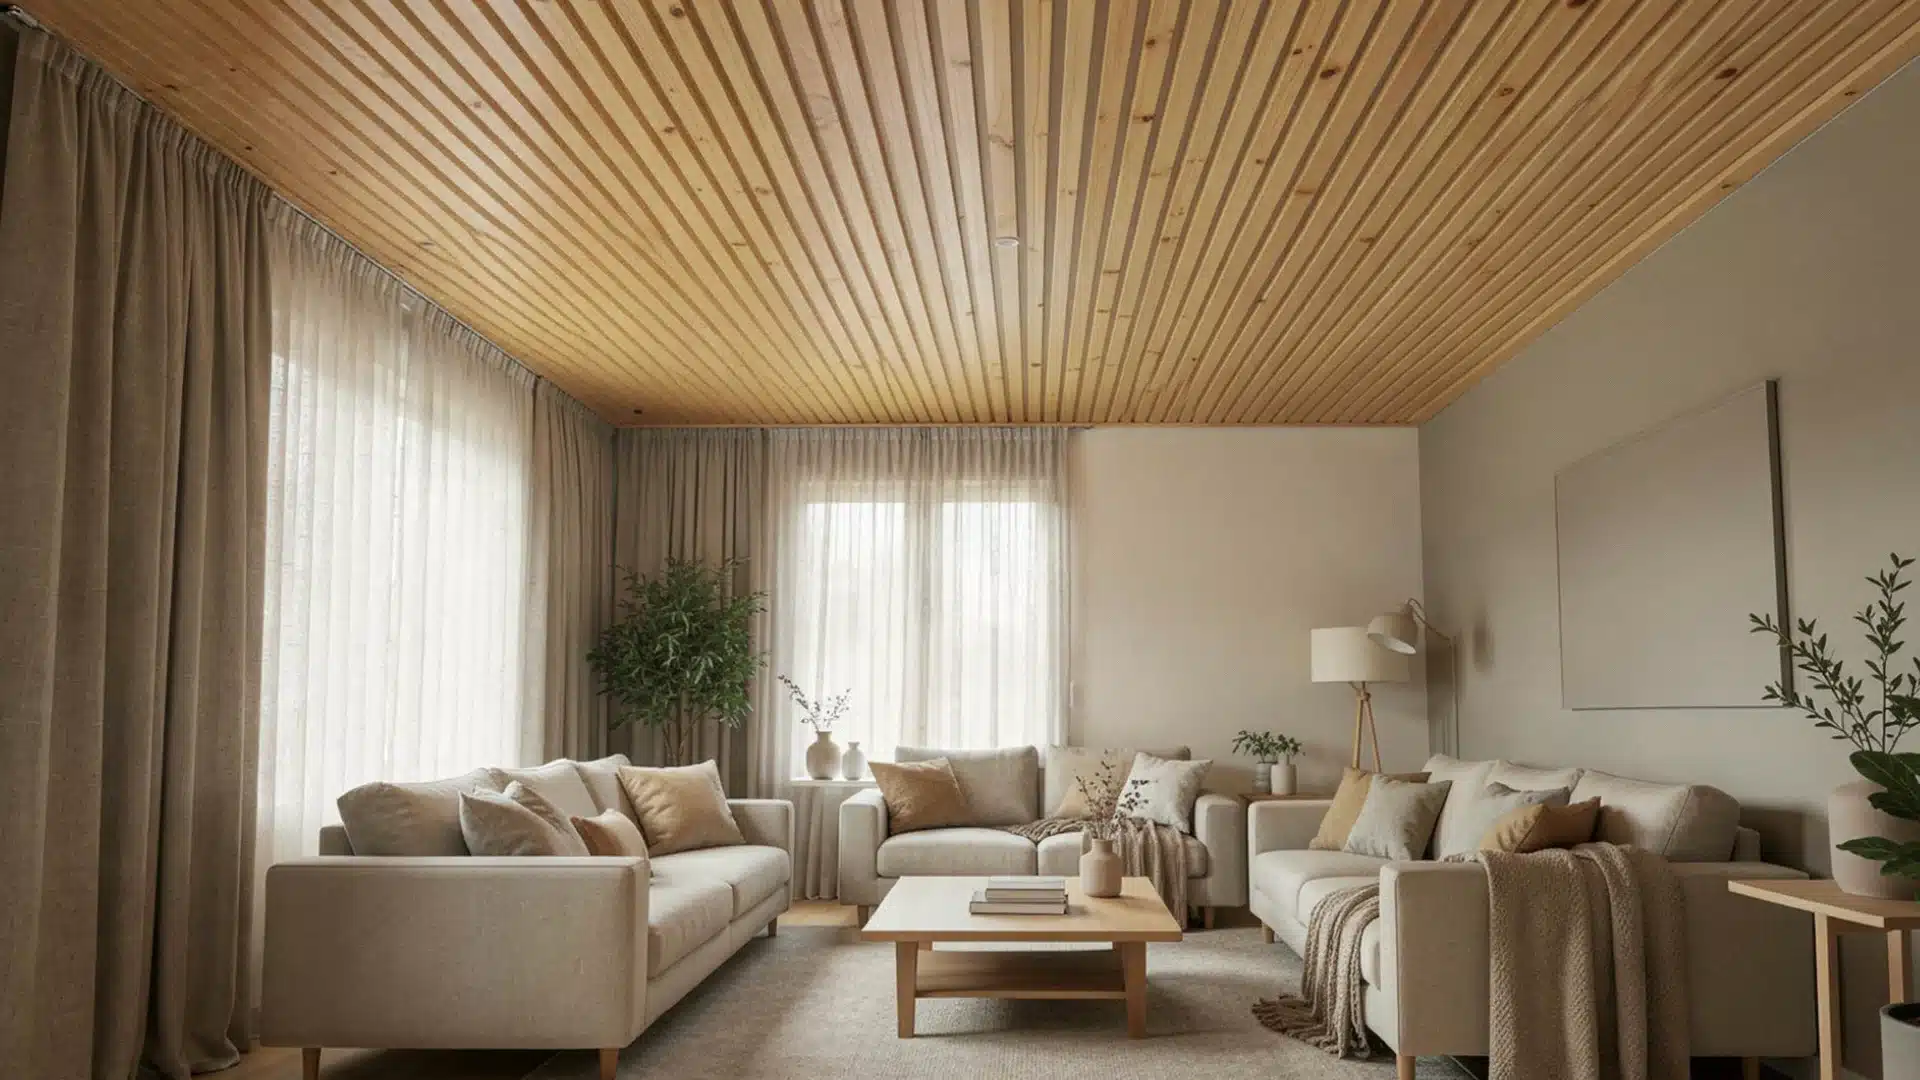

What’s the most overlooked part of a room? You paint the walls, get brand new furniture, and decorate with all the vintage decor.
But what always gets ignored is the ceiling.
What most people don’t realize is that a good ceiling changes the whole vibe of a room, looking up at the ceiling like it was nothing.
Until you try these DIY ceiling ideas. They’re easy, fit the budget, and do wonders for a room.
Working Time: 4–8 hours| Total Time: 1–2 days, including drying time Difficulty Level: Beginner to Intermediate| Estimated Cost: $80–$600 USD / £65–£480 GBP| Number of People Needed: 2 for plank and panel installs; solo for paint finishes. Number of Sessions: 1–2 sessions.
Gather These Supplies First!
First, gather all the tools and supplies listed here.
To have them in one place will save a lot of time later. These are easy to find at any local hardware store.
Tools
- Tape measure
- Pencil and chalk line
- Stud finder
- Miter saw
- Brad nailer
- 6-foot ladder
- 9-inch paint roller
- Safety goggles and a dust mask
Materials
- Tongue-and-groove pine planks
- Construction adhesive
- Ceiling-grade primer
- Flat ceiling paint (e.g., Benjamin Moore Waterborne Ceiling Paint)
- Wood filler or spackle
- 2-inch painter’s tape
- Lightweight MDF panel strips
Read This Before Choosing a DIY Ceiling Idea
Before you get into the dilemma of choosing the best ideas listed later in this blog, you need two numbers: the ceiling height and the room square footage.
According to the National Association of Home Builders (NAHB), the standard ceiling height in US homes is 9 feet. At that height, most finishes work.
At any number below 8 feet, the wood planks and coffered panels will make the room feel compressed.
If your stud finder gives inconsistent readings on older plaster, lightly dampen the ceiling surface and scan again.
Measure the Room and Locate Your Joists
Run your stud finder across the entire ceiling and mark each joist with a short pencil line along the wall edge.
The ceiling joists typically sit 16 inches on-center. Confirm yours before buying materials, as spacing directly affects your cut list.
DIY Ceiling Ideas That Will Make Your Ceiling Better
Now that you’ve gathered all the supplies and done the important work of measuring the room and locating your joists, let’s get into some fun and easy DIY ceiling ideas!
1. Apply Peel-and-Stick Ceiling Wallpaper

First, snap a chalk line across the center of the ceiling as your alignment guide.
And always remember: never start from the wall edge. Then, peel back 6 inches of backing, press to the line, and smooth outward with a plastic squeegee.
Overlap each strip by 1/8 inch.
At last, trim at wall edges with a utility knife.
Total cost: $40–$120 (£32–£95) for a 150-square-foot ceiling.
2. Install a Wood Slat Ceiling
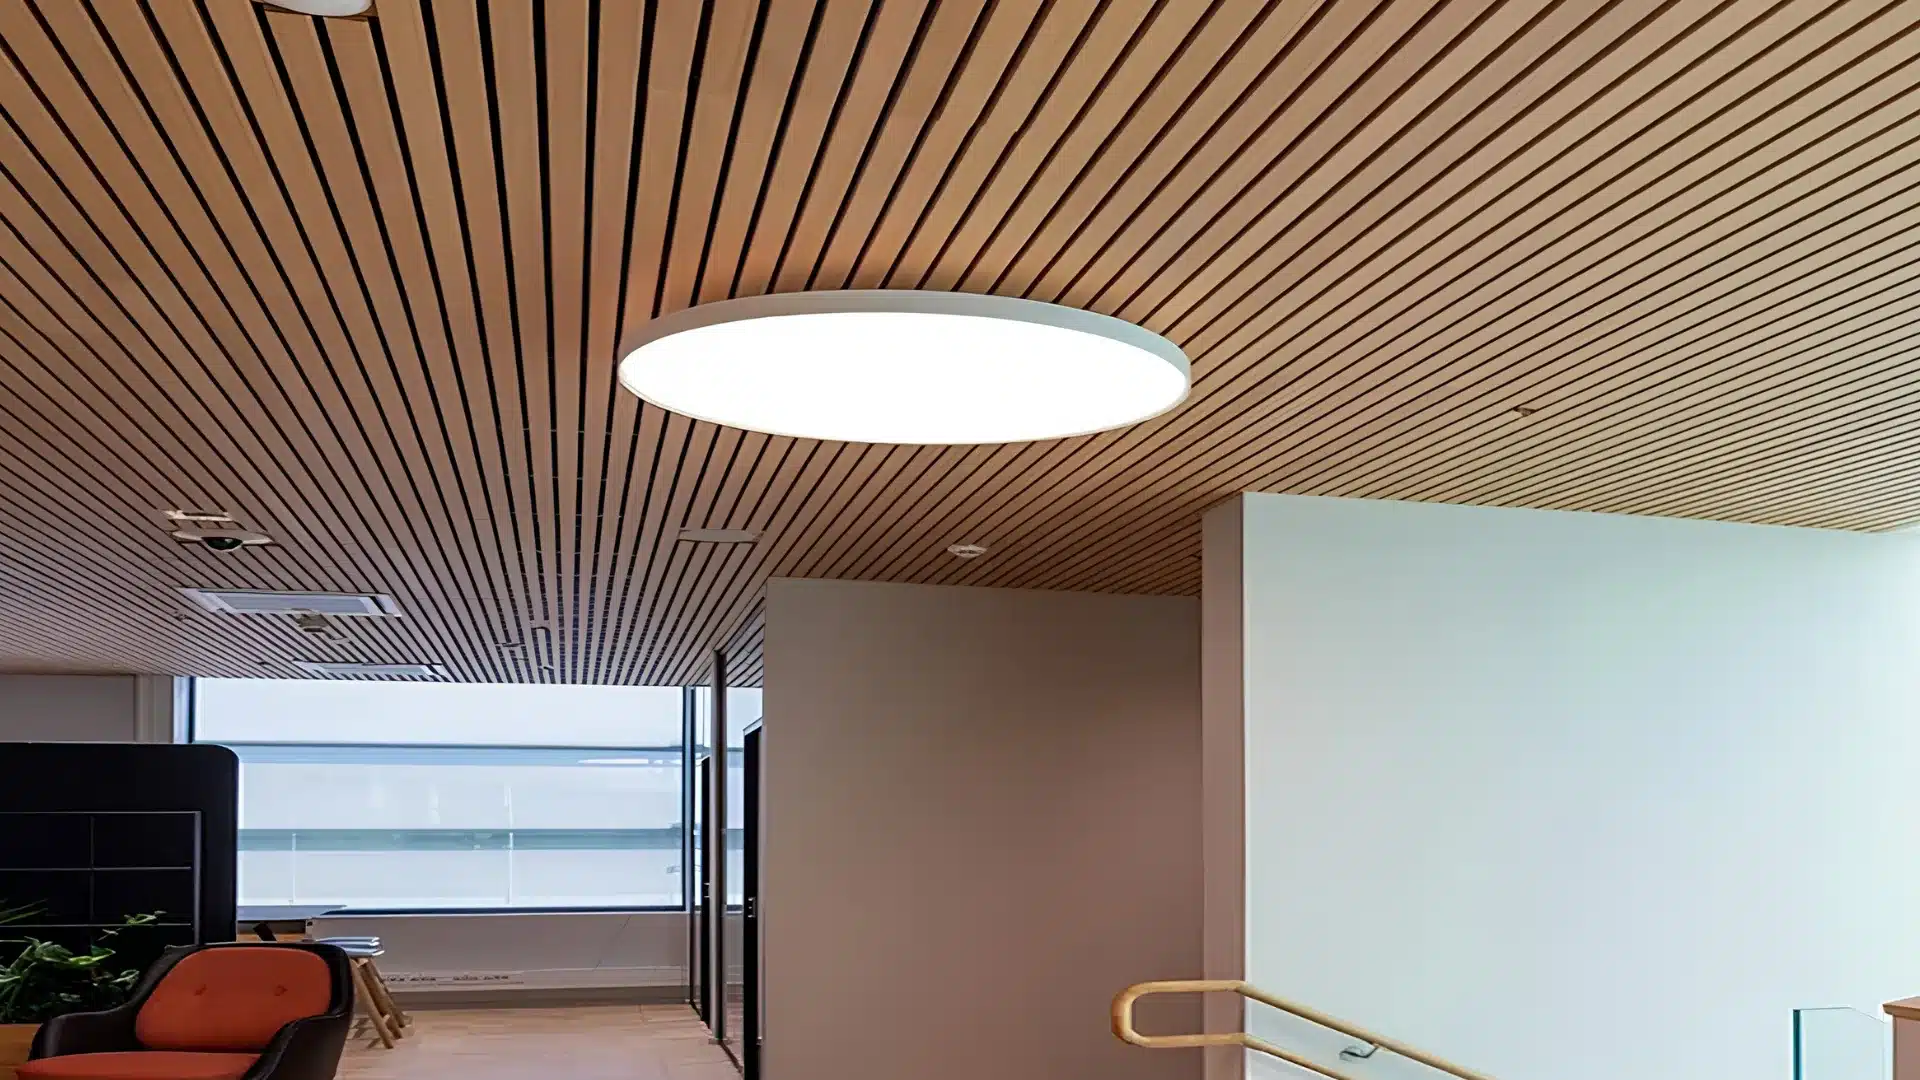
Mark all joists along the wall edge, and cut 1×3 pine slats to the room width. Pre-stain to 120 grit with Minwax Early American.
Then apply a 1/4-inch bead of Liquid Nails along each slat’s back and nail it into every joist with two 2-inch finish nails.
Finally, space slats 1/2 inch apart for an open-gap look or butt them tight for a solid finish.
Different wood ceiling styles can completely change the finished look, from modern linear designs to more traditional plank installations.
3. Paint a Ceiling Accent in a Contrasting Color
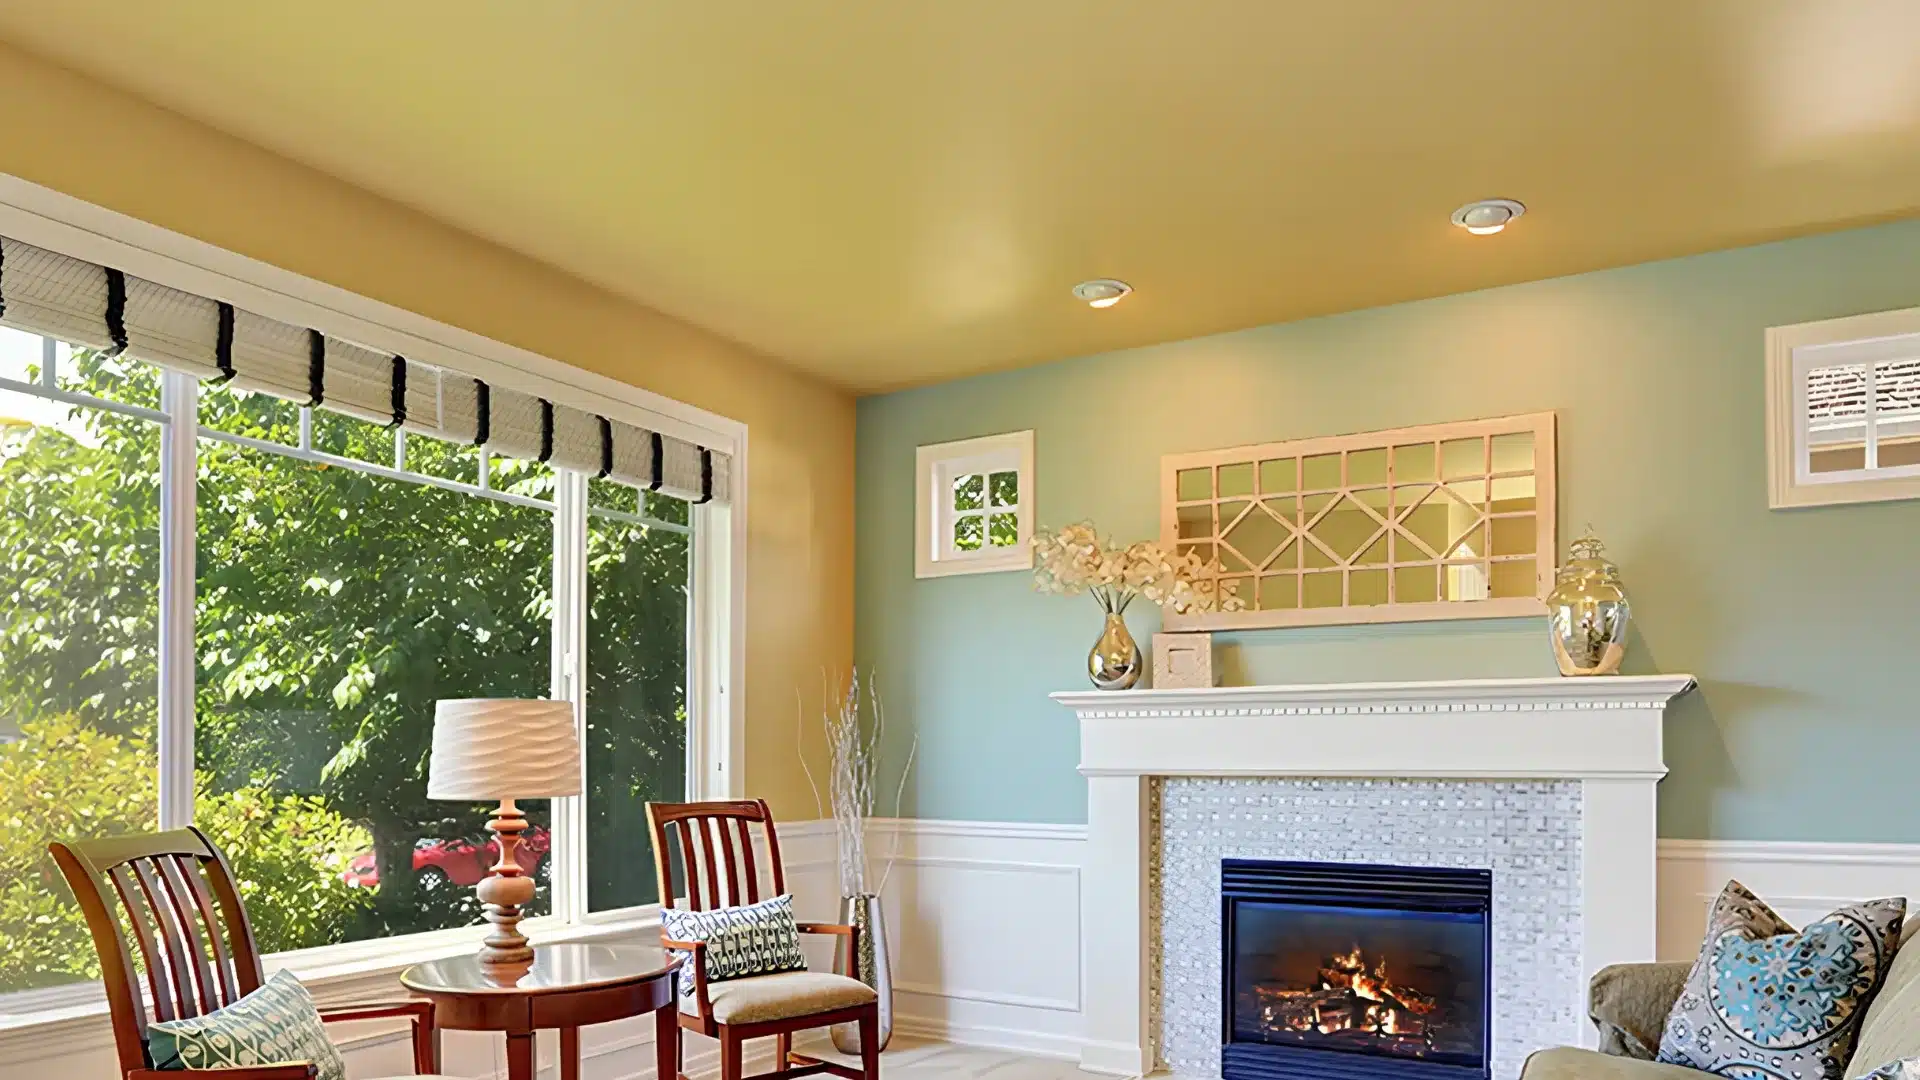
Mask the top 2 inches of every wall with painter’s tape. Then, roll ceiling-grade primer and allow 2 hours to dry.
Apply an accent color of your choice in two coats with a 9-inch roller, allowing 4 hours between each.
Proper preparation, priming, and paint application techniques make a noticeable difference in the final finish, especially when working overhead.
Per Benjamin Moore’s guidance, going two to three shades darker than the walls creates depth.
Total cost: $25–$60 (£20–£48).
4. Add Faux Wood Beams Across the Ceiling
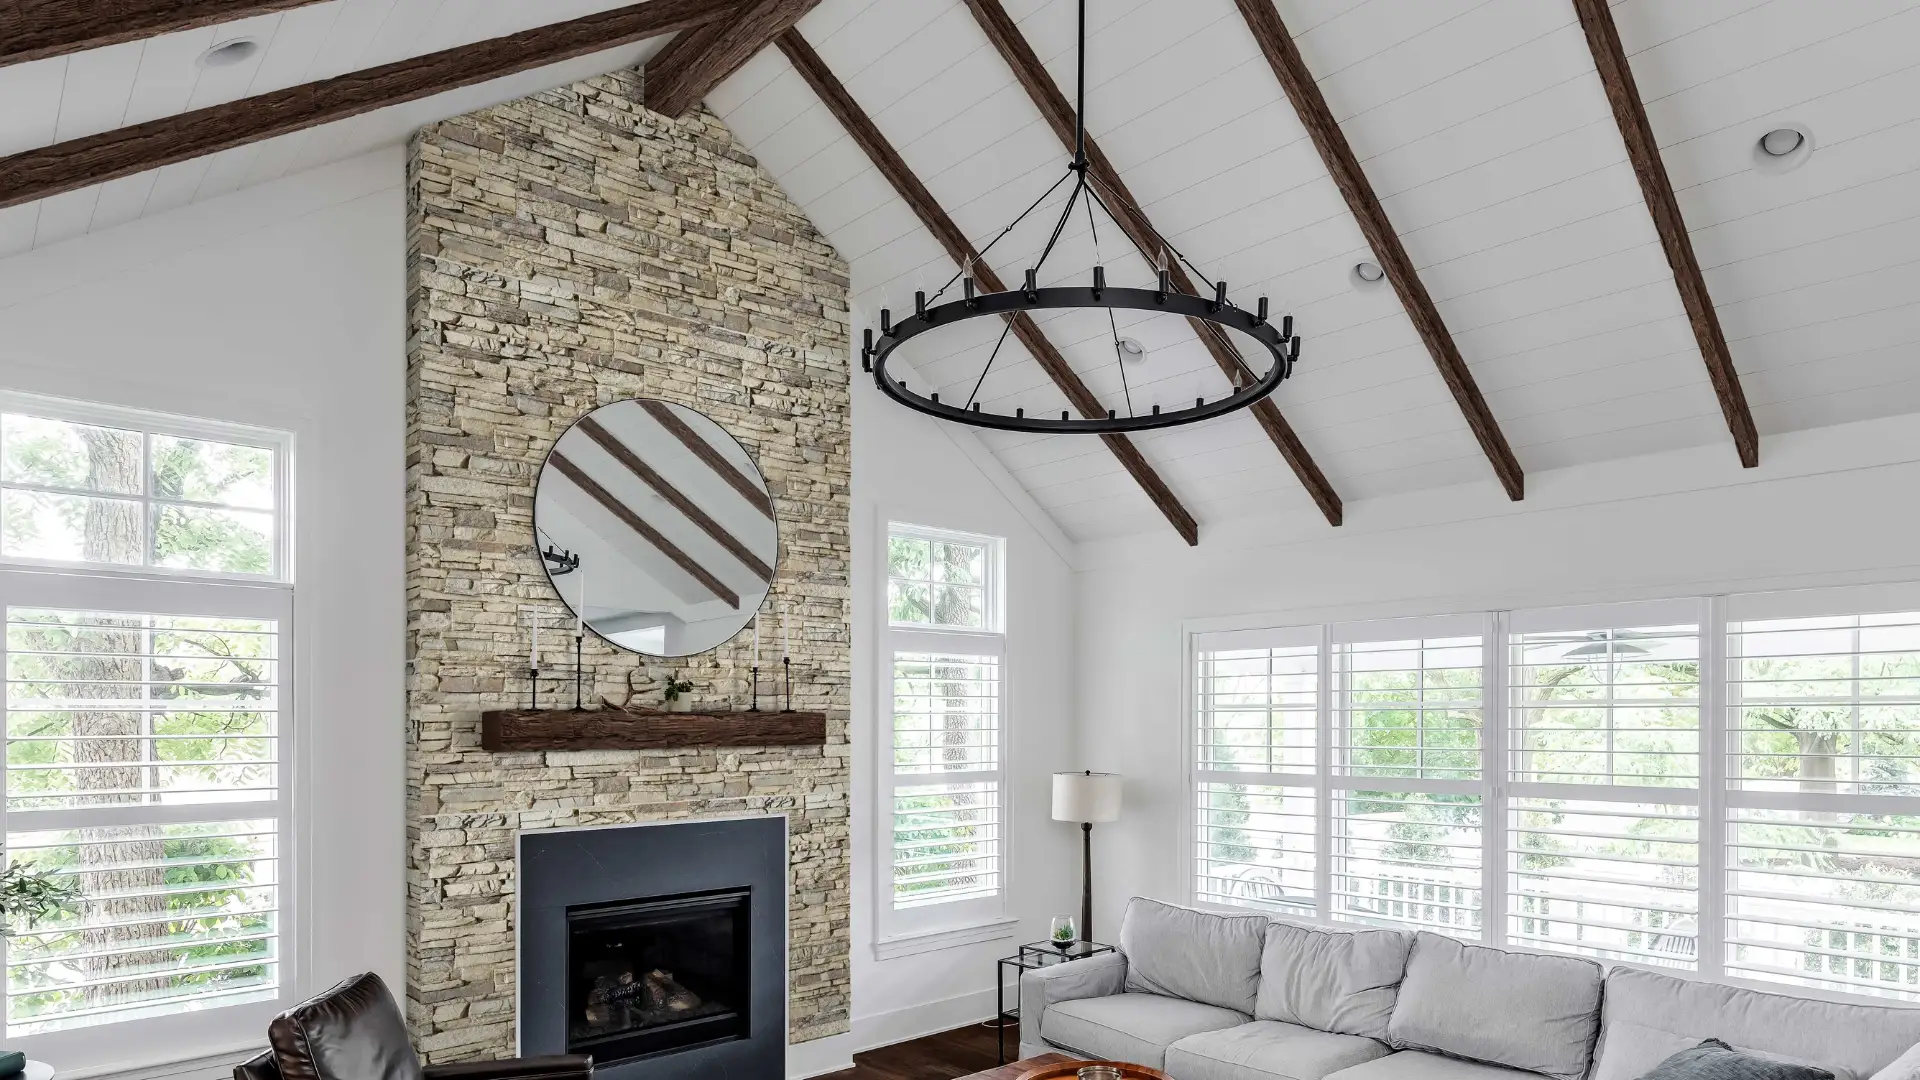
Build hollow box beams from three 1×6 pine boards: one top plate and two sides.
Then screw the top plate into the joists at 16-inch intervals with 2-1/2-inch screws, and attach the side boards with 1-1/4-inch pocket screws.
Space three beams 36 inches apart in a 12-foot-wide room.
Pre-stain with Minwax Jacobean before assembly, as inside corners are unreachable once the box is closed.
5. Install Beadboard Panels for a Classic Finish
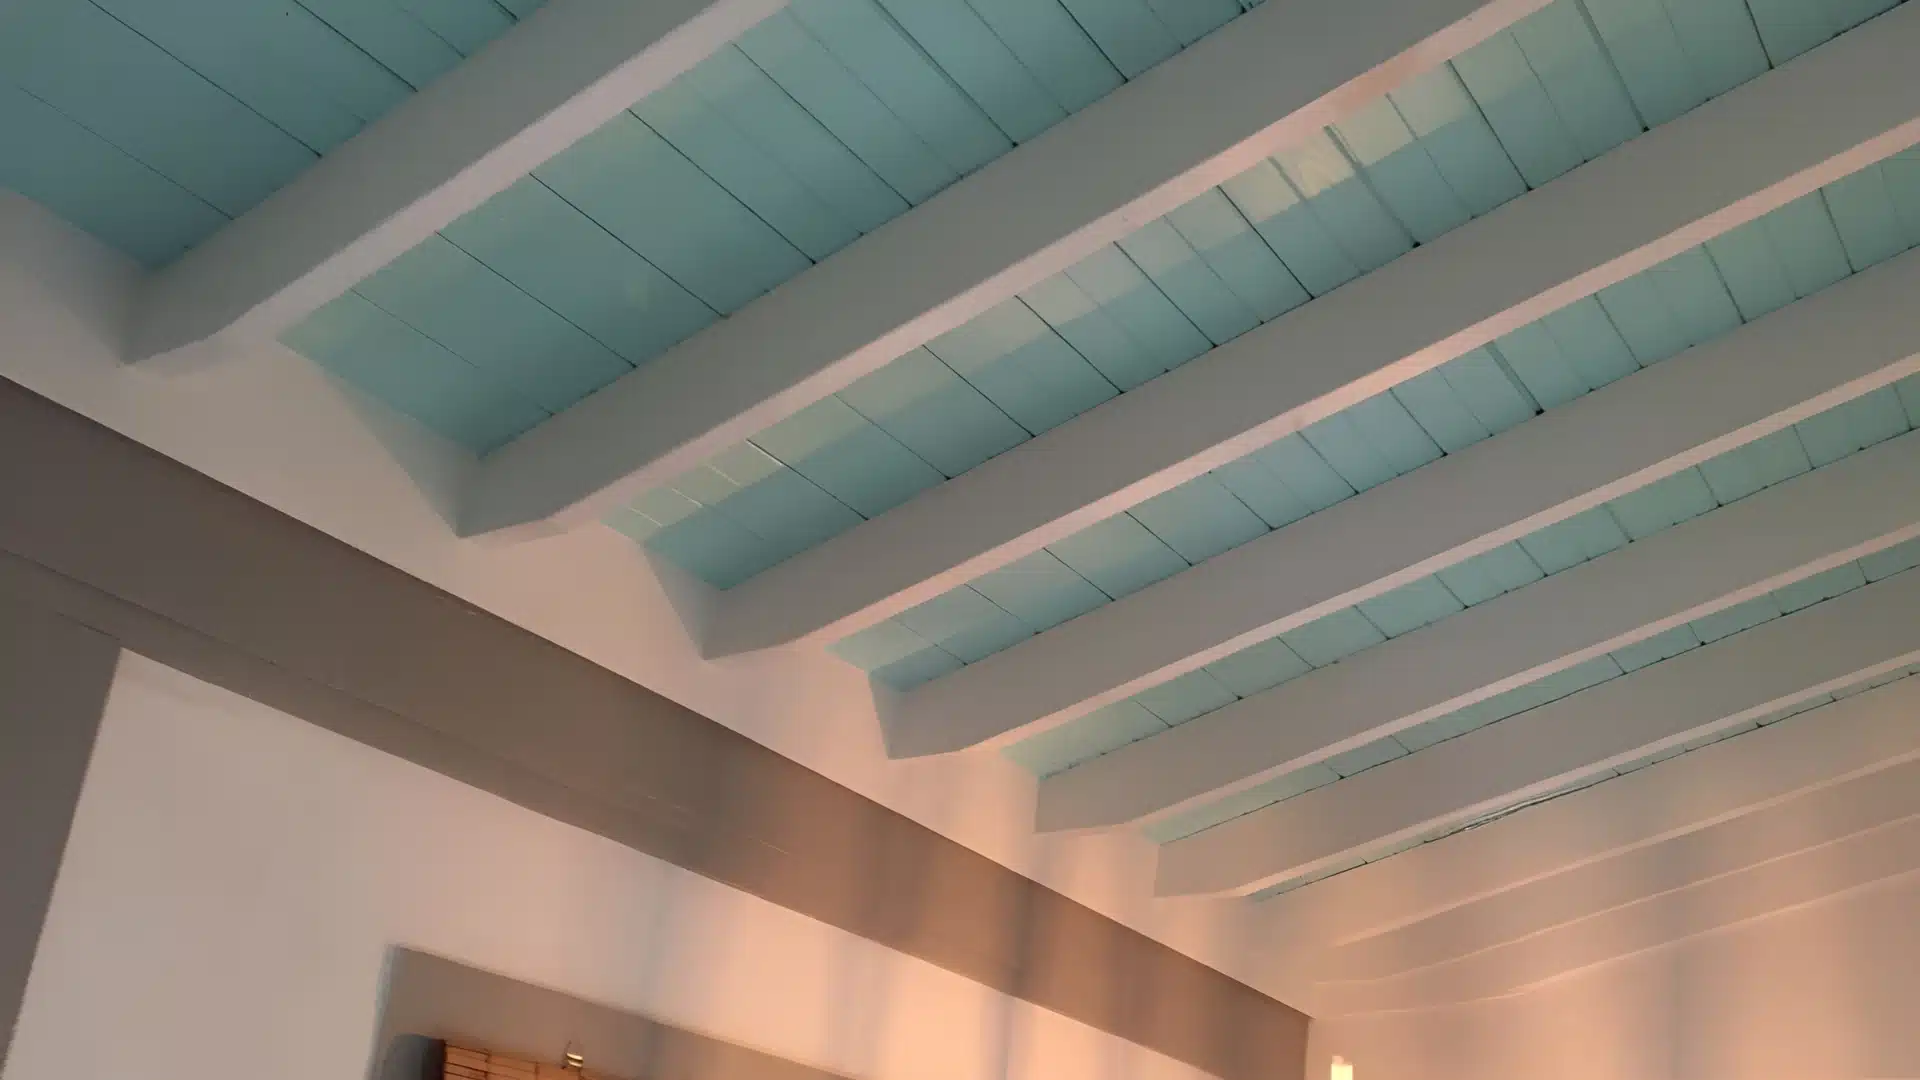
Cut 4×8 PVC beadboard sheets with a 40-tooth circular saw blade to avoid splintering.
Nail into joists every 8 inches using 1-1/2-inch finish nails, fill holes with spackle, sand to 120-grit, then prime and paint in flat white.
Per This Old House, PVC beadboard costs $1.00–$1.50 per square foot.
Total cost: $150–$225 (£120–£180) for a 150-square-foot ceiling.
Match the Idea to Your Room
Choosing an idea for your ceiling becomes easier when you match it the the room first.
Peel-and-stick wallpaper is ideal for bedrooms and dining rooms, especially if you’re renting and want a removable design upgrade.
Wood slat ceilings work in larger living spaces with ceilings above 8.5 feet.
A painted ceiling can refresh any room, though it tends to look most intentional in spaces with taller ceilings.
Faux wood beams are a great choice when you want a more architectural, custom-built appearance in living rooms, dining areas, or home offices.
For kitchens, bathrooms, sunrooms, and covered porches, beadboard works the best.
Did You do it Right?
After finishing a project, the only way it feels fully satisfying is when you know for sure you’ve Just look for these signs, and you’ll know.
For peel-and-stick wallpaper: No visible bubbles, edges lie flat, and pattern repeats align within 1/4 inch across the full ceiling.
For wood slats: Rows run parallel, no slat flexes when pressed, and gaps are consistent within 1/16 inch.
For a painted accent: Coverage is even with no roller lines visible from the doorway, and tape edges are clean.
For faux beams: The top plate sits flush with no gap wider than 1/8 inch at the ceiling line.
For beadboard: All nail holes are filled flush, seams are tight, and the painted surface shows no raised edges at panel joins.
Final Thoughts
And now you have all you need to complete the “making your ceiling look the best” project with the help of these DIY ceiling ideas.
Match the idea to your ceiling height, pick a method that fits your actual skill level, and always fasten into joists rather than drywall alone.
Start small, take care of the little things in each idea, and start designing today!
Frequently Asked Questions (FAQs)
1. Can You Install Wood Planks Over Existing Drywall?
Yes, tongue-and-groove planks can be installed directly over drywall in sound condition. Planks must be fastened to ceiling joists with 2-inch finish nails, not just drywall.
2. How Long Does a DIY Wood Plank Ceiling Take?
Most homeowners finish a 200-square-foot room in 6–8 active hours. First-timers should plan a full weekend to account for measuring, cut corrections, and finishing time.
3. Do DIY Ceiling Ideas Work on Textured Artex Ceilings?
Stencil and paint finishes do not adhere well to heavy texture. Wood planks can go over a shallow texture as long as they still fasten into joists.

1 Response
testing