
Building a DIY picnic table is functional, personal, and stylish for your outdoor space.
And no doubt, it’s a perfect setting for family meals, backyard get-togethers, or weekend cookouts.
With good planning, careful measurements, and a few basic tools, even beginners can finish this project without much trouble.
Below are materials, standard sizes, wood choices, building steps, design ideas, and simple care tips to help you build a strong outdoor picnic table.
Tools and Materials Required
Getting everything ready before you start makes the whole build go more smoothly.
Tools
- Circular saw or miter saw
- Power drill/driver
- Tape measure
- Speed square
- Carpenter’s pencil
- Clamps
- Orbital sander or sanding block
- Safety glasses
- Hearing protection
- Level
Materials
- 2×6 lumber (amount depends on table size)
- 2×4 lumber (for legs and supports)
- 3-inch exterior wood screws
- 2½-inch exterior wood screws
- ⅜ inch × 5 inch carriage bolts, washers, and nuts (if using bolted joints)
- Exterior-grade wood glue (optional)
- Sandpaper (80, 120, and 220-grit)
- Exterior wood stain or paint (optional)
- Outdoor wood sealer
Standard DIY Picnic Table Dimensions
Standard DIY picnic table dimensions provide a comfortable balance of seating space, tabletop area, and legroom. The measurements below are commonly used for picnic tables that seat 6-8 people.
| Part | Standard Dimensions | Purpose |
| Tabletop Length | 6-8 feet | Seats 6-8 people comfortably, depending on the table length. |
| Tabletop Width | 28-30 inches | Provides enough room for meals, drinks, and serving dishes. |
| Table Height | 28-30 inches | Positions the tabletop at a comfortable height for dining and everyday use. |
| Bench Width | 9-12 inches | Gives enough seating space while maintaining stability. |
| Bench Height | 17-18 inches | Maintains a comfortable sitting position with enough leg clearance beneath the tabletop. |
How to Build a DIY Picnic Table?
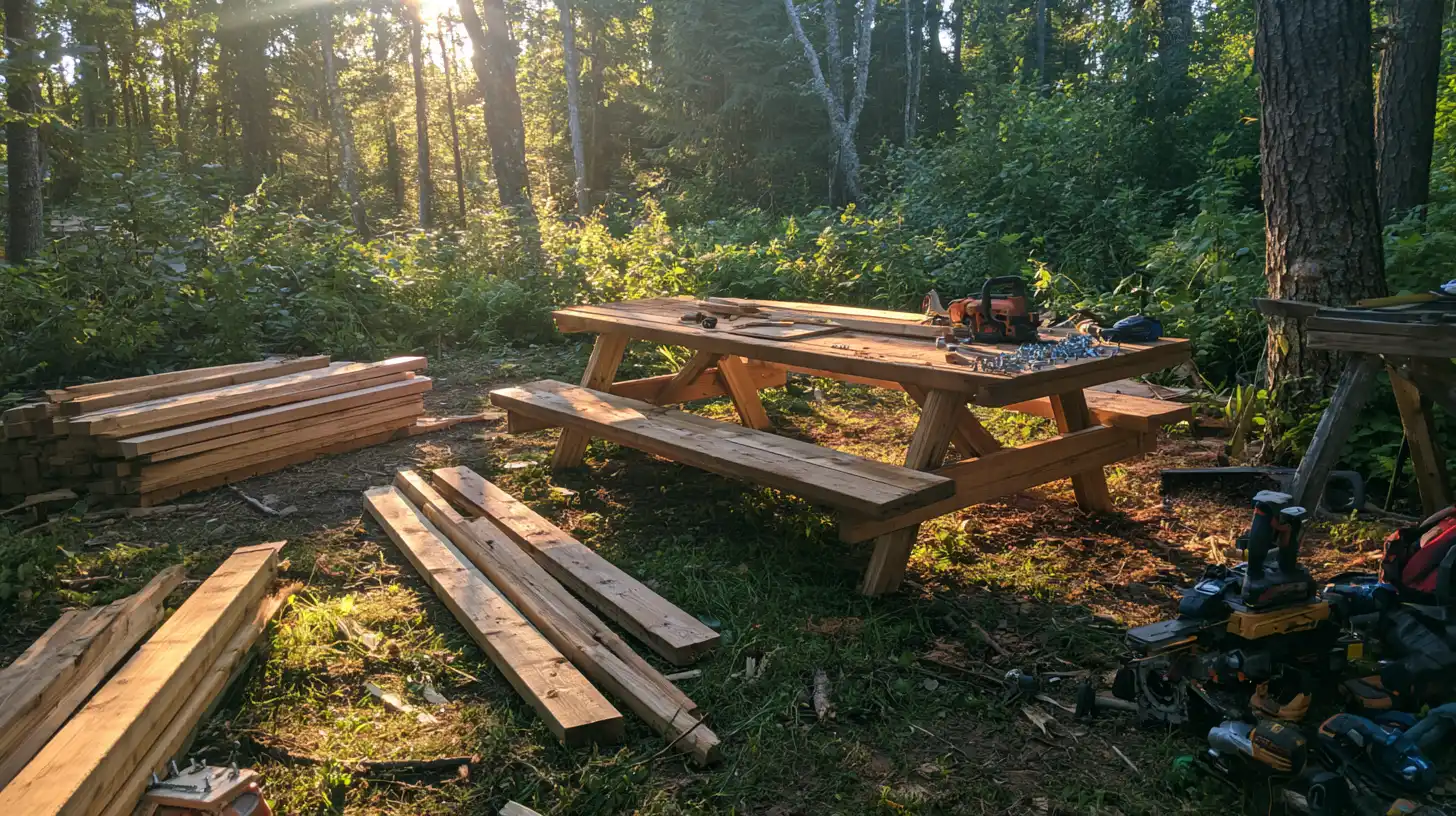
Finishing one stage before starting the next is important.
So be patient, and don’t rush into anything. Just keep the table square, stable, and properly aligned throughout the project.
Step 1: Measure and Cut the Lumber
Mark every board according to your building plan before cutting.
A tape measure and speed square help maintain accurate dimensions, while a circular saw produces clean, straight cuts.
Accurate measurements reduce fitting problems during assembly and help the table come together correctly.
Measure each board twice before cutting to avoid wasted material and uneven assembly.
Step 2: Build the Tabletop
Lay the tabletop boards side by side with small, even gaps to allow water to drain.
This also allows the wood to move naturally.
Fasten each board to the support braces using exterior-grade screws, keeping the surface flat and the spacing consistent across the tabletop.
Step 3: Assemble the Legs and Frame
Secure the legs to the frame with exterior screws and wood glue for added strength. Check each corner for square alignment before fully tightening the fasteners.
A properly assembled frame supports the tabletop evenly and improves stability.
Step 4: Install the Benches
Attach the bench supports to the frame before securing the bench boards with evenly spaced screws.
Consistent bench height and proper spacing from the tabletop provide comfortable seating while leaving enough room for leg movement.
Step 5: Sand the Entire Table
Start with coarse-grit sandpaper to remove rough edges, then switch to a finer grit for a smooth finish.
Rounded edges and smooth surfaces reduce splinters and prepare the wood for stain, paint, or a protective sealer. Smooth edges and corners thoroughly to reduce splinters.
Step 6: Apply a Protective Finish
Coat the picnic table with an exterior stain, paint, or clear wood sealer to protect it from moisture, sunlight, and changing weather conditions.
Allow the finish to dry completely before placing the table outdoors or using it regularly.
Best Wood for a DIY Picnic Table
Different wood types offer different levels of durability, maintenance, appearance, and cost. The material you select affects how well it handles outdoor weather.
1. Cedar: Cedar naturally resists moisture, rot, and insects, and since it is lightweight, people often prefer it over heavier or less weather-resistant wood options.
2. Pressure-Treated Pine: It is an affordable option for outdoor furniture. The protective treatment reduces the risk of decay and insect damage.
3. Redwood: This has excellent natural resistance to moisture and insects and gives the picnic table a rich, attractive appearance.
4. Douglas Fir: This provides good strength and stability for building a sturdy picnic table.
Always apply an exterior sealer before outdoor use to protect the wood from moisture.
DIY Picnic Table Ideas
A picnic table can look many different ways depending on the style, materials, and features you choose.
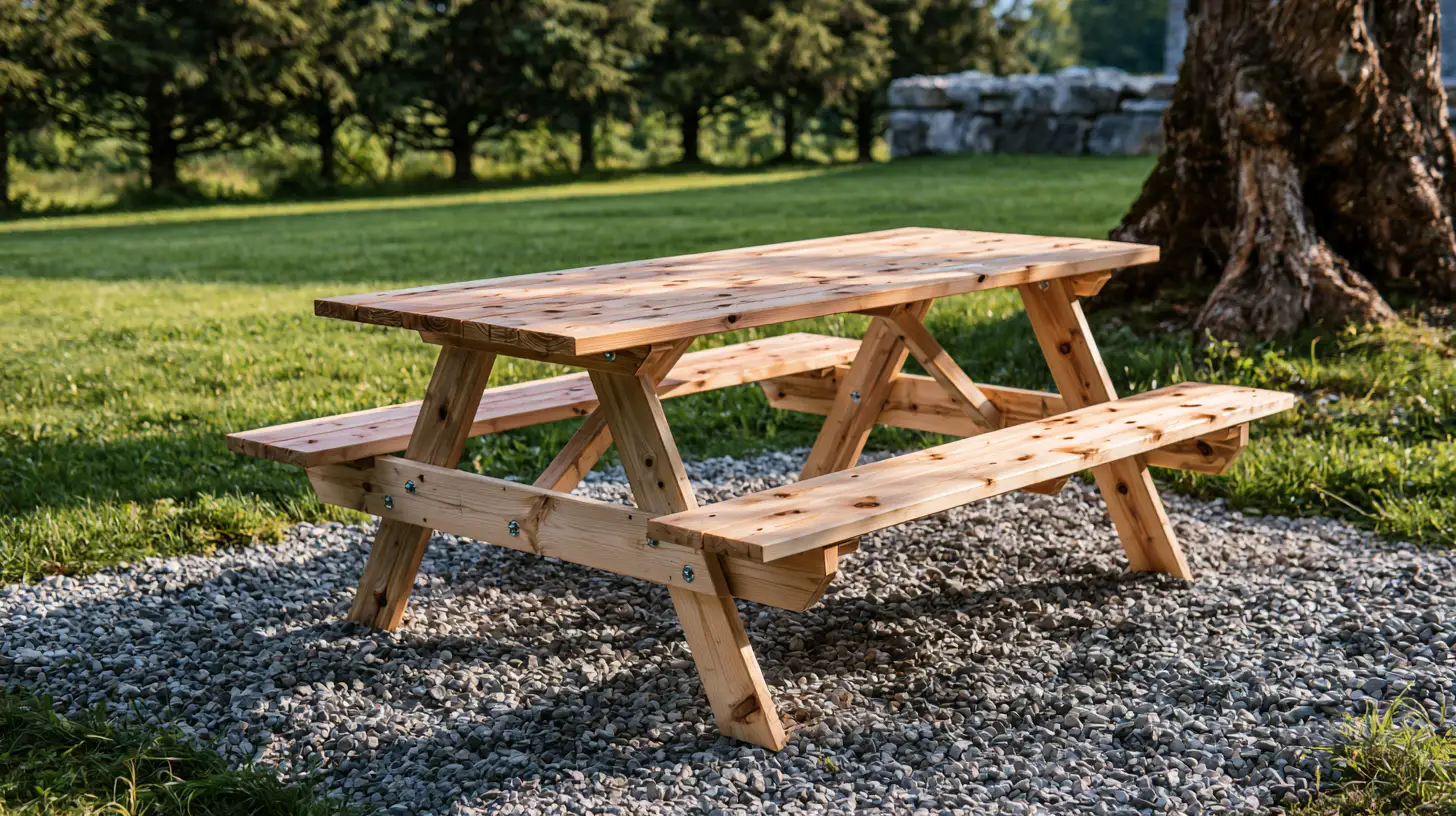
1. Classic Wooden Picnic Table
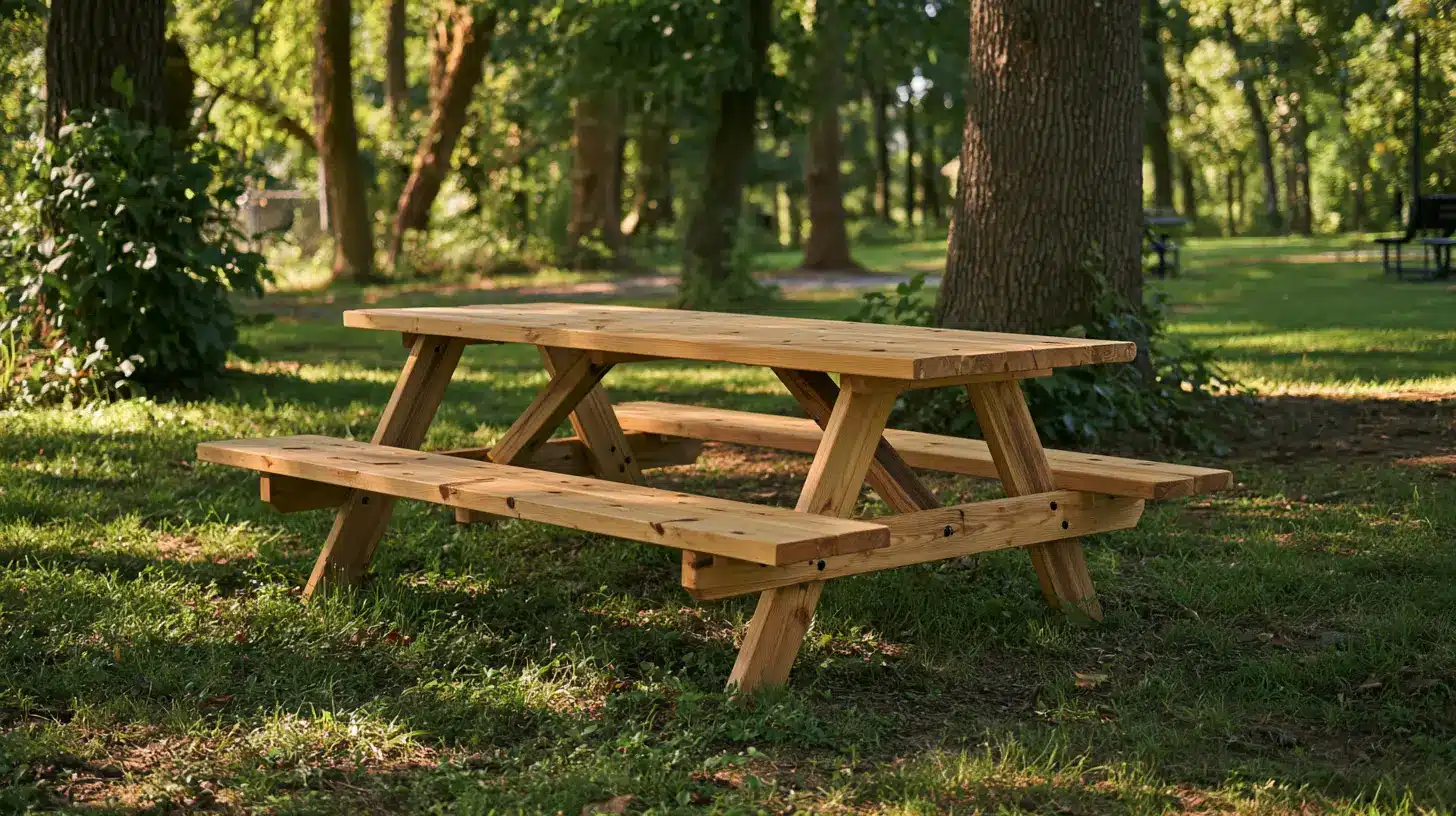
A simple rectangular table with attached benches never really goes out of style. It works well in backyards, gardens, parks, and family get-togethers.
This design also stays easy enough for beginners to build without much trouble.
2. Kid-Sized Picnic Table
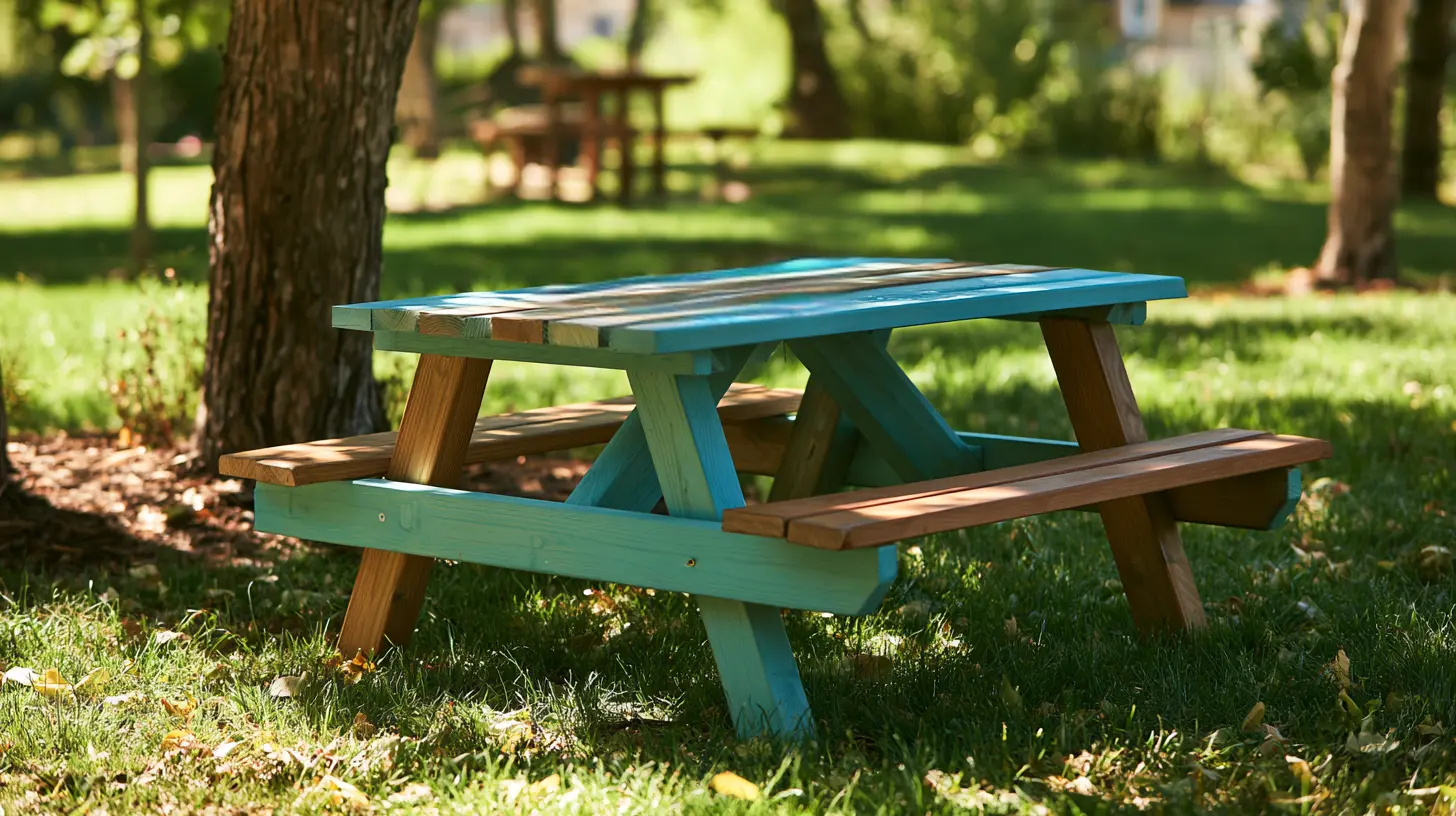
Build a smaller table with lower benches made just for kids.
It works great for outdoor crafts, snacks, games, and playtime, giving children their own spot to sit and enjoy the backyard.
3. Modern Minimalist Picnic Table
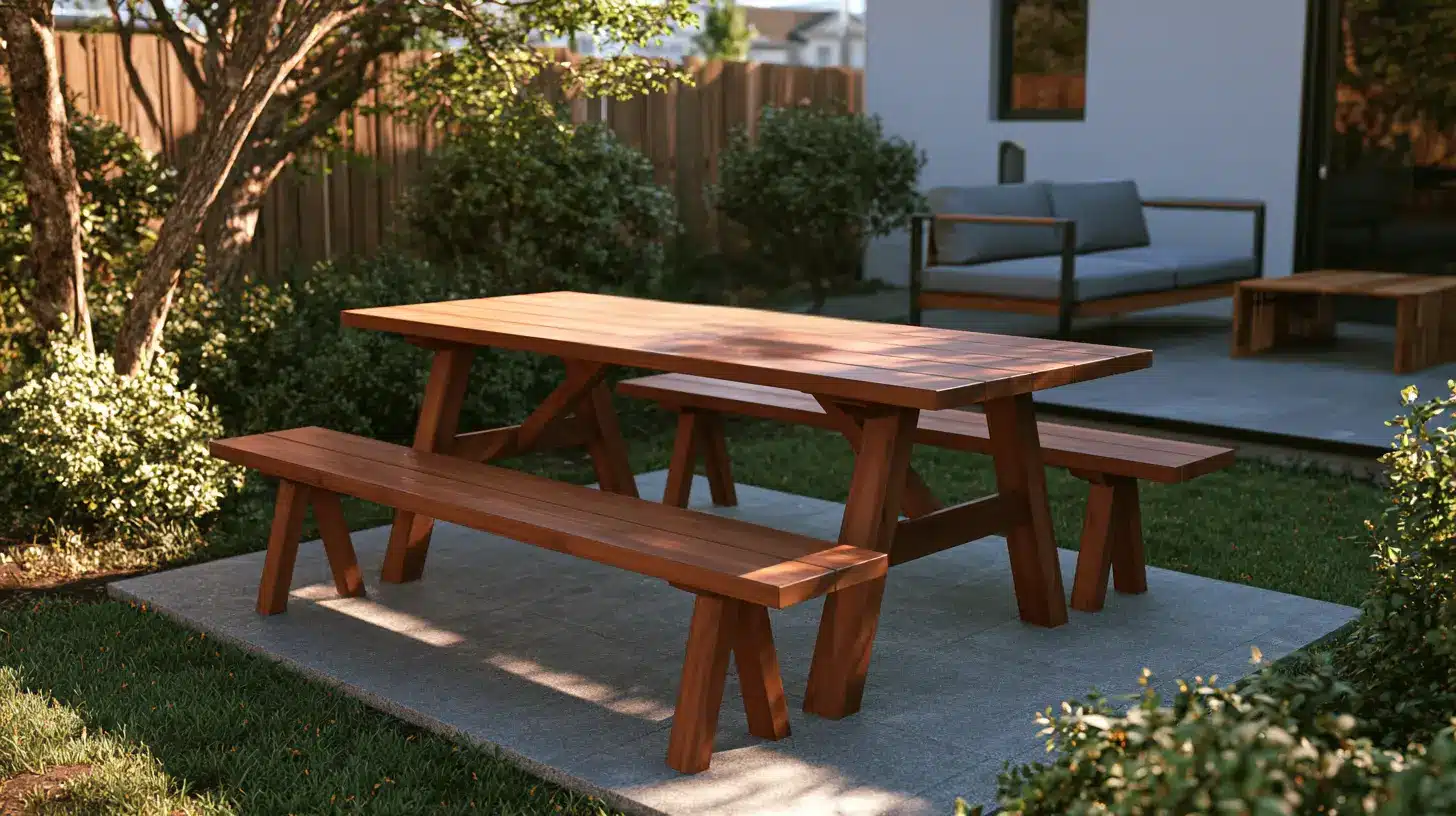
Choose clean lines, a simple build, and plain finishes for a table that fits a newer home style. This look pairs well with modern patios and neatly kept gardens.
4. Farmhouse-Style Picnic Table
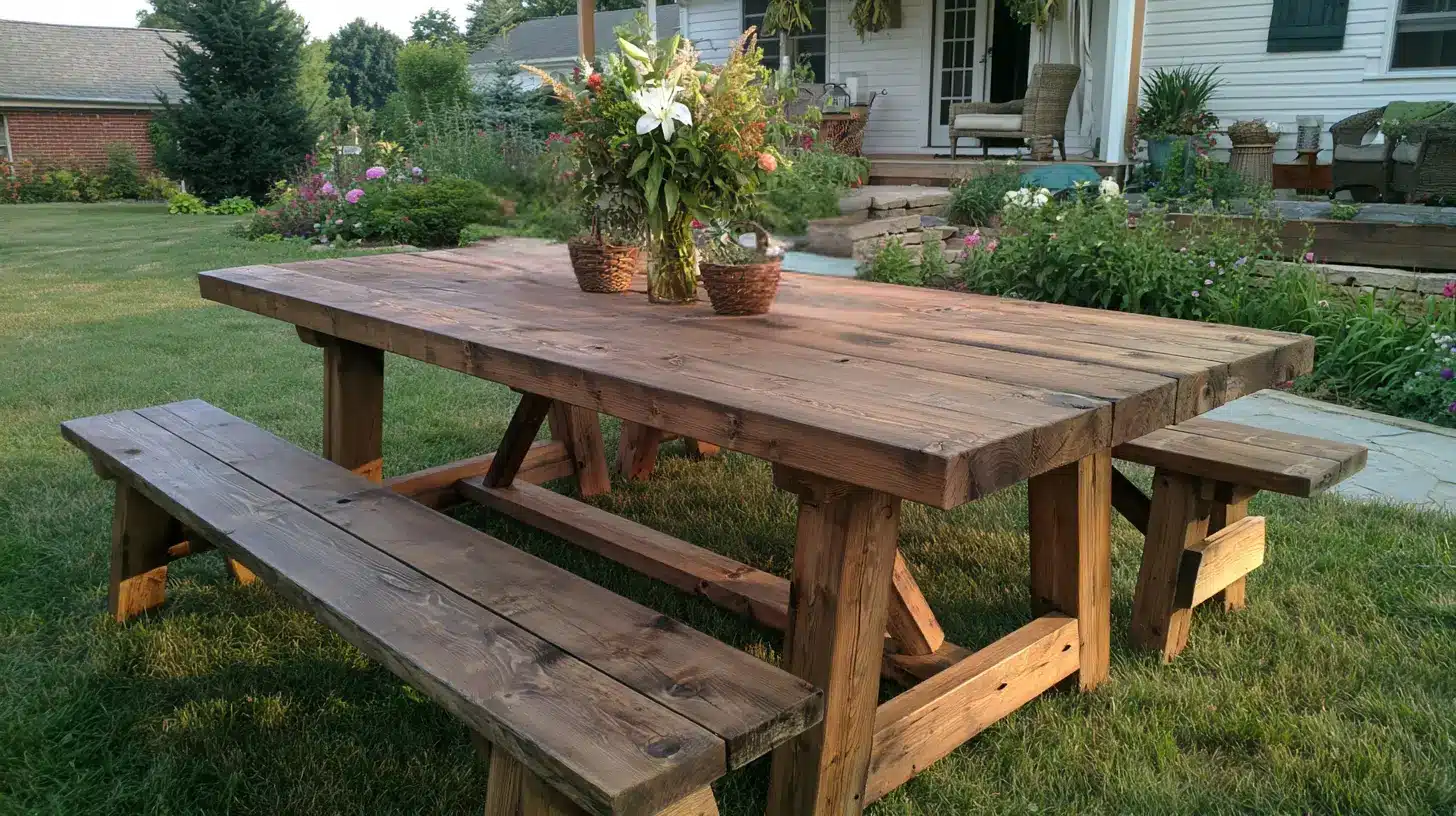
Thicker wood, sturdy legs, and a natural finish give this table a farmhouse feel. It adds warmth and an old-fashioned charm to any backyard, porch, or garden space.
5. Cedar Picnic Table
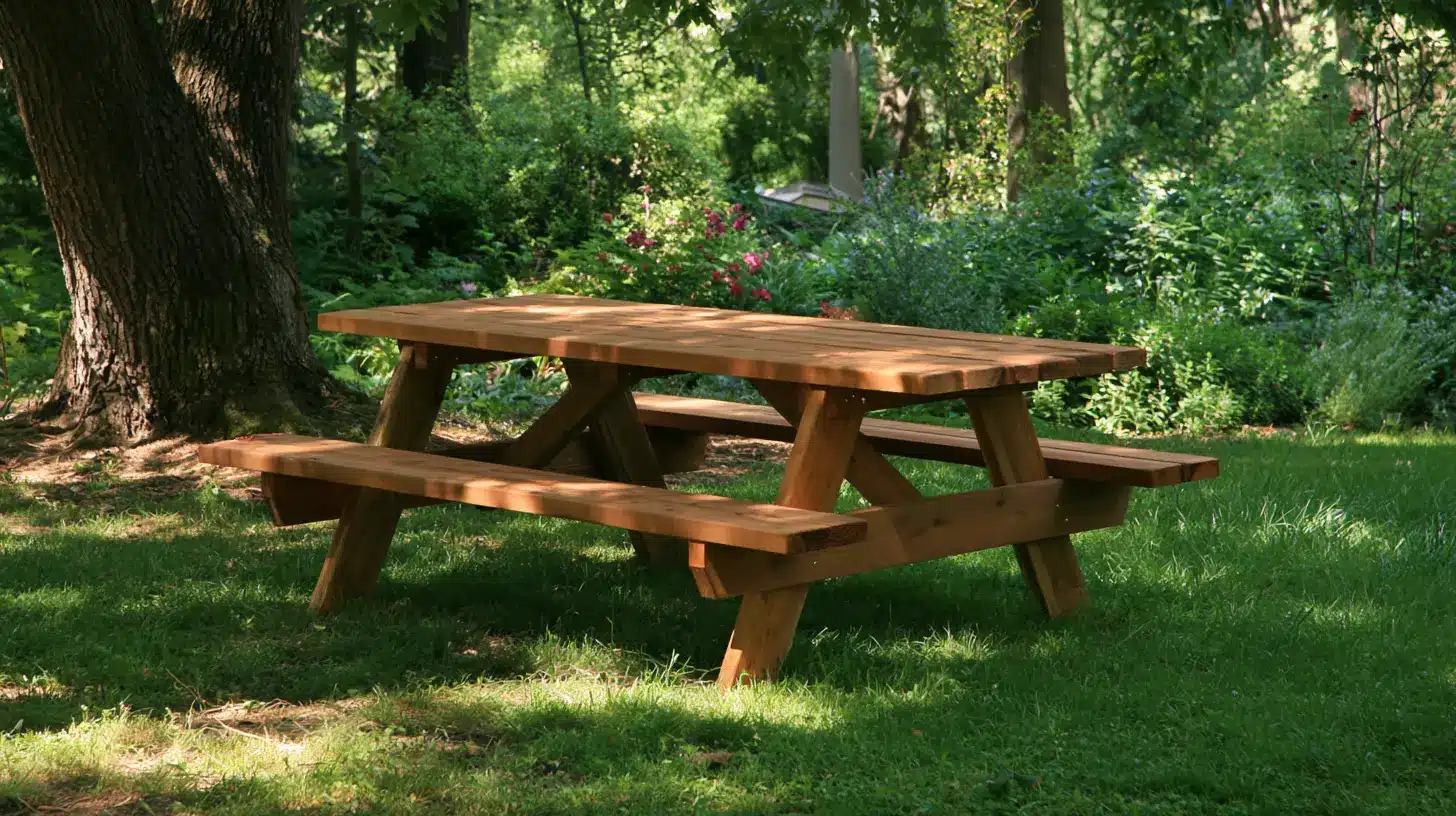
Cedar wood naturally resists moisture and bugs.
It’s also a strong choice for outdoor furniture. It also has a warm, attractive look that holds up well through different seasons outside.
6. Painted Picnic Table
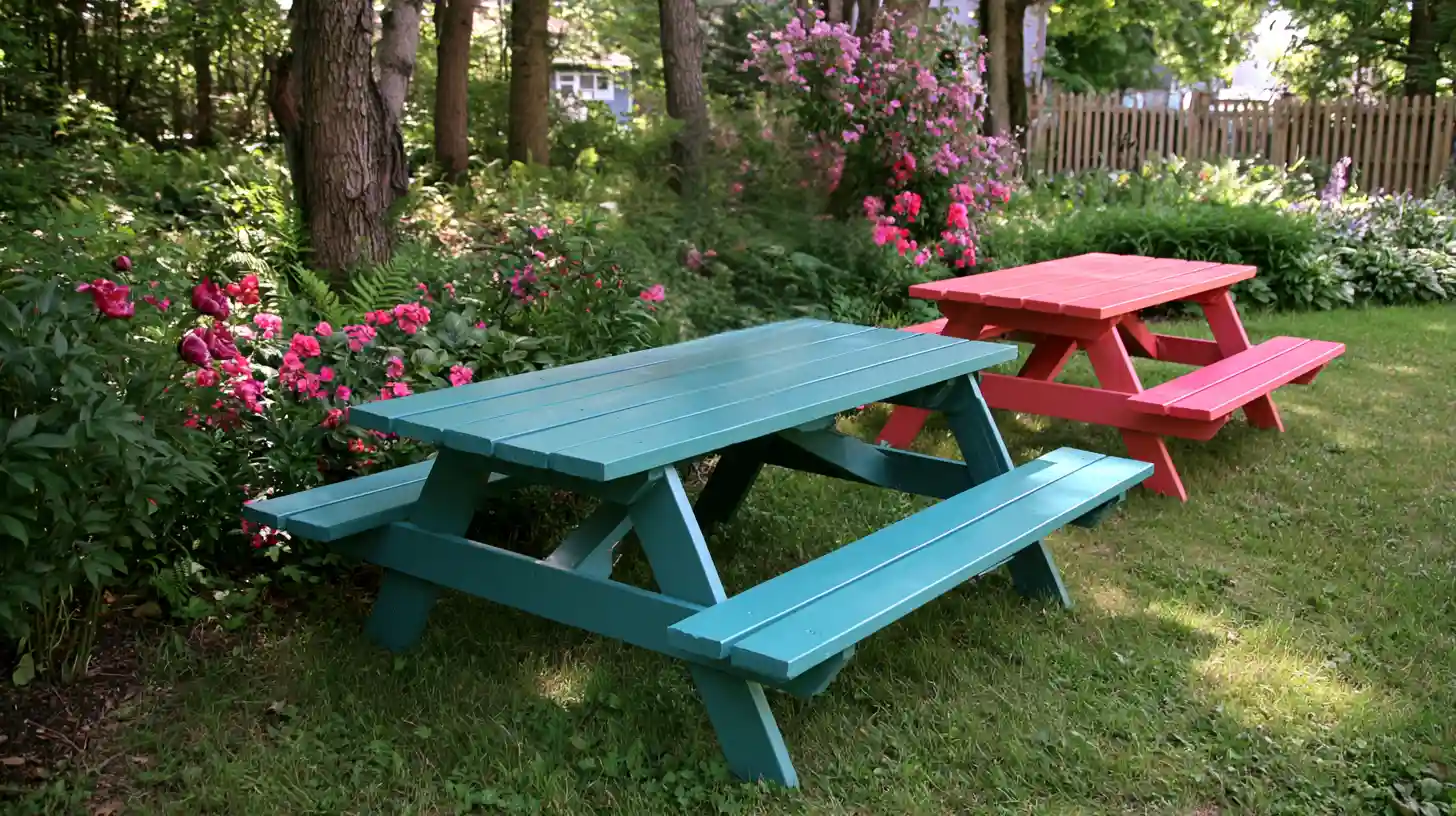
A coat of paint in bold or plain colors can match your outdoor style while also adding a layer of protection against sun, rain, and everyday wear over time.
It’s a simple way to add color and protection to your outdoor space.
7. Stained Wood Picnic Table
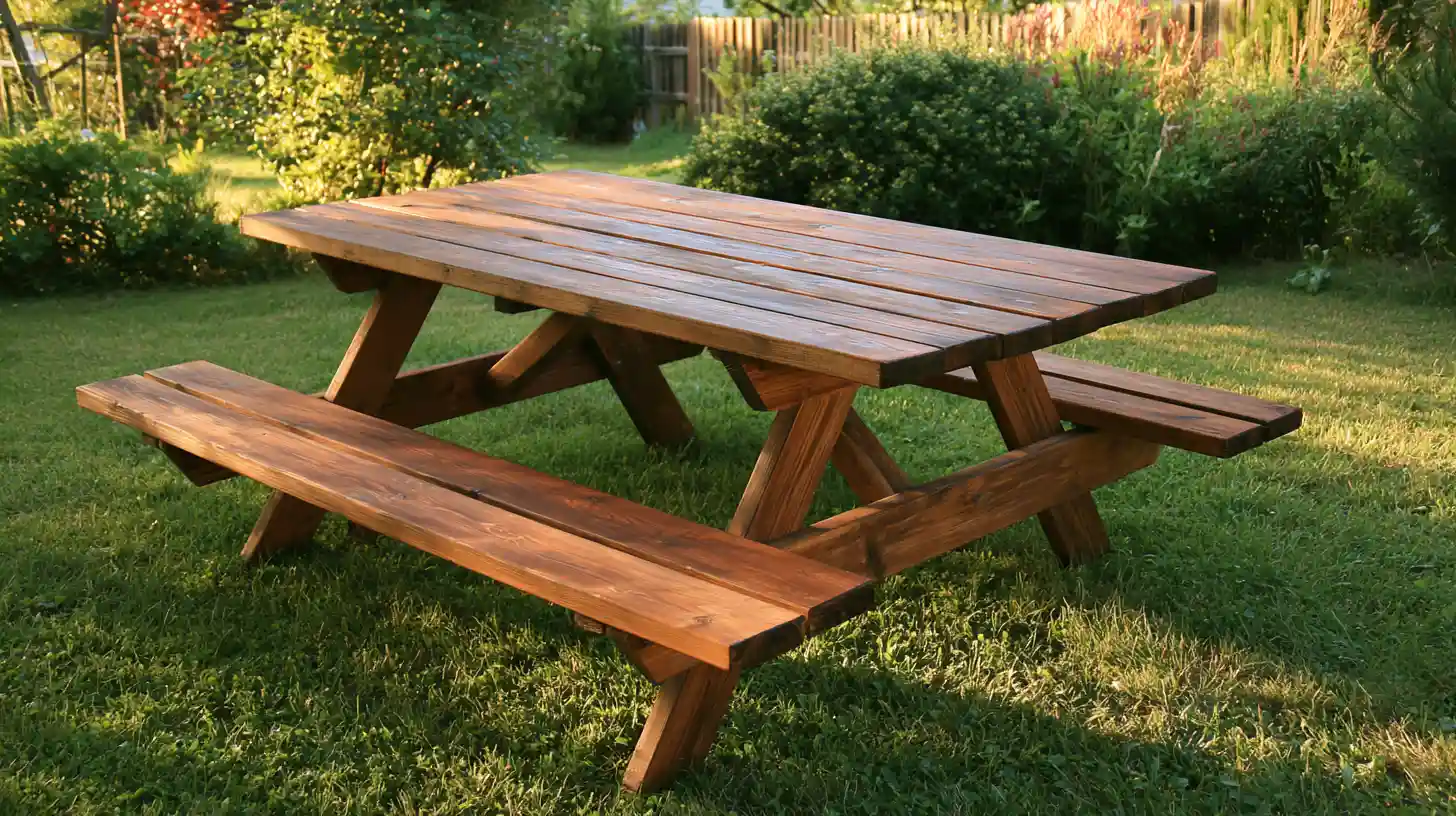
Wood stain brings out the natural grain in the lumber.
It also protects the surface from weather damage. It gives the table a smooth, finished look that lasts.
8. Hexagon Picnic Table
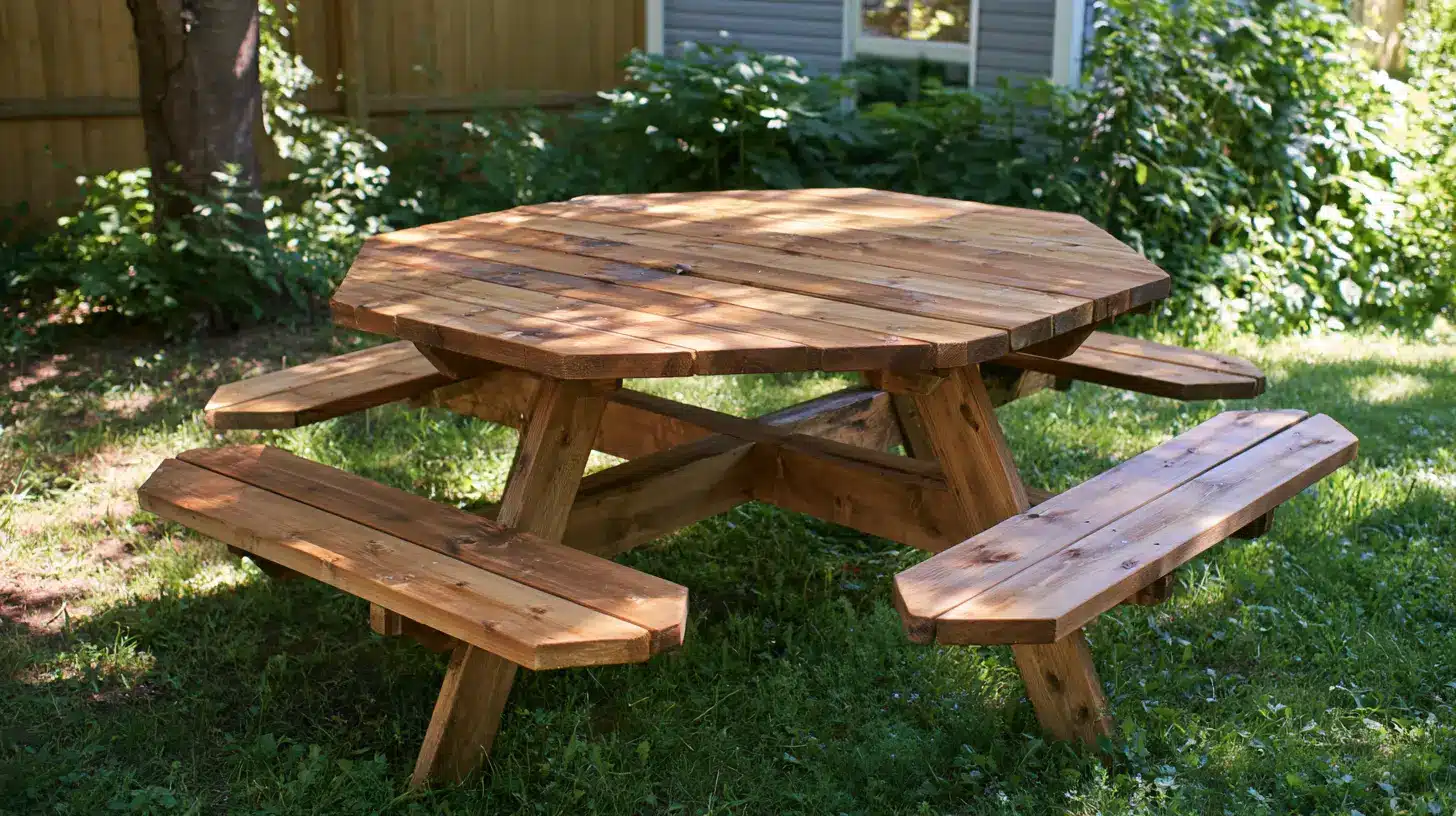
A six-sided table allows more people on it.
It gives people seats on more sides at once, making conversation easier during family meals or larger outdoor gatherings where everyone wants to face each other.
9. Built-in Cooler Picnic Table
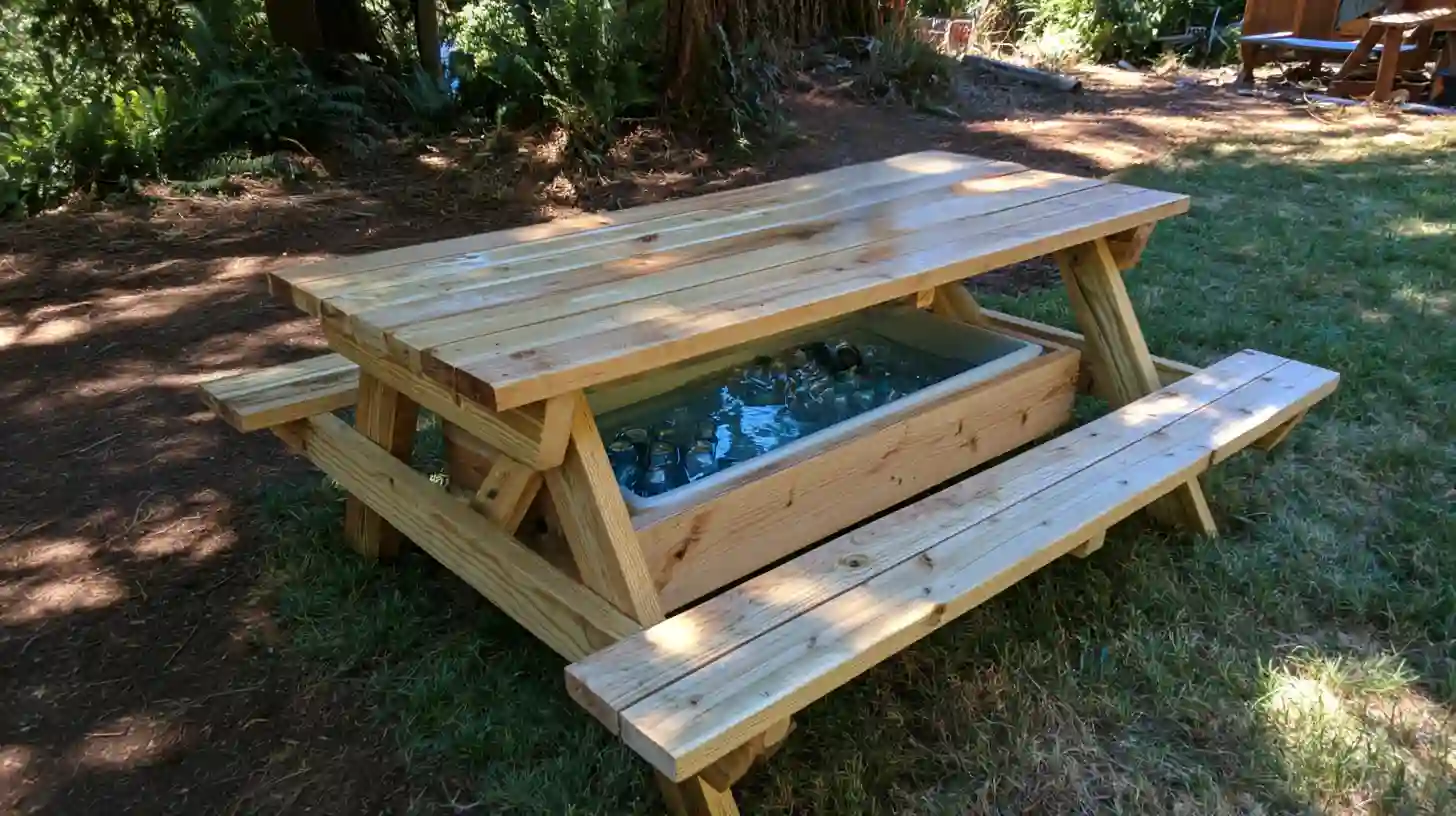
When you have an outdoor picnic table, you can make it way more functional as well.
Add a removable cooler space right into the tabletop to keep drinks cold and close by. This works great for outdoor meals, parties, or long afternoons spent outside with family.
10. Convertible Bench Picnic Table
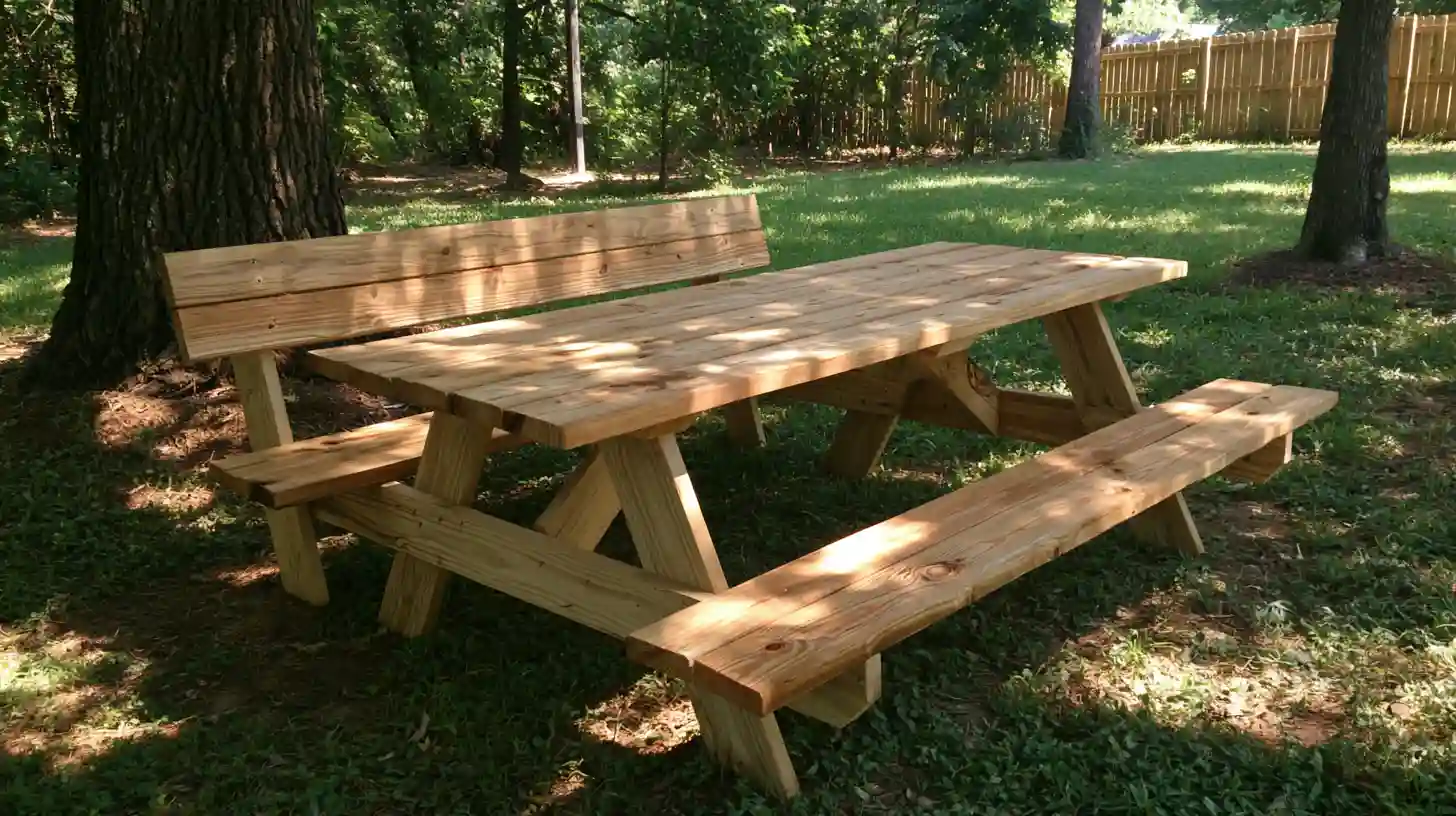
This design switches between a bench and a full picnic table.
It saves a lot of space, making it a smart pick for smaller patios or yards that need more than one use.
11. Picnic Table With Backrests
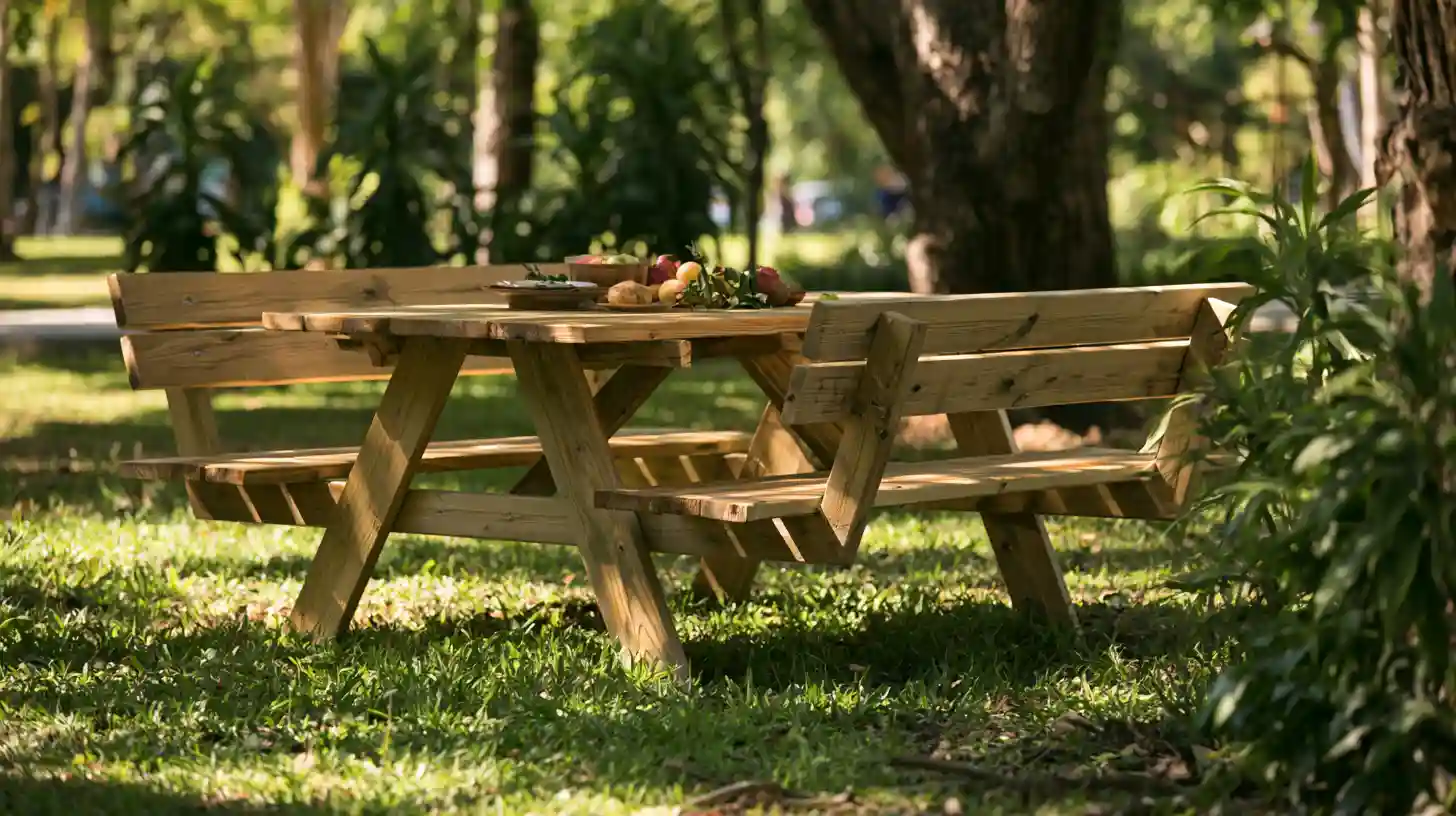
Adding backrests to the benches makes it even more comfortable.
It also makes sitting for long periods possible. This works well if the table gets used often for long meals or lazy afternoons spent relaxing outside.
To make it even more comfortable, you can add cushions.
12. Reclaimed Wood Picnic Table
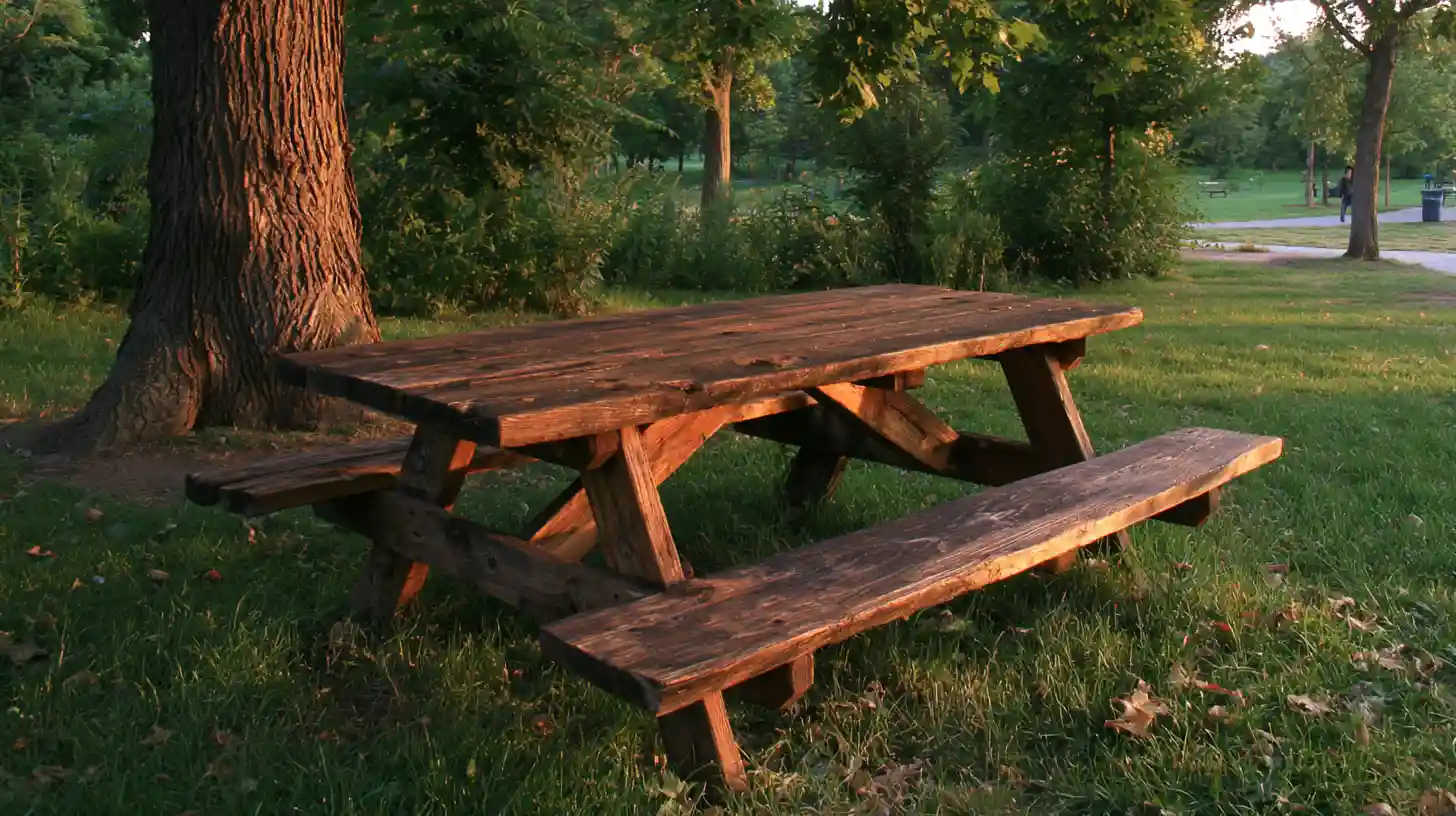
Use those old woods.
Yes, they will give your table some personality. Save money and make it even more personal. Each piece carries its own marks and history.
13. Portable Picnic Table
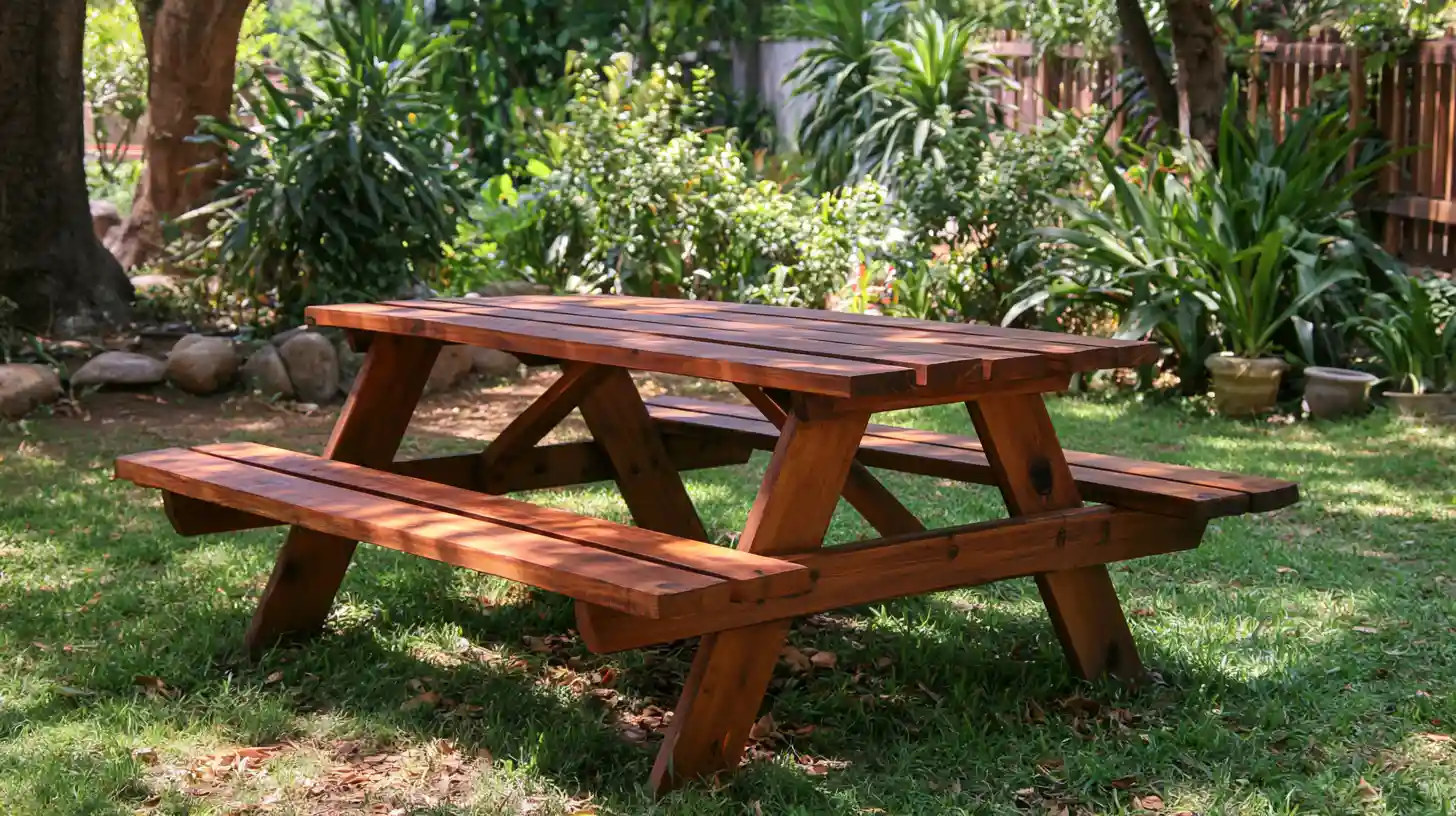
Light materials and a compact build make this table easy to carry along.
It works well for camping trips, picnics in the park, or any outdoor event that needs simple, movable seating.
14. Double Bench Picnic Table
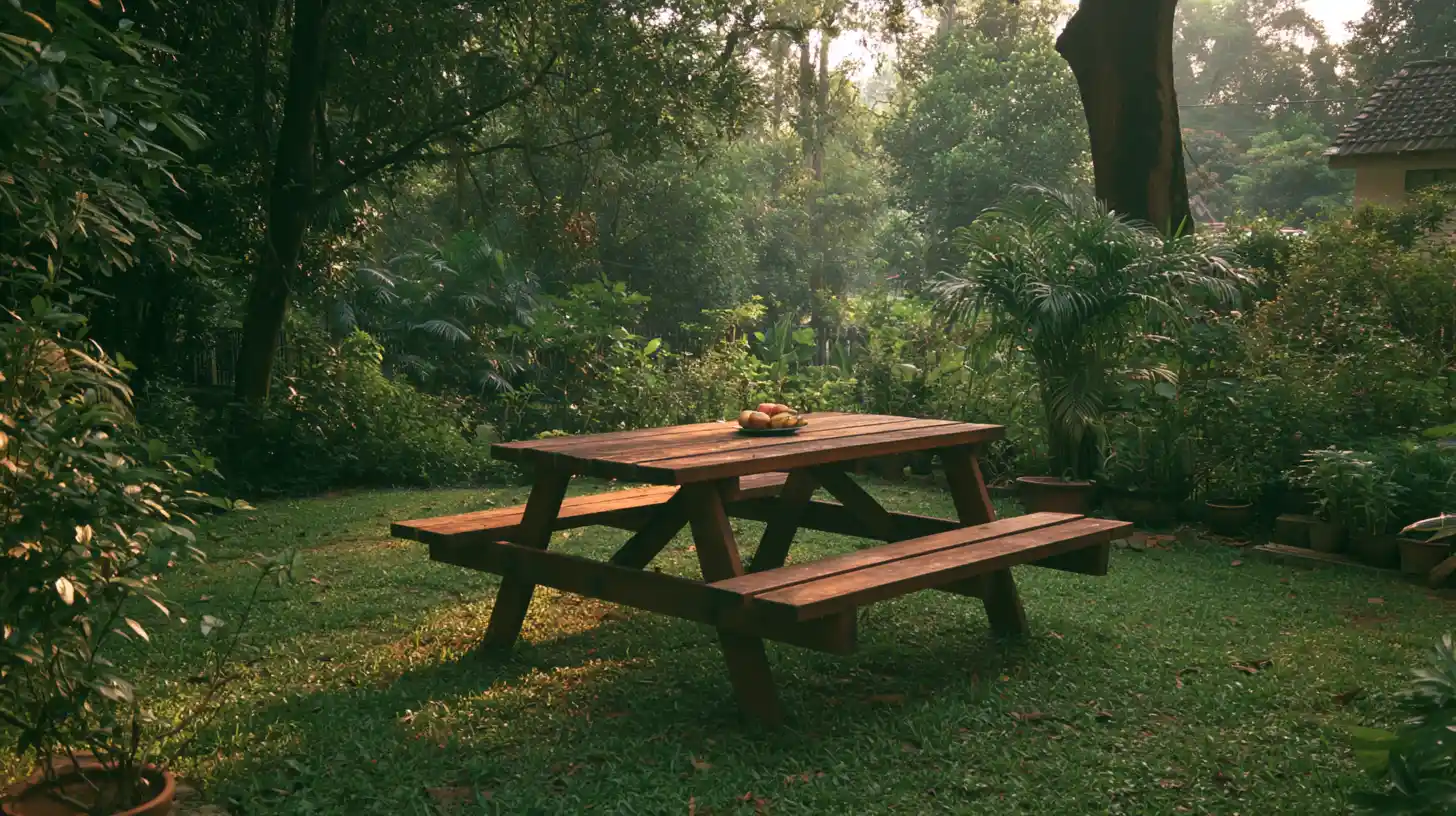
Wider benches give more room to sit comfortably.
This design works well for larger families or bigger group gatherings where extra seating space really makes a difference.
15. Pergola Picnic Table
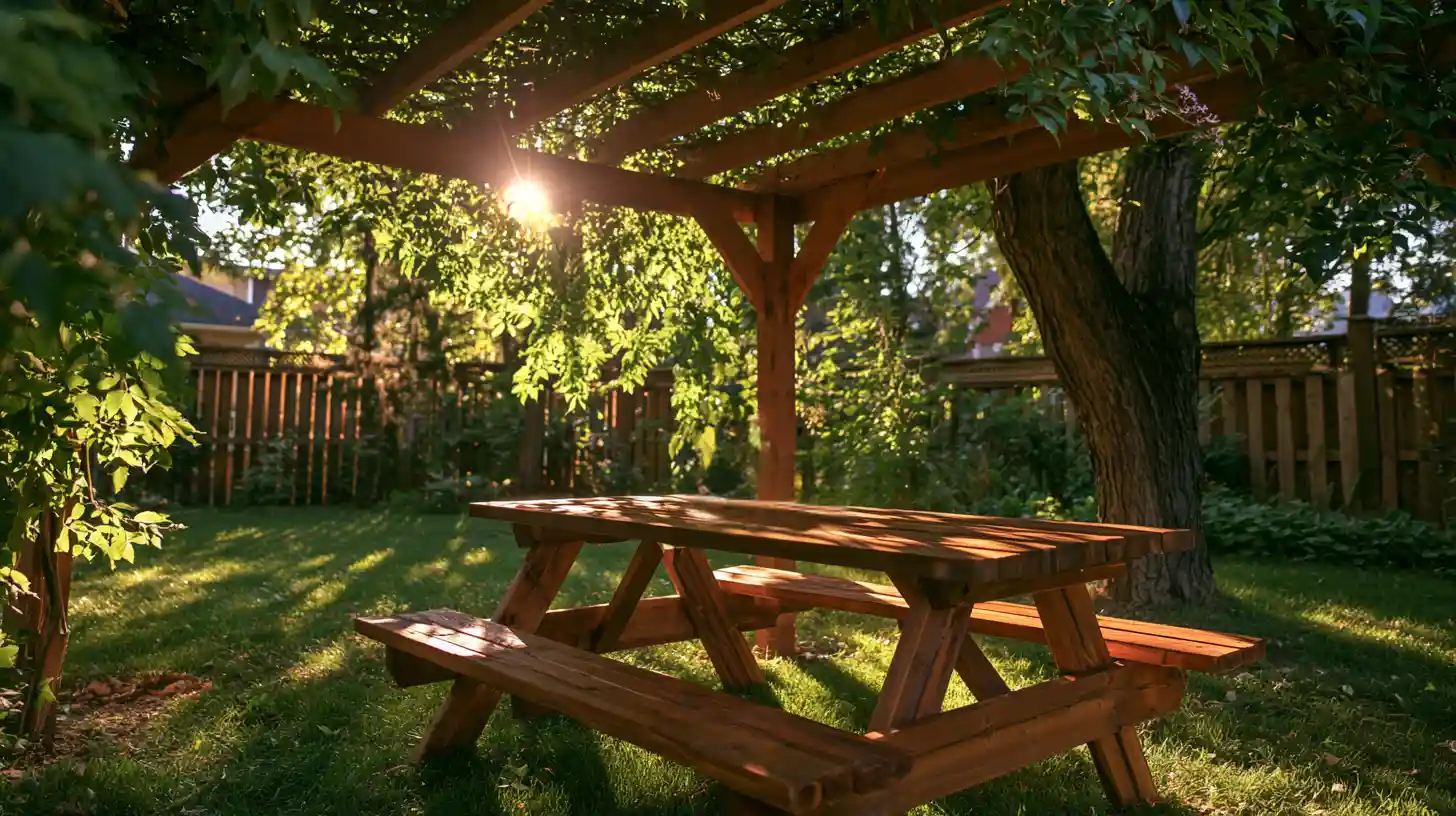
Adding a small pergola above the table creates shade while also giving the yard a nicer overall look.
It turns a simple table into a more complete outdoor living space.
16. Gravel Patio Picnic Table
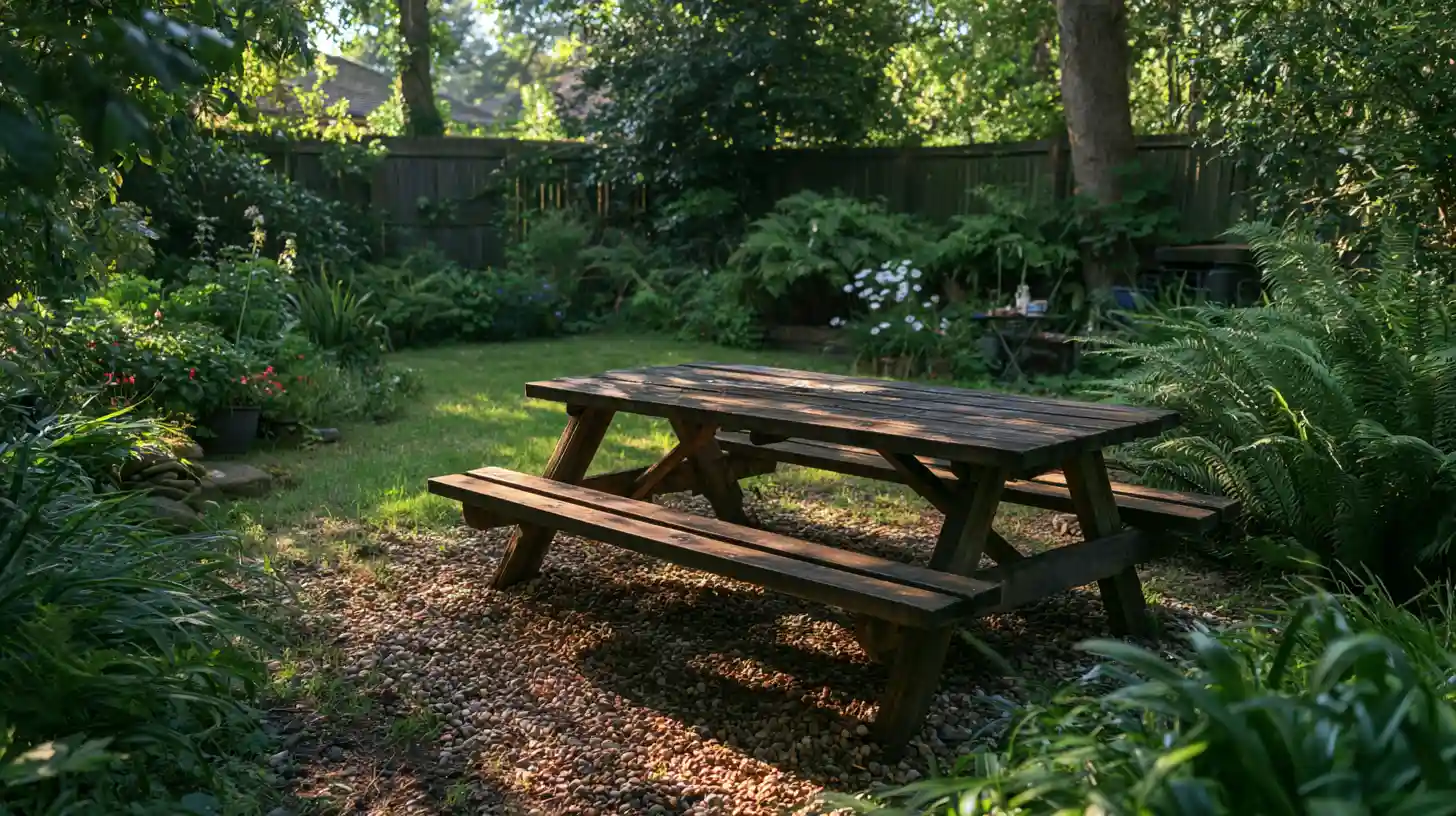
Setting the table on a gravel base helps water drain better and keeps mud from building up underneath.
It also creates a clean, low-effort space that stays neat with little upkeep.
17. Built-in Planter Picnic Table
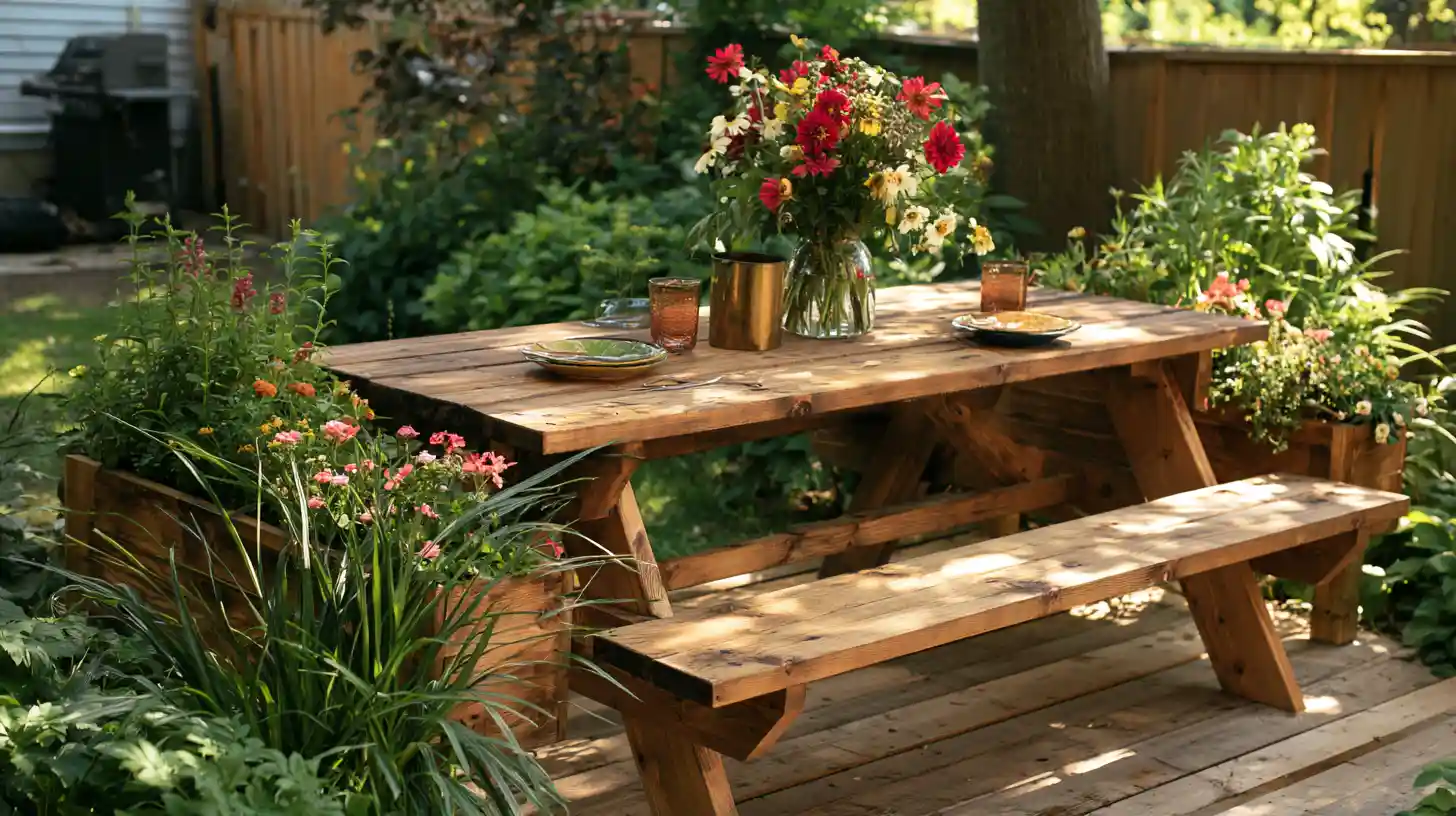
On the sides of your picnic table, build planter boxes.
Add planter boxes along the sides of the table to bring flowers or herbs right to where you’re eating
18. Two-Tone Picnic Table
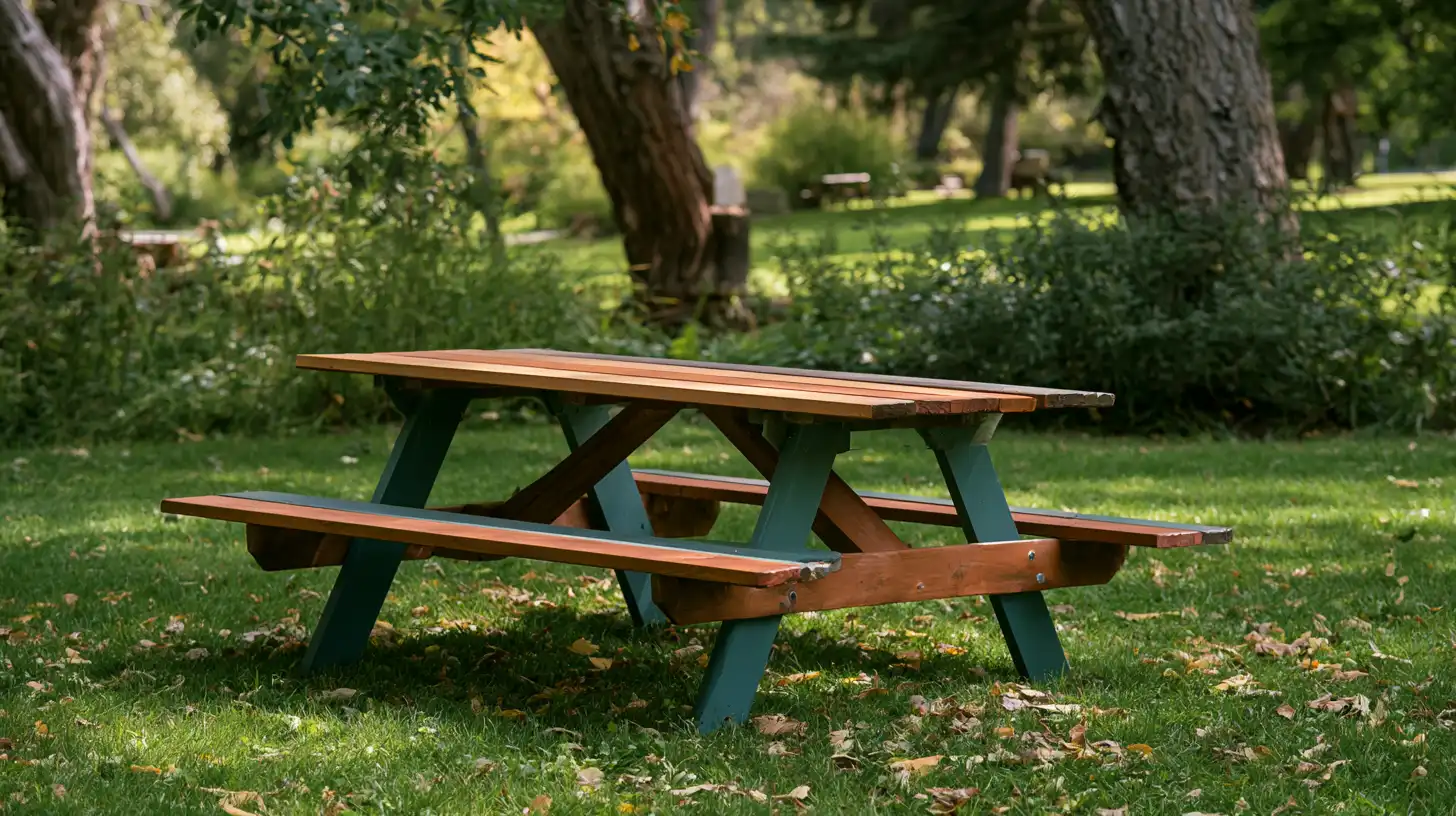
Pairing painted legs with a stained tabletop.
This creates a nice contrast between colors and keeps the natural wood grain visible on top while still adding some color underneath.
19. Covered Patio Picnic Table
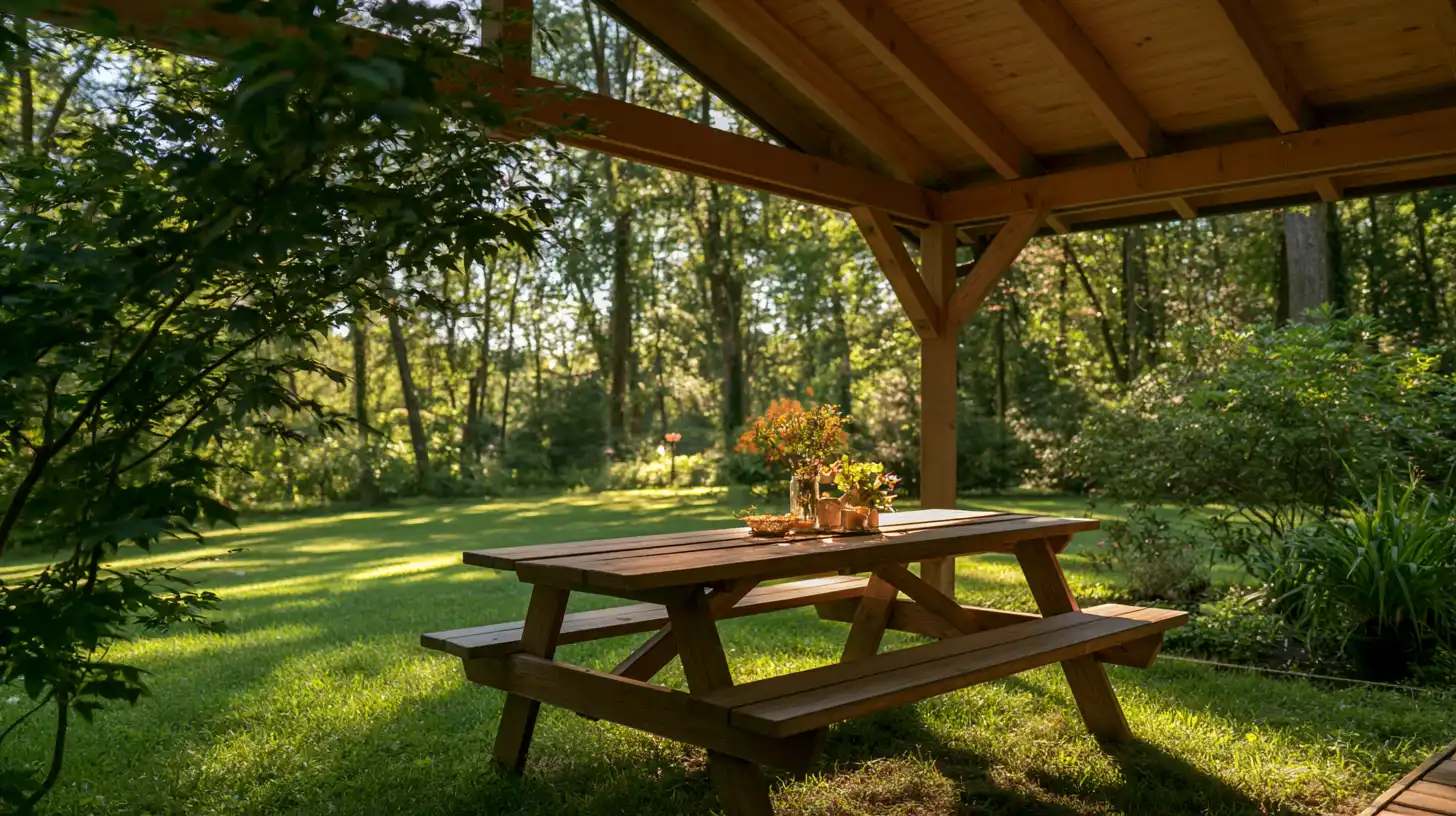
Placing the table under a covered patio or gazebo helps protect it from rain and sun.
And you can have your rainy-day dates, and even some cozy family times here. Makes it feel more enclosed, cozy, and homey.
Conclusion
A DIY picnic table can be a personal project; build it at your own pace, solo or with a loved one.
Remember to clean it after every use, and occasionally check the screws for rust or debris, as that can make your table unstable over time.
Regular cleaning and maintenance help the table last longer through hot summers, cold winters, and everything in between, no matter where you decide to place it in your yard or on your patio.
Frequently Asked Questions (FAQs)
1. Can I Leave a Wooden Picnic Table Outside All Year?
Yes, as long as it’s well sealed and protected from harsh weather like heavy rain, snow, and strong direct sunlight.
2. Is Cedar Worth the Extra Cost for a Picnic Table?
Yes. Cedar lasts a long time, fights off weather well on its own, and needs much less care over time.
3. What is the Best Finish for an Outdoor Picnic Table?
An outdoor wood sealer or stain gives strong protection against rain, sun, and everyday wear from regular outdoor use.