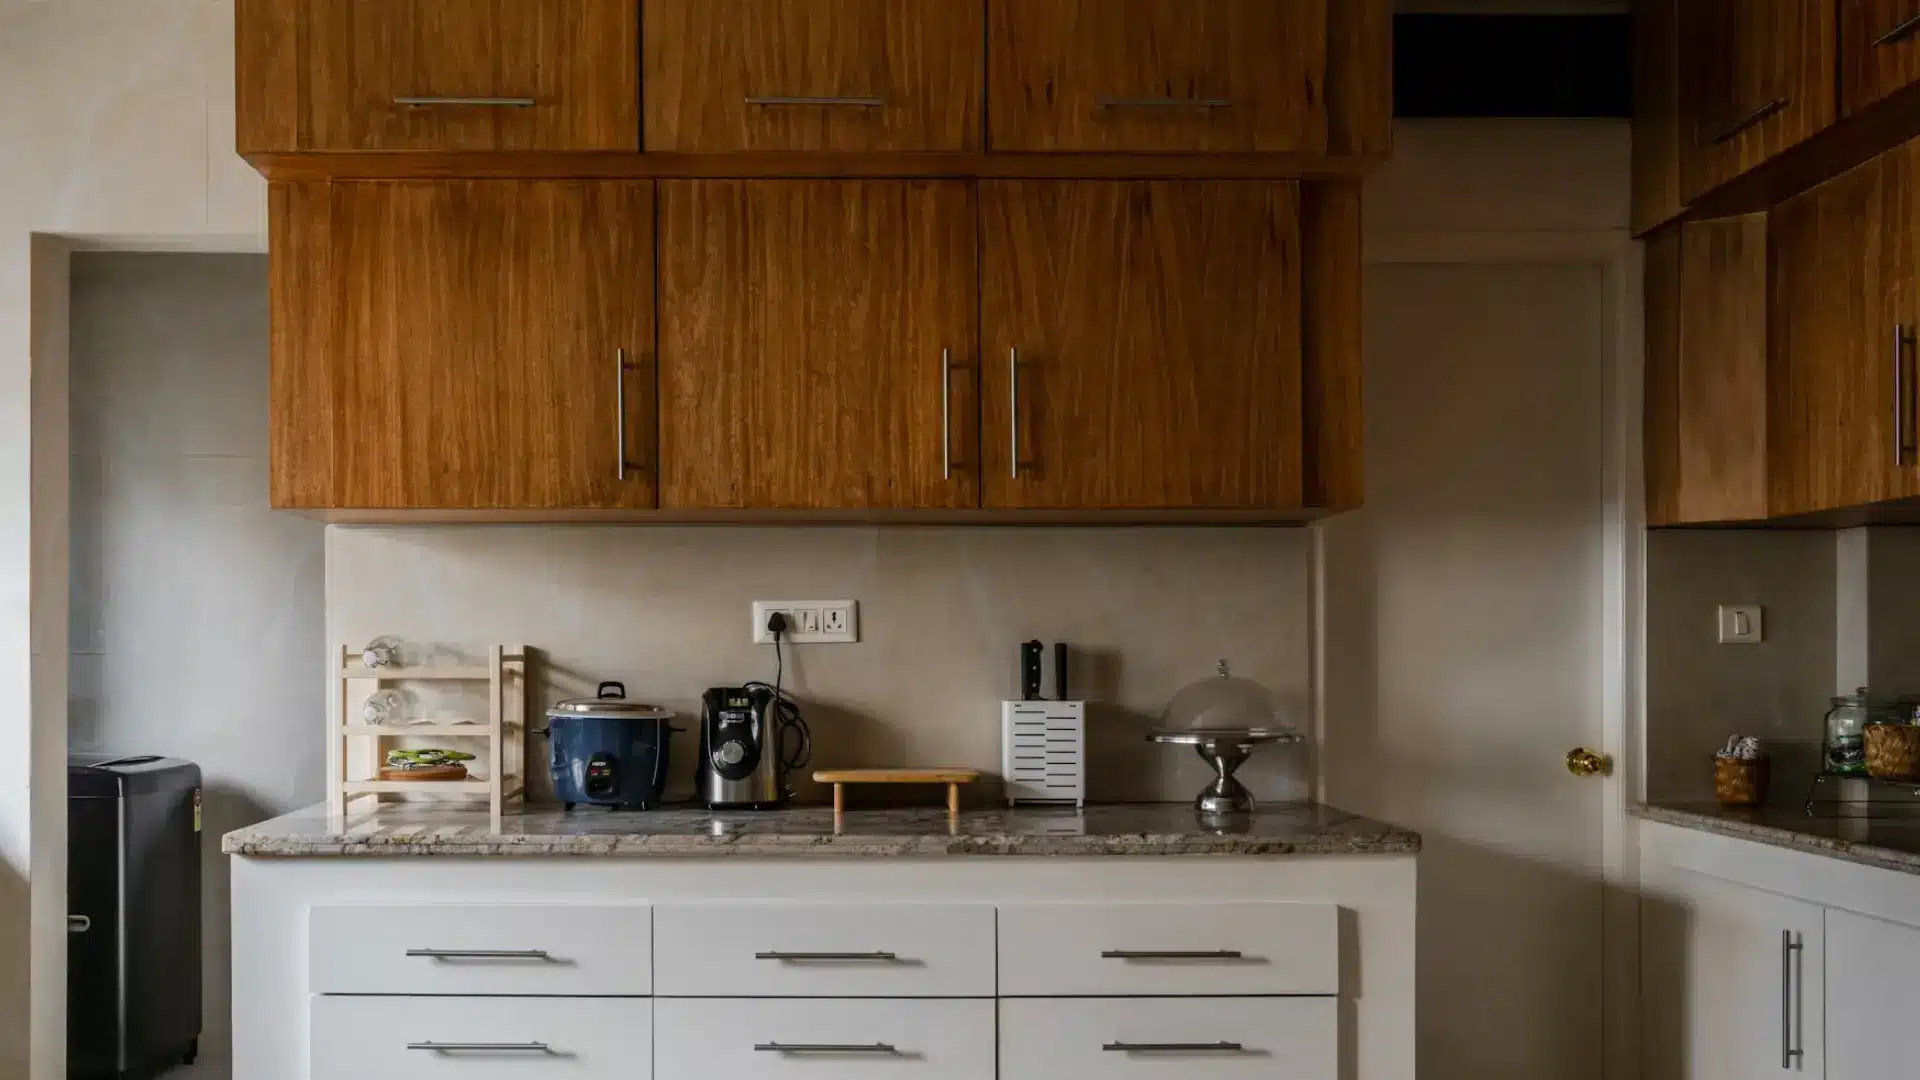

To make cabinet doors, cut your stiles and rails to size.
Then join them using your chosen method: pocket screws, a router, or tongue and groove. Fit your panel next, then sand everything smooth.
A standard Shaker door takes a few hours to build.
Most builds need a table saw, a drill, and clamps at minimum. Get the measurements wrong at the cutting stage, and nothing else works. Measure twice, cut once.
Know this Before You Start
Before anything gets cut, understand what you are actually building.
A cabinet door is made of four pieces of wood: two stiles and two rails, joined at the corners, with a panel in the middle. That’s the whole thing.
The method you use to join them changes the tools you need. Pocket screws are the fastest. A router gives cleaner results. Tongue and groove takes longer but holds the best over time.
A standard Shaker door takes 2 to 3 hours of work. You need a table saw, a drill, and clamps at minimum.
Get the measurements wrong at the cutting stage, and nothing downstream fixes it. Measure twice, cut once. Every time.
Tools You Actually Need to Build Cabinet Doors
Not every build needs the same toolkit. Start with what the job actually calls for, then add from there.
Buying tools you do not need yet is the fastest way to overspend before a single cut is made.
Basic Setup
- Measuring tape
- Carpenter’s square
- Hand saw or circular saw
- Sandpaper in 80, 120, and 220 grit
- Wood glue
- Clamps
- Drill with bits
Tools
- Table saw
- Router for profiles and grooves
- Miter saw
- Orbital sander
Advanced Tools
- Router table for consistent edge profiles
- Pocket hole jig for fast, strong corner joints
- Nail gun for quicker assembly
- Glass cutter for glass panel doors
How to Make Cabinet Doors?
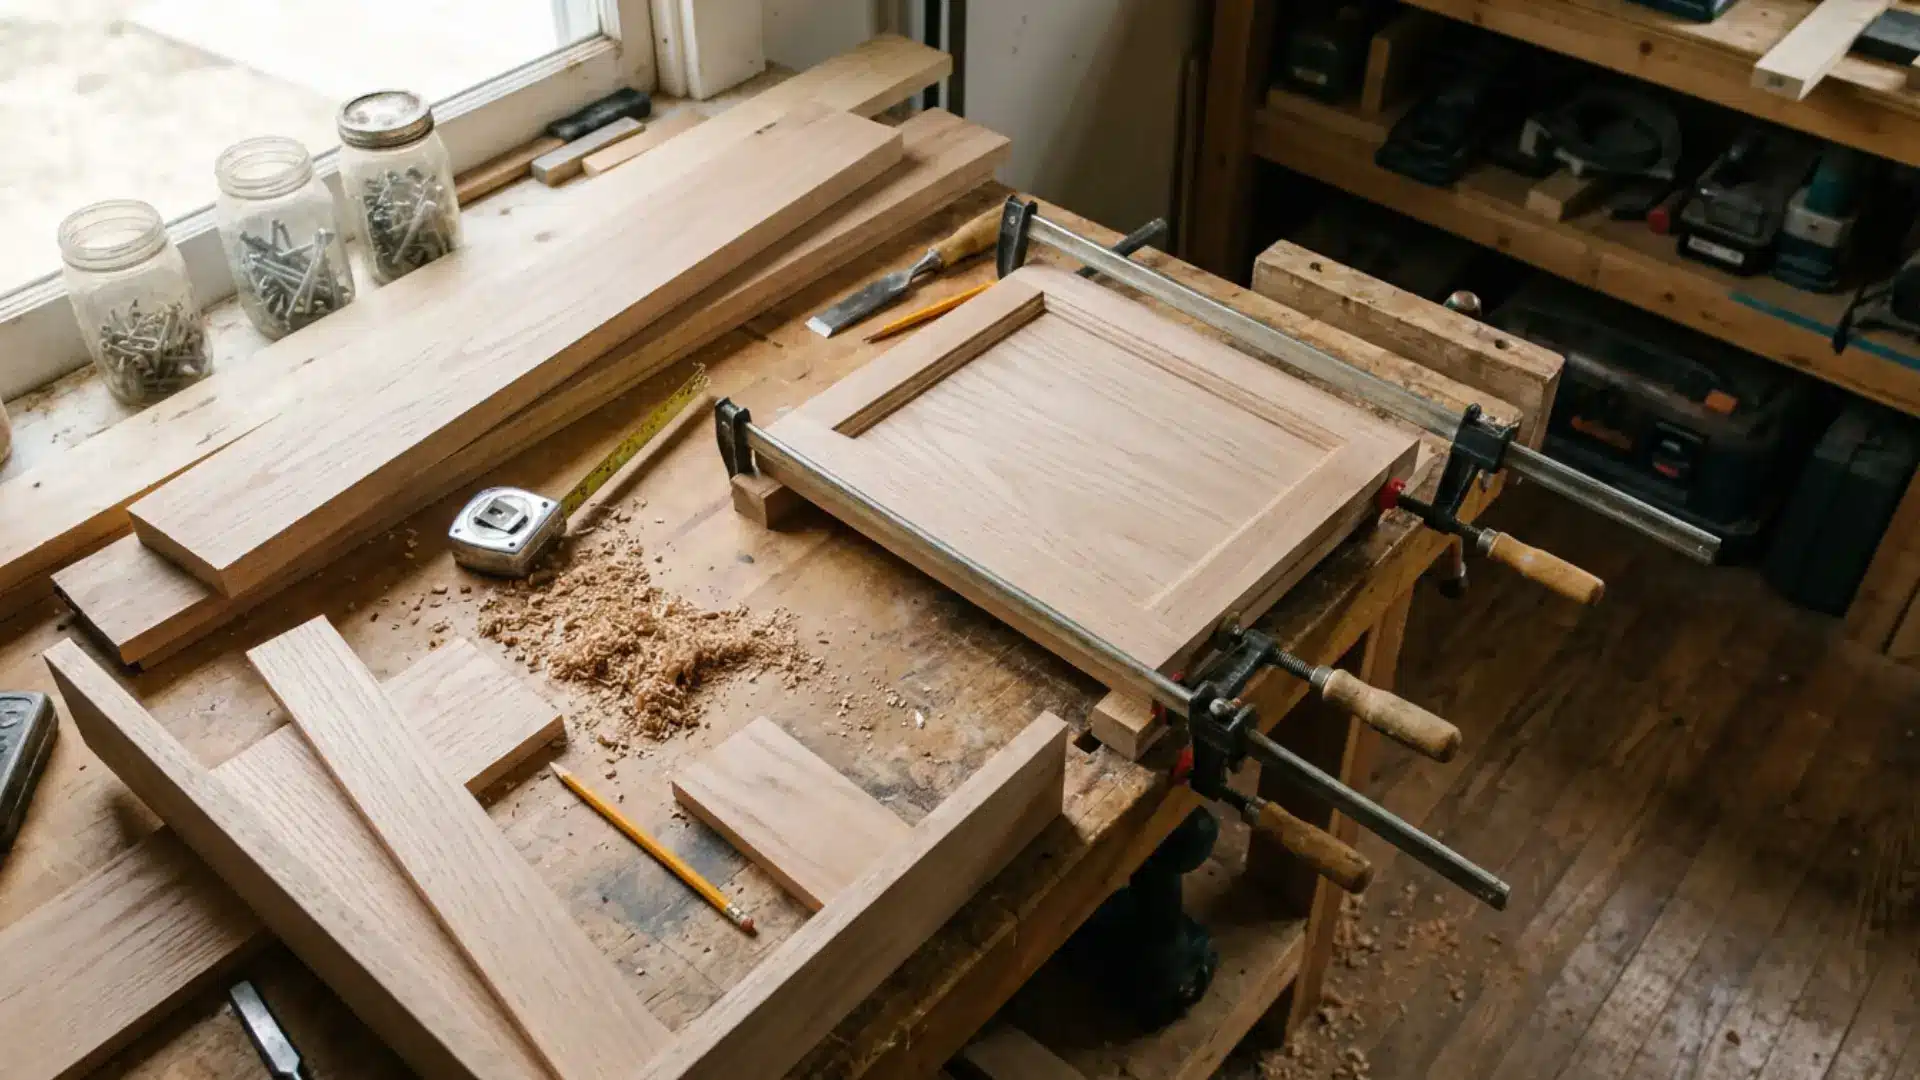
This is a straight build from measurement to mount. Follow the steps in order. Mistakes made early show up late, and nothing downstream fixes them.
Step 1: Measure the Cabinet Opening
Measure the height and width of the cabinet opening with a tape measure. Write both numbers down. Then measure again.
Add your overlay allowance to each dimension, typically 1/2 inch on each side for standard face frame cabinets. Get this wrong, and the door will not hang straight no matter how clean the rest of the build is.
Measure every opening individually, even if the cabinets look identical.
Most kitchens have at least one opening that is slightly off from the rest. Building all doors to the same dimension is one of the most common mistakes on a first kitchen build.
Step 2: Pick the Right Material Before You Cut Anything
The material you choose affects how the door behaves long term, not just how it looks on day one. Each option has a specific use case.
- Solid wood gives the best finish, but it moves with humidity over time
- MDF is stable, paints cleanly, and costs less than hardwood
- Plywood works well for panels, but it needs edge banding or treatment
- Poplar is a good first build hardwood, affordable, stable, and takes paint well
For a painted finish, MDF is the most forgiving. For a stained or natural wood look, go with solid hardwood from the start.
Step 3: Cut the Frame Pieces
Cut your two stiles and two rails to size using a table saw. Stiles runs the full height of the door.
Rails sit between them horizontally. Keep cuts straight and consistent.
Even a difference of 1/16 inch across multiple pieces throws the frame out of square. And a frame that is not square cannot be fixed after assembly.
Step 4: Size and Groove the Center Panel Correctly
The panel does not get glued in.
It floats inside the frame to allow for natural wood movement. Cut it slightly smaller than the frame opening and let it sit in a routed groove.
- Cut the panel 1/4 inch smaller than the opening on all four sides
- Run a groove along the inside edge of each stile and rail with a router or table saw
- Set groove depth to 3/8 inch and width to match your panel thickness
- Do not apply glue to the panel or the groove
If the panel fits too tightly, it will crack the frame when the wood expands in humidity. Loose is correct here.
Step 5: Assemble the Door Frame
Apply wood glue only to the rail ends, not the panel groove. Fit the panel into the groove dry.
Clamp the frame square and check both diagonals with a measuring tape. They should match within 1/16 inch. Leave clamped for at least 45 minutes before moving.
Full glue cure takes 24 hours. Do not sand or finish the door before then.
Lay the door flat on a workbench during clamping, not upright. An upright door shifts under its own weight before the glue sets, introducing a twist you will not be able to sand or plane out later.
Step 6: Sand the Surface Smooth
Start with 80 grit to remove any mill marks or uneven joints. Move to 120 grit, then finish with 220 grit.
Always sand with the grain. Wipe down with a tack cloth between grits. Do not skip the final 220 pass. Paint and stain both show sanding marks on a finished door.
Step 7: Apply Finish
Prime bare wood before painting. Two thin coats beat one thick one every time. A thick coat sags on vertical surfaces and takes far longer to dry fully between sanding passes.
For a stained finish, apply a pre conditioner to softwoods first to prevent blotchy absorption. Let each coat dry fully before the next.
Sand lightly with 320 grit between coats for a clean final surface.
Paint the back of the door with the same number of coats as the front. Wood that is sealed on one side and bare on the other absorbs moisture unevenly and warps over time.
Step 8: Hang the Door and Set the Reveal
Hinge placement decides how the finished door looks on the cabinet, so mark it carefully before drilling anything.
- Mark the hinge position 2 inches from the top and bottom of the door
- Use a self-centering bit for clean, straight pilot holes
- Hang the door and check the gap on all four sides before tightening fully
- Adjust hinge screws until the reveal is even on every side
A consistent 1/8 inch gap around the door is the standard target. Uneven gaps are the first thing anyone notices. A well built door with a bad reveal looks like a bad door.
DIY Cabinet Doors Using Different Methods
The method you choose depends on the tools you have and the finish you want. Pick the one that matches your tools and skill level.
1. Plywood Cabinet Doors
Plywood stays flat, cuts cleanly, and costs less than solid wood. Use 3/4 inch birch for the frame since anything thinner flexes, and 1/4 inch for the center panel.
The only issue is the exposed edge. Cover it with iron-on edge banding or a glued solid wood strip before finishing.
2. Router Cabinet Doors
A router gives the cleanest panel grooves and edge profiles. Run a straight bit along the inside of each stile and rail for the groove, then switch to a cove or roundover bit for the outer edge.
Keep the router moving at a steady pace. Stopping mid-pass burns the wood. Set bit depth in shallow passes, no more than 1/4 inch per pass on hardwood.
3. Tongue and Groove Joints
Cut a 1/4-inch-wide, 3/8-inch-deep groove along each stile. Cut a matching tongue on each rail end. It should fit with hand pressure, not force.
Dry fit the whole door before the glue goes in.
No metal fasteners means no visible hardware on the face of the door, which matters on painted finishes where screw heads show through.
4. Glass Panels with Cabinet Doors
Build the frame as normal. Size the groove for 1/8-inch single-strength glass or 3/16-inch tempered glass. Do not glue the glass in.
Hold it with small wooden stops pinned to the back after the glass is set. Order it cut to size from a glazier.
Use tempered glass on any door below counter height. It breaks safely instead of into sharp pieces.
5. Cabinet Doors Without Special Tools
A circular saw with a straight edge guide handles rip cuts. For crosscuts, a sharp hand saw in a miter box is accurate enough for cabinet work.
Join the corners with pocket screws using a basic pocket-hole jig, around $20 to $40. Use a flat plywood panel glued to the back for a clean slab door finish.
A 40-tooth blade on a circular saw cuts cleanly enough for cabinet work. No table saw needed.
Materials You Can Use for Cabinet Doors
The material you pick affects how the door looks, how long it lasts, and how much prep it needs.
Solid wood moves with humidity. MDF and plywood stay stable.
Glass and mixed materials like cane webbing sit inside a standard wood frame using the same build method as any panel door.
Quick breakdown by material:
- Oak, maple, or pine for stained or natural wood finishes
- MDF for painted doors needing a smooth, grain-free surface
- Birch plywood for a stable frame that holds screws well
- Single-strength glass for upper cabinet doors with light use
- Tempered glass for any door below counter height
- Frosted or reeded glass where privacy and light both matter
- Cane webbing or metal mesh as decorative panel alternatives
Unique DIY Cabinet Door Ideas for Custom Designs
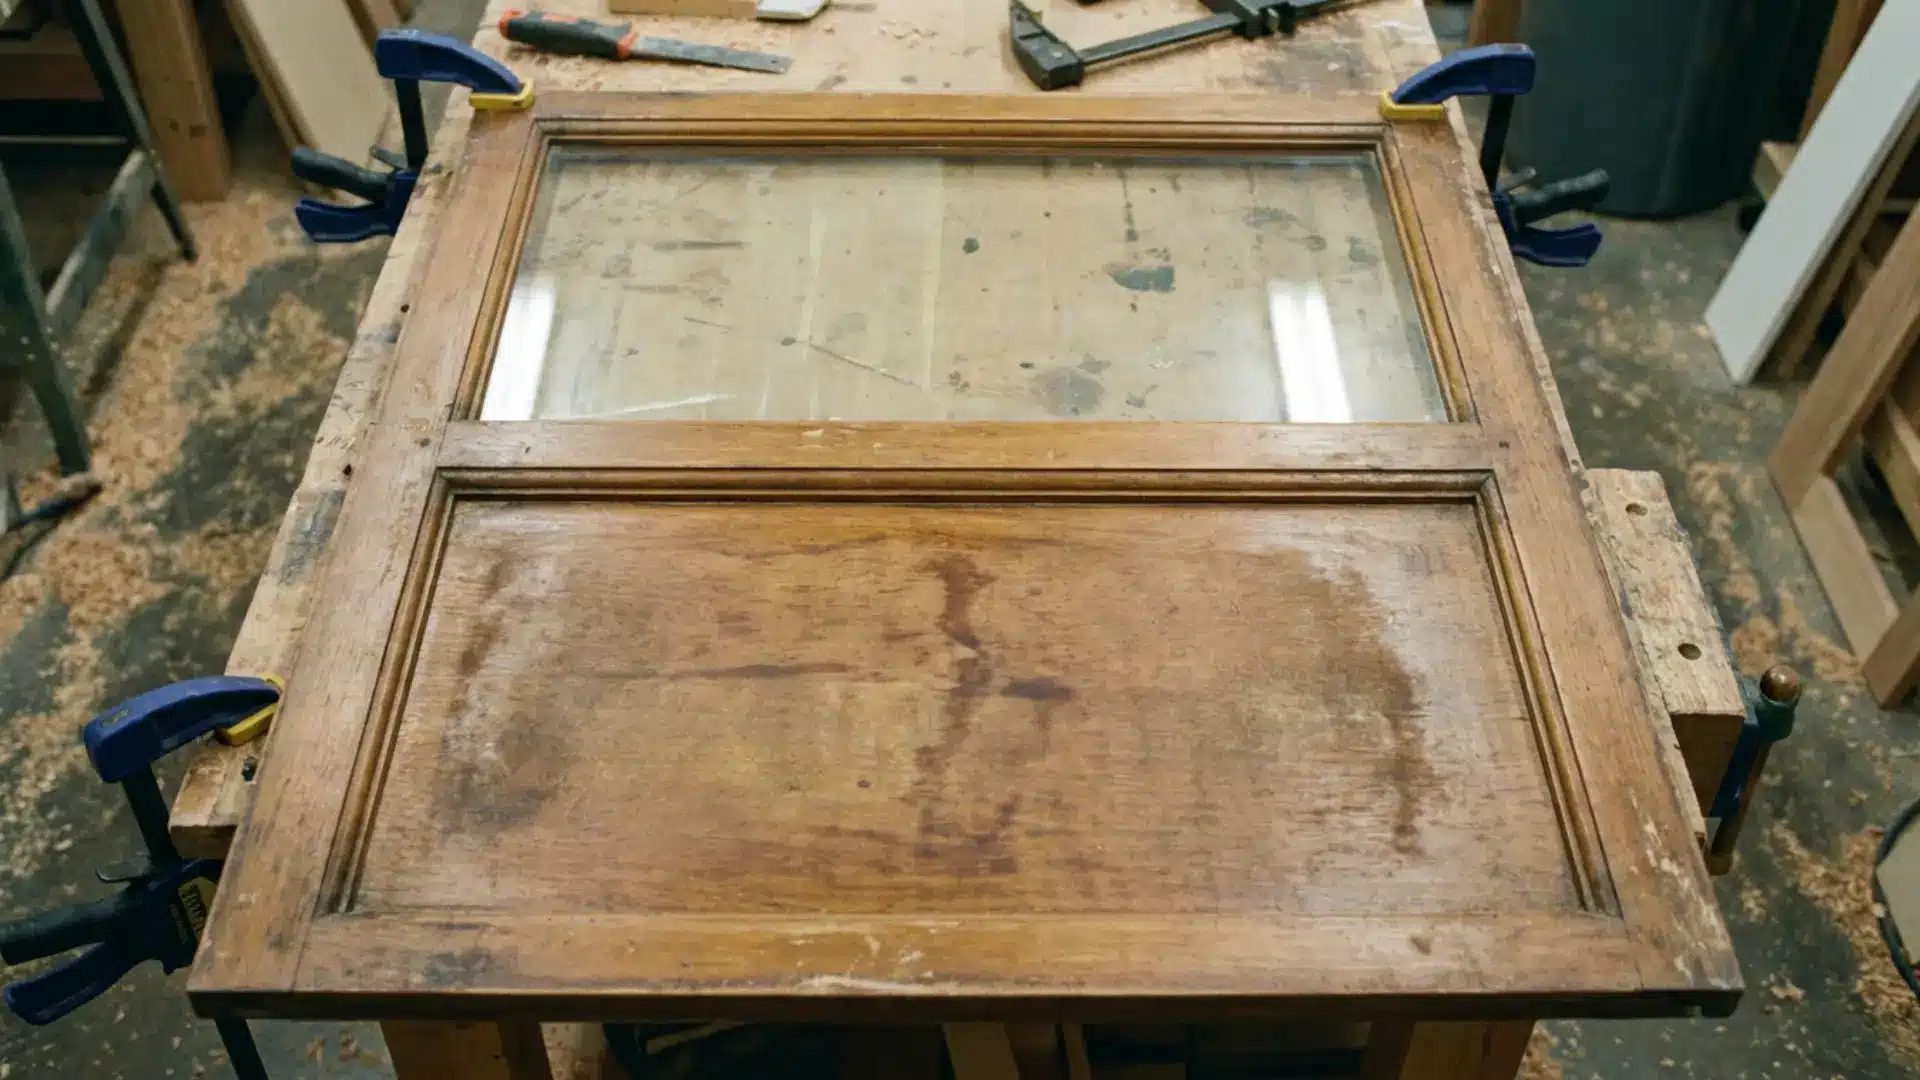
These seven ideas go beyond the standard Shaker build.
Each one uses the same basic frame construction but changes what goes inside or on the surface to produce something that looks considered rather than off-the-shelf.
1. Reclaimed Wood Patchwork Doors
Source offcuts and reclaimed boards in different species and thicknesses.
Cut them into strips or irregular pieces and glue them face-down onto a 1/4 inch plywood backer sheet sized to fit the door opening.
The variation in grain, color, and texture does the design work. Sand the whole face flat once the glue dries, then finish with a clear oil or matte varnish to let the wood speak for itself.
2. Glass and Wood Mixed Frame Doors
Build a standard stile and rail frame.
Divide the panel opening into two sections with a horizontal muntin bar, and fit glass into the upper section and a wood panel into the lower section.
The split gives privacy at the counter level while keeping the upper cabinet light and visible. Use the same groove depth for both materials and hold the glass with wooden stops as usual.
3. Cane Webbing Cabinet Doors
Cane webbing replaces the center panel and gets stapled or glued into a routed rebate on the back of the frame.
Soak the cane in warm water for 30 minutes before fitting. It stretches taut as it dries and sits flat without sagging. Natural cane works well with painted frames in white or sage.
A darker stained frame with natural cane reads more traditional.
4. Slatted Vertical Wood Doors
Cut narrow strips of wood, about 1/2 inch wide, and space them evenly across the panel opening, leaving small gaps between each slat.
Pin and glue them to a thin plywood backer.
The gaps allow air to circulate, making this a practical choice for pantry cabinets as well as a visual one. Keep slat spacing consistent. Uneven gaps read as a mistake rather than a design choice.
5. Two Tone Painted Panel Doors
Build a standard frame and raised or flat panel door. Paint the outer frame one color and the recessed center panel a second color.
The most common combinations are a dark frame with a lighter panel, or a white frame with a muted earthy tone inside. Tape the reveal line carefully before the second coat.
A clean edge between the two colors is what makes this work.
6. Fabric or Wallpaper Insert Doors
Remove the center panel from an existing door or build a frame without one.
Stretch fabric tightly over a thin plywood backer and staple it to the back, keeping tension even across all four sides. Slot the backer into the panel groove as normal.
Wallpaper works the same way. This is a low-cost way to add pattern and texture to plain cabinet fronts without any specialist tools.
7. Geometric Routed Pattern Doors
Use a router with a straight or V-groove bit to cut a geometric pattern directly into the face of a flat panel door. Diamonds, chevrons, and grid patterns all work well.
Mark the design in pencil first, and use a straightedge guide clamped to the panel for every pass. Route to a consistent depth of around 1/8 inch.
Paint the routed grooves in a contrasting color after finishing the face for a two-tone effect that highlights the pattern.
Wrap Up
Cabinet door builds reward patience more than skill. Get the measurements right at the start, choose a material that suits your tools, and follow the steps in order.
Everything else is practice!
Whether you are replacing worn kitchen fronts or building from scratch, the method stays the same.
Start simple, build one door well, and go from there. The more you make, the less you have to think about it.
Frequently Asked Questions
1. How Long Does it Take to Build Cabinet Doors From Scratch?
A standard Shaker door takes 2 to 3 hours of working time, plus 24 hours for the glue to cure before sanding or finishing.
2. What is the Best Wood for Painted Cabinet Doors?
MDF. It has no grain, takes primer evenly, and needs less prep work than solid wood or plywood.
3. How Do You Stop Cabinet Doors From Warping Over Time?
Seal both sides with the same number of finish coats. One sealed side and one bare side absorbs moisture unevenly and causes the door to cup.
4. What Size Gap Should Cabinet Doors Have Around the Frame?
A consistent 1/8 inch on all four sides is the standard target.
5. Can You Build Cabinet Doors Without a Table Saw?
Yes. A circular saw with a straight edge guide and a 40-tooth blade cuts cleanly enough for cabinet work.