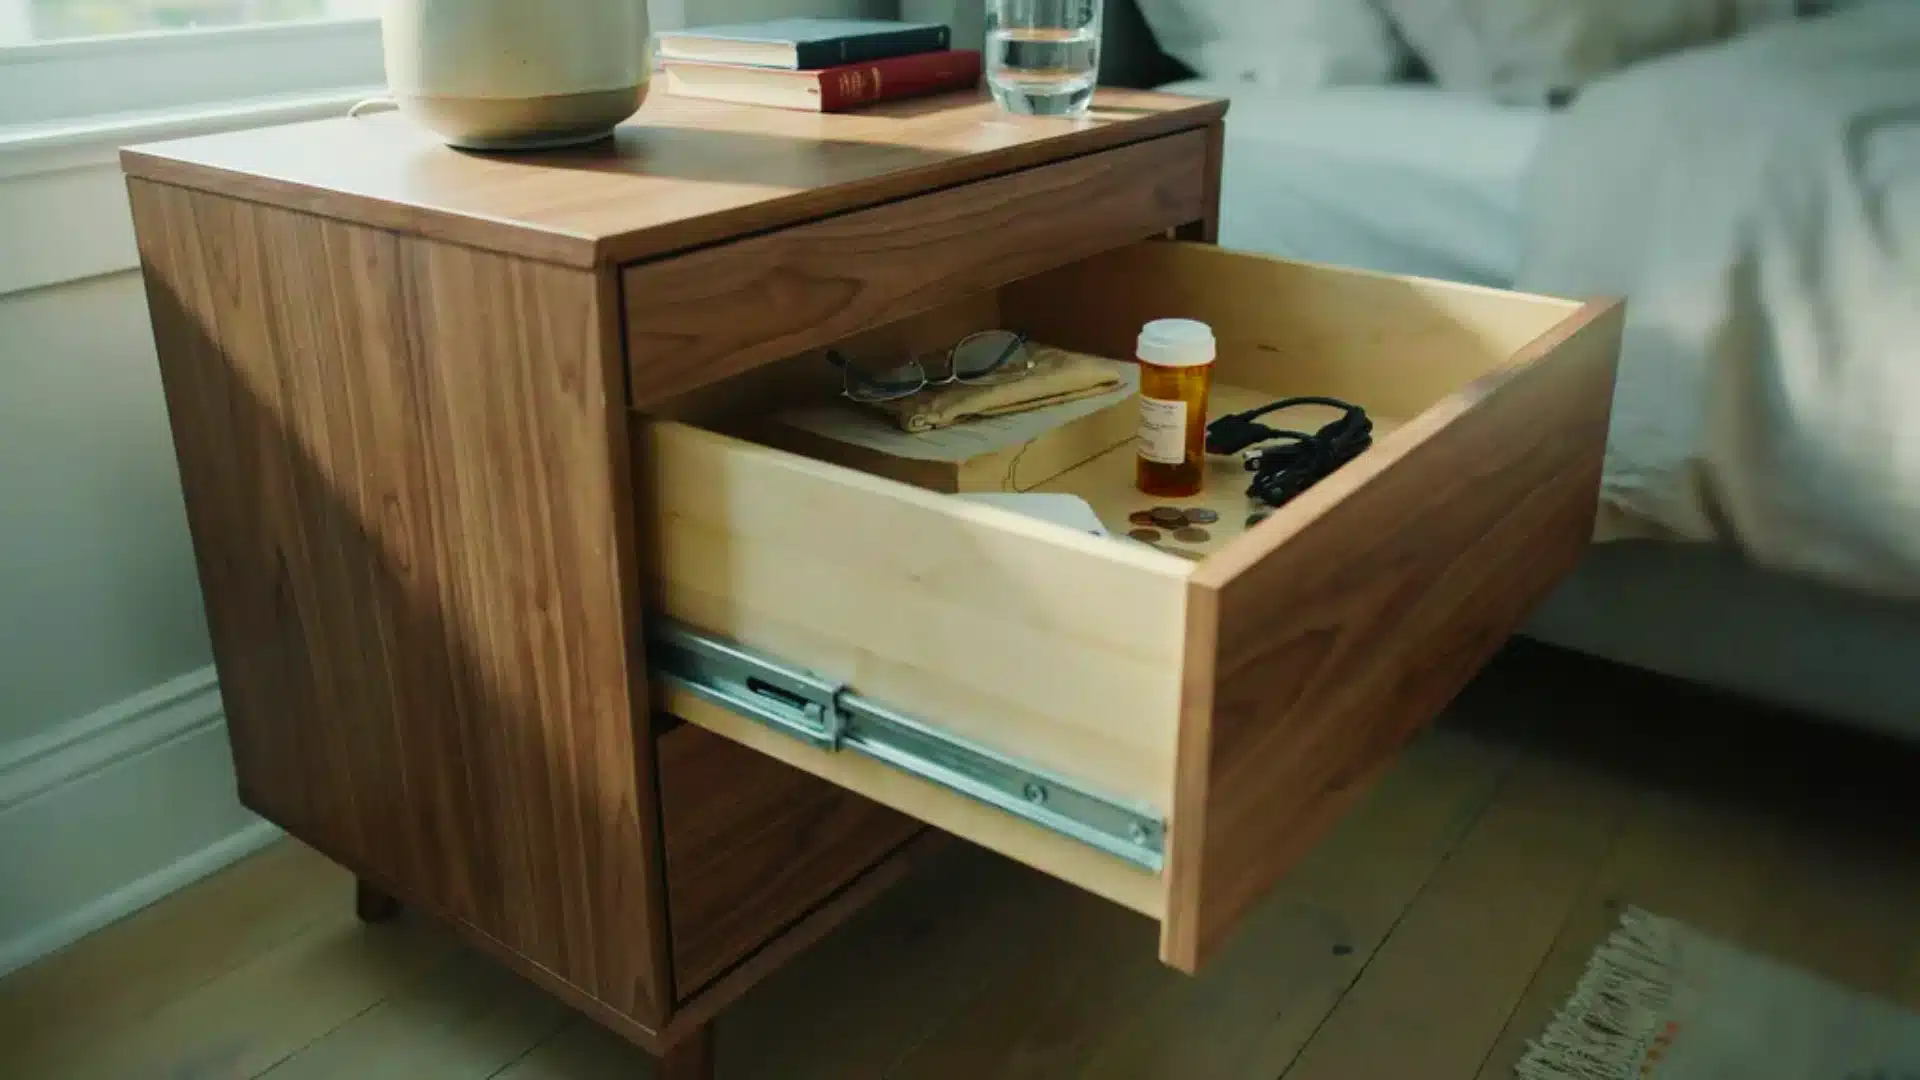

Now that you have made a DIY nightstand or any other DIY project, you want to install drawer slides.
Learning how to install drawer slides is very easy. You don’t need many tools. I have curated a detailed, step-by-step blog where you can learn it all.
But first, let’s gather all the materials and tools we need, and the list is below. Let’s get into it.
Tools and Materials You Need
Don’t skip anything in this list. Also, you do not need a router or table saw.
Anyone who tells you otherwise is just overcomplicating it, so I would say, avoid!
Tools:
- Tape measure (25-ft)
- Pencil
- Power drill
- Drill bit set
- Screwdriver (flathead and Phillips)
- Level
- Clamps
- Safety glasses
Materials:
- Drawer slides
- Screws (extra: 8 x ½-inch wood screws)
- Wood shims
- Painter’s tape
Working time: 30-45mins | Total time: 1hr | Difficulty level: Beginner | Estimated cost: $10-$40 | People needed: 1 person
How to Install Drawer Slides Step-by-Step

Just five steps and you’ll have a drawer slide. Follow each step closely before moving to the next.
Rushing one stage is the only way this goes wrong.
1. Measure and Mark Your Slide Position
Measure where your drawer will go inside the cabinet and mark that spot with a pencil on both sides. Use your level to make sure both marks line up perfectly.
Use painter’s tape along your pencil line. It gives you a cleaner guide to follow when you’re drilling.
- Measure from the bottom of the cabinet up to your mark.
- Check the measurement on both sides; they must match exactly.
- Use your torpedo level to confirm the marks are even.
I’m telling you, it’s important to mark twice and check again. Cabinet frames are rarely perfectly square.
2. Attach the Cabinet Members to the Frame
Hold the cabinet member up to your pencil mark.
Line up the front edge of the slide with the front edge of the cabinet frame. This alignment is important.
If the slide goes too far back, the drawer face won’t be flush with the surface when closed. Now drill your pilot holes first.
Driving screws straight into the wood without pilot holes can split the frame, especially in older cabinets.
- Hold the slide firmly against your mark.
- Drill a ⅛-inch pilot hole through each mounting hole on the slide.
- Drive your #8 x ½-inch screws in and do not overtighten.
- Repeat on the other side of the cabinet.
Use a clamp to hold the slide in place while you drill.
3. Attach the Drawer Members to the Drawer Box
Now you move to the drawer itself. The drawer member is the smaller part of the slide set. It attaches directly to the outside face of the drawer box.
Measure up from the bottom of the drawer box.
This measurement needs to match the height you used inside the cabinet. Write it down. Mark the position.
Hold the drawer member against the mark, front edge flush with the front of the drawer box.
- Drill pilot holes through each mounting point on the drawer member.
- Drive your screws in firmly, same #8 x ½-inch screws.
- Check that the slide goes straight before tightening fully.
- Repeat on the other side of the drawer.
Just know that a ball-bearing slide has a small arrow on the body. That arrow points toward the front of the drawer.
4. Slide the Drawer Into the Cabinet
Pull the cabinet members out to their fully extended position.
Line up the drawer members with them. You’ll feel a small click when they connect – that’s the locking tab.
Push the drawer in slowly. It should glide in without any force. If it sticks, stop. Forcing it damages the ball bearings inside the slide mechanism.
- Extend both cabinet slides fully before inserting the drawer.
- Align the drawer members carefully with the cabinet members.
- Push gently until you hear and feel the click.
- Slide the drawer in and out three or four times to test the movement.
If the drawer feels stiff, check that both slides are at exactly the same height. A 1mm difference side to side is enough to cause friction.
5. Check the Level and Adjust If Needed
Pull the drawer out halfway. Look at it straight on.
If the drawer tilts slightly, most ball-bearing slides have adjustment screws built into the cabinet member. A half-turn on the adjustment screw raises or lowers that side by 1-2 mm.
- Check the drawer face sits flush left to right.
- Check that the gap at the top and bottom of the drawer face is even.
- Use the adjustment screws on the slide to fine-tune the height.
- Open and close the drawer ten times to confirm smooth movement.
Ending Note
Installing drawer slides comes down to three things: accurate measuring, clean pilot holes, and patience at every stage.
And I guess you’ll get a perfect drawer slide if you stick to these three.
You now have everything you need to get this done the first time properly. Take it step by step. And trust the process.
Let me know in the comments how it turned out!
People Also Ask
1. Should I Use Undermount or Side-Mount Drawer Slides?
Side-mount slides are easier for beginners and work on most cabinets. Undermount slides look cleaner but need more precise installation.
2. What is the 1 3 Rule for Drawer Pulls?
Place your drawer pull one-third of the way up from the bottom of the drawer face. This position feels natural to grip and looks balanced.
3. How to Position Drawer Pulls?
Center the pull horizontally on the drawer face. For small drawers, place it dead center vertically too.