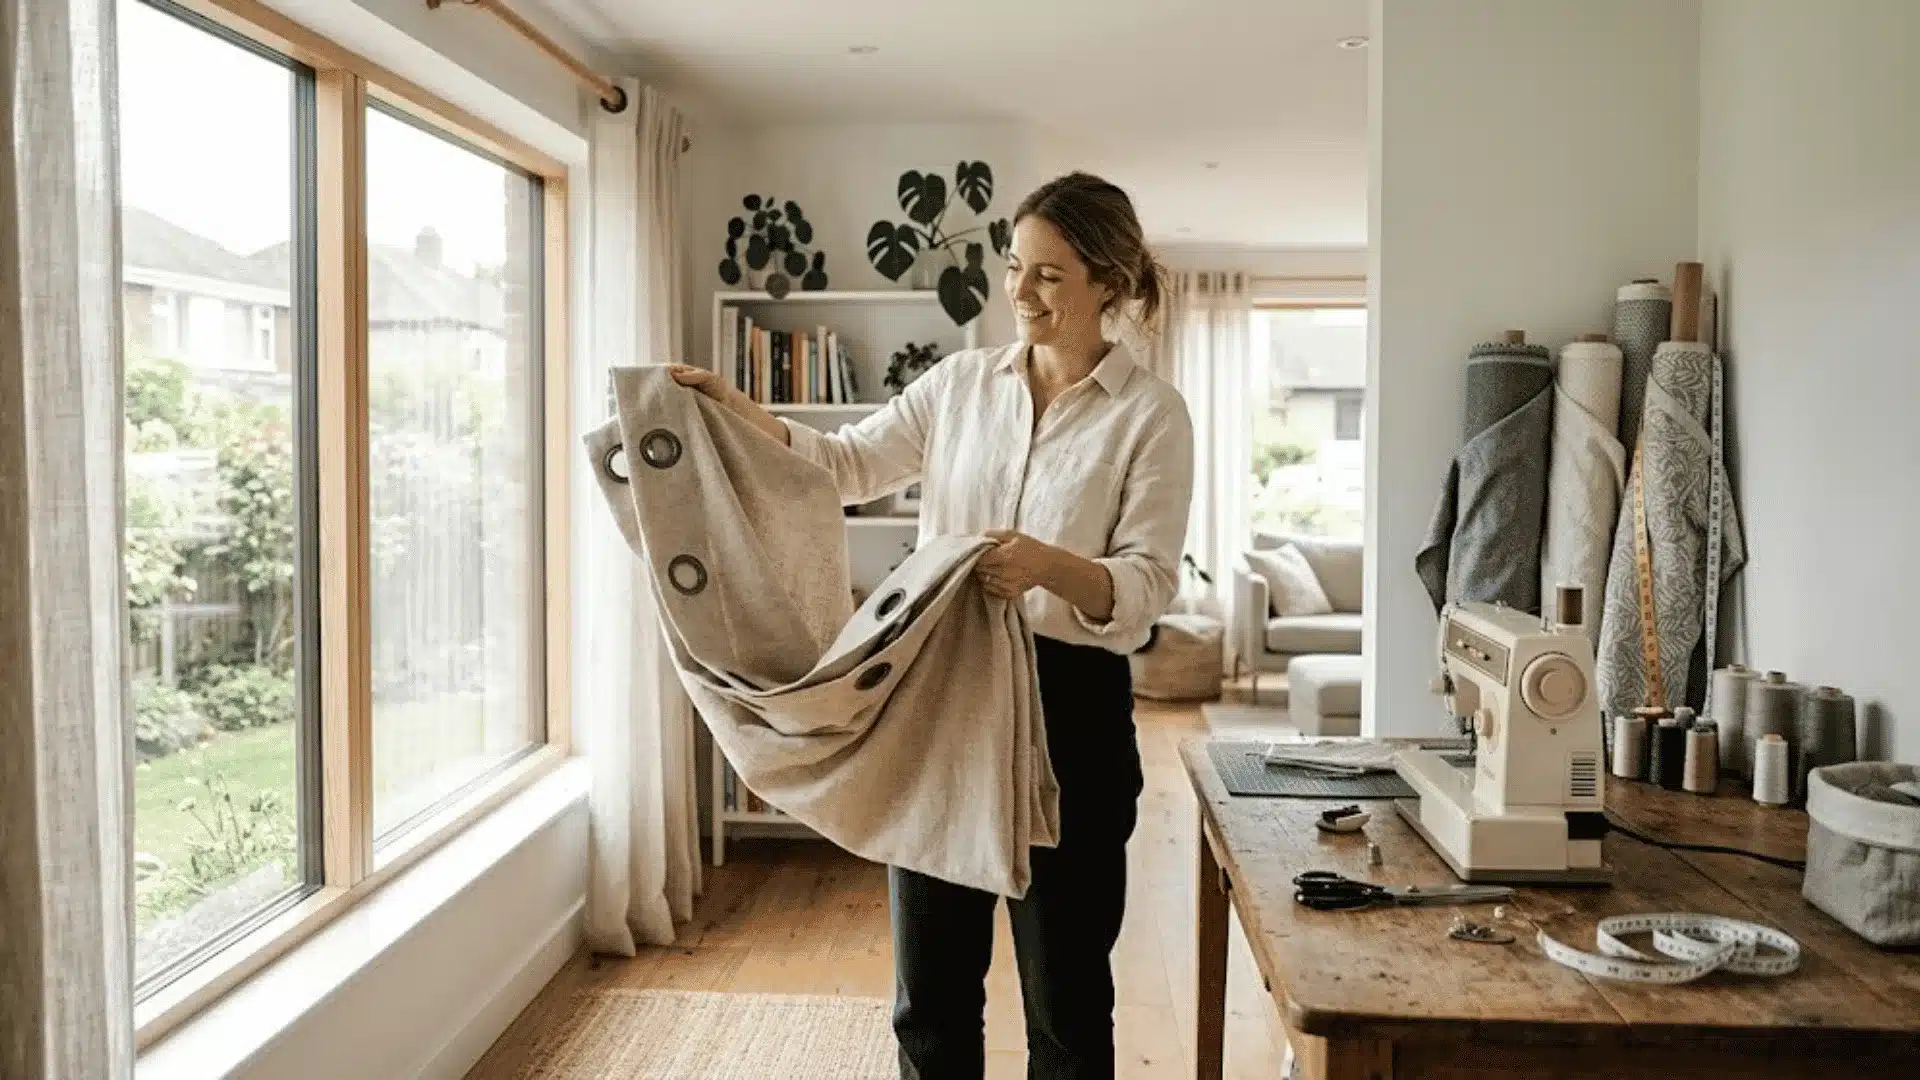

Making your own curtains is one of the most cost-effective ways to refresh a room.
You don’t need advanced sewing skills; basic straight seams are all it takes.
To sew curtains, you measure your window, cut fabric panels to size, sew double-fold hems on the sides and bottom, create a top header, install grommets, and hang the finished panels on a rod.
This blog covers every step, including what goes wrong and how to fix it before it costs you fabric.
Before You Start
- Working Time: 2–3 hours per panel
- Total Time: 4–5 hours (including pressing and drying time after pre-washing fabric)
- Difficulty Level: Beginner
- Estimated Cost: $30–$80 per panel depending on fabric choice (approximately £25–£65)
How to Choose Fabric That Actually Hangs Well?
Fabric choice affects everything, from how the curtains drape and block light to how easy they are to sew. Medium-weight fabrics are the most forgiving for beginners.
Cotton, linen, and polyester blends cut cleanly, press flat, and hold their shape after washing. Lightweight fabrics like voile or chiffon shift as you sew, requiring more pinning and patience.
For rooms that need privacy or strong light control, a denser fabric provides better coverage.
Sheer fabrics suit spaces like sunrooms or dining rooms where soft, filtered light is preferred.
If blackout performance is the goal, either a heavier fabric or a separate blackout lining added behind the panel works well.
One thing that catches beginners off guard is that patterned fabric with a repeat requires extra yardage.
Matching the pattern across two panels means buying more than the base measurements suggest, typically an additional half to one full repeat per panel.
For a 12-inch repeat, add 12 inches per panel to the total fabric order.
Measure Windows the Right Way First

Measuring correctly before cutting is the most important step in the whole process.
A small error here is visible from across the room once the curtains are hanging.
Measuring Width
Curtains look best when wider than the window. Multiply the rod length by 1.5 for a flat, streamlined look or by 2 for fuller gathering.
For a rod spanning 48 inches, panels should add up to a total width of 72–96 inches.
Measuring Length
Measure from the rod down to the desired endpoint. Three standard lengths work for most homes:
- Sill length: ends at the windowsill, practical in kitchens and bathrooms
- Below sill: falls 4–6 inches below the sill, a clean everyday option
- Floor length: ends half an inch above the floor for a tailored finish, or pools 1–3 inches for a relaxed look
Floor-length curtains visually raise a room’s ceiling height. In smaller rooms, this difference is noticeable.
Add hem allowances to your final measurement:
- 4 inches for the top header
- 4–6 inches for the bottom hem
Mounting the rod 4–6 inches above the window frame and extending it 6–12 inches beyond each side makes windows appear larger, a standard approach used by most interior designers when installing custom window treatments.
What You Actually Need Before You Start Sewing (Tools)
Having the right tools before cutting a single piece of fabric saves a lot of frustration. A basic sewing machine handles curtains without any specialist attachments.
Sewing supplies:
- Sewing machine with a universal needle (size 80/12 for most fabrics, 90/14 for canvas or heavy cotton)
- Fabric scissors or a rotary cutter
- Cutting mat and quilting ruler
- Straight pins or fabric clips
- Measuring tape and tailor’s chalk or fabric marker
- Iron and ironing board
- Thread to match your fabric
- Seam ripper
For grommet-top curtains, add:
- Grommet kit (includes grommets, template, and setting tool)
- Sharp craft knife or small scissors for cutting grommet holes
A rotary cutter and cutting mat make straight cuts significantly easier across wide panels. Eyeballing a line across 54 inches of fabric rarely ends cleanly.
How to Sew Curtains Step by Step
Step 1: Wash and Press the Fabric First
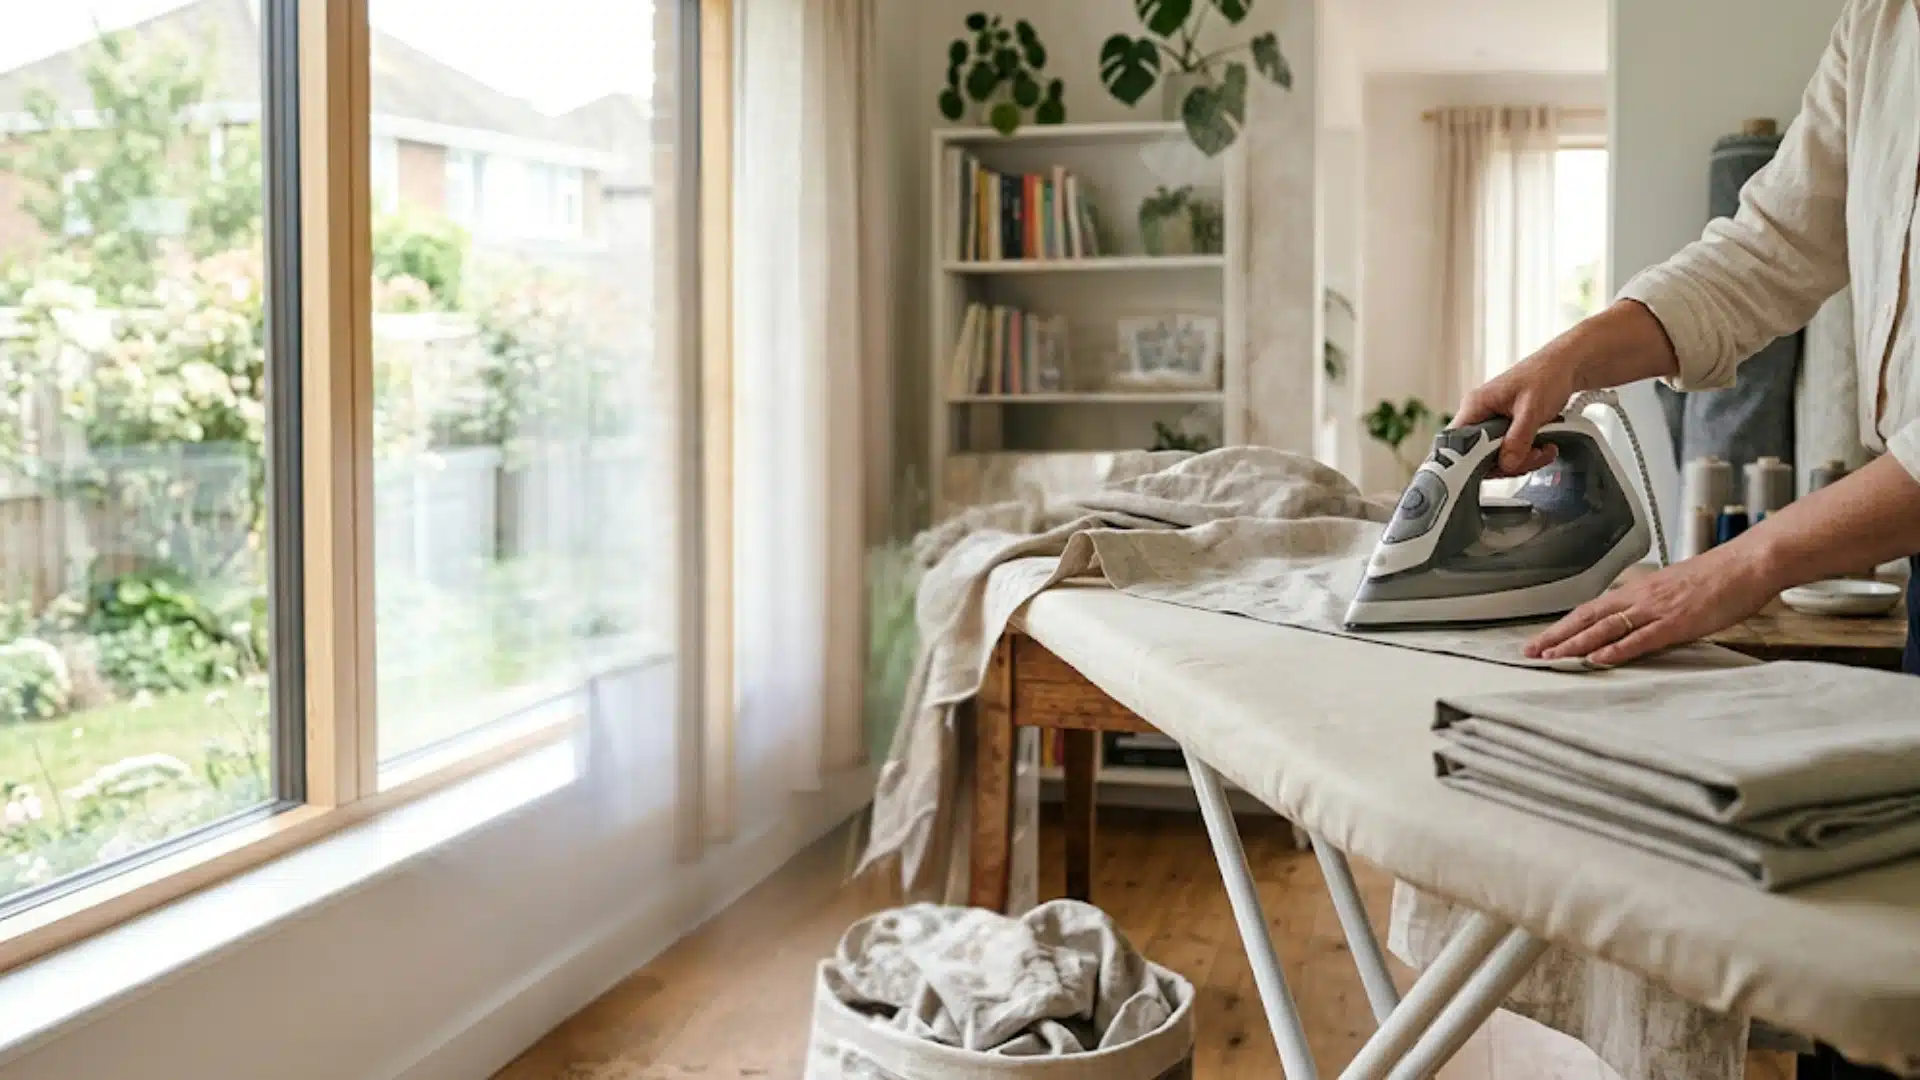
Wash and dry the fabric before cutting anything.
Cotton and linen both shrink on the first wash. Skipping this step means the finished panels may come up shorter after their first laundering.
Once dry, press the fabric completely flat. Wrinkles in unsewn fabric make it harder to cut straight and throw off measurements.
Most guides skip this step. That’s usually where the length problems start.
Step 2: Mark and Cut the Fabric Panels
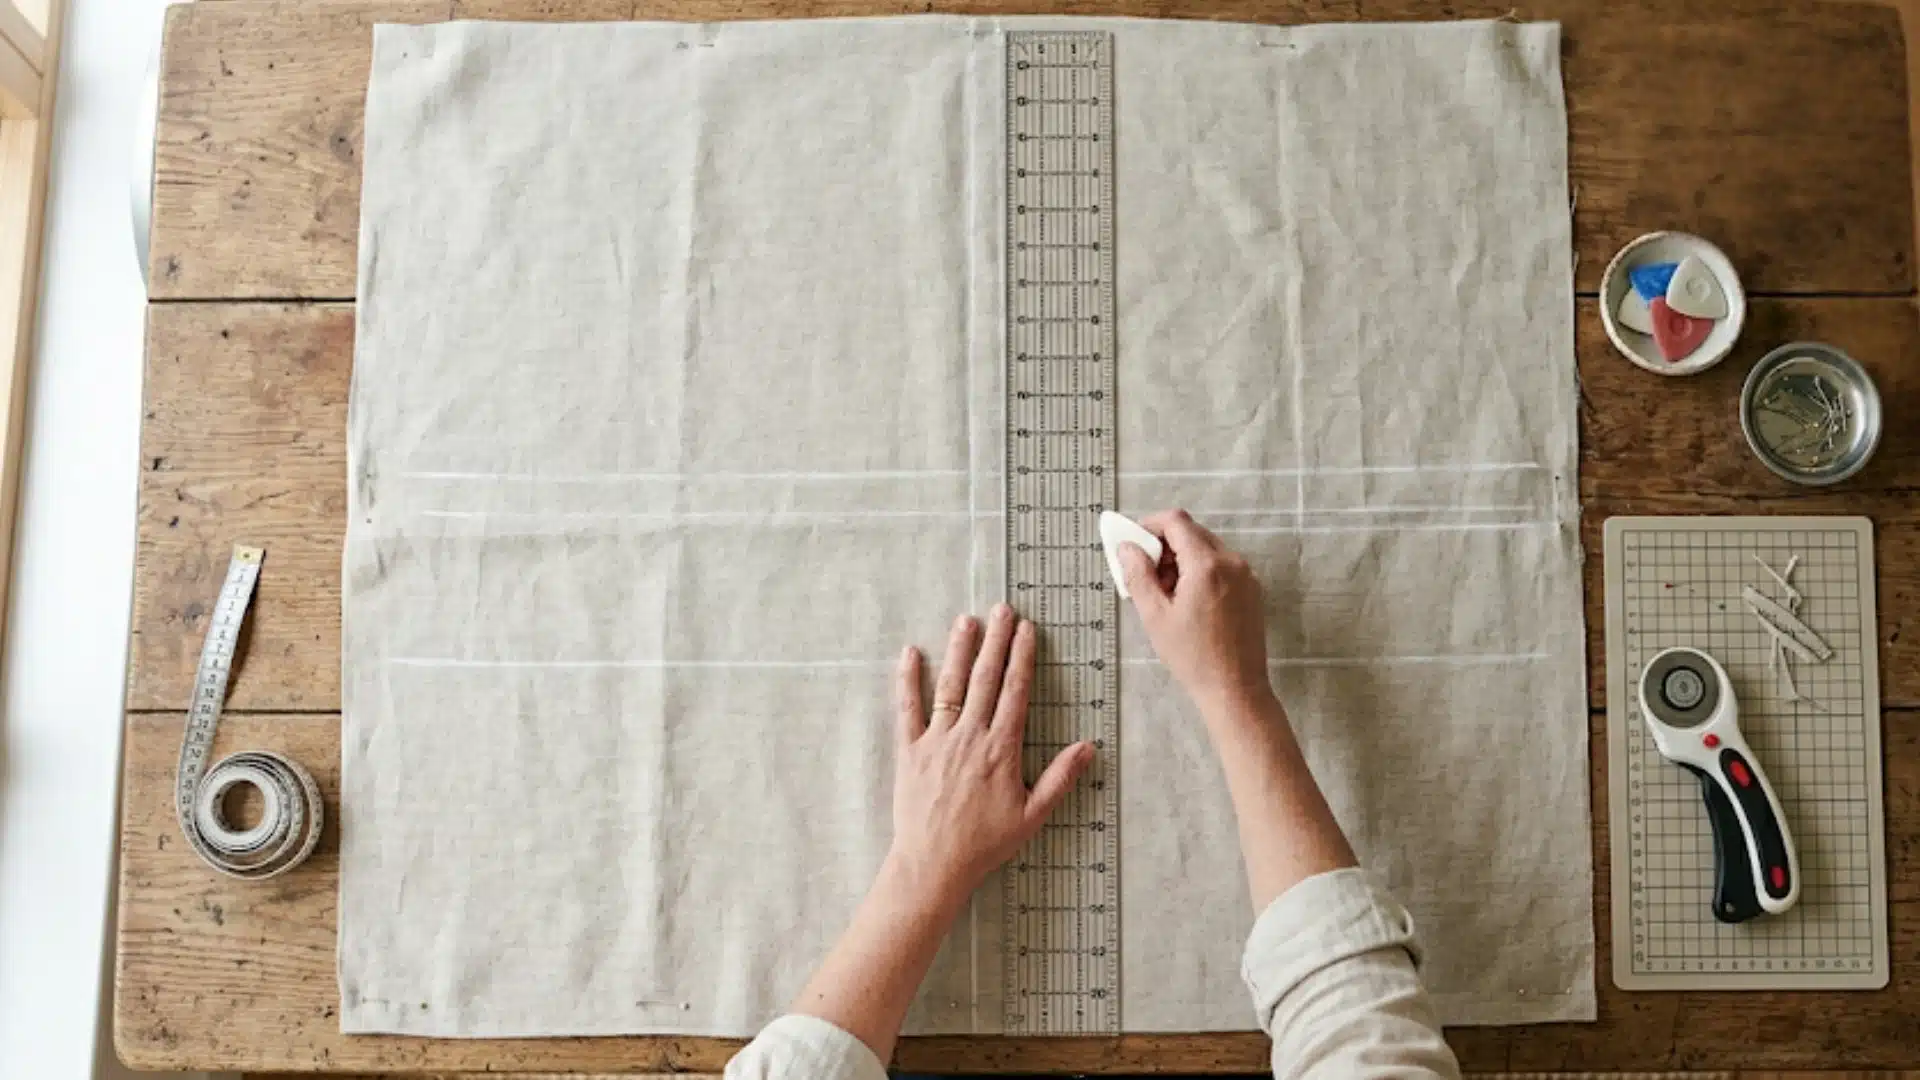
Lay the fabric on a flat surface.
Use tailor’s chalk and a quilting ruler to mark the cut lines clearly. Double-check the measurement before cutting a panel; a cut an inch short cannot be fixed.
If cutting two panels for the same window, stack the fabric and cut both pieces at once. This keeps them identical. Panels that differ even slightly in width or length read as mismatched once they’re hanging side by side.
Step 3: Sew the Side Hems
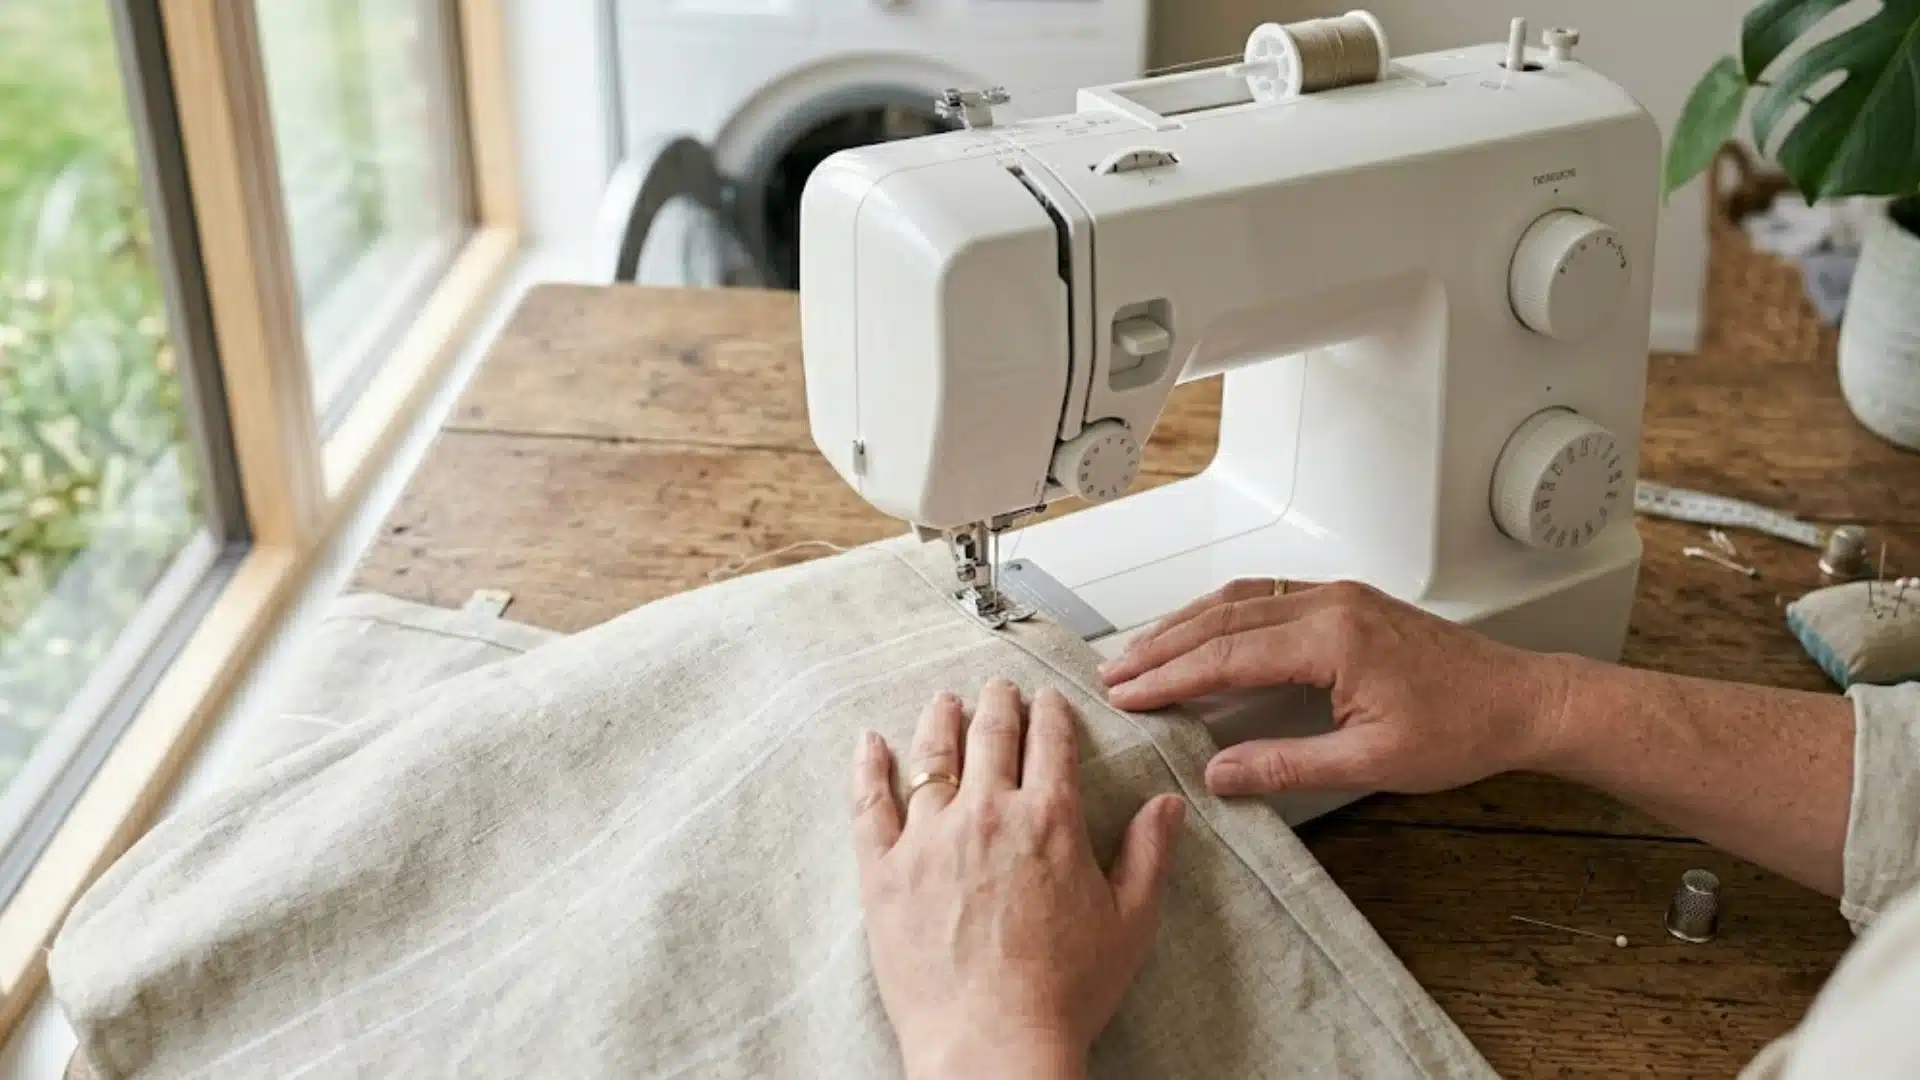
Fold each side edge in by 1 inch and press flat. Fold in another 1 inch and press again. This double-fold hides the raw edge completely.
Pin the fold and sew along the inner edge. Backstitch at the start and end of each seam. Side hems on curtains get minimal stress, so a standard stitch length of 2.5–3mm works well here.
Step 4: Create the Bottom Hem
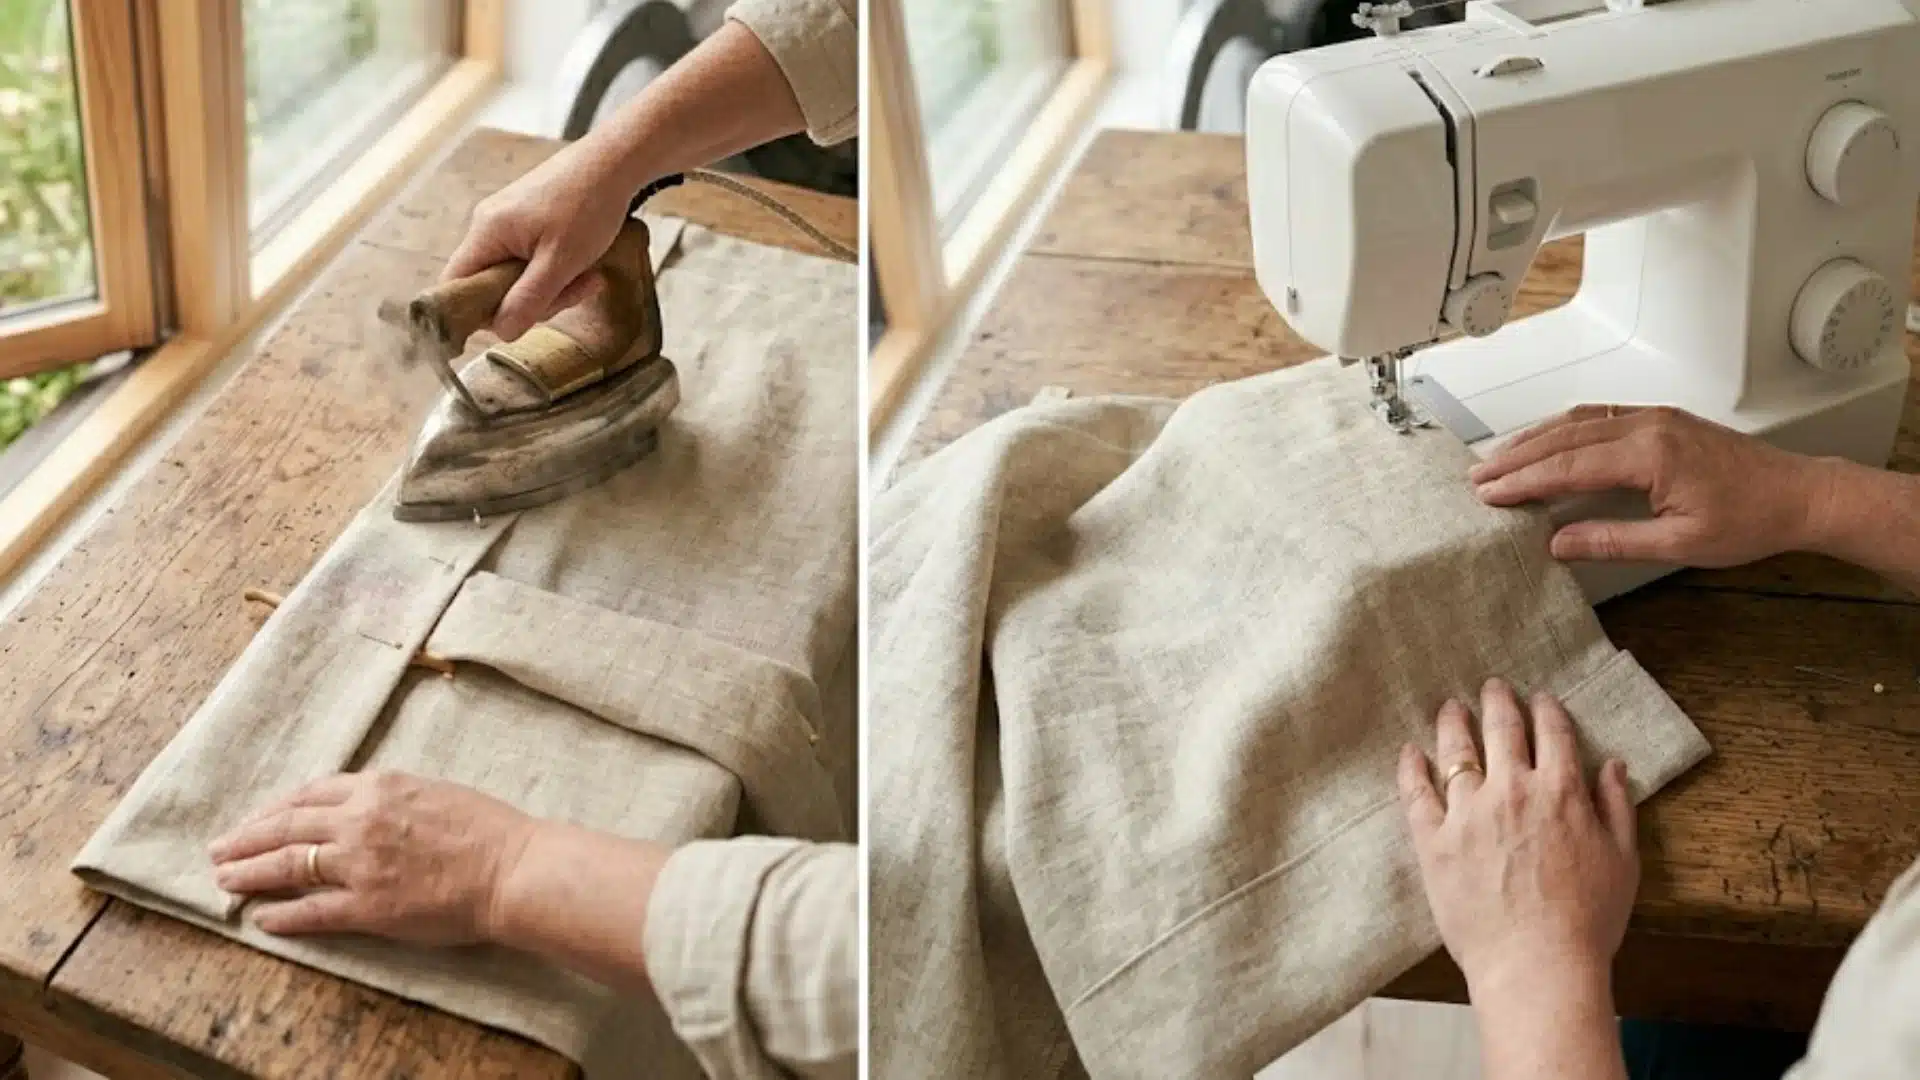
The bottom hem contributes to how the panel drapes, so it’s worth taking time with this one.
Fold the bottom edge up by 2 inches and press. Fold up another 2–3 inches and press again. Pin and sew along the top of the fold.
A deeper bottom hem, 4 inches finished, adds a small amount of weight that helps lighter fabrics hang straighter.
After sewing, let the panel hang for 24 hours before doing any final length adjustments. Some fabrics drop slightly once gravity acts on them.
Step 5: Sew the Top Header
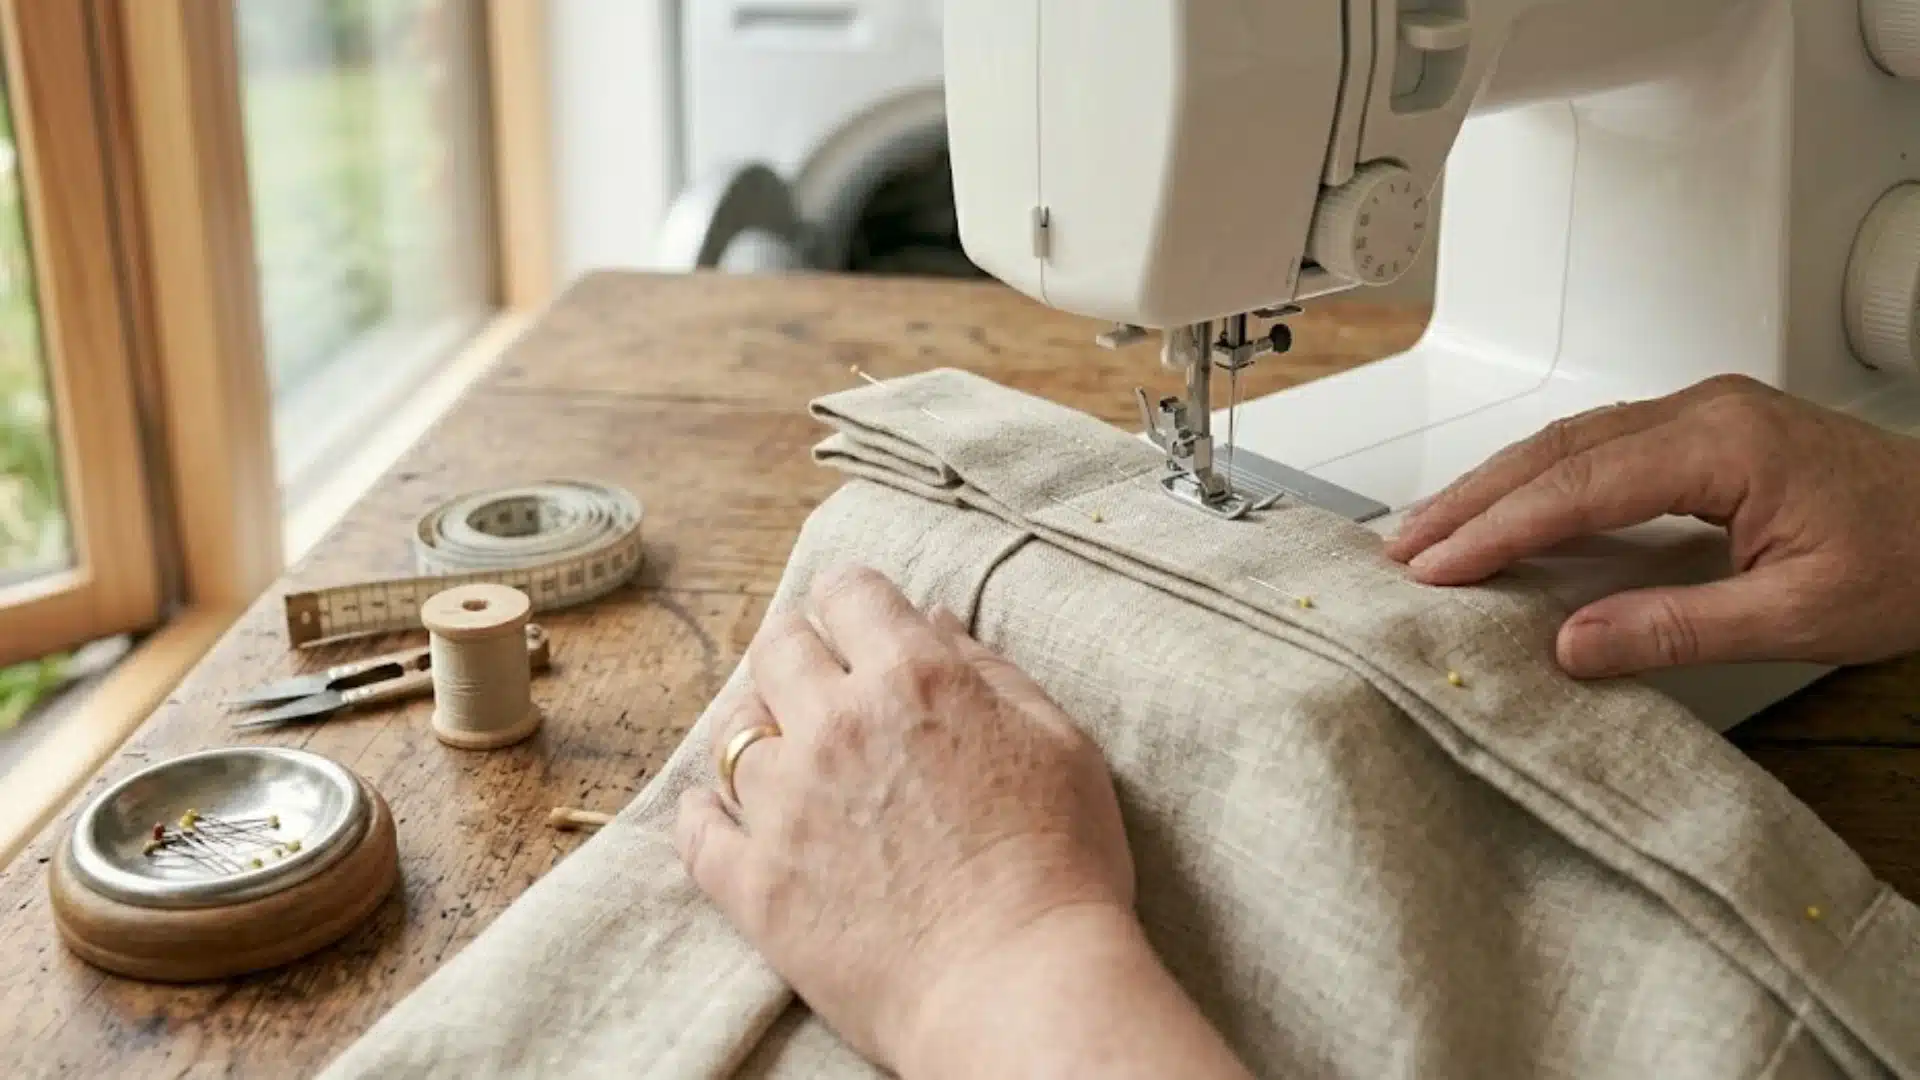
Fold the top edge down by 4 inches and press flat. Fold down again and press. Sew along the lower edge of the fold.
The header needs to be firm enough to hold the grommets without puckering; a single fold is not enough here.
The double fold creates the structure the grommets need.
Step 6: Install the Grommets
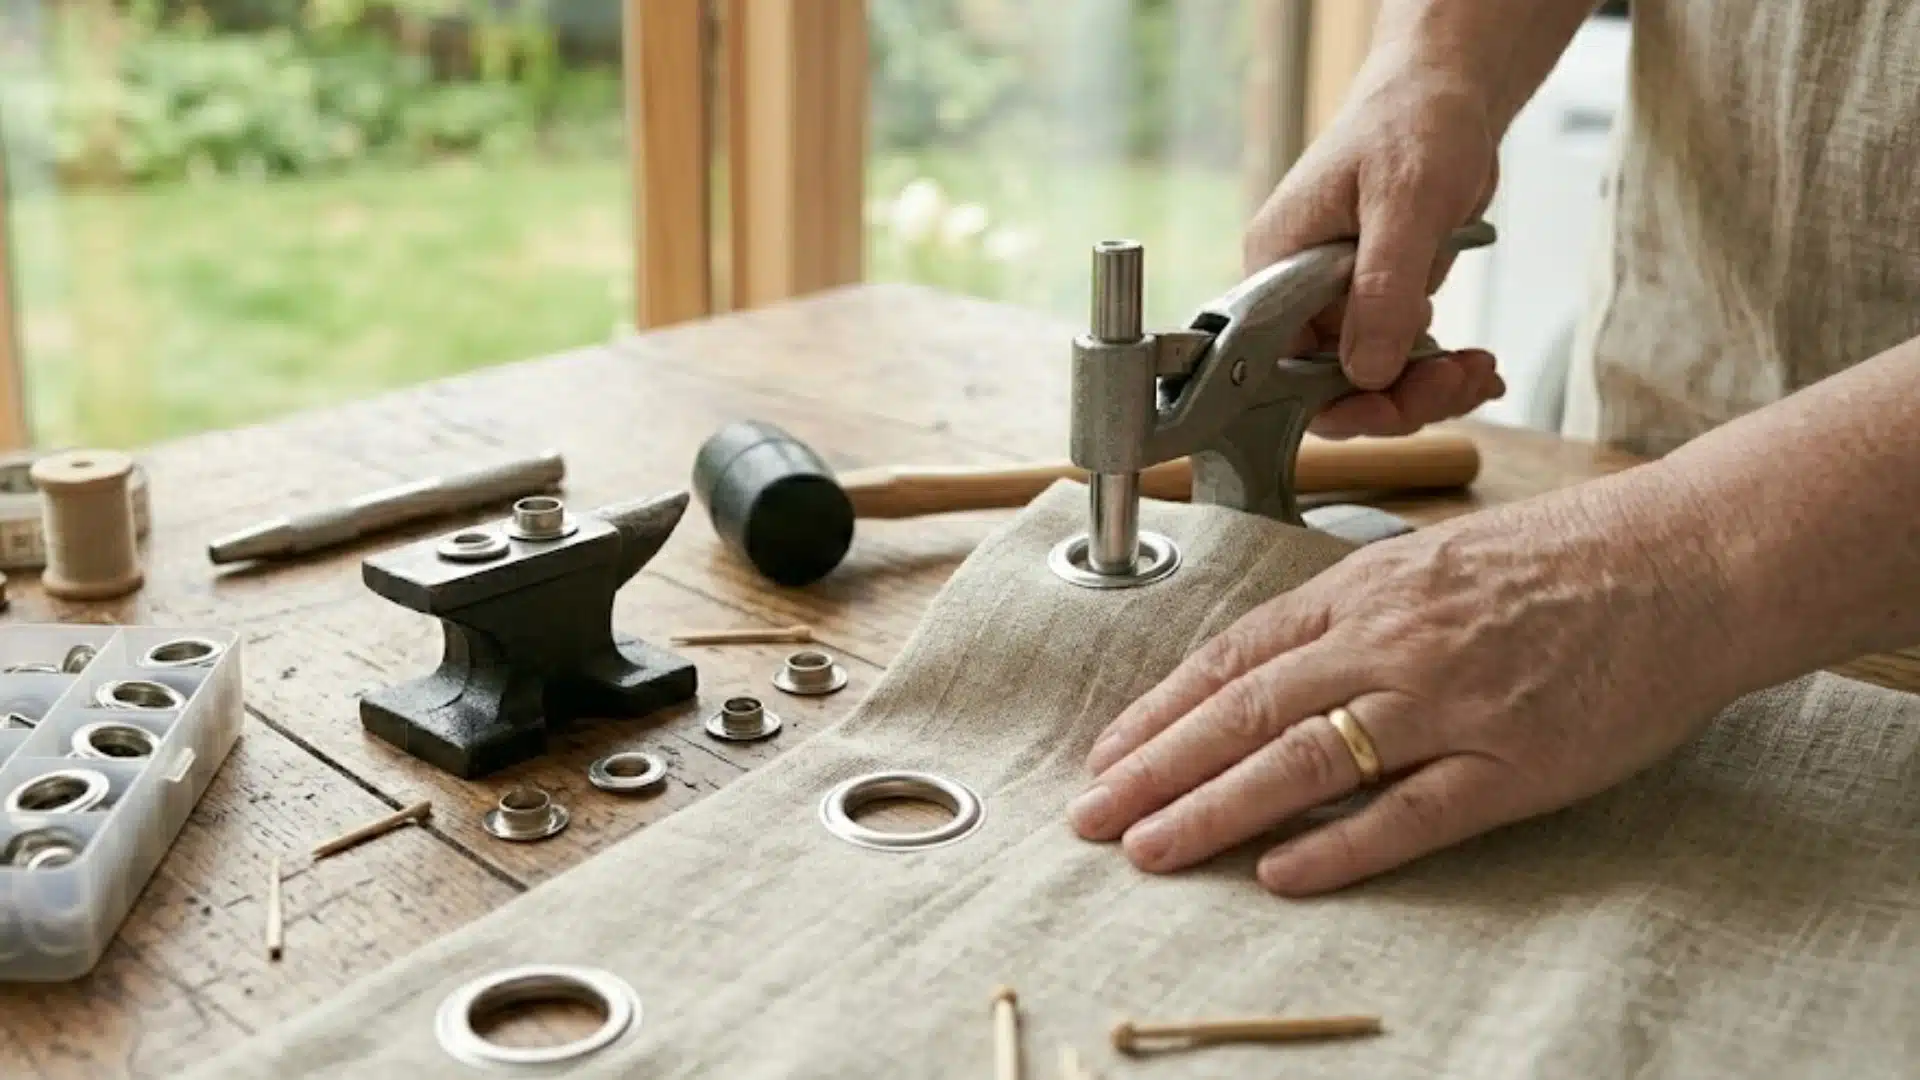
Most grommet kits include a circular template for marking hole placement. Position the first and last grommet about 1 inch in from each side edge.
Space the remaining grommets evenly across the header, typically every 6–8 inches.
Trace the circles using the template, then cut each hole carefully with fabric scissors or a sharp craft knife.
Snap or press the two grommet halves together firmly through the fabric. A grommet that isn’t fully set will pull loose under the weight of the panel.
Standard curtain grommets have an inner diameter of 1.5–1.6 inches and are designed to fit rods up to 1.25 inches in diameter.
Check this before buying a grommet kit to make sure the hardware matches the rod.
Step 7: Hang and Adjust the Panels
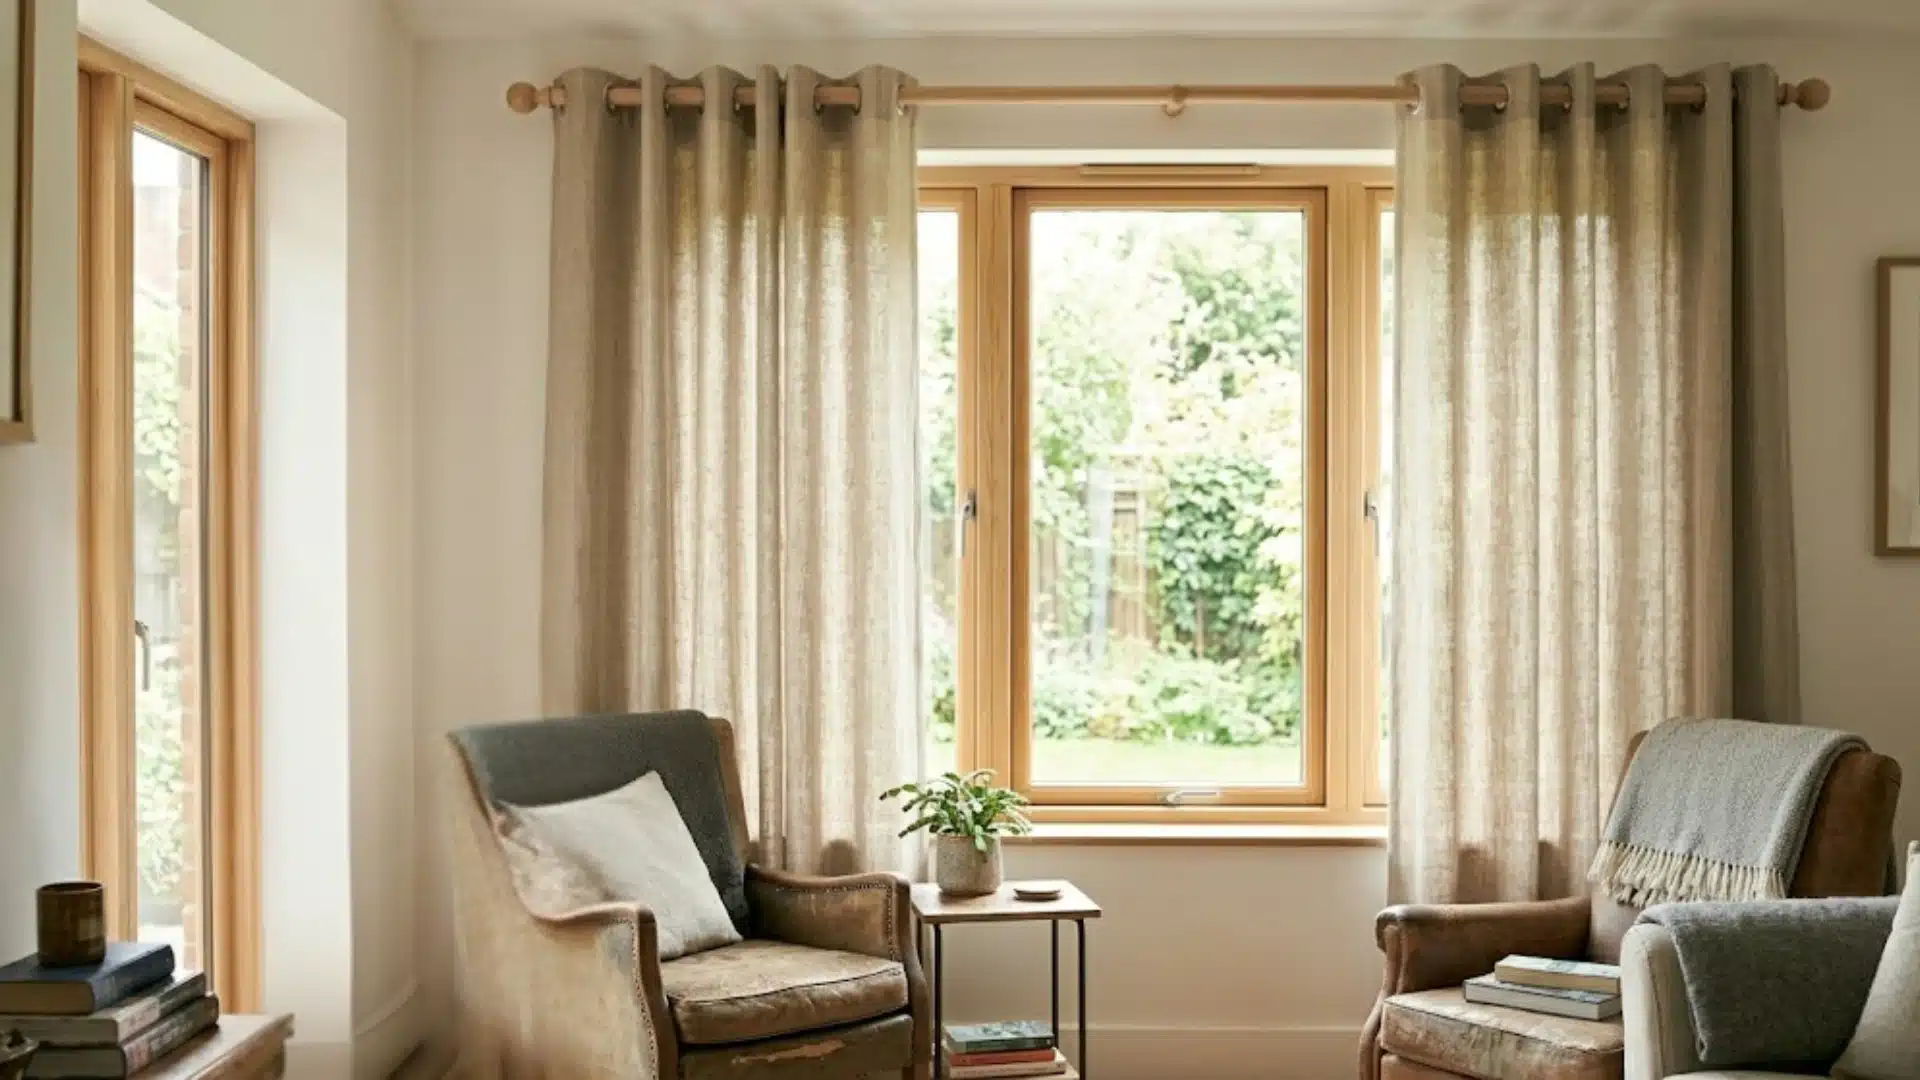
Thread the grommets onto the rod and hang it. Step back and check whether both panels are level and reach the same length.
Minor differences in length can usually be resolved by re-pressing the bottom hem. If one panel is noticeably longer, taking it in at the bottom is easier than adjusting the header.
Steam or lightly press the panels once they’re hanging to set the folds and remove any creasing from the sewing process.
Will This Actually Work for You?
Sewing basic grommet-top curtains works for most standard rectangular windows in living rooms, bedrooms, and dining rooms.
It works well when:
- Your window is a standard rectangular shape
- You’re working with flat or simply patterned fabric
- You have access to a flat surface large enough to lay out full fabric panels
It gets more complicated when;
- The window has an arched or angled top, and shaped headers require pattern-making skills beyond basic sewing
- You’re renting and need to avoid drilling; in that case, tension rod curtains or clip rings are simpler options that skip the grommet step
- The window is very wide (over 100 inches). Wider panels are heavier and harder to manage solo when cutting and sewing
This project is not suited to bay windows or corner window configurations without significant adaptation to the measuring and hanging method.
How to Know You’ve Done it Right?
The finished curtains should meet these checks:
- Both panels hang at the same length from the floor or the sill
- The bottom hem lies flat with no pulling or bubbling
- Side hems show no raw fabric edges from the front or back
- Grommets lie flat against the header with no puckering around the holes
- The header holds its shape and doesn’t fold over on itself when the curtains are drawn
- The panels move smoothly along the rod without catching on any grommets
If the grommets pucker, the header fabric may be too light. Adding a strip of iron-on interfacing inside the header before installing grommets fixes this on the next attempt.
If the bottom hem bubbles, the fabric wasn’t pressed firmly enough before sewing.
When NOT to DIY Your Curtains
Sewing your own curtains is straightforward for standard windows, but there are situations where buying ready-made or hiring a workroom makes more sense.
- Very large or unusually shaped windows: Arched tops, angled skylights, and bay configurations require pattern drafting skills that go well beyond basic straight sewing.
- Motorized or track systems: These need specific heading tape or precise pleat spacing to function correctly. Incorrect construction causes the motor to jam or the panels to bunch.
- Formal interlined curtains: Triple-layered curtains involve hand-stitching and careful hem weighting. The margin for error is small, and the fabric cost is high.
- Full-height sheer voile panels: Very long sheer fabric is extremely difficult to cut and sew straight without a professional cutting table. Small distortions become obvious at full drop
The Takeaway
Sewing curtains comes down to accurate measuring, consistent pressing, and straight cuts.
Get those three things right, and the sewing itself is the easy part. Start with one window, one right fabric, and a grommet kit with a template included.
Once the first pair is done, adapting the same method to different rooms, lengths, and fabrics is a small step.
Custom window treatments don’t need to cost what ready-made ones charge, and they fit properly when they don’t.
Frequently Asked Questions (FAQ’s)
1. How Long Does it Take to Sew a Pair of Curtains from Start to Finish?
Plan for two sessions across two days, roughly 3–4 hours each, for cutting and sewing.
2. What Is the Easiest Curtain Heading Style for a First-Time Sewer?
Grommet-top curtains require only straight seams. Rod pocket style is the next easiest, with no hardware needed.
3. Do Curtains Need to Be Lined to Hang Properly?
No. Lining improves drape and insulation but is optional. Unlined panels work well in most rooms.