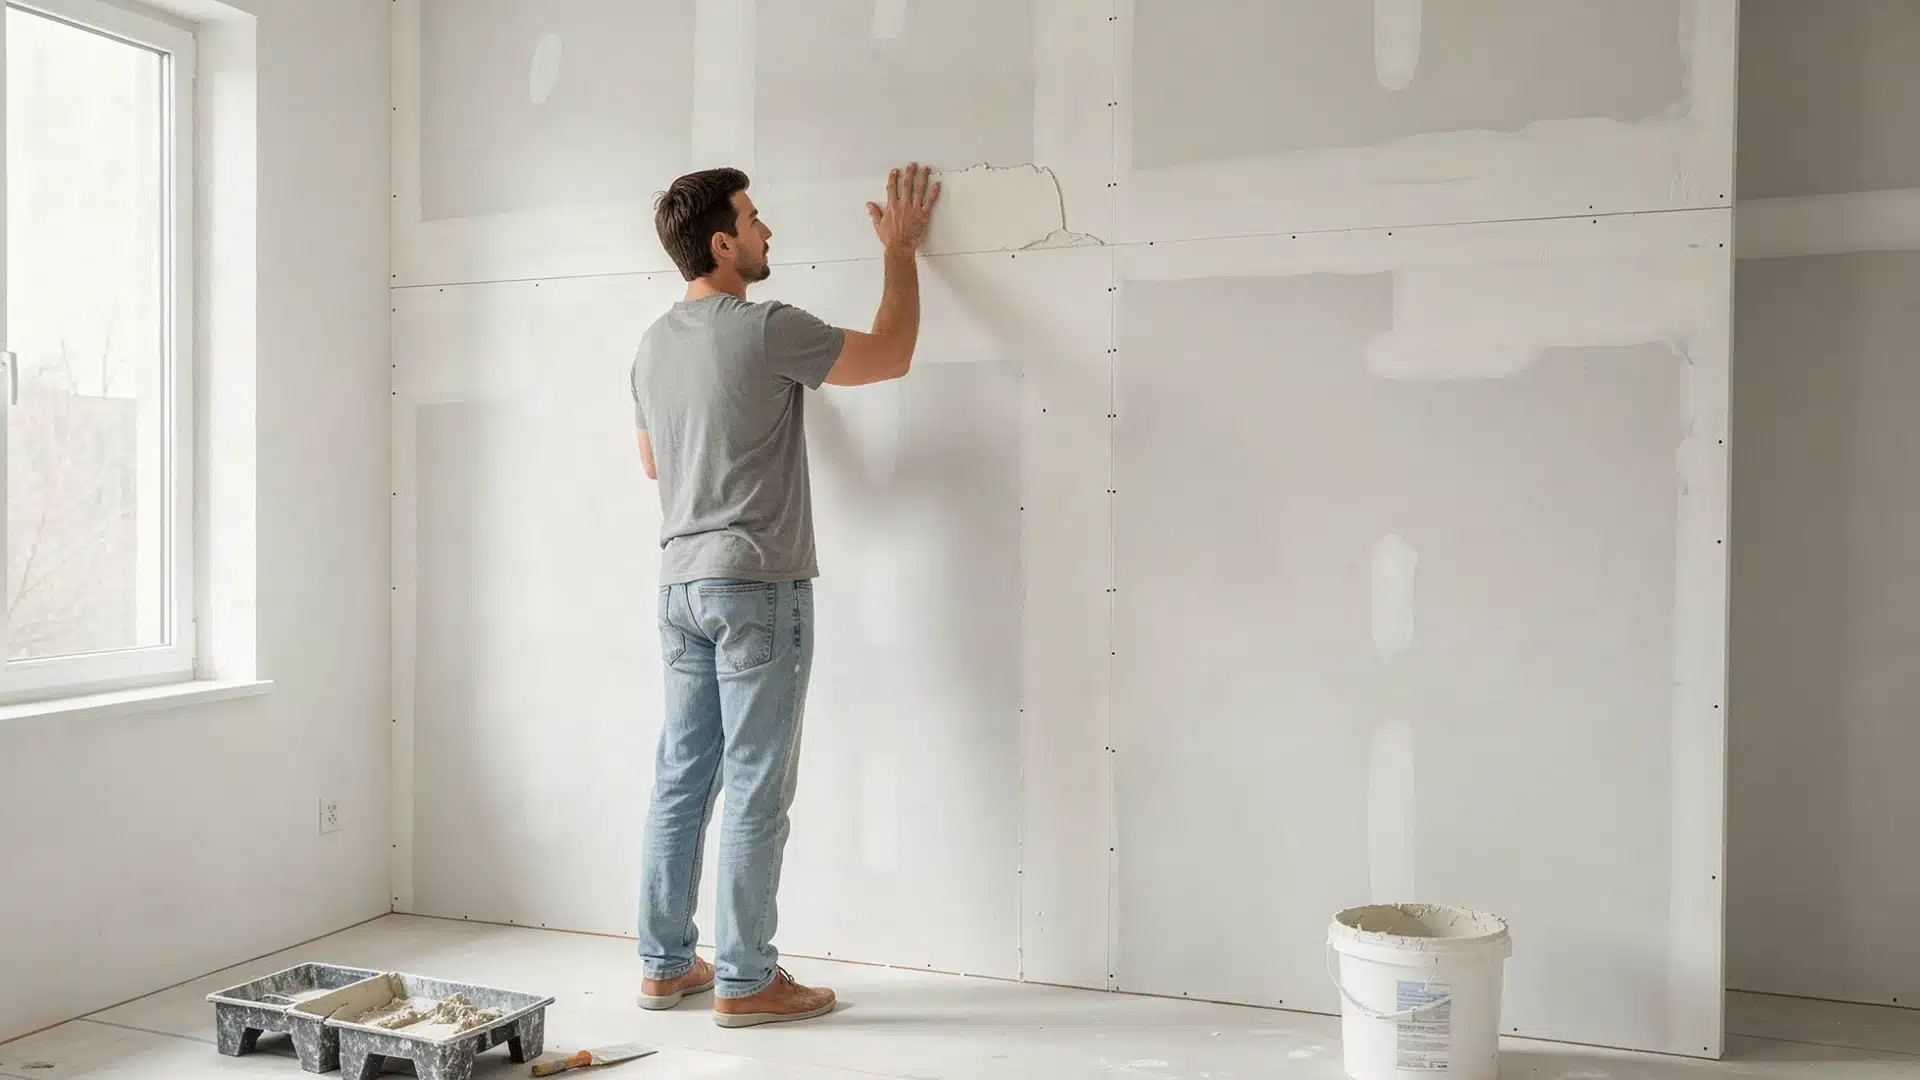

Building a wall sounds like a heavy lifting activity, something that requires years of experience and professionalism.
But what if I change this assumption for you?
A basic non-load-bearing interior wall takes one weekend, costs between $150 and $400 (£120–£315), and requires no special license to complete.
Just stick till the end, and I’ll tell you how to build a wall in the easiest way possible!
Working Time: 4–6 hours | Total Time: 2 days | Difficulty Level: Intermediate | Number of People Needed: 2 people | Number of Sessions: 2 sessions: framing on Day 1, drywall and finishing on Day 2
Read This Before You Start Adding a Wall to a Room
Before you gather the supplies and get to work, consider the most important thing. The fact is, not every wall you build needs a permit, but some do.
According to the International Residential Code (IRC), non-load-bearing interior partition walls generally do not require a structural permit in most US states.
But things change when you plan to run electrical wiring or plumbing through the wall.
Then a permit is required in virtually every jurisdiction.
Always check with your local building department before you start.
Supplies You’ll Need
Now that you know the most important thing to consider, it’s time to gather the supplies and get to it!
Framing Materials
- 2×4 lumber, 8-foot lengths × 10 pieces
- 2×4 lumber, 10-foot lengths × 2 pieces (for top and bottom plates)
- Framing nails, 3-inch × 1 box (approximately 100 nails)
Drywall Materials
- 1/2-inch drywall panels, 4×8 sheets × 4 sheets
- Drywall screws, 1-5/8 inch × 1 box (approximately 150 screws)
- Joint compound, 1 gallon pre-mixed bucket
- Drywall tape, 1 roll (150 feet)
Construction & Measuring Tools
- Cordless drill/driver
- Speed square
- Tape measure, 25-foot
- Level, 4-foot
- Chalk line
- Drywall T-square
Safety Equipment
- Safety glasses
- Dust mask (N95 rating)
- Knee pads (Optional)
How to Frame a Wall?
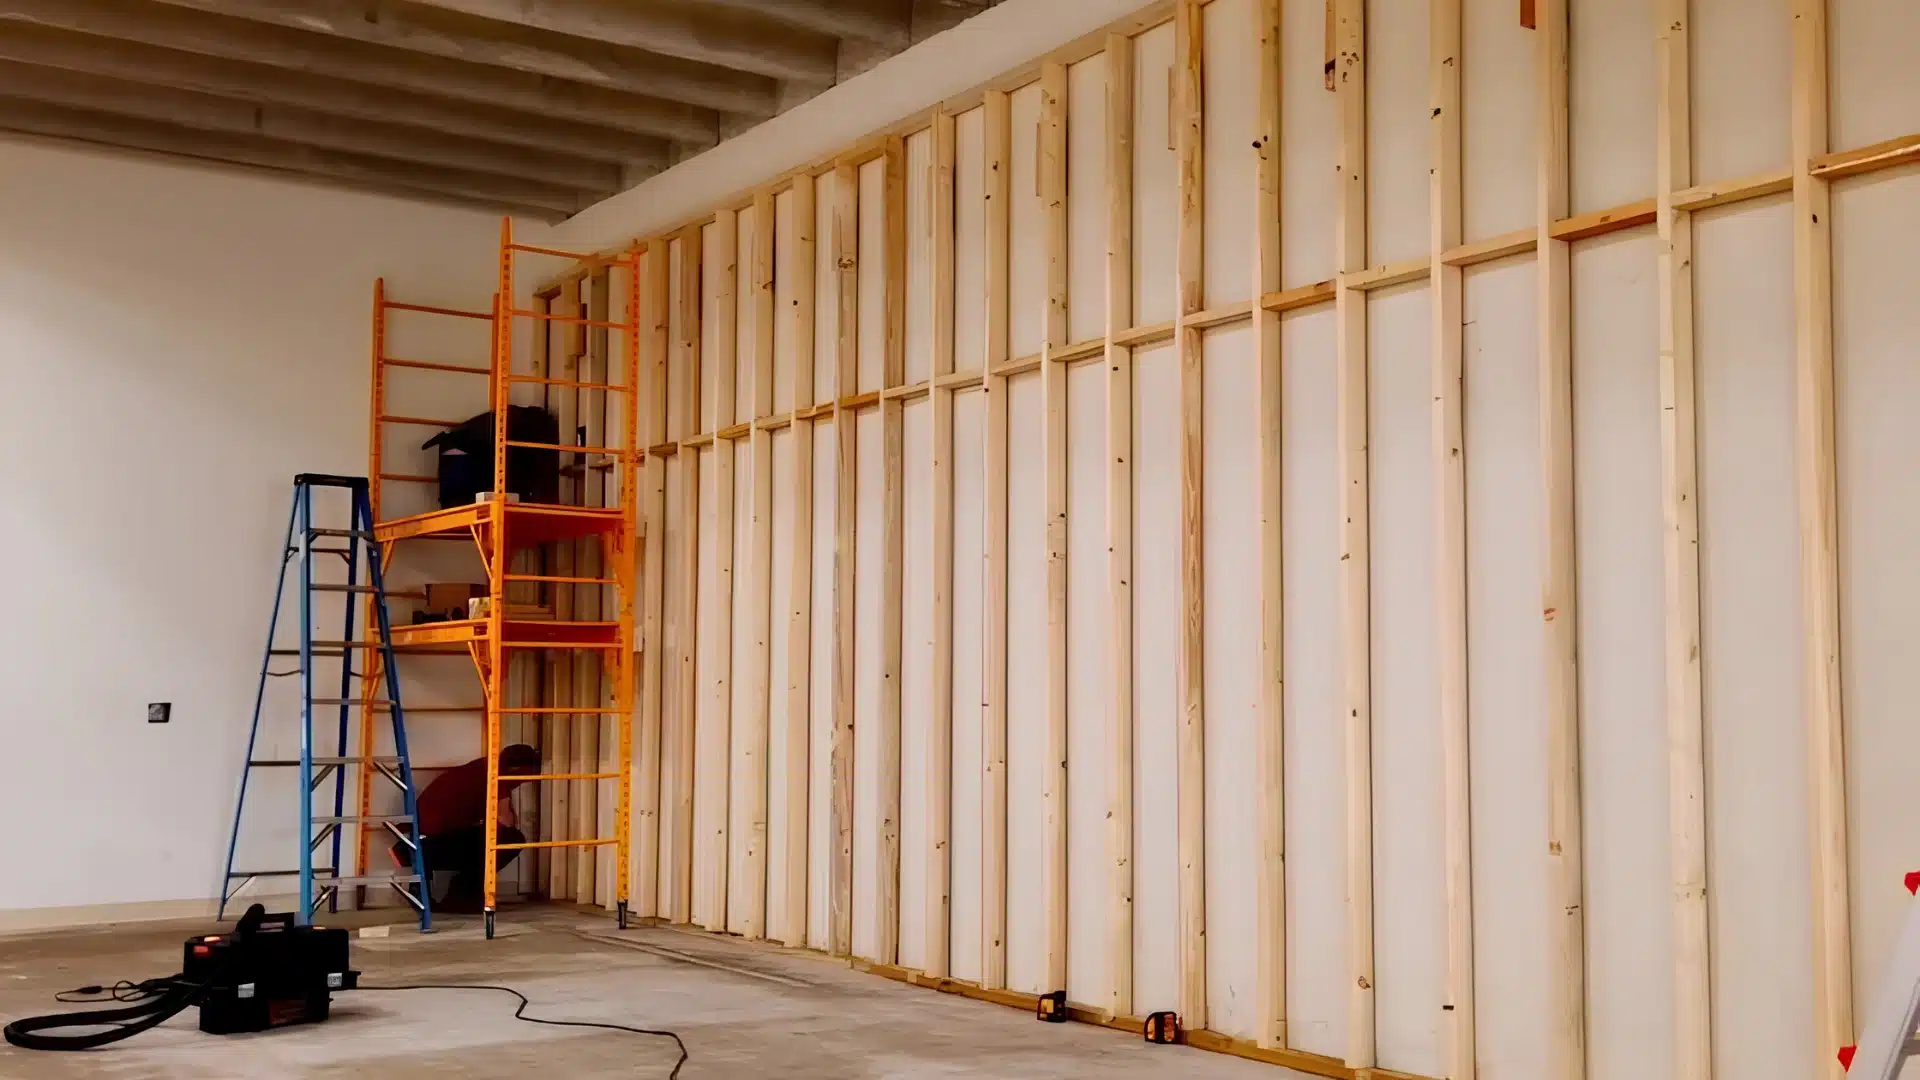
Framing the wall always comes before building.
And it uses three major components: a bottom plate (the horizontal piece on the floor), a top plate (the horizontal piece at the ceiling), and vertical studs that connect them.
Studs are spaced 16 inches on center (16 inches from the center of one stud to the next).
This spacing is an industry standard set by the American Institute of Timber Construction and ensures that drywall sheets, which measure 48 inches wide, fit.
Cutting all your studs before fixing the plates leads to fit problems if the floor isn’t perfectly level, and most floors aren’t. Hence, avoid that.
Easy DIY Step-By-Step Walkthrough: How to Build a Wall
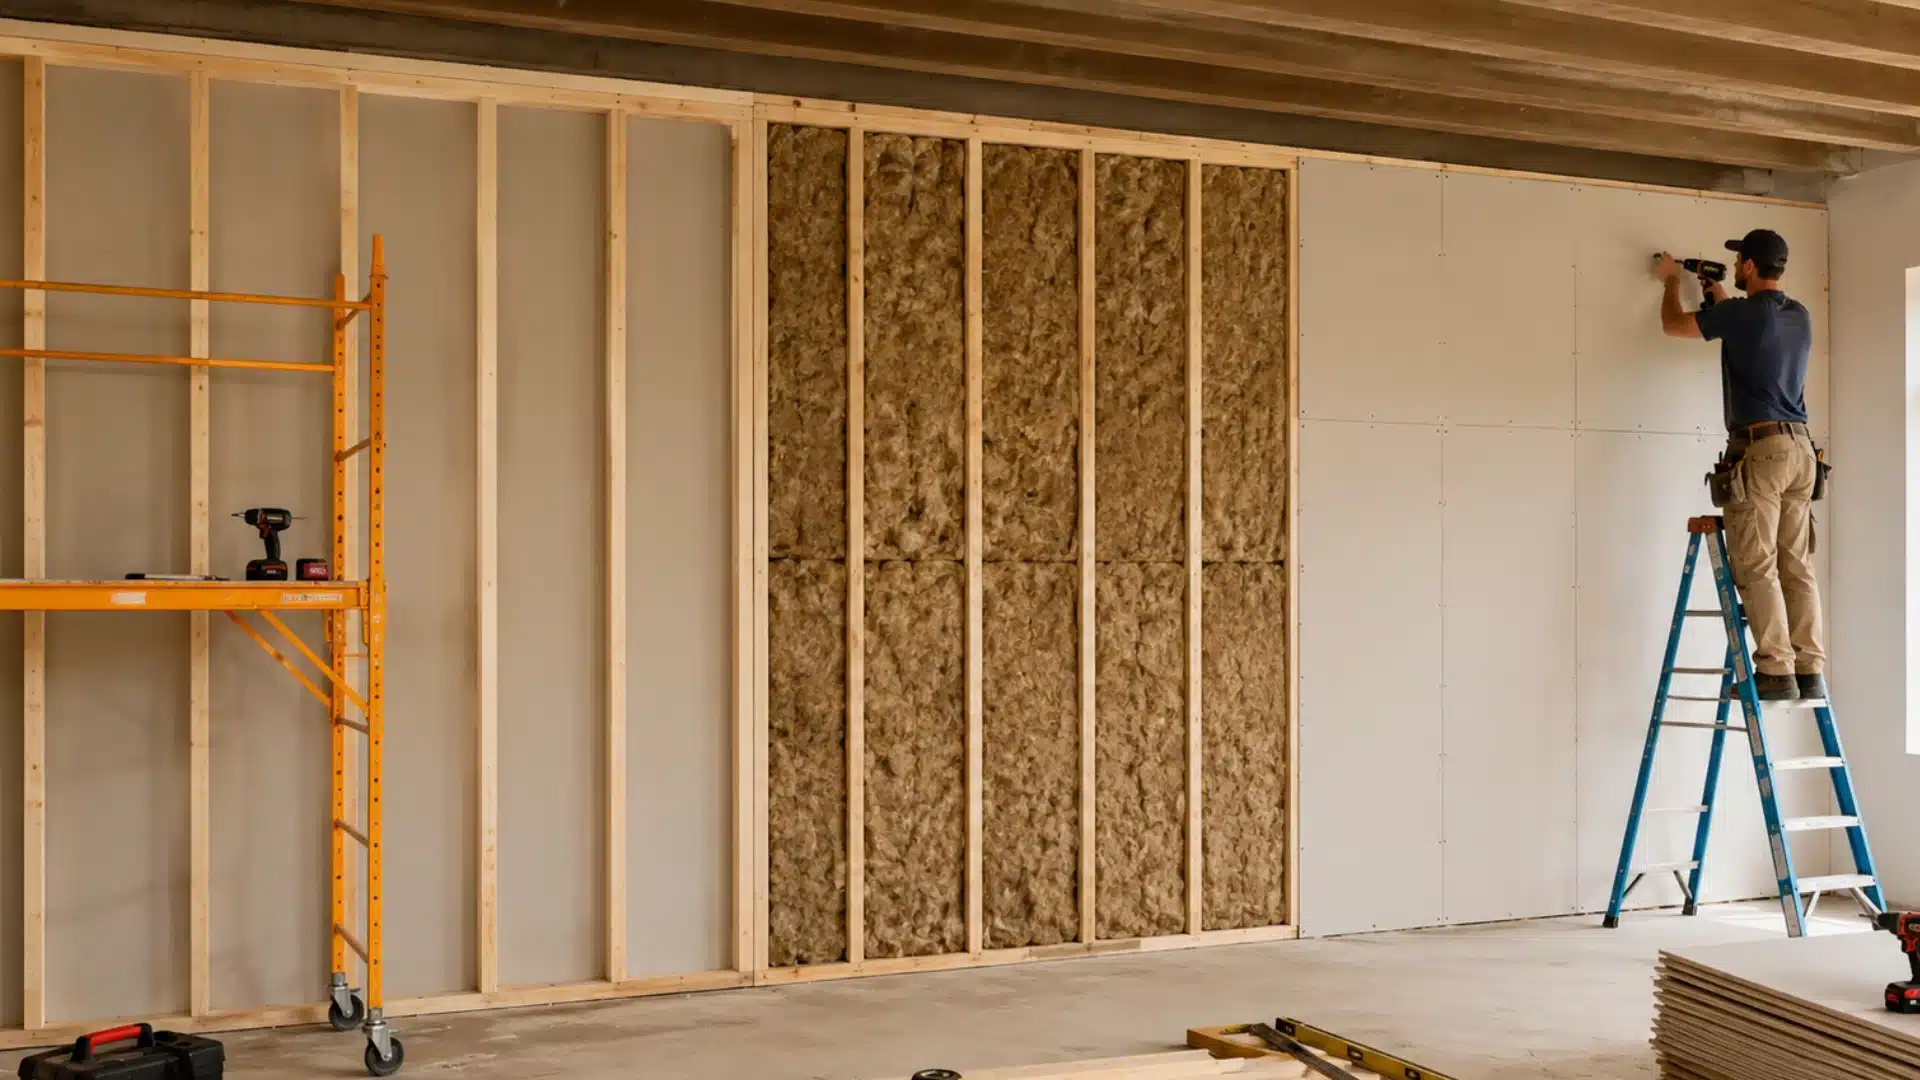
And now comes the easiest part: building a wall.
Get the measurements right, secure the plates firmly to the floor and ceiling, and keep your studs spaced exactly 16 inches on-center.
And then, follow each step with your undivided attention.
Step 1: Mark the Wall Location on the Floor
Snap a chalk line on the floor where the bottom plate will sit. Make sure to measure twice before you snap.
Then, use a speed square to check that the line is perpendicular to an existing wall.
This is essential because a wall that’s even 1 degree off will cause alignment issues with drywall edges later.
Step 2: Transfer the Layout to the Ceiling
Use a plumb bob or a long level held vertically to transfer your floor line directly up to the ceiling.
After that, mark two points on the ceiling and snap a second chalk line.
Remember, both lines must align perfectly, as this is what keeps your wall plumb.
If your chalk line lands between ceiling joists, you’ll need to install 2×4 blocking between the joists above to give the top plate something solid to fasten into.
Step 3: Cut and Fasten the Bottom Plate
Cut your 2×4 to the exact length of the wall with a circular saw, and carefully set it on your chalk line.
Nail through the plate into the wood subfloor at 16-inch intervals using 3-inch framing nails.
On concrete, use 3/16-inch x 2-3/4-inch Tapcon masonry screws, drilled every 16 inches.
Step 4: Cut and Fasten the Top Plate
Cut the top plate to the same length.
Raise it to the ceiling chalk line and nail or screw it into each ceiling joist it crosses. Make sure you use two 3-inch nails per joist.
If you’re installing directly into drywall with no joist access, stop and add blocking first.
Step 5: Mark Stud Positions on Both Plates
Starting from one end of the bottom plate, mark a line at 1-1/2 inches (the edge of your first stud), then mark every 16 inches after that.
Transfer the same marks to the top plate.
Mark an “X” on the right side of each line (this is where the stud face sits).
Step 6: Measure and Cut Each Stud to Length
Measure the distance between the bottom and top plates at each stud location.
Floors and ceilings are rarely perfectly consistent, so measure individually at each position. Then, cut each 2×4 to that exact length.
A 1/8-inch gap between the stud and the plate is acceptable, more than that weakens the connection.
Step 7: Nail the Studs Into Place
Set each stud into position, check it’s plumb with your level, then toenail through the stud into the plate at a 45-degree angle using two 3-inch nails per end.
If you have a framing nailer, use it, as it makes plumb checks easier because the stud doesn’t shift during fastening.
If a stud bows outward more than 1/4 inch from face to face across its length, discard it. A bowed stud creates a bulge in the finished wall that’s visible even after drywall.
Step 8: Hang the Drywall Panels
Starting from one side of the wall, lift a 4×8 drywall sheet and press it against the studs. The sheet edges must land on the center of a stud.
Then, drive 1-5/8-inch drywall screws every 8 inches along the edges and every 12 inches in the field (the middle of the sheet).
Screws should sit just below the paper face and not break through it.
Step 9: Tape and Apply Joint Compound to Seams
Apply a thin coat of joint compound over every seam using a 6-inch drywall knife.
Press drywall tape into the wet compound immediately, then smooth another thin layer over the top.
Let this dry for a full 24 hours before sanding or applying a second coat.
DIY Wall Building vs Hiring Professionals: Which is Cheaper?
For a standard 10-foot non-load-bearing partition wall, the material cost runs $150–$400 (£120–£315) in DIY.
A licensed contractor in the US, on the other hand, typically charges $1,000–$2,500 (£790–£1,975) for the same job, including labor, according to HomeAdvisor’s 2024 cost data.
That’s a potential saving of $600–$2,100 depending on your location and finish level.
The DIY route makes sense when:
- The wall is non-load-bearing.
- No electrical or plumbing runs through it.
- You have two people available and a full weekend free.
- You’re comfortable using a circular saw and drill.
Hire a professional when:
- The wall may be load-bearing (always hire an engineer first).
- You need electrical outlets or switches in the new wall.
- The wall connects to a bathroom and must be moisture-resistant.
- Your local code requires inspections at the framing stage.
Do not attempt this as a DIY project if the wall is load-bearing. Removing or adding support to a load-bearing wall without proper header installation can cause ceiling or roof sagging within months.
Final Thoughts
So now you have everything you need to answer the question of how to build a wall.
And frankly, the process is pretty straightforward when you follow the right sequence.
Plates first, studs second, drywall last. As simple as that!
Keep your stud spacing at 16 inches on center, check every stud for plumb before nailing, and don’t rush the compound drying time.
That’s all it takes for you to start today!
Frequently Asked Questions (FAQs)
1. What is the Cheapest Way to Build an Interior Wall?
The most cost-effective method is standard 2×4 lumber framing with 1/2-inch drywall on both sides.
2. Can I Build a Wall on a Concrete Floor?
Yes. Instead of framing nails, use 3/16-inch x 2-3/4-inch Tapcon concrete screws or a powder-actuated nail gun to fasten the bottom plate to the concrete slab.
3. How Long Does it Take to Build a Wall?
Framing a standard 10-foot non-load-bearing interior wall takes 3–5 hours for two people. Adding drywall on both sides takes another 2–3 hours. Finishing adds a second day.