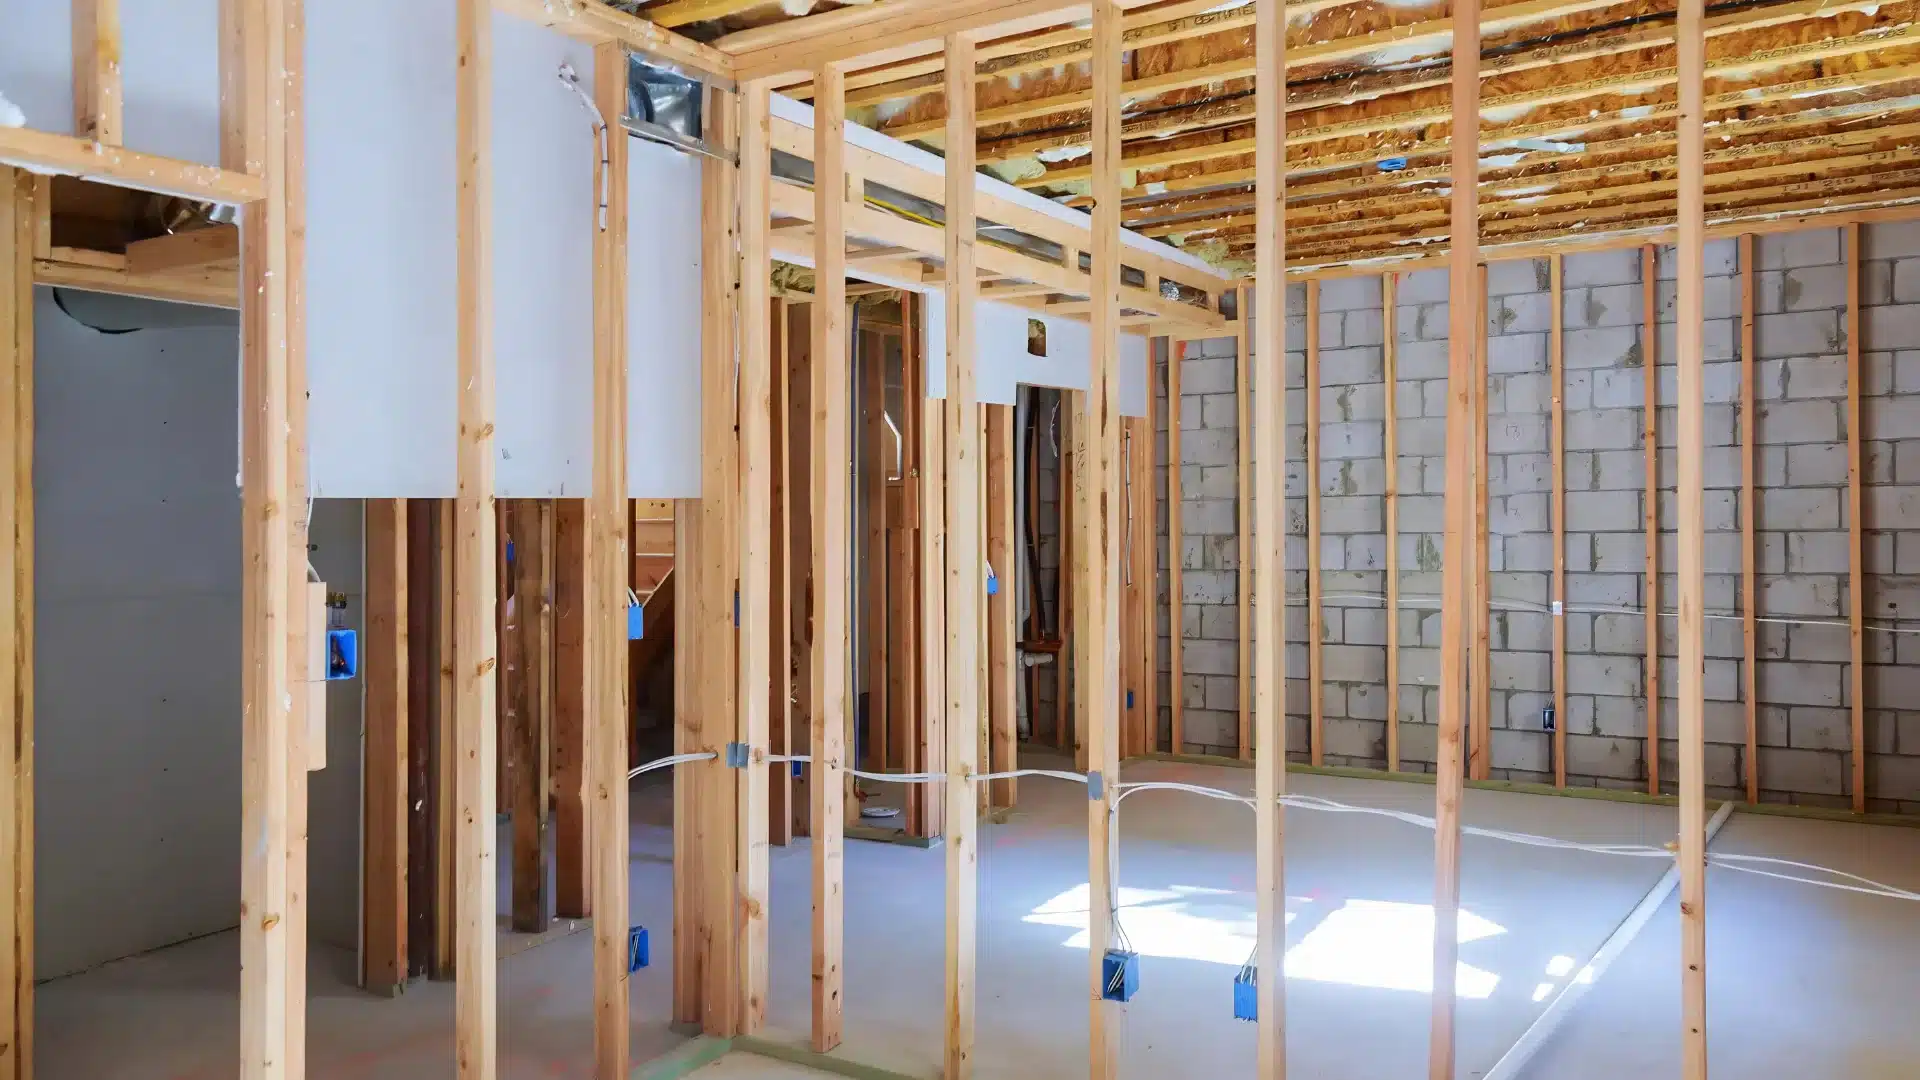

Safely framing an interior wall involves certain considerations.
Get your lines right first, and the rest follows cleanly.
After that, snap a chalk line on the floor, cut a bottom and top plate from 2×4 lumber, and nail both into place.
But that was just a quick overview.
Let’s get into the details of how to frame an interior wall.
Working Time: 3–5 hours Total Time: 4–6 hours|Difficulty Level: Intermediate|Estimated Cost: $80–$150 USD / £65–£120 GBP| Number of People Needed: 2 (one to hold plates, one to nail) | Number of Sessions: 1
Tools & Supplies to Gather
- Tape measure
- Chalk line
- Speed square
- Circular saw
- 4-foot level
- 22 oz framing hammer
- Safety glasses
- Pencil
- Pneumatic framing nailer
- Plumb bob
- Stud finder
- Ear protection
- 2×4 lumber, 8-foot studs
- 16d framing nails, 3.5 inch
- 3-inch wood screws
Easy DIY Process: How to Frame an Interior Wall
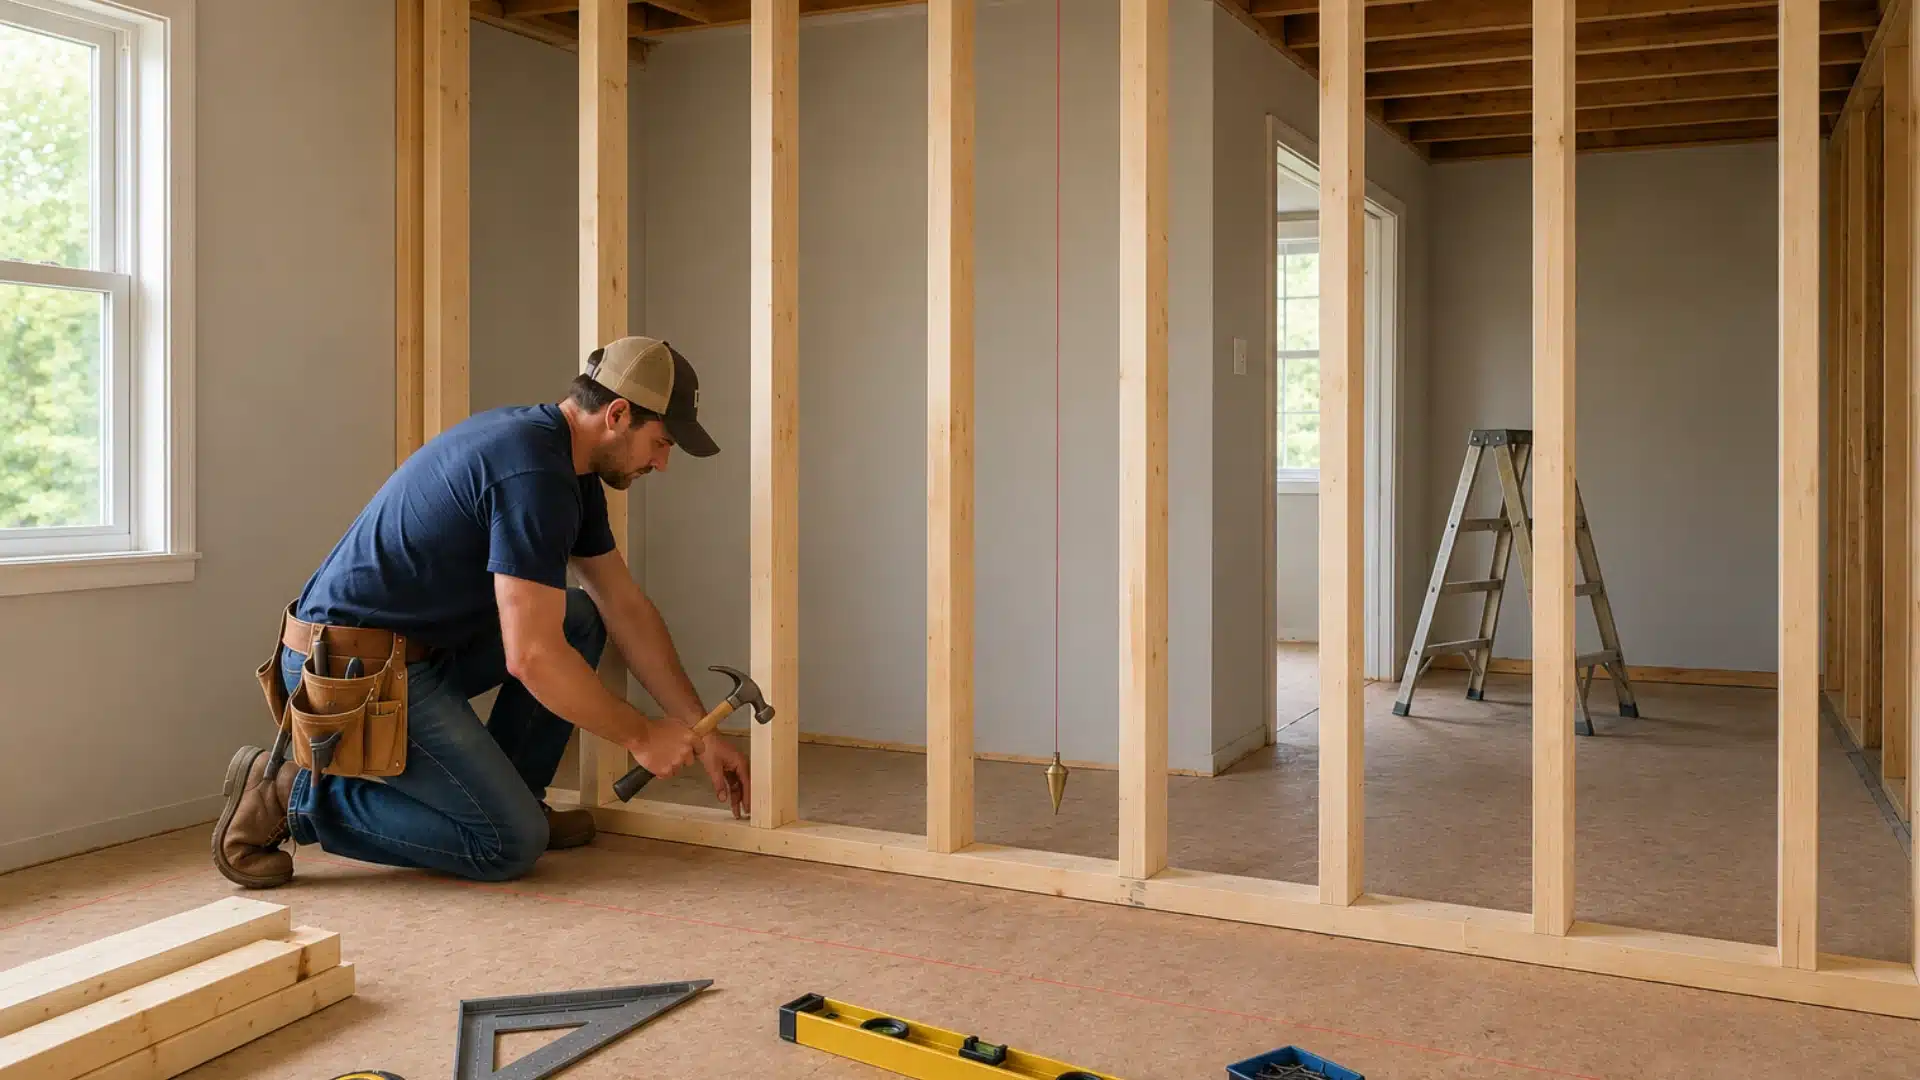
Now comes the part that is the easiest, if you follow the steps listed below carefully.
You got the overview, now let’s get into how to do it step by step.
Step 1: Snap the Layout Line on the Floor
Mark where the face of your new wall will sit.
Once the wall location is marked, the next steps follow the same basic layout as when building a wall from the ground up.
Snap a chalk line, then measure out 3.5 inches to mark the full plate width. Use a speed square to confirm the line runs 90 degrees to the existing wall.
At last, let the chalk dry for 5 minutes before you nail anything over it.
A smeared line means humidity. Wait the full 5 minutes, then re-snap.
Step 2: Transfer the Line Up to the Ceiling
Use a plumb bob or laser level to carry your floor marks up to the ceiling.
Mark two points, then snap a chalk line between them.
This step is important because the International Residential Code (IRC), Section R602, requires all walls to run plumb from the floor plate to the ceiling plate.
Step 3: Cut and Fix Both Plates
Cut two 2×4s to the full wall length. Then nail the bottom plate to the floor joists with 16d nails at 16-inch intervals.
Nail the top plate into the ceiling joists the same way.
Leave a 32-inch rough opening in the bottom plate if your wall includes a door.
No joist to hit? Use 3-inch concrete screws into a concrete subfloor, or structural construction adhesive on wood subfloors.
Step 4: Mark Stud Positions at 16 Inches on Center
Starting from one end of the bottom plate, mark every 16 inches.
Put an “X” to the right of each mark to show the stud face position, and transfer these marks to the top plate.
To get the right measurement is important, as the IRC Section R602.3 requires 16-inch on-center spacing for walls up to 10 feet tall.
Step 5: Cut and Nail Each Stud Plumb
Measure the gap between both plate faces at each stud location, as it can vary across the span.
Cut each stud to its exact measurement. Then, toenail each stud using two 16d nails at a 45-degree angle on each side, top and bottom.
At last, check plumb with your 4-foot level before moving to the next stud.
If you have a bowed stud the remove it, as it won’t hold drywall flat. Remove it, trim 1/8 inch off the length, and re-nail.
Can You Frame a Wall Anywhere?
Well, not really.
While interior walls can be framed in many areas of a home, the location can prompt you the reconsider.
Before framing a wall, check for electrical wiring, plumbing lines, HVAC ducts, and structural components that may be hidden behind floors, ceilings, or existing walls.
This is also the point where knowing how to tell if a wall is load-bearing matters, especially before attaching, removing, or altering any nearby wall structure.
Also, ensure that the floor can properly support the new wall. And that the layout doesn’t block doors, windows, vents, or required access points.
In finished basements and older homes, these obstacles are a usual sight. So, taking time to inspect the space beforehand is always a smart move.
It helps prevent costly modifications and ensures your new wall is safe and code-compliant.
Final Thoughts
And now you can easily tell how to frame an interior wall.
Just follow a few simple steps with your undivided attention, and the result will be a solid, plumb interior wall from scratch.
So, get your tools ready and get on with your DIY project now!
Frequently Asked Questions (FAQs)
1. How Far Apart Should Studs Be When Framing an Interior Wall?
Space studs 16 inches on center for walls up to 10 feet tall. This is the standard under IRC Section R602.3.
2. What Lumber Size Do I Use to Frame a Partition Wall?
Use 2×4 dimensional lumber for most interior partition walls. Switch to 2×6 only if the wall needs to carry a 3-inch or 4-inch drain pipe.
3. Do I Need a Permit to Frame an Interior Wall?
In most US cities, yes. In the UK, building regulations may still apply if the wall affects fire safety or structural loads.