
Choosing a flat, plain ceiling is like inviting damage and cracks to be visible on it.
And that can make even a well-planned room look bad. But there’s a simple solution for that: ceiling texture.
Ceiling texture is one of the easiest upgrades, especially for anyone looking for budget-friendly ways to refresh an overlooked ceiling without a major renovation.
All you need to do is clean and prime the surface, apply joint compound, and shape the texture before it dries.
This was just an overview. Stick till the end to learn how to texture a ceiling in a few simple steps.
Working Time: 2–3 hours| Total Time: 26–27 hours (including 24-hour drying time)|Difficulty Level: Beginner|Estimated Cost: $40–$80 USD / £30–£60 GBP|Number of People Needed: 1 person (2 helpful for large rooms) Number of Sessions: 2 sessions: one for prep and application and one for painting after drying.
Why Texturing a Ceiling is a Good Idea?
Texturing is always a good idea, as plain ceilings crack over time. They show watermarks and catch every imperfection left by previous repairs.
According to the National Association of Home Builders (NAHB), textured ceilings are among the most cost-effective ways to hide surface damage without full replastering.
A single textured finish can add visual depth to a room for under $80 / £60 in materials.
And on top of that, texture also slightly improves sound absorption, which matters in upstairs rooms or flats.
Supplies You’ll Need
- Paint roller with a 3/4-inch nap cover
- Paint tray
- Pre-mixed joint compound (also called drywall mud; UK: plaster filler)
- Ceiling primer
- Drop cloths or dust sheets
- Painter’s tape (masking tape)
- Step ladder or scaffolding board
- Wide putty knife or 6-inch drywall knife
- Orbital sander or sanding block (120-grit sandpaper)
- Texture brush or stipple brush
- Safety goggles
- Dust mask (N95 or FFP2)
How to Texture a Ceiling in Easy Steps?
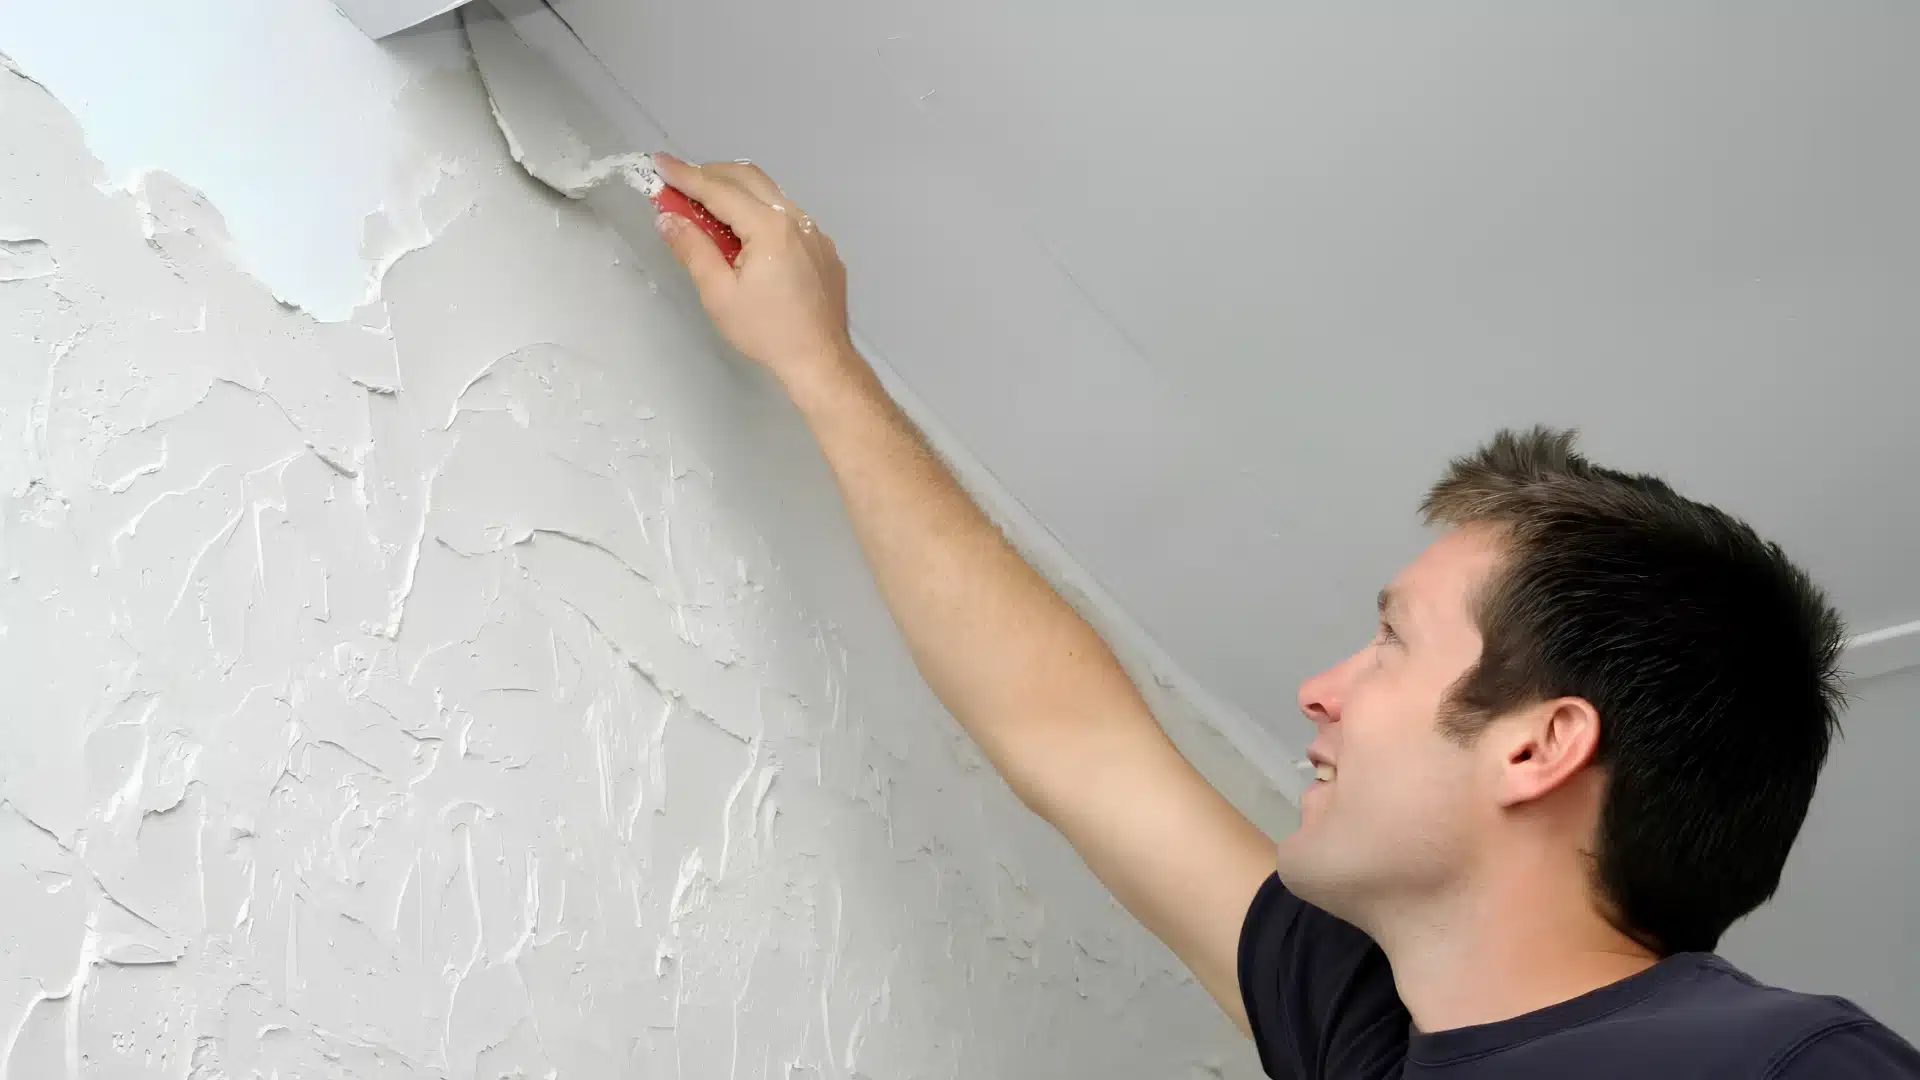
Now, I’ll walk you through a few easy steps.
Do these steps the right way, and your ceiling will be textured in no time.
Step 1: Clear the Room and Protect Every Surface
Remove all furniture, or push it to the center and cover it completely with drop cloths.
Lay drop cloths across the entire floor, as joint compound splatters and it dries hard.
Then, apply painter’s tape along the tops of all four walls, covering the top 2–3 inches where the ceiling meets the wall.
At last, remove or mask off light fixtures and ceiling fans.
Step 2: Sand and Prime the Ceiling
Sand the entire ceiling with 120-grit sandpaper on a pole sander.
While doing this, remember that you’re not trying to remove old paint, but just scuff the surface so primer grips.
After that, wipe away the dust with a dry cloth.
Apply one coat of ceiling primer using your roller with a 3/4-inch nap cover, and let it dry for 1–2 hours, or until it is no longer tacky to the touch.
If you see dark patches or watermarks showing through the primer, apply a second coat of stain-blocking primer (such as Zinsser BIN or Zinsser Bulls Eye 1-2-3, available in both US and UK hardware stores).
Step 3: Mix the Joint Compound to the Right Consistency
Open your tub of pre-mixed joint compound.
For a roller texture, add water in small amounts, roughly 1–2 tablespoons per quart (1L), and stir until it reaches a thick, creamy consistency similar to Greek yogurt.
It should hold its shape on a putty knife without running. Too thin and it drips; too thick and it won’t spread evenly.
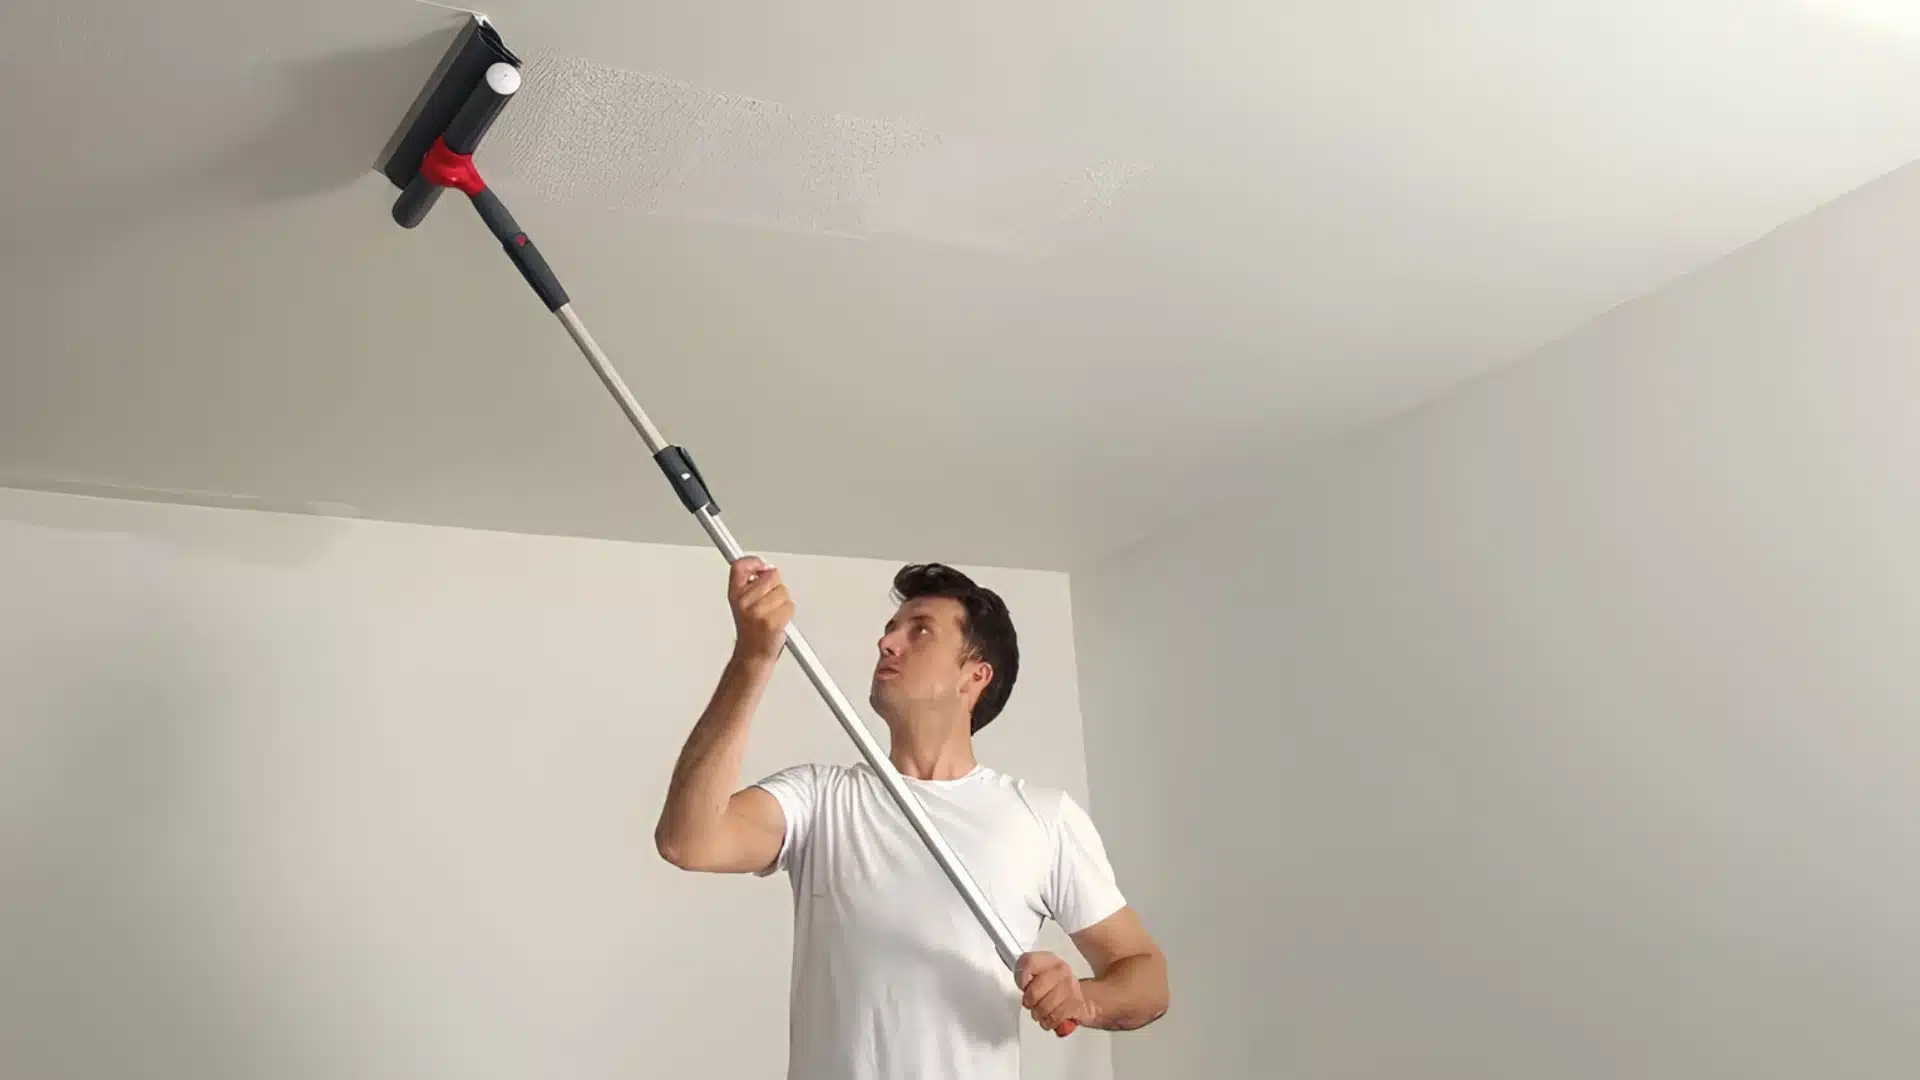
Step 4: Apply the Texture Using a Roller
Pour the thinned joint compound into your paint tray. Then, load your 3/4-inch nap roller evenly and apply it to the ceiling in slow, overlapping passes.
Work in 3-foot by 3-foot sections.
For a more pronounced pattern, use a texture brush to dab or swirl the wet compound immediately after rolling each section.
If you see roller lines or hard ridges forming, lightly re-roll the area before it skins over. Once dry, these lines are very hard to fix without sanding back the full section.
Step 5: Let It Dry for 24 Hours
Leave the ceiling completely undisturbed for a full 24 hours.
Do not use fans to speed drying, as rapid drying causes cracking.
According to the Gypsum Association (GA), joint compound needs a consistent temperature between 55°F–95°F (13°C–35°C) and moderate humidity to cure properly.
Once dry, the texture should feel firm and chalky, with no soft or damp spots.
After the texture has fully cured, the next step is applying paint to create a clean, finished look and help protect the surface.
Here’s How You Know if You’ve Done it Right
To be sure you’ve done it right, it takes only a few quick checks.
Run a dry hand lightly across the textured surface. It should feel uniformly rough with no soft patches.
Or shine a torch or work light across the ceiling at an angle; this catches any missed areas or uneven ridges.
The texture should look consistent across the full ceiling, with no visible roller lines or bare patches of primer showing through.
If you spot thin areas, apply a second thin coat over those spots only and allow another 24 hours to dry before painting.
Popular Ceiling Texture Finishes Worth Knowing
The roller stipple technique produces a medium, all-over texture, and it is known to be the most forgiving for beginners.
That said, here are some other finishes worth knowing.
Skip Trowel
Applied with a curved drywall knife in small, overlapping patches. It creates an irregular, stone-like surface. Harder to apply consistently, but very popular in the US South and Southwest.
Orange Peel
Requires a hopper gun and an air compressor. It produces a fine, bumpy texture resembling citrus skin. Fast to apply over large areas, but needs equipment most beginners won’t own.
Sand Finish
Mix fine sand (roughly 1 cup per gallon of paint) directly into ceiling paint and apply with a roller. It adds a subtle texture, which is well-suited to modern interiors or period homes.
Texture is one way to improve a ceiling, but it is not the only option. Many homeowners also choose wood finishes to add natural texture and visual interest overhead.
Final Thoughts
In a few easy steps, I’ve walked you through how to texture a ceiling.
Just focus on the prep: sanding, priming, protecting the room. These three things alone do most of the work.
Get that right, and the texture application is straightforward.
Start slowly if you’re a first-timer, have fun, and get started on your project today!
Frequently Asked Questions (FAQs)
1. Can You Texture a Ceiling without a Spray Gun?
Yes. A 3/4-inch nap roller with thinned joint compound produces a strong stipple texture without any spray equipment.
2. What is the Easiest Ceiling Texture for a Beginner?
Roller stipple is the easiest starting point. It requires only a standard paint roller, joint compound, and a paint tray.
3. Do You Need to Prime a Ceiling Before Texturing?
Yes. Priming seals the surface and prevents the drywall or old plaster from pulling moisture out of the joint compound too quickly.