
Painting a ceiling sounds like a job only for professionals.
You hire one, and seeing him work might make you realize, “I would have done this myself, if only I knew how.”
Don’t worry, this is to help you with that thought.
Just stay till the end of this blog, and you’ll know how to paint a ceiling so good, you’ll never have to call a professional!
Working Time: 2–3 hours|Total Time: 6–8 hours (including drying time between coats)|Difficulty Level: Beginner|Estimated Cost: $40–$90 (approx. £35–£75)|Number of People Needed: Solo|Number of Sessions: 2 sessions: first coat, then a second after drying.
Things to Keep in Mind Before You Start
The first step in upgrading a ceiling is not to gather the tools but to take a few minutes to prepare the room and inspect the ceiling carefully seeing what your ceiling is built of.
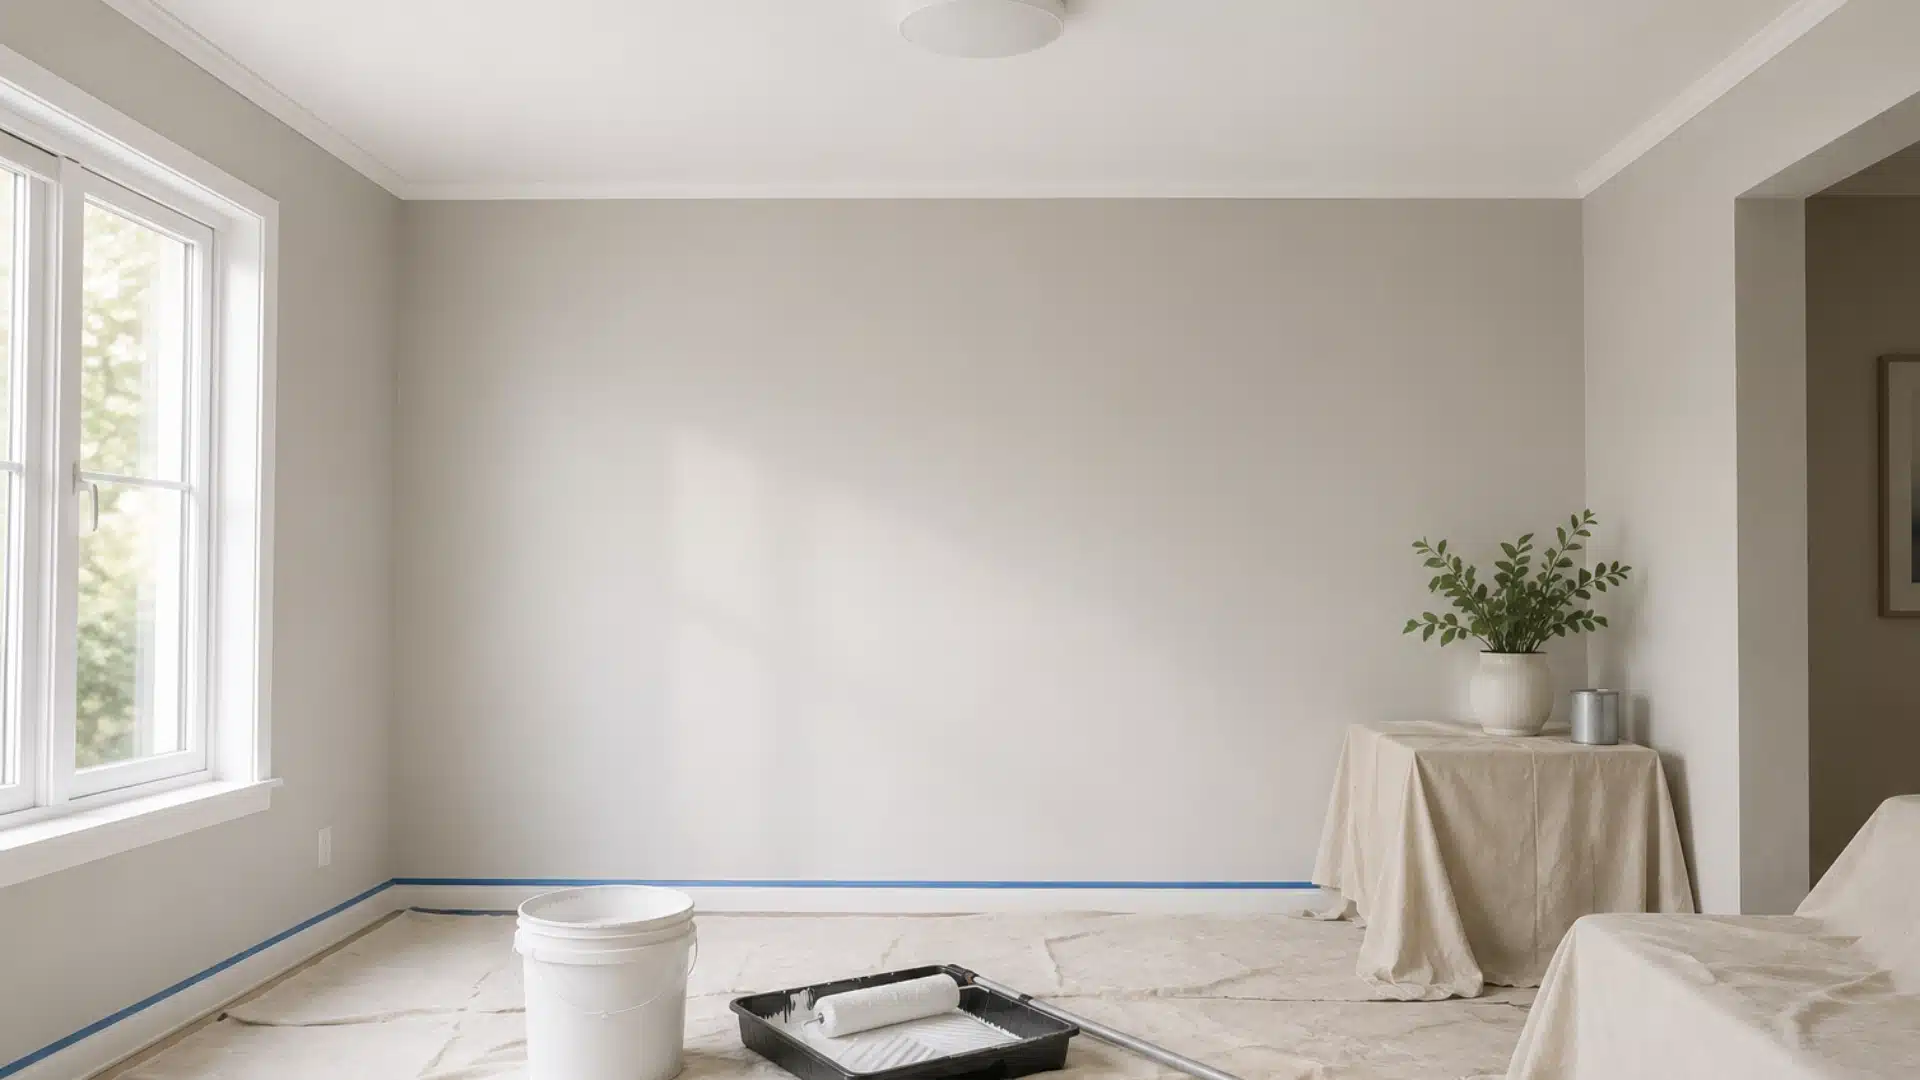
First, cover furniture with drop cloths, protect floors, and use painter’s tape around light fixtures and trim.
Also, check for cracks, stains, peeling paint, or water damage, and repair these issues first.
Most importantly, allow adequate drying time between coats to prevent streaks, patchiness, and uneven coverage.
With all this done, now it’s time to gather the supplies.
Tools and Materials You’ll Need
All the tools and materials listed below are commonly available in most houses.
And if they are not in your house, then don’t worry. You can easily get all of these at your local hardware store.
- Ceiling paint: flat/matte finish
- 2-inch angled brush for cutting in
- 3/8-inch nap roller cover
- Roller frame with extendable handle, 4–6 feet
- Drop cloths
- Painter’s tape, 1-inch
- Paint tray and liner
DIY Steps: How to Paint a Ceiling
Step 1: Clear the Room and Lay Drop Cloths
First and most importantly, move all the furniture out of the room or push it to the center and cover it completely.
Lay canvas drop cloths across the entire floor, overlapping the edges by at least 6 inches so paint can’t reach the floor through gaps.
Remove light fittings or ceiling roses where possible, or cover them tightly with painter’s tape.
Step 2: Clean and Prep the Ceiling Surface
Wipe down the ceiling with a dry microfibre cloth, and if there are old, flaking patches, sand them lightly with a 120-grit sanding sponge until smooth and flat.
Fill any cracks or nail holes with a lightweight spackling compound.
Allow 30 minutes to dry, then sand flush. And finally, spot-prime any filled areas with PVA-based primer before painting.
If the spackle sinks after drying, apply a second thin pass rather than one thick coat, as thick coats shrink and crack.
Step 3: Tape the Ceiling Edges
Run 1-inch painter’s tape along the top of every wall where it meets the ceiling.
Press the edge down firmly with a putty knife to prevent bleeding, and pull the tape at a 45-degree angle when removing.
Always pull the tape while the paint is still slightly tacky, not bone dry.
Step 4: Cut in Around the Perimeter
Load a 2-inch angled brush with ceiling paint (no more than 1 inch of bristles in the paint).
Work in 12-inch sections along the edge of the ceiling, holding the brush at a 45-degree angle, and cut in 2–3 inches from the wall.
If you get paint on the wall, wipe it off immediately with a damp cloth, as dried ceiling paint is much harder to remove cleanly.
Step 5: Roll the Ceiling in Sections
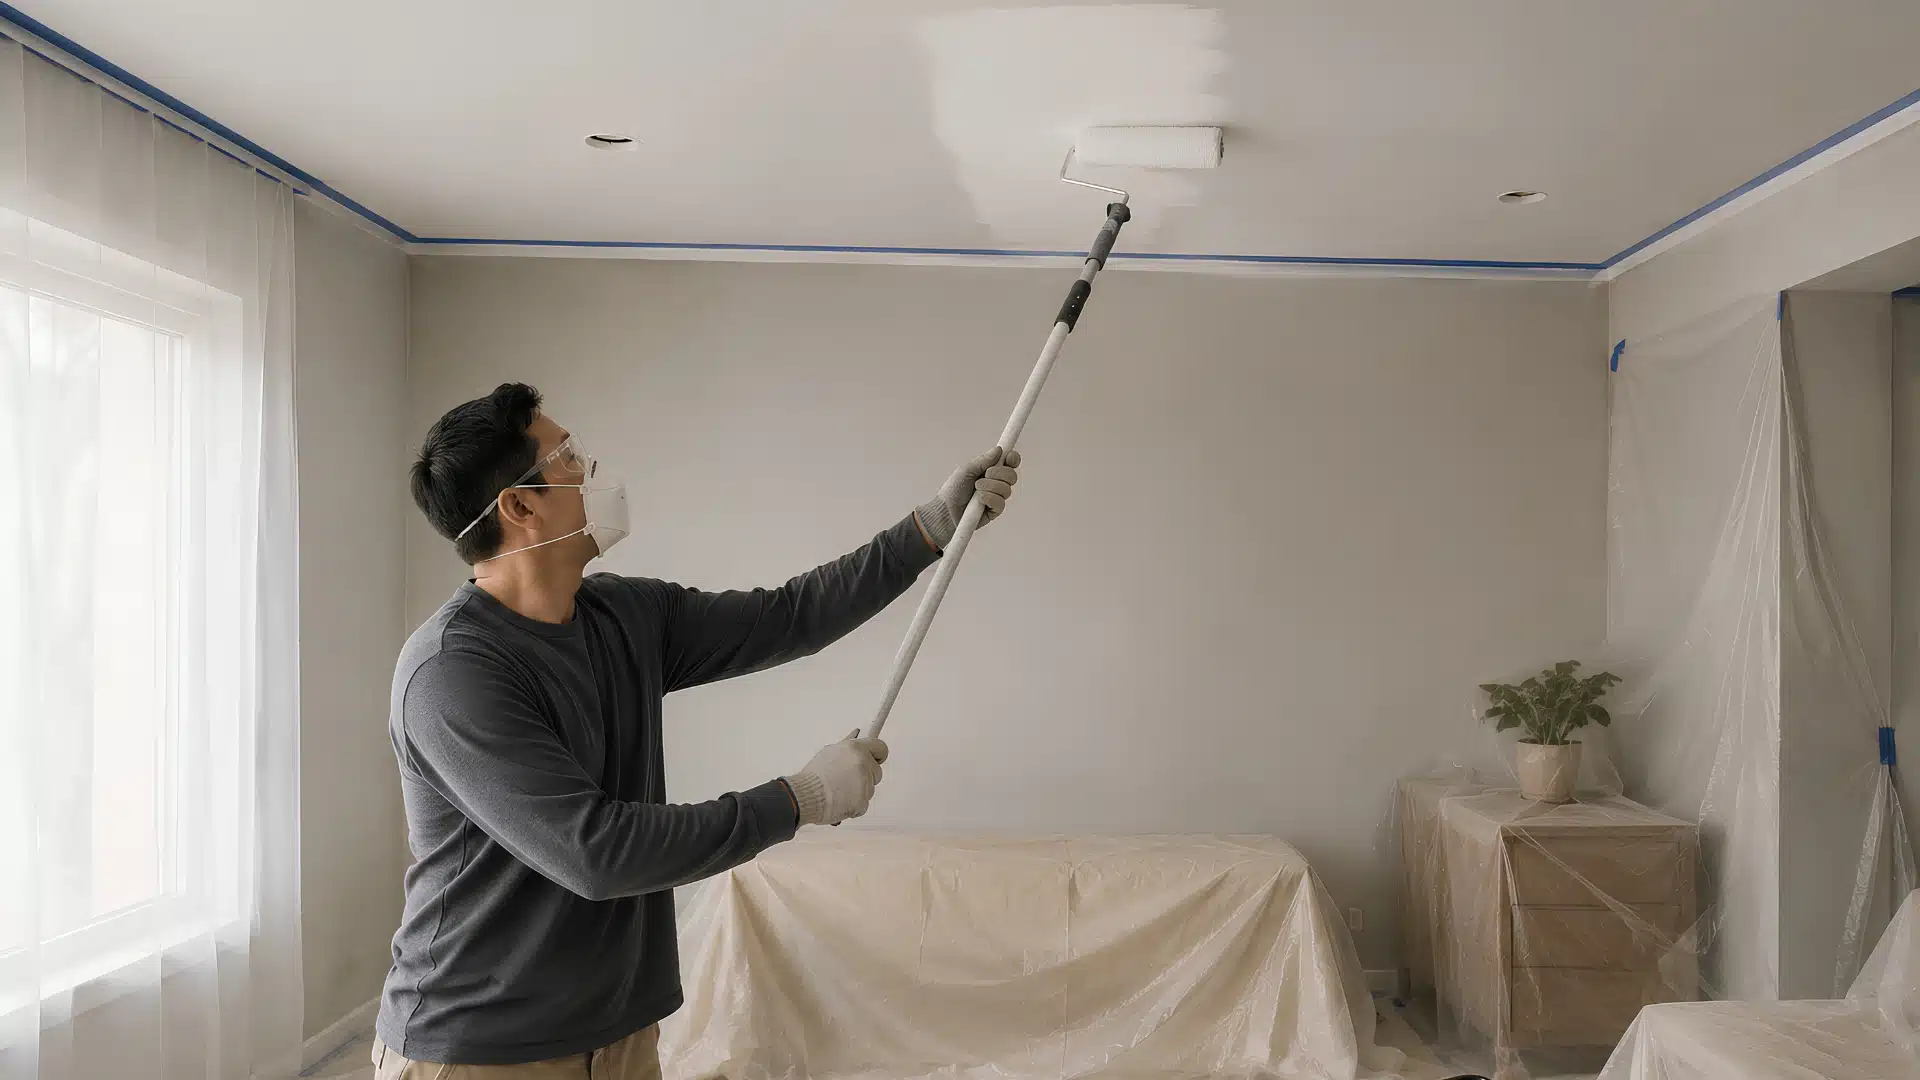
Pour ceiling paint into a lined tray. Load the roller, then roll off the excess on the tray’s ridged surface until the roller is evenly coated but not dripping.
Work in 3-foot-by-3-foot sections, rolling in a W or M pattern to distribute paint evenly.
At last, apply a second coat after 2 hours, rolling perpendicular to the first coat’s direction.
When Not to DIY
Going DIY is a budget-friendly choice for sure, but not always.
It’s smart not to go at it if your ceiling shows signs of active water damage, sagging drywall, or crumbling plaster.
These are signs of a leak or structural issue that needs to be treated by a professional before any paint goes on.
In the UK, ceilings in pre-1980s homes may contain artex with asbestos fibers.
So do not sand, scrape, or disturb the surface.
According to the Health and Safety Executive (HSE), artex installed before 2000 should be tested before any work begins.
If you spot any white powder or chalky residue falling from the ceiling, get a survey done.
Artex: A textured decorative coating popular on walls and ceilings, often contained white asbestos (chrysotile) for durability and fire resistance prior to being phased out in the mid-1980s and banned entirely in 1999. It is generally considered low-risk when left untouched, but releasing airborne fibers via sanding or scraping is extremely dangerous.
Final Thoughts
So, here we are. Just a few simple steps, a few things to consider, and the answer to how to paint a ceiling becomes an easy one.
And remember, always focus on the prep the most. Covering your furniture, wearing a mask, and taking all safety measures matter the most.
Now go on and give it a try. Have fun and start your DIY painting project today!
Frequently Asked Questions (FAQs)
1. Can You Use Wall Paint on a Ceiling?
You can, but it’s not ideal. Ceiling paint is formulated with a flat sheen and a thicker consistency to reduce drips and hide surface imperfections.
2. How Do You Paint a Ceiling Without Getting Marks?
Keep your roller wet enough to leave a consistent coat, maintain a wet edge by working section-to-section without stopping, and roll your second coat in the opposite direction to the first.
3. Do You Need to Prime a Ceiling Before Painting?
Not always. If you’re repainting a ceiling that’s already painted in a similar color, you can skip primer.