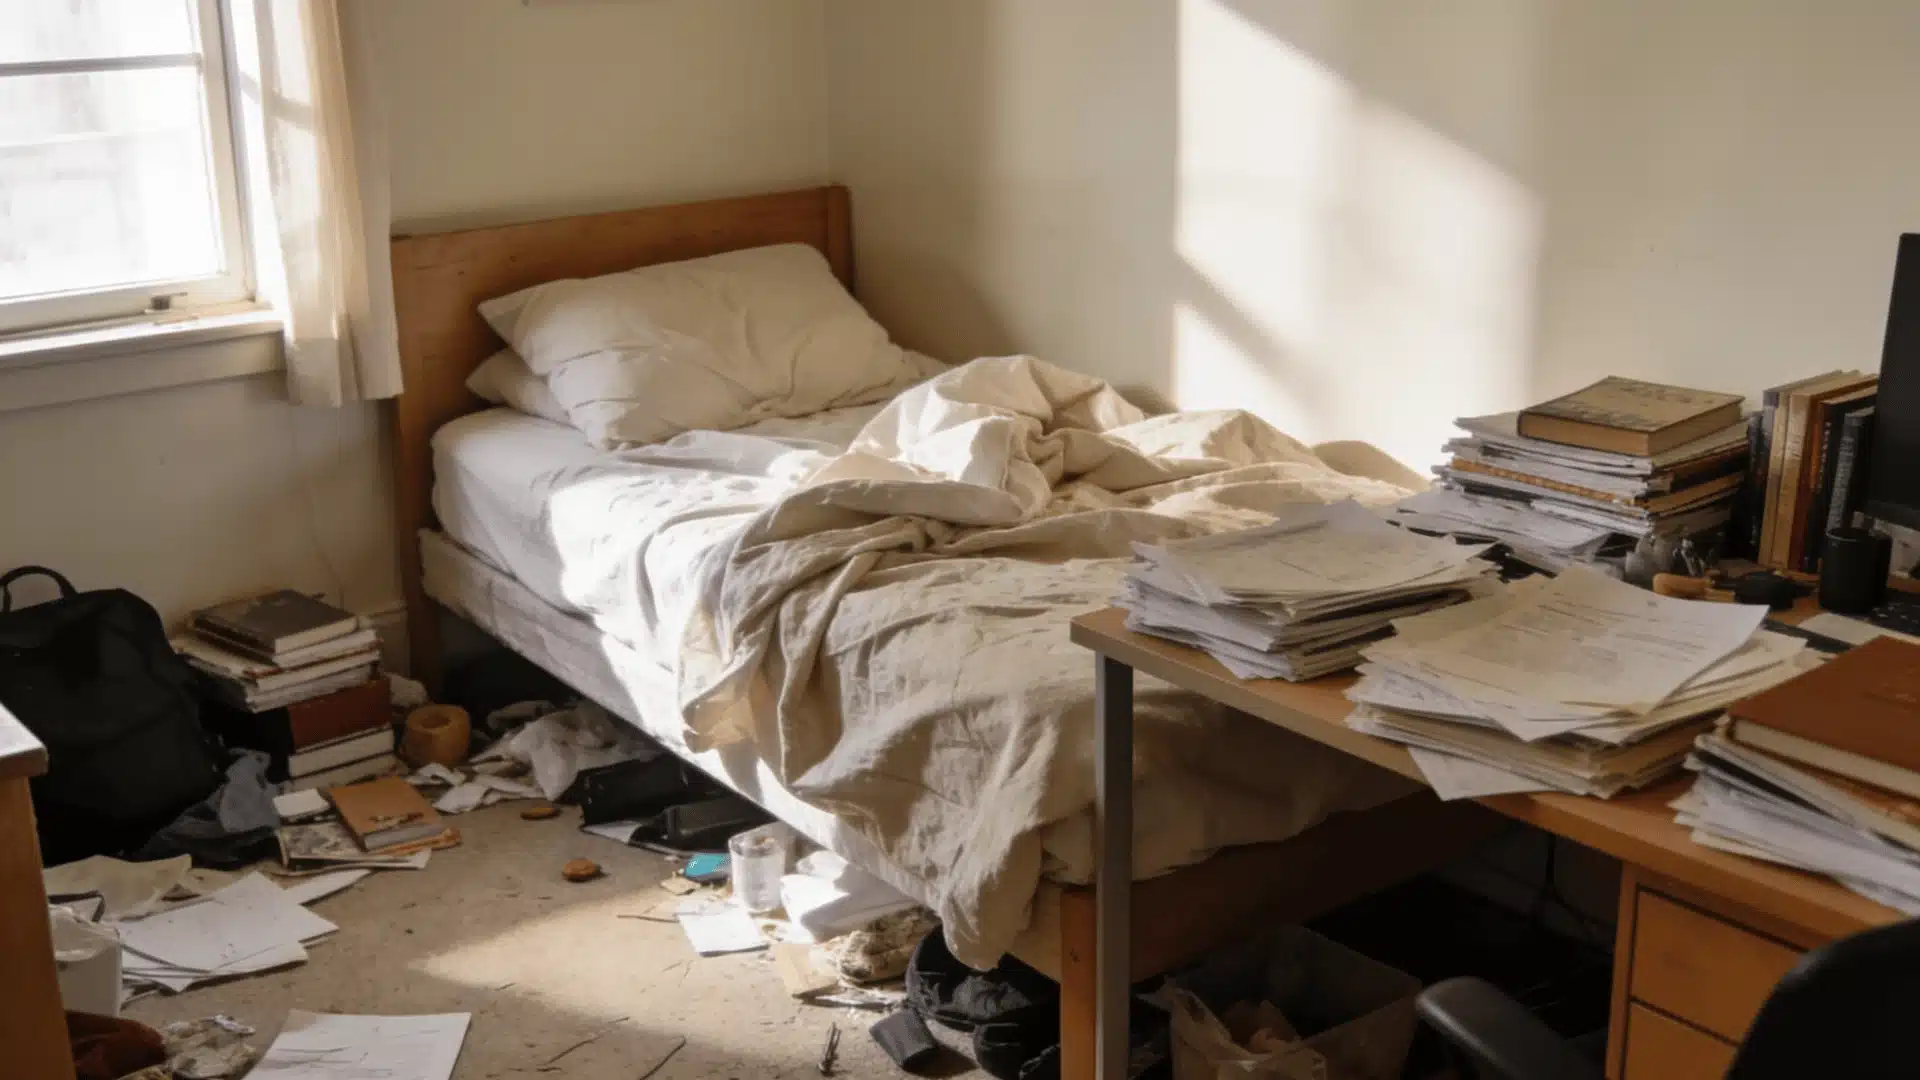

Your room looks fine on Sunday. By Wednesday, stuff is back on the floor.
That is not a willpower problem. It is a system problem.
Organizing your room properly means setting up a structure that makes tidiness the path of least resistance, not the result of effort.
Here you will find some clear steps to go from cluttered to calm, plus the storage and habit systems that keep it that way.
A room that stays organized runs on one rule: every item has a fixed place, and that place makes sense for how you actually use the room.
How to Organize Your Room for a Cleaner Daily Routine
A tidy room does not just look better. It changes how your mornings go.
When your clothes have a place, your desk is clear, and you are not hunting for your keys, you move through the day faster and with a lot less stress.
Here is something most people do not connect: a cluttered room does not just look bad.
It actually makes you more tired. Visual mess competes for your attention even when you are not actively looking at it.
That pile on the chair, the stuff on the floor, and the things stacked on the desk, your brain registers all of it, and it adds up.
Organizing your room is not a one-day project you do once and forget. It is a short setup phase followed by a very simple daily habit.
Get both right, and the room holds itself.
Before You Start: Set Up Your Organizing Plan
Jumping straight into sorting without a plan is how most people end up with a worse mess than they started with. Ten minutes of preparation save hours of backtracking.
Pick a Realistic Time Frame
Give yourself a full morning or afternoon, at minimum 3 hours for a standard bedroom.
Rushing this is exactly why rooms go back to being messy so fast. Decisions suffer, items end up back in drawers without logic, and the system never gets set properly.
If your schedule only allows shorter windows, split the job: Day 1 is decluttering only. Day 2 is clean and zone setup. Day 3 is organizing and labeling.
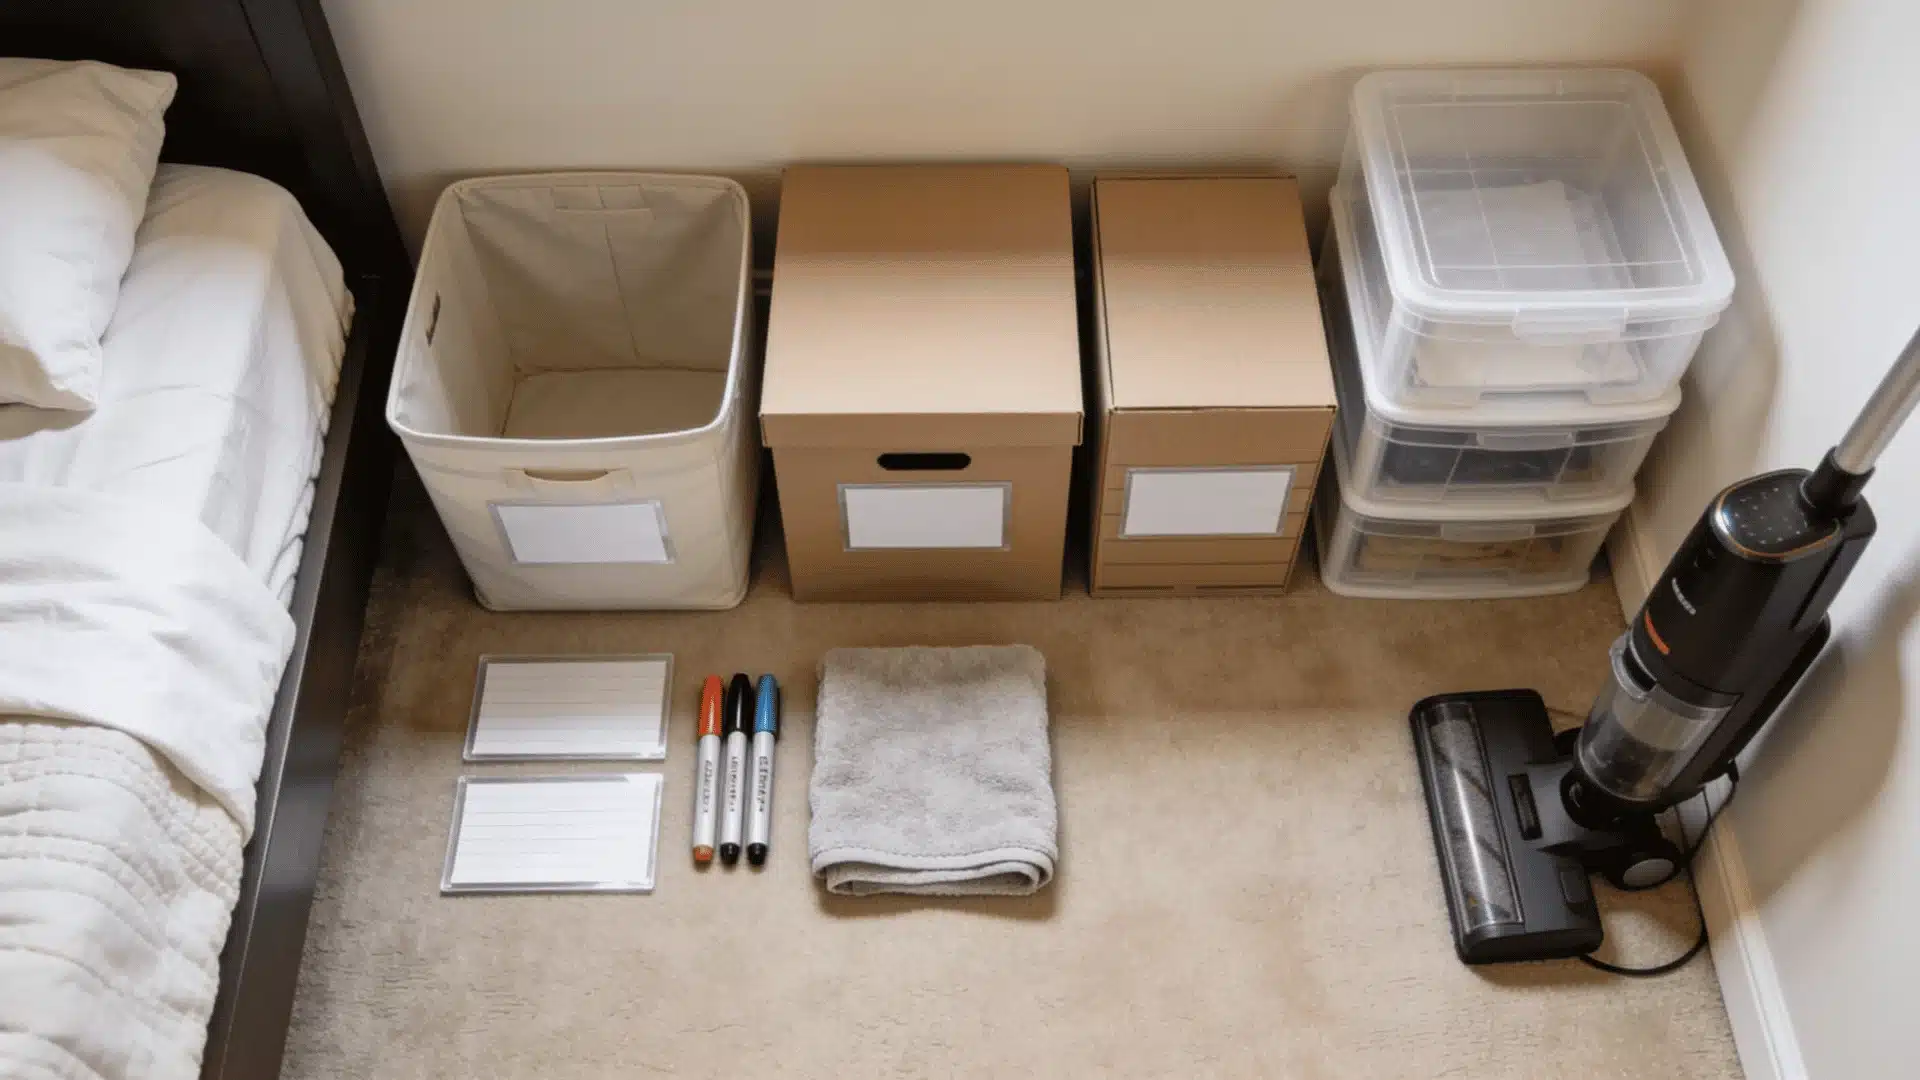
Gather Your Basic Supplies
Before you touch a single drawer, get everything you need in the room:
- 3 large bin bags or boxes, labeled keep, donate, and trash
- An all-purpose surface cleaner and a microfibre cloth
- Storage boxes or bins in two sizes
- A label maker or masking tape, and a permanent marker
- A vacuum cleaner
You do not need to buy anything before you start. Shoeboxes and repurposed containers work fine. The point is to have something ready, so decisions get made on the spot, not deferred.
Decide Your Goal for the Space
Before you sort a single item, decide what you want the room to feel like:
- Minimal: Clear surfaces, storage out of sight
- Cozy: A few personal items on show, but intentional
- Functional: Built around work or study, access speed over appearance
- Display-forward: Shelves as part of the look need strong editing to avoid tipping into clutter
Rooms that end up cluttered again quickly usually had no clear goal to begin with.
Here is How to Organize Your Room, Step by Step
Now that you have your plan ready, it is time to get into it. These steps take you from a cluttered room to a calm, organized space that actually stays that way
Step 1: Declutter Everything First
Pull everything into the open and sort into four piles:
- Keep – you use it, it belongs in this room, it has a logical home here
- Donate – usable but no longer needed; goes to a charity shop or someone you know
- Trash – broken, expired, or genuinely useless
- Relocate – belongs in another room and has been living here by default
Start with clothes. Remove every item of clothing from the wardrobe, drawers, and floor. Pile them on the bed. Then move to books, then paperwork, then miscellaneous items on surfaces.
Do not stop in the middle of a category. Finishing one pile before starting another is the rule that keeps this from becoming a bigger mess than you started with.
Handle Emotional Clutter Carefully
Sentimental items are where most decluttering sessions stall.
The fix: give yourself one dedicated box for genuinely sentimental things, a size you decide in advance. What fits, stays. What does not fit forces a real decision.
For anything you feel unsure about, use the 12-month rule. If you have not used or thought about it in a year, it leaves.
And for gifts from people still in your life, you are not obligated to keep something just because it was given to you. A photo works just as well.
The “One Surface at a Time” Method
If the full room feels too much, clear and sort one surface completely before touching the next. Floor first, then desk, then bedside table, then wardrobe.
This stops the most common mistake: pulling everything out at once, getting overwhelmed, and giving up. One surface at a time keeps progress visible.
You can stop after any surface, and the room is never worse than when you started.
Step 2: Sort Everything Into Three Piles
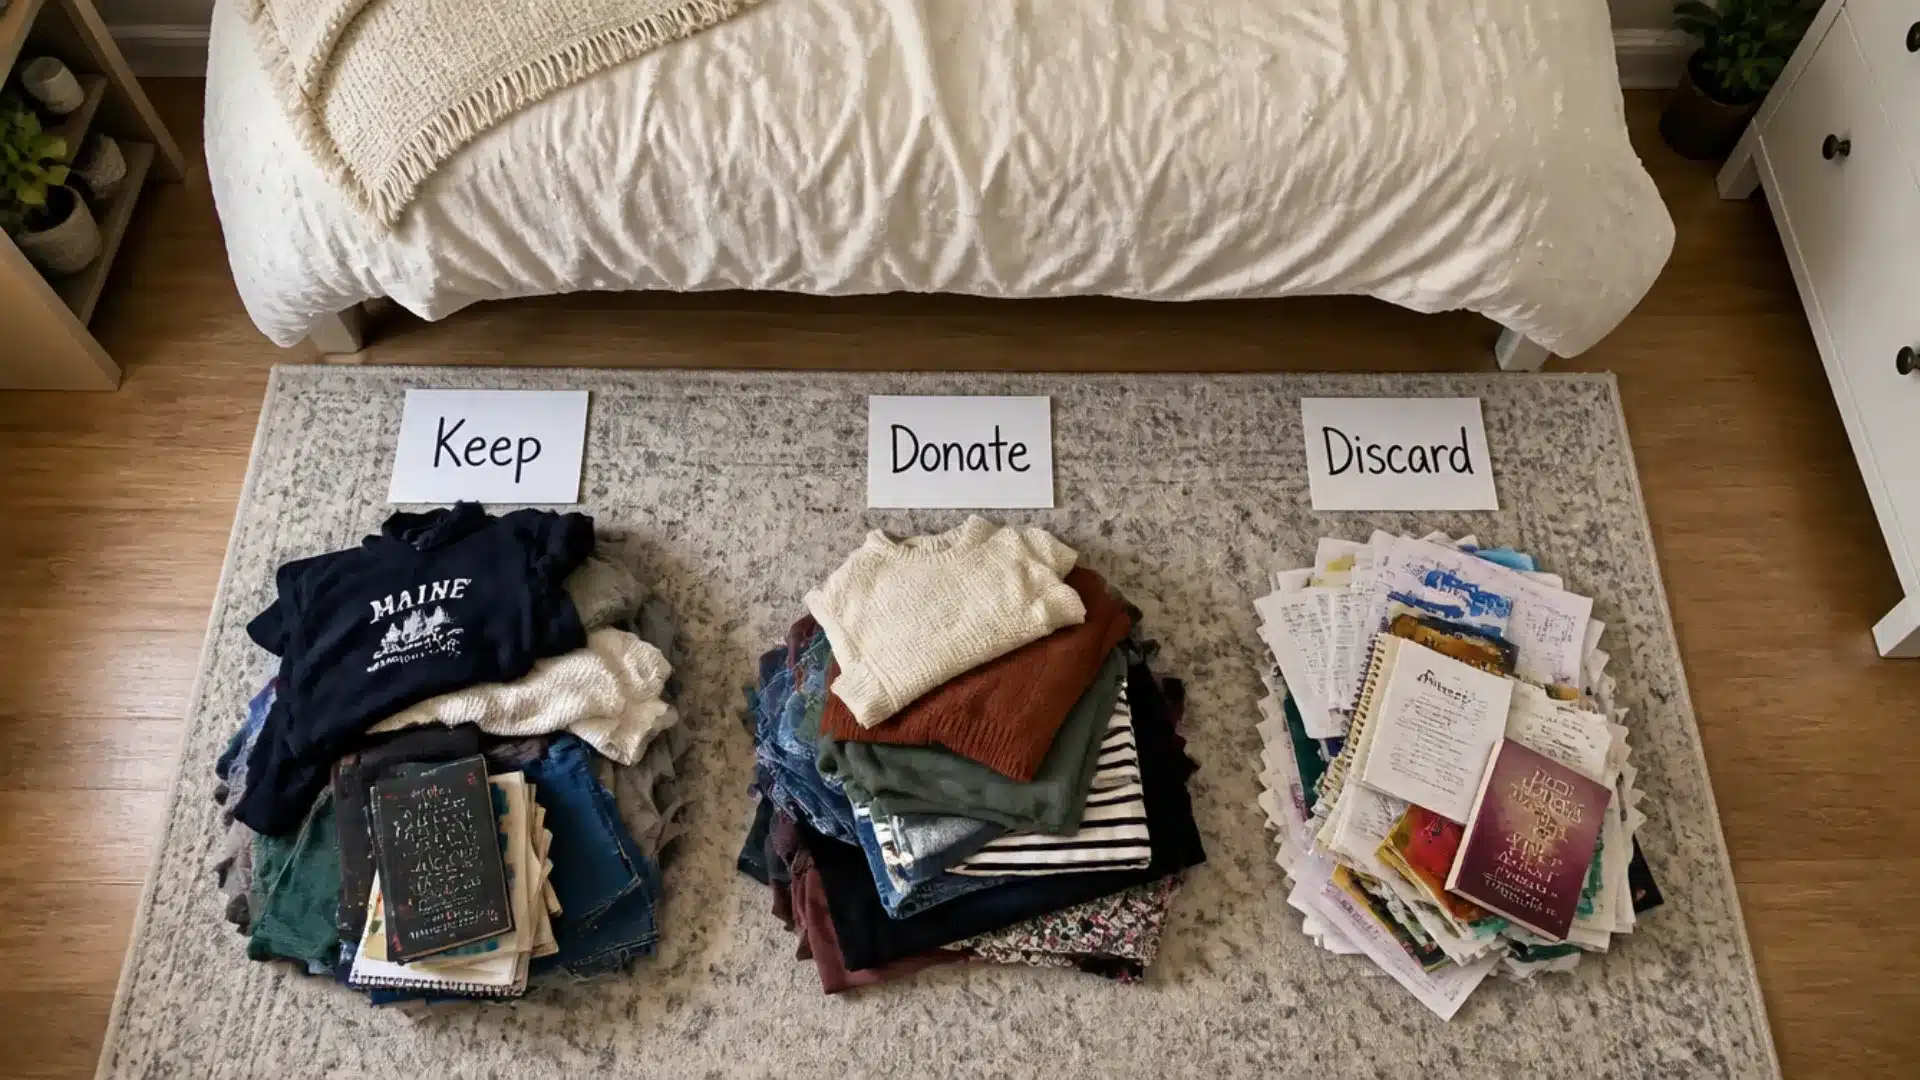
Keep, Donate, or Discard No “Maybe” Pile
Hold each item and decide: keep, donate, or discard. There is no fourth option. A “maybe” box is where organizing efforts usually stop.
The rule: if you have not used it in 12 months and it has no fixed purpose in your room, it does not stay.
For clothes specifically, use the one-year rule plus fit. If it does not fit now, it leaves regardless of sentiment. For paperwork: keep only documents that are legally or practically necessary. Shred or recycle the rest.
Step 3: Clean the Space Before Putting Anything Back
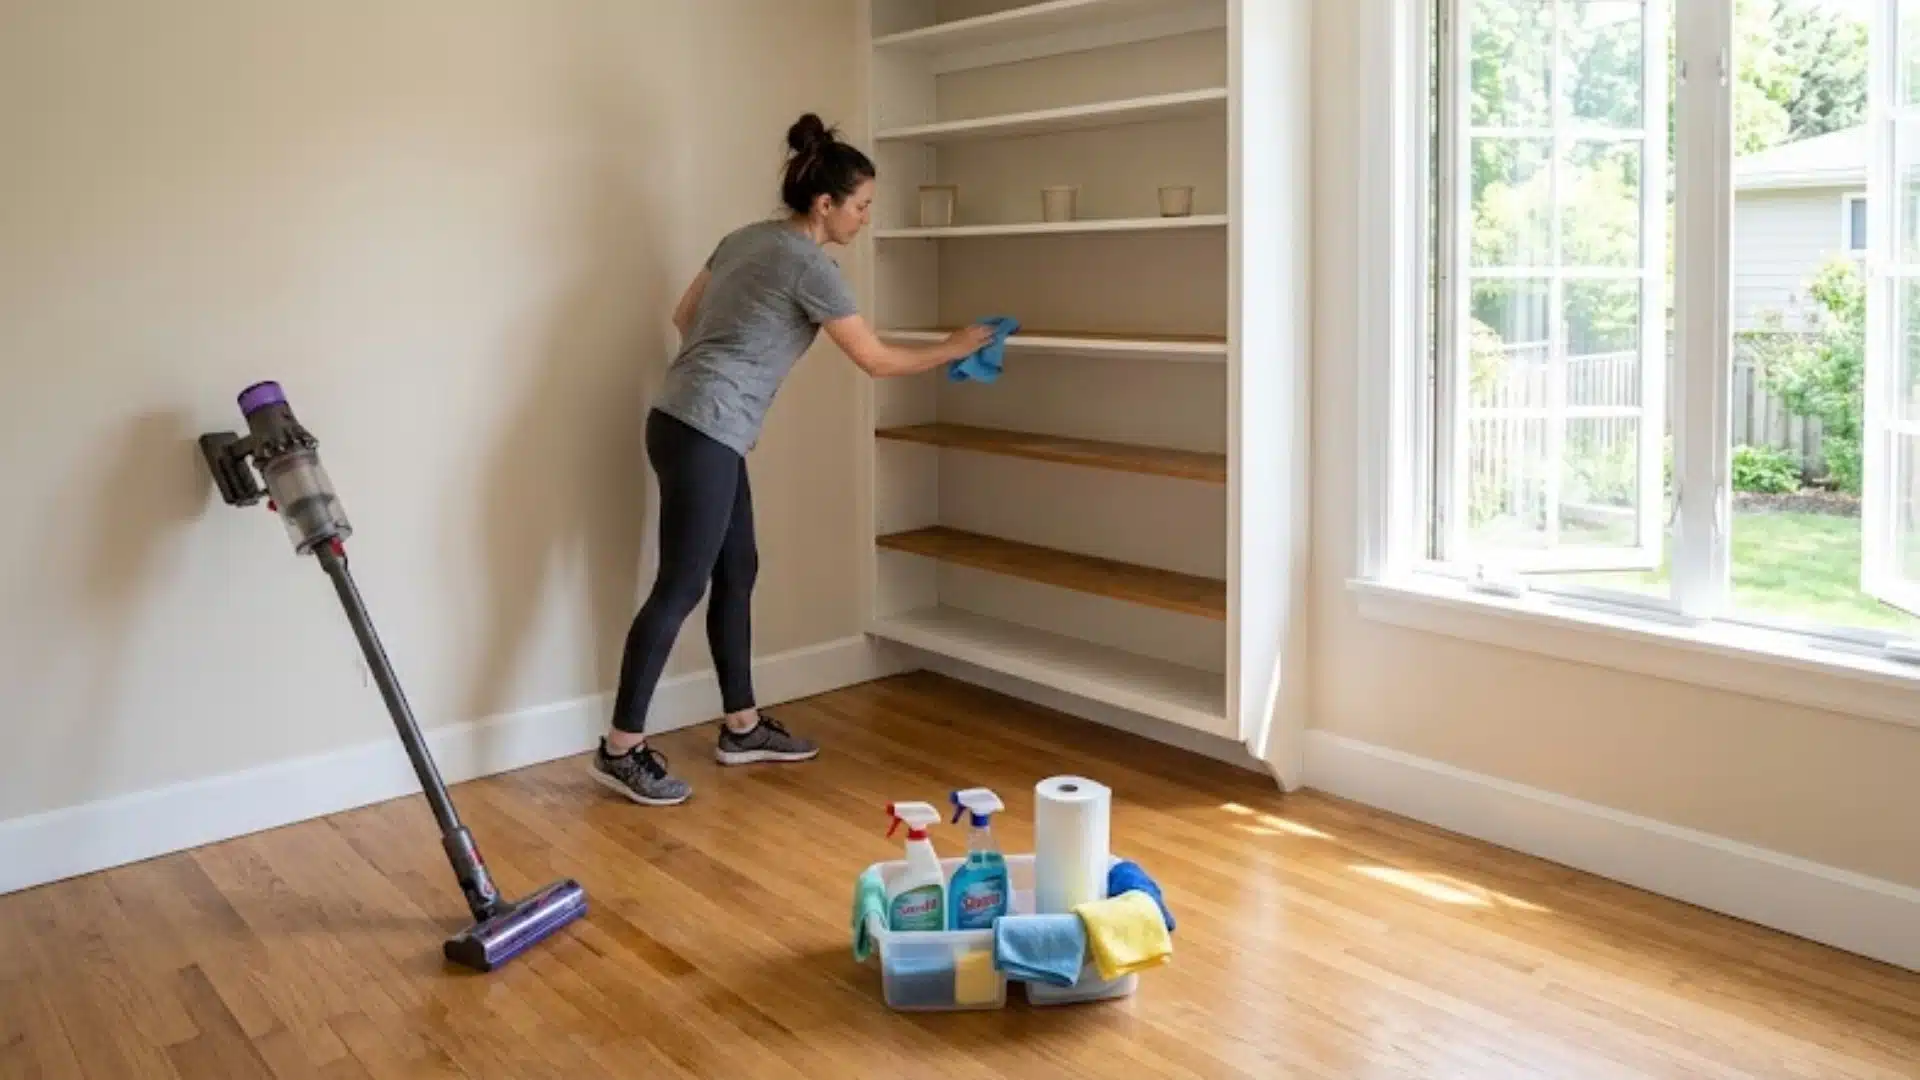
Wipe down every surface while the room is empty.
This is the step most people skip.
With the room cleared, vacuum the floor, including under furniture, wipe down the interiors of every shelf and drawer with an all-purpose cleaner, and allow 15–20 minutes to dry before returning anything.
Pay attention to the inside corners of wardrobes and the tops of door frames.
Dust accumulates there and gets transferred straight back to clean items if you skip it.
Step 4: Set Up Zones for Each Area of the Room
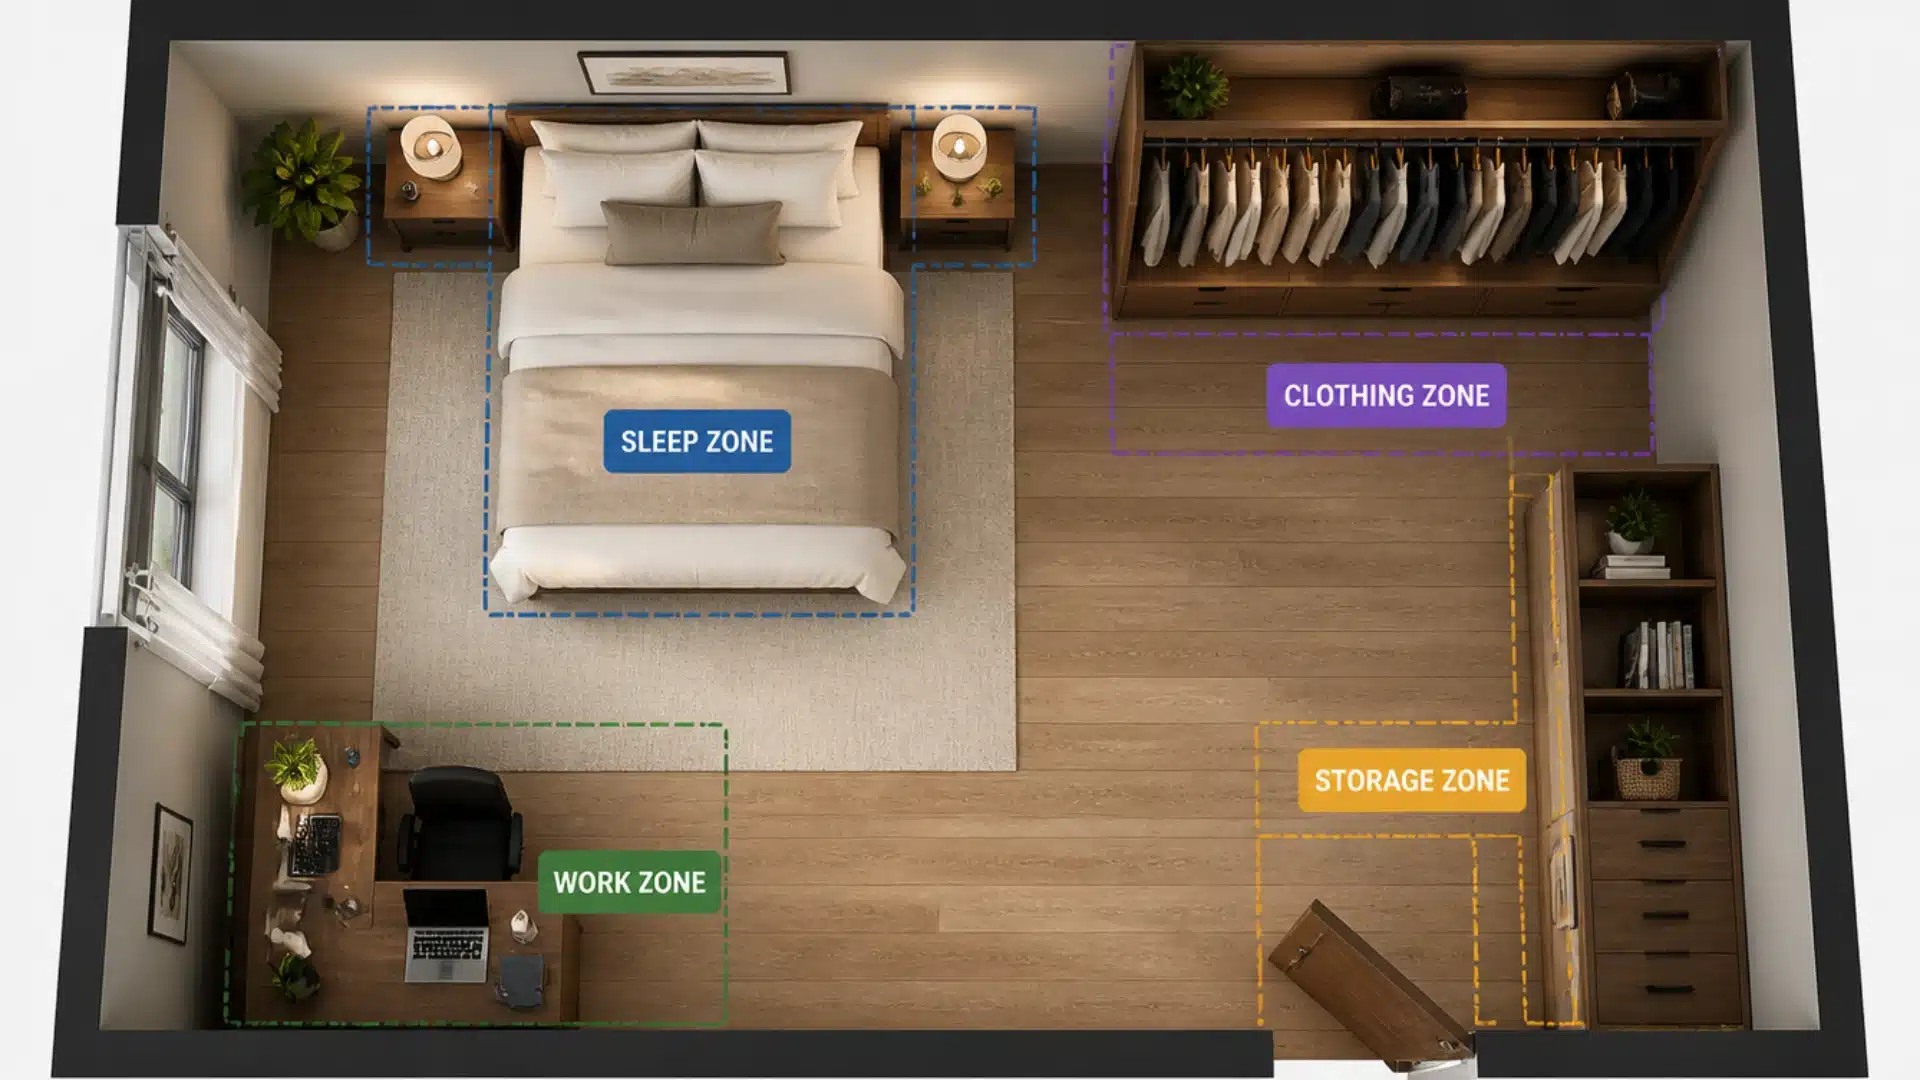
Map your room into four functional areas.
Before putting anything back, decide what each part of the room is for:
- Sleep zone: bed area, bedside table only sleep and wind-down items here (book, phone charger, water glass, lamp)
- Work or study zone: desk only (work items: laptop, notebooks, one pen holder with no more than 6 pens)
- Clothing zone: wardrobe and drawers; no non-clothing items are stored here
- Storage zone: under-bed, shelving, cupboard, seasonal and less-used items only
Keep zones hard. If your room doubles as a home office, assign the desk a fixed boundary and do not let sleep items migrate to it.
Step 5: Return Items and Assign Fixed Spots
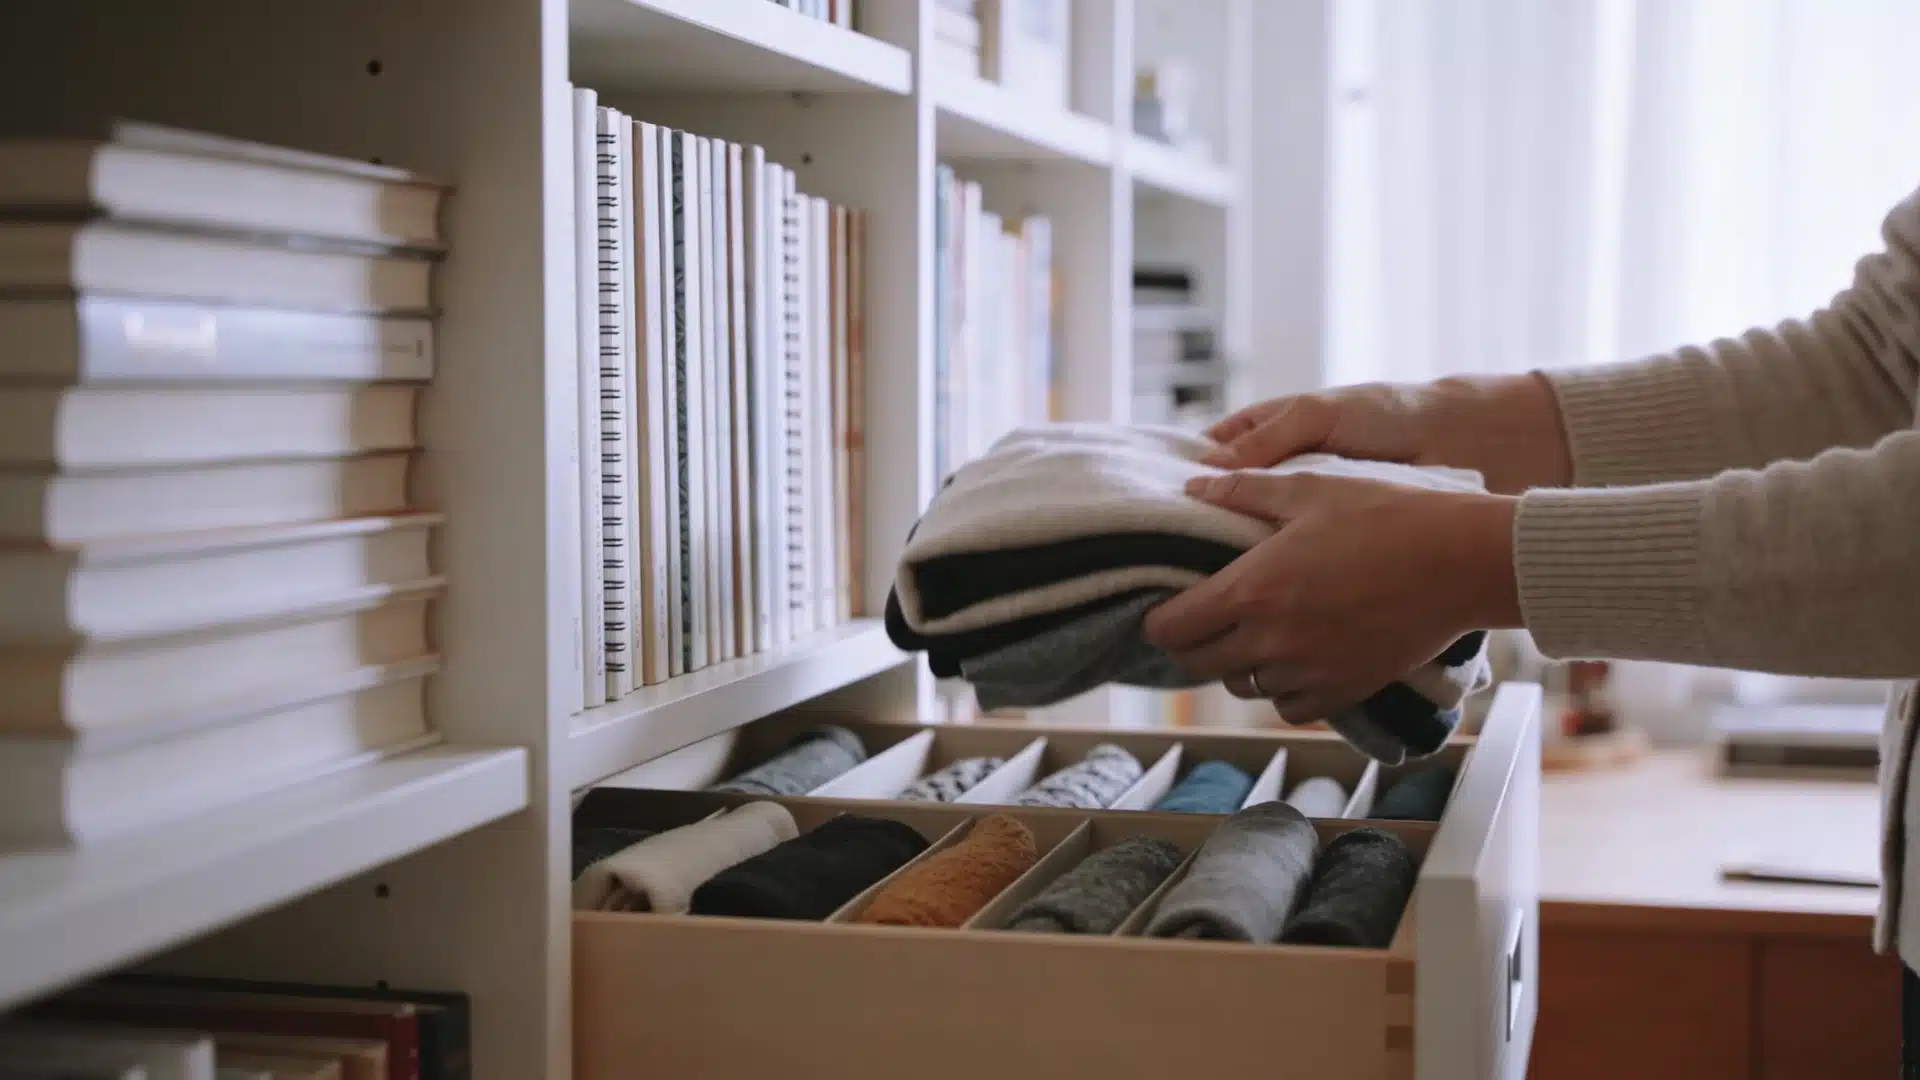
Every item needs one place and only one place.
Return only the “Keep” items. As you put each one back, assign it a fixed location. Do not put anything down temporarily. If you cannot immediately decide where it belongs, it goes in the storage zone until you can.
Clothes: fold and stack vertically in drawers (visible from above, not layered). Hang items that crease, like jackets, shirts, and trousers, and group them by type.
Books: spine out, grouped by subject or frequency of use. The most-used books are at eye level.
Desk items: only what you use daily stays on the surface. Everything else goes in a drawer or off the desk entirely.
Inline troubleshooting: If an item does not have an obvious fixed spot, you either have too many of that item or too little storage for it. Resolve the cause, not the symptom, before forcing it somewhere it does not fit.
Step 6: Label and Contain Loose Items
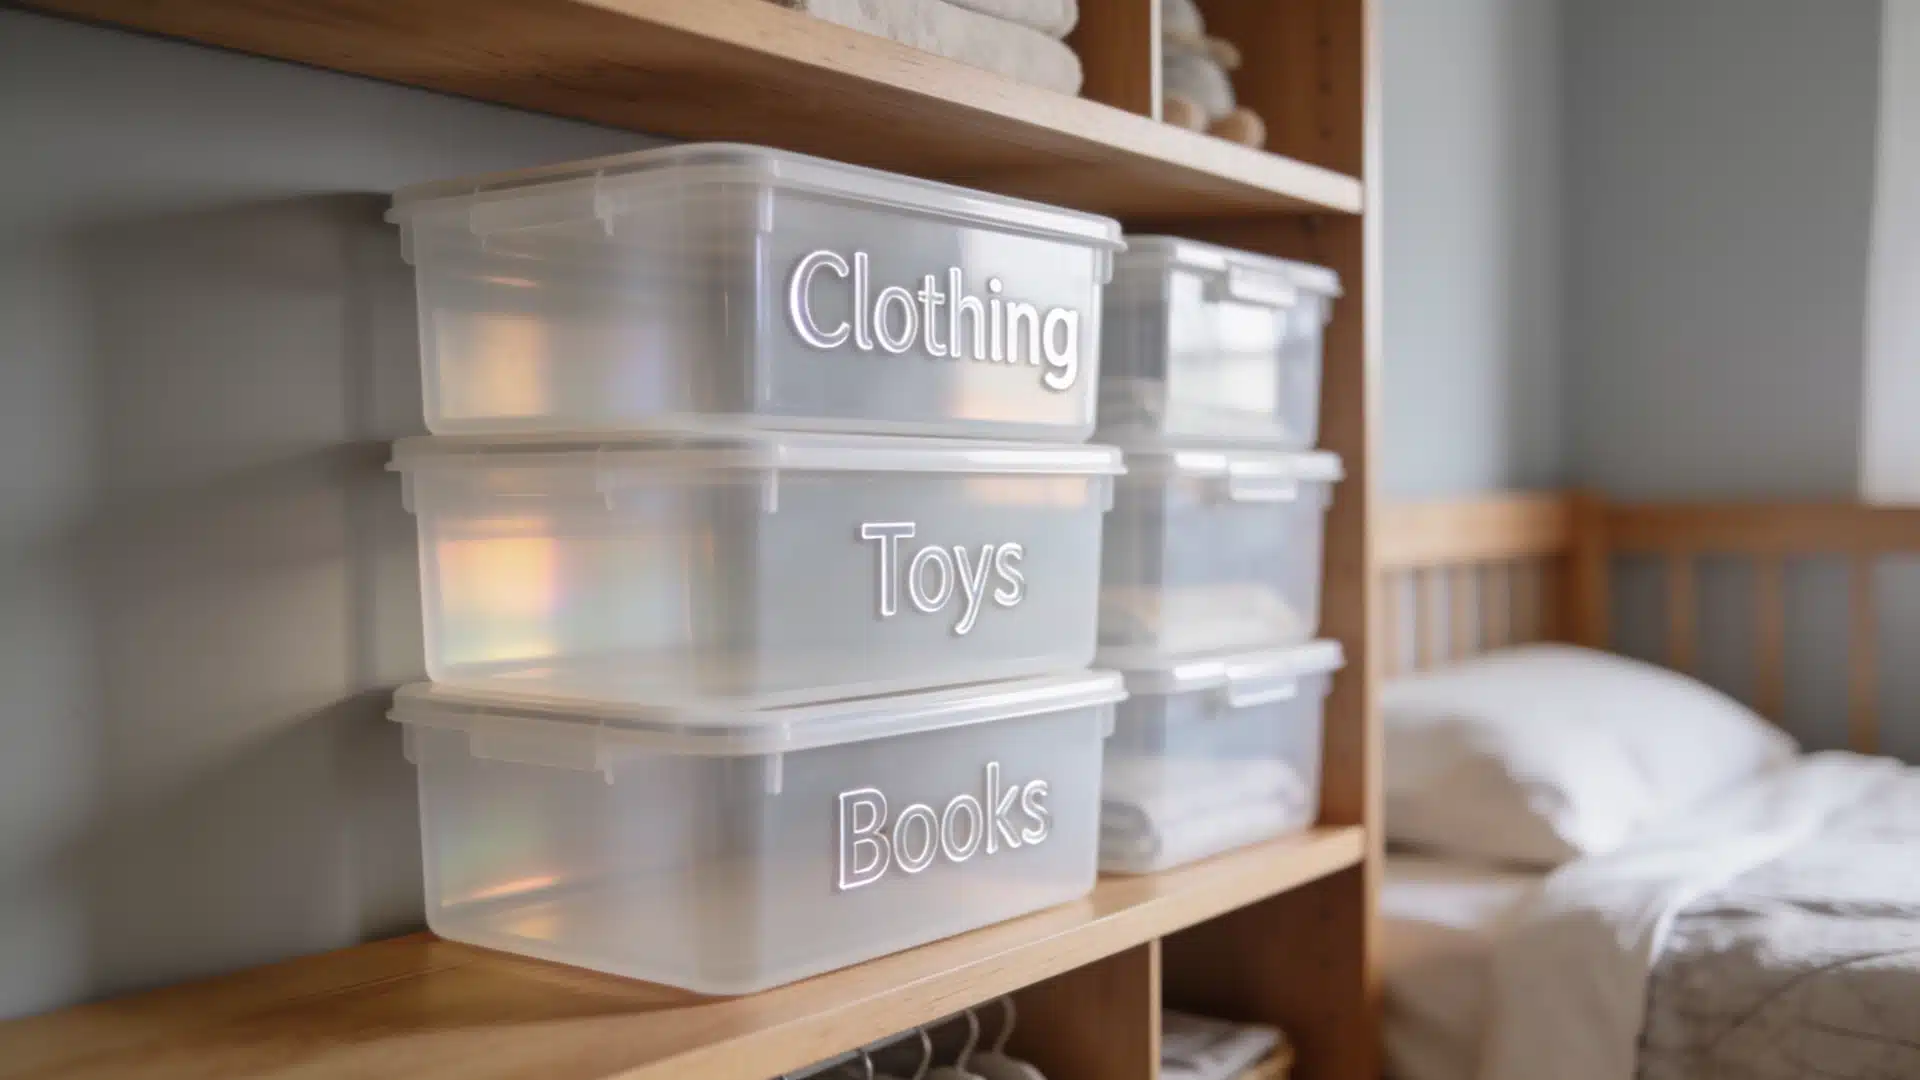
Bins and Labels Prevent the Drift Back to Clutter
Any category of item that tends to accumulate cables, stationery, skincare, and small accessories needs a container. Place like items together in one bin or box, and label the outside.
Use stackable bins for shelves and drawers.
For under-bed storage, use flat zip-close bags (24” × 16”) labeled by season or category: winter bedding, spare towels, and out-of-season clothes.
Labels do not need to be printed. Masking tape and a marker work just as well and are faster to update when categories shift.
Step 7: Set a 10-Minute Weekly Reset
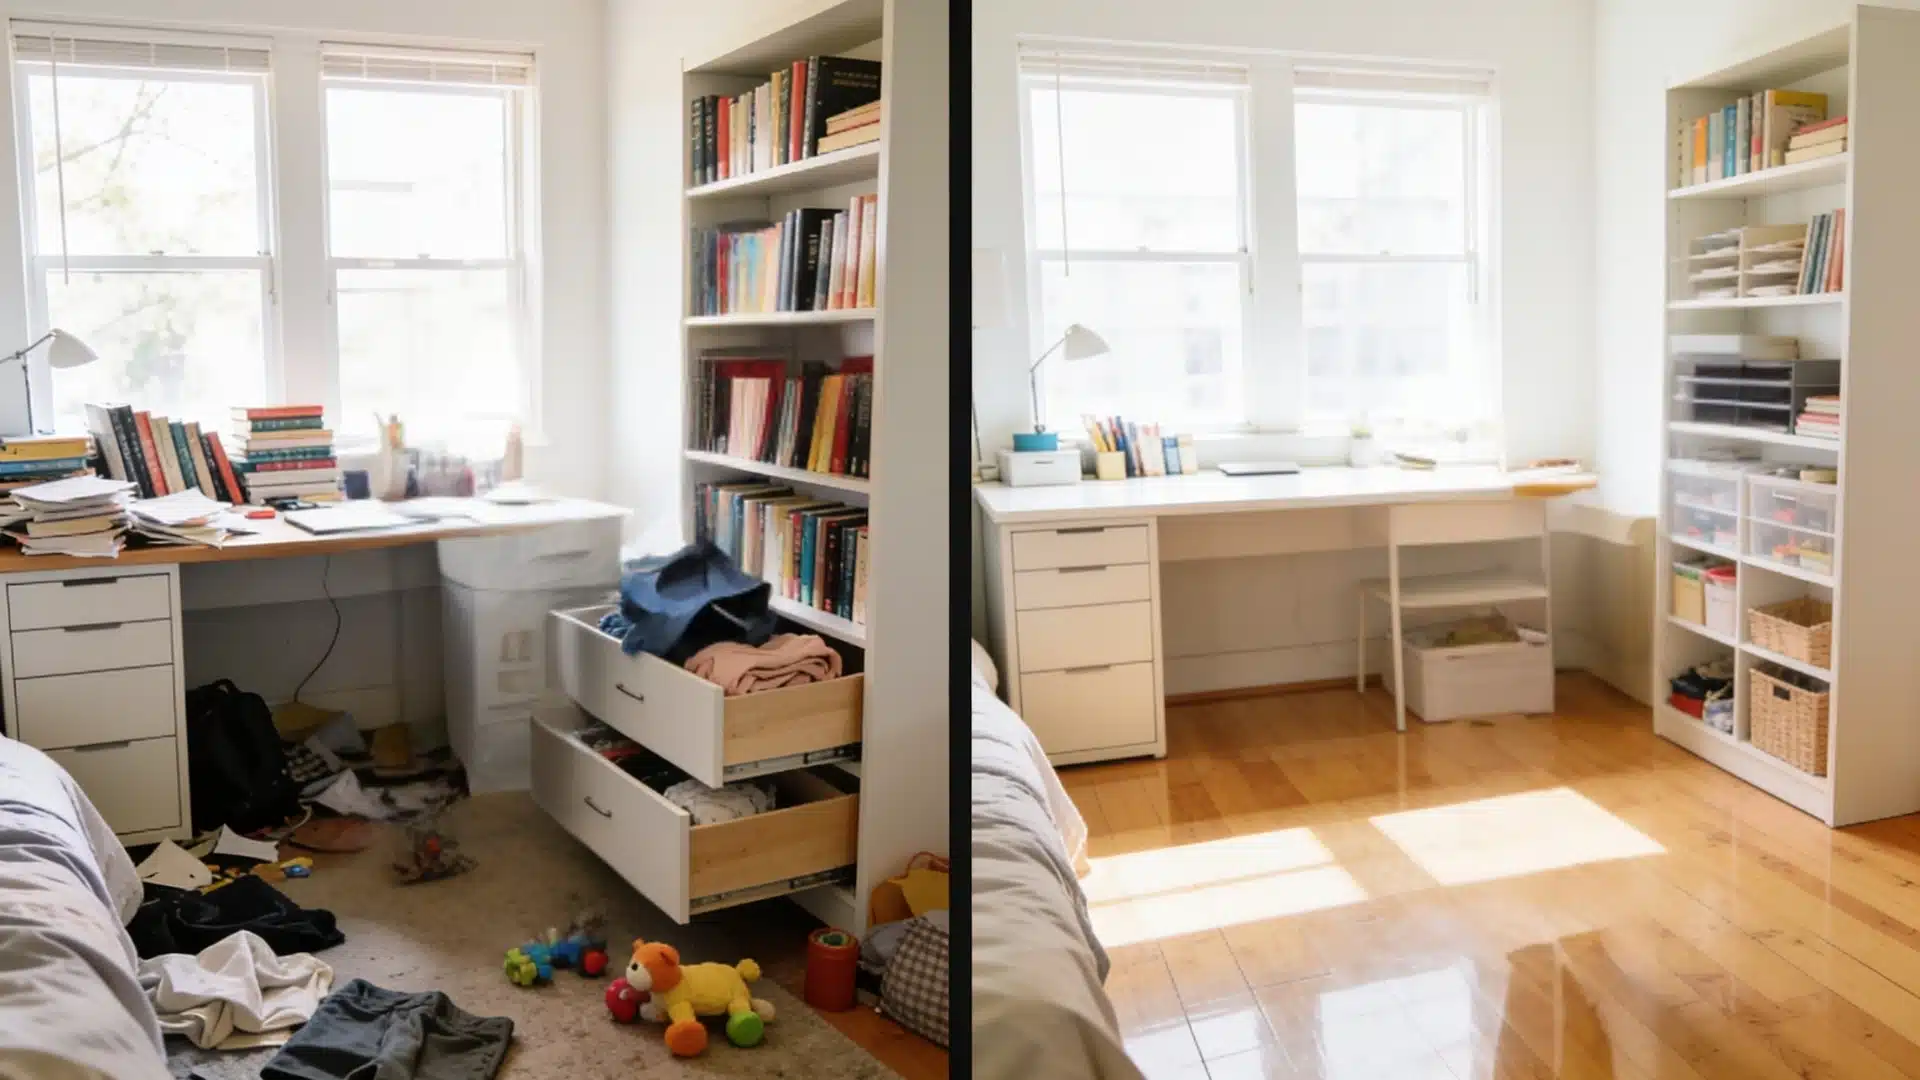
The system only holds if you maintain it.
Pick one day each week; Sunday evening works well, and do a 10-minute reset.
Return anything out of place to its fixed spot. Clear the desk surface completely. Check the floor.
Ten minutes is the threshold. If the reset takes longer than that, something in the system needs adjusting; either a zone boundary has drifted or a new category of item has arrived without a home.
Shared Room Organization Strategies
Organizing a shared room, whether with a partner, a flatmate, or a sibling, needs one extra step before anything else: agreement on the system.
A well-organized room does not work if one person puts things back and the other does not. That is not an organizing problem. That is a communication problem, and no storage solution fixes it.
Start here:
- Divide storage clearly. Each person has their own defined zones, including separate wardrobe sections, drawers, and shelf space. No shared drawers with ambiguous ownership.
- Agree on shared surface rules. Decide together what lives on the desk, bedside table, and windowsill and what does not. Shared surfaces without rules become dumping grounds fast.
- Set a shared reset day. Both people participate. One person doing all the maintenance all the time breeds resentment, and the system collapses.
For couples sharing a bedroom where one person has significantly more items than the other, particularly clothing, allocate storage proportionally rather than equally.
An equal split sounds fair, but it rarely is when wardrobe volumes differ by a factor of three.
Keeping Your Room Organized Long-Term
The goal was never a perfect room. It was a room that worked for you without constant effort.
You now have a clear process: declutter, clean, zone, sort by frequency, label and contain, and then maintain with a 5-minute daily habit.
Keep the systems simple enough that following them takes less effort than not following them.
That is the threshold a good organizational system has to cross. Hit that bar, and the room holds itself.
Frequently Asked Questions (FAQs)
1. What is the Easiest Way to Start Organizing a Messy Room?
Start with the floor. Clear it completely, sort by category, and build from there.
2. How do I Organize my Room When I Have too Much Stuff?
Declutter before you organize. Reduce the volume first because storage solutions cannot fix too much stuff.
3. How Often Should I Clean and Reorganize my Room?
A 5-minute daily reset plus a 15-minute weekly tidy keeps most rooms consistently organized year-round.
4. What are Some Simple Storage Ideas for Small Rooms?
Use over-door hooks, shelf risers, vertical wall storage, and flat under-bed bags to maximize space without buying much.