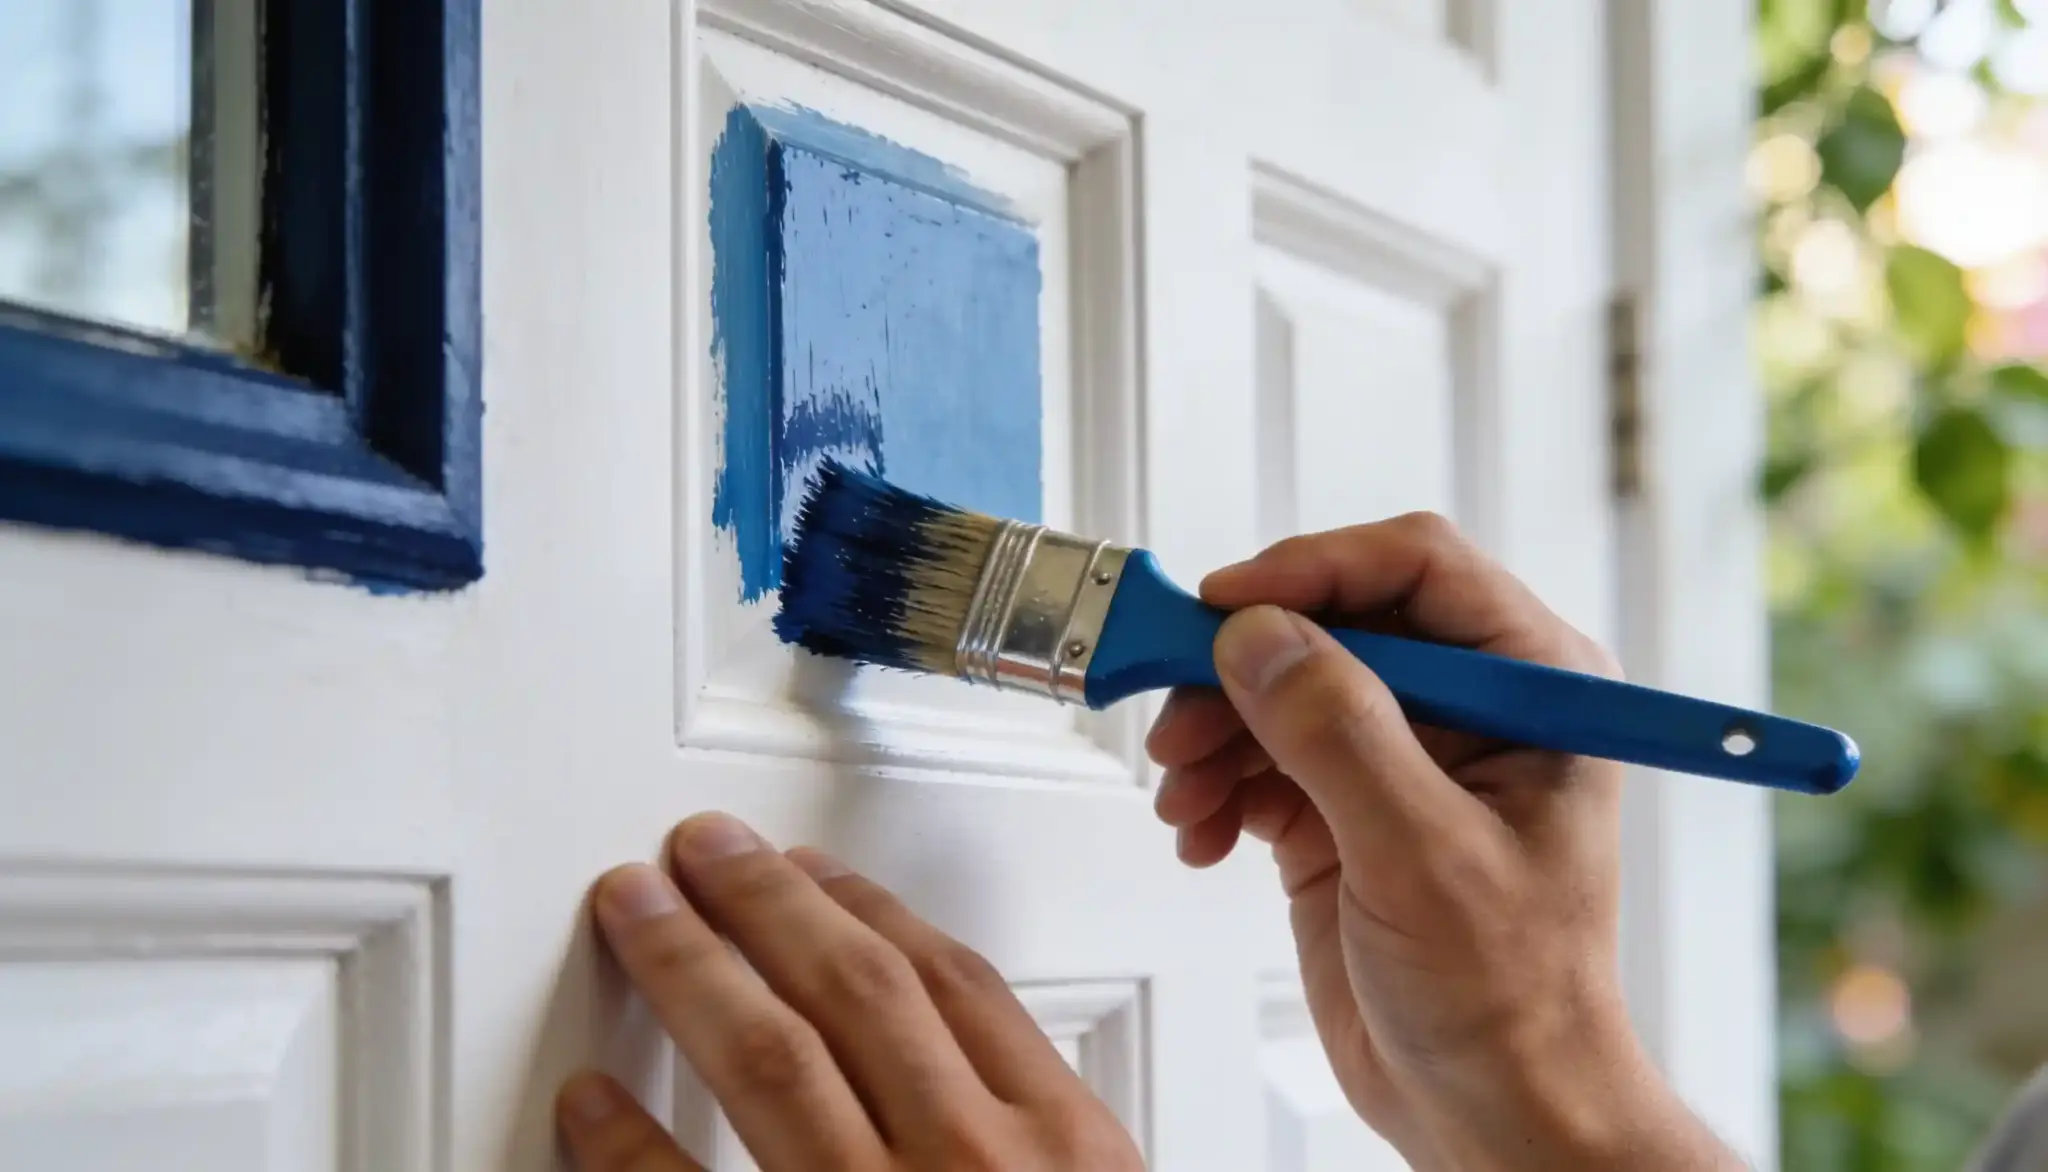

Painting a door is not easy, at least not the way most people do it: brush marks, drips near the hinges, and paint that never quite dries evenly.
The fix has nothing to do with buying better paint. It comes down to prep work people skip entirely.
You can always learn how to paint doors properly – but without any rush. Just sand the door, prime it, then apply two thin coats — brush for the edges, roller for the flat sections. Skip the foam roller, and give each coat real time to dry.
Keep reading, because the next few sections cover every step of painting a door in detail, so your door looks freshly done and stays that way for years.
Tools and Materials Needed for Door Painting
Skill level: Beginner to intermediate | Working time: 2-3 hour | Total curing time: 24-48 hours
You just need patience, since most of the time is spent waiting for coats to dry rather than actually painting. Before you start, gather everything on this list.
Tools:
- Screwdriver
- Sandpaper (120 and 220 grit)
- Tack cloth or a damp rag
- Paintbrush (angled sash brush works best)
- Small roller and tray
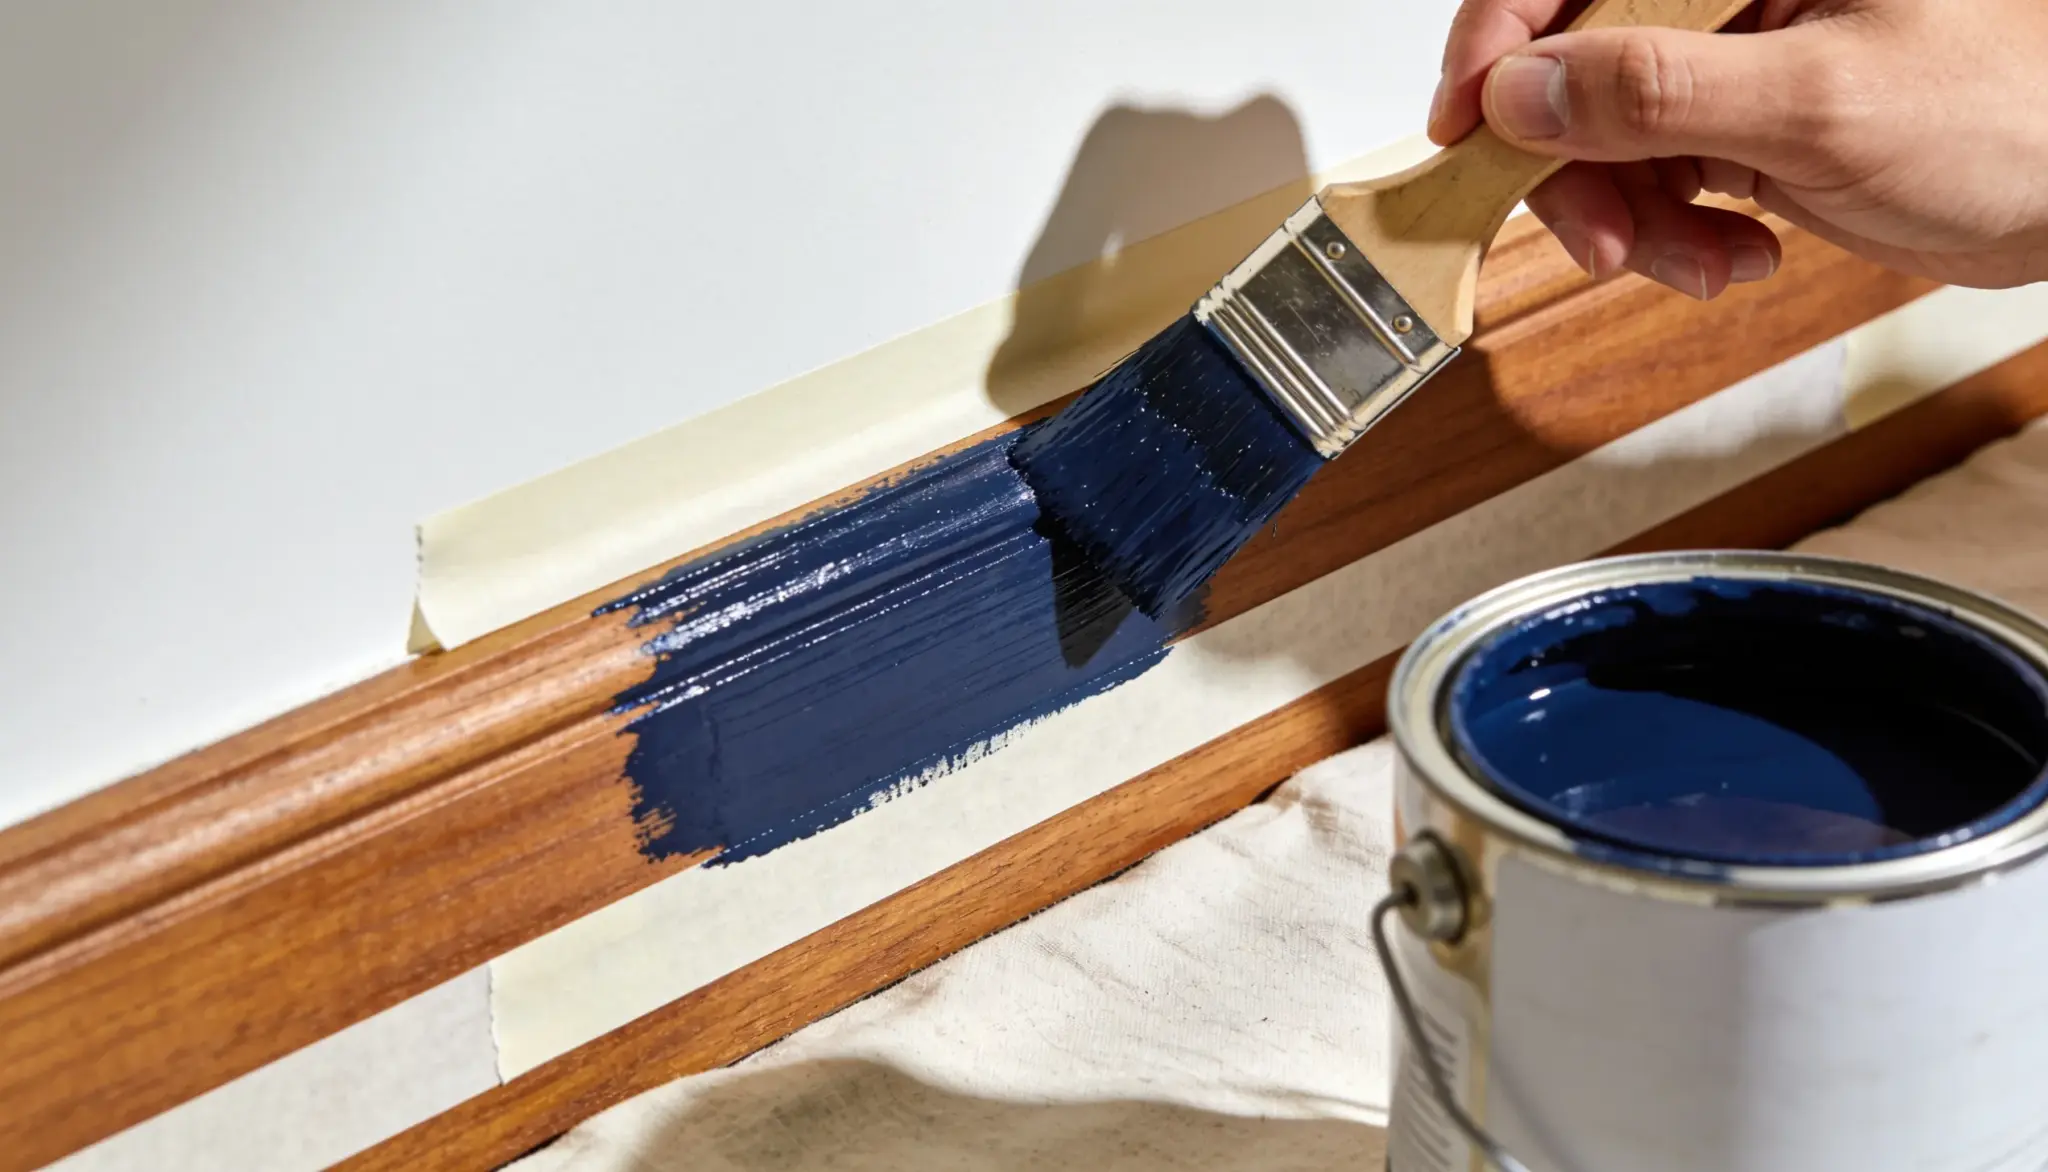
- Painter’s tape
- Drop cloth or old sheets
- Sawhorses or a workbench
Materials:
- Wood filler
- Primer suited to your door material
- Paint (satin or semi-gloss holds up best on doors)
- Mineral spirits or soapy water
If you want a primer built for this job specifically, Sherwin-Williams makes a Cabinet, Door & Trim Primer made for high-touch surfaces like doors. It’s a solid pick if your local store carries it.
Also, skip the foam roller. It leaves tiny bubbles on the surface that show up once the paint dries.
Prep Before Door Painting is Very Important and Cannot be Skipped
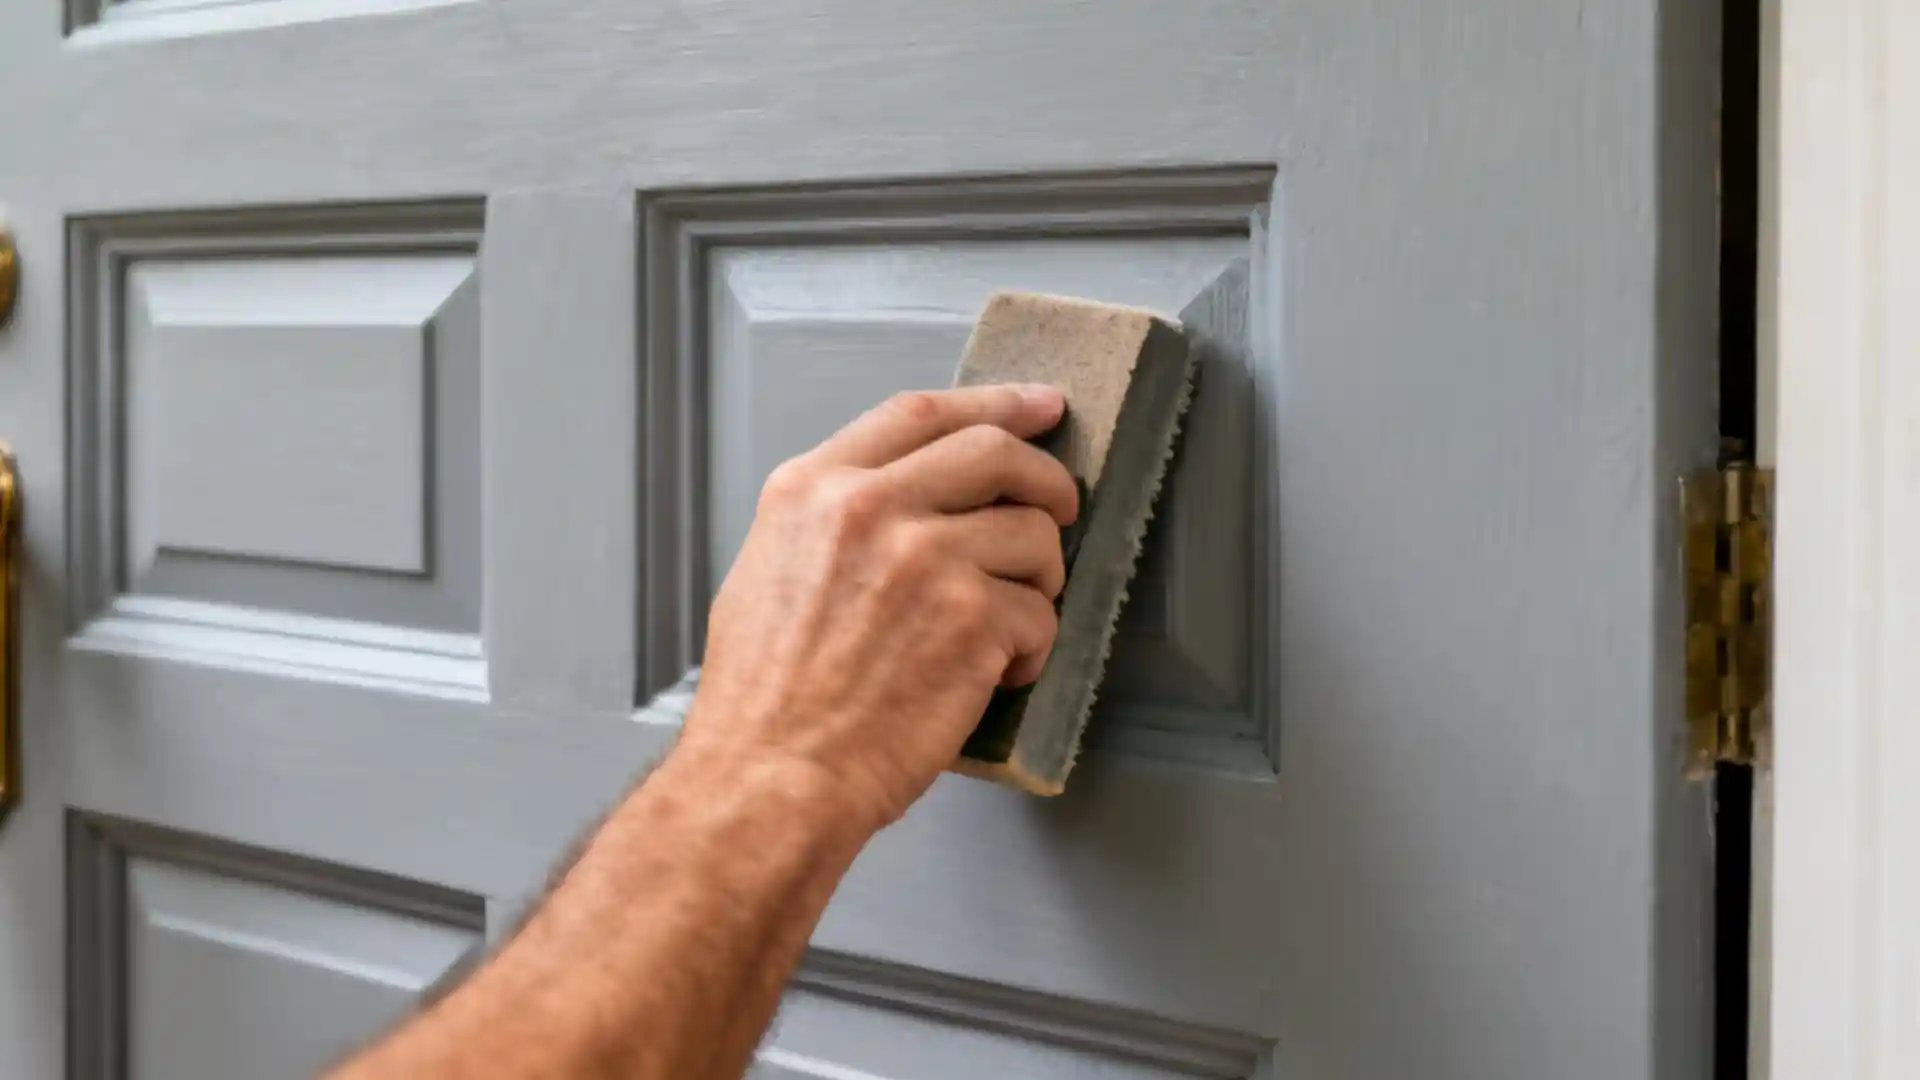
Because the prep decides your final finish and not the paint.
1. Remove the Door: Take the door off its hinges and lay it flat on sawhorses or a workbench.
2. Remove Hardware: Unscrew the doorknob, hinges, and any locks or handles. Set the screws aside in a small bag so you do not lose them.
3. Clean the Surface: Wipe the door down with soapy water to remove dirt, grease, and grime. Let it dry fully before you move on.
4. Fill Holes and Dents: Use wood filler on any cracks, dents, or old nail holes. Let it dry as directed on the label, then smooth it out.
5. Sand the Door: Sand the entire surface with 120-grit sandpaper first, then switch to 220-grit for a smoother finish. Sanding helps the paint adhere to the wood rather than peeling off later.
6. Wipe Away Dust: Use a tack cloth or a slightly damp rag to remove all sanding dust. Any dust left behind will get trapped under the paint and ruin the smooth finish you want.
You might like - How to Paint Baseboards for a Clean and Fresh Finish?
How to Paint Doors Step-By-Step
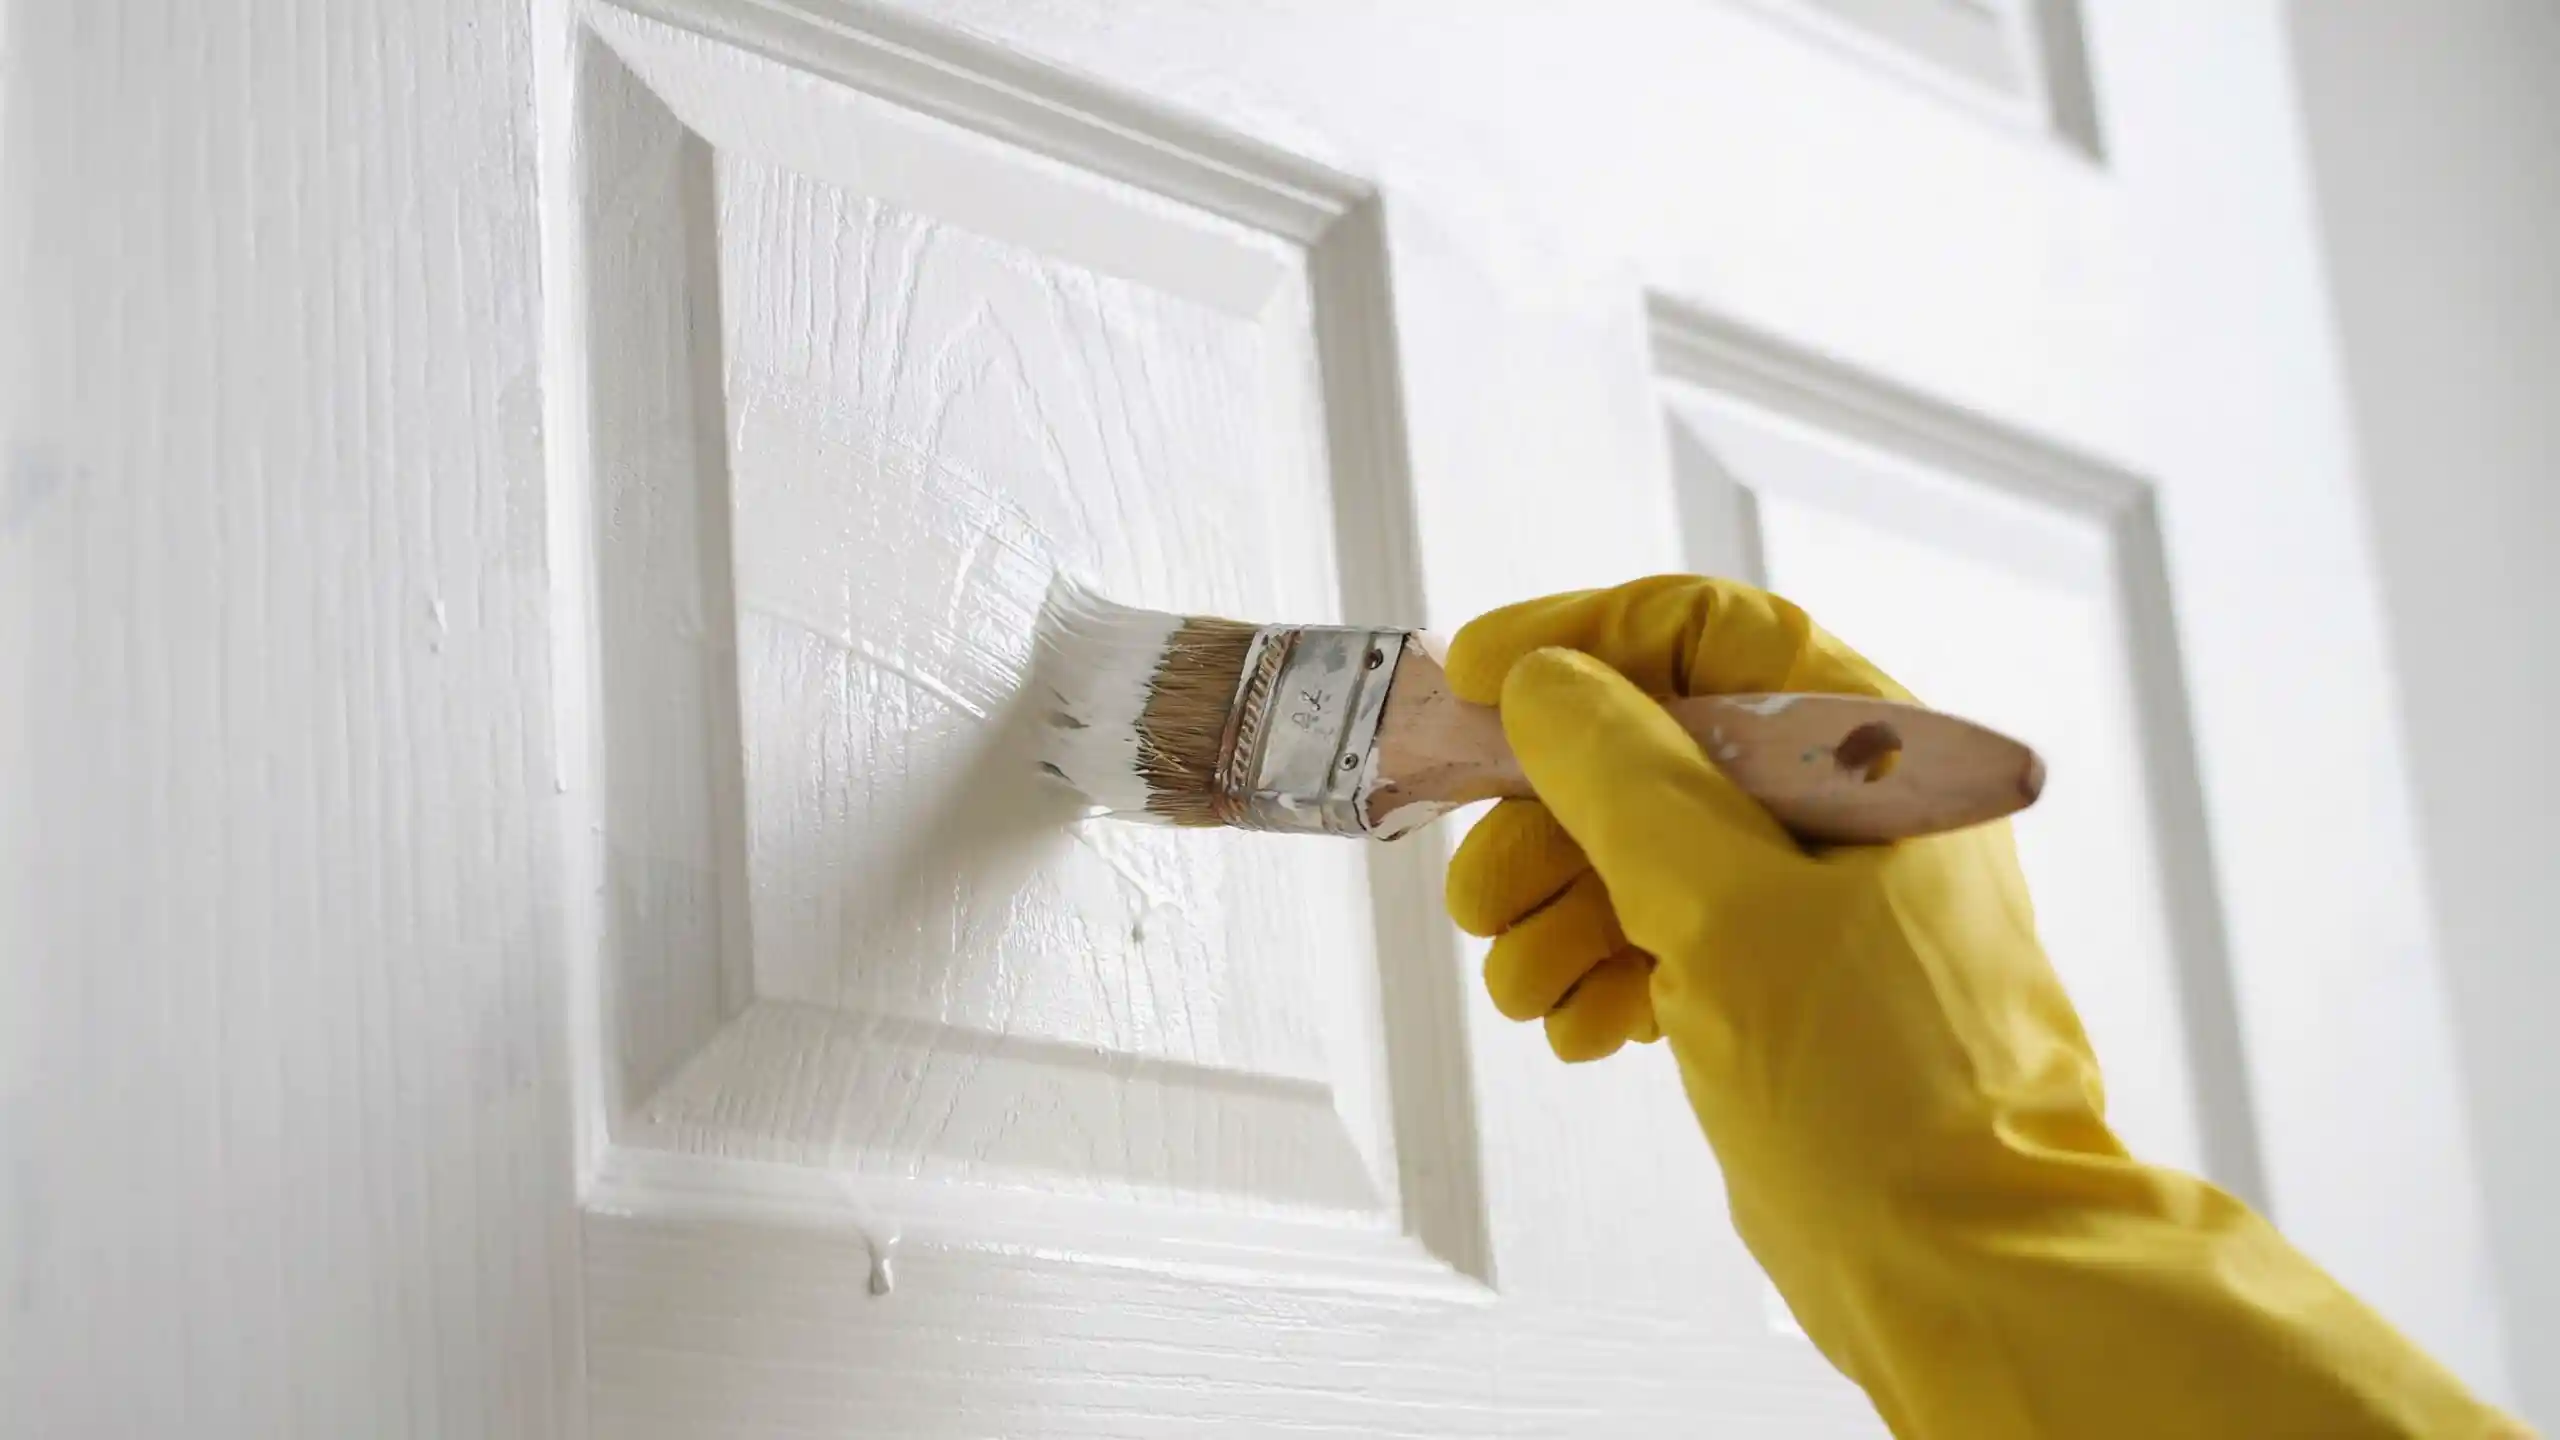
Once the door is clean, sanded, and dust-free, you are ready for paint. Follow these steps in order for the smoothest result.
Step 1: Apply the Primer
Use a brush to prime any grooves or panels first. Follow with a roller for the flat sections.
Apply one thin, even coat.
Do not overload the brush, since heavy coats lead to drips. Let the primer dry fully, usually one to two hours, before you start painting.
Step 2: Cut the Edges
Use a brush to paint the edges, corners, and any grooves or panels. This is called cutting in.
Work in small sections so the paint doesn’t dry before you blend it. A steady hand keeps your lines clean and stops paint from bleeding onto the frame.
And paint in one direction with the grain on flat doors, top to bottom on panels.
Step 3: Paint the Panels First
If your door has raised panels, paint those sections before the flat areas. Use a brush and follow the direction of the wood grain.
Thin coats work better than thick ones.
This order keeps the finish even, since panels dry at a different rate than flat surfaces.
Step 4: Paint the Flat Areas
Switch to a roller for the flat parts.
Roll in one direction, then go over it lightly to smooth out roller marks.
Work fast, before the edges you cut start to dry, and keep a wet edge so no section dries before you blend it into the next.
Step 5: Let the First Coat Dry
Give the first coat at least four hours to dry, though checking the paint can label is your best bet. Do not rush this step.
Painting over a wet or tacky coat causes streaks and ruins the smooth finish you are working toward. Lightly sand between coats with fine-grit paper.
It smooths out tiny bumps and helps the next coat stick better.
Skip this sanding step and those bumps don’t disappear. They telegraph straight through the second coat, so a rushed first coat still shows once the door is finished.
Step 6: Apply the Second Coat
Repeat the same order. Cut the edges, paint the panels, then roll the flat areas.
A second coat evens out the color and hides any spots you may have missed. Let it dry fully before you touch the door again.
Step 7: Rehang the Door
Once the paint has cured, usually after 24 to 48 hours, reattach the hardware and hinges. Rehang the door carefully to avoid scuffing the fresh paint.
Wait a few extra days before wiping it down or closing it hard.
What Type of Paint is Best for Interior Doors?
Doors constantly get touched, bumped, and cleaned more than most surfaces in your home.
That is why the type of paint you pick matters just as much as how you apply it.
For most interior doors, go with a satin or semi-gloss finish. Both hold up well against fingerprints, scuffs, and regular wiping.
- Semi-gloss: Best for high-traffic doors, easy to wipe clean.
- Satin: Slightly softer look, still durable, hides small flaws better.
- Flat or matte: Skip this one for doors, since it shows marks fast and is hard to clean.
A satin finish that looks flat under store lighting often reads soft and warm once it’s on your own door.
Stick with acrylic latex paint over oil-based options. It dries faster, smells less, and cleans up with just soap and water.
How Long Does Door Paint Take to Dry and Cure?
Most paints feel dry to the touch within 1 to 2 hours, but that does not mean they are ready for use.
Wait at least 24 hours before you rehang the door or touch the surface much. Full curing takes longer, usually 2 to 4 weeks.
During this time, the paint keeps hardening, so avoid heavy use, cleaning, or stacking anything against it until it fully cures.
Conclusion
A properly prepped door goes from chipped and tired to smooth and even, and it stays that way for years.
The steps are the same every time: clean, fill, sand, prime, then two thin coats. Once you’ve done it on one door, the rest of the house stops feeling like a project and starts feeling like an afternoon.
Frequently Asked Questions (FAQs)
1. Can You Paint a Door without Taking it off the Hinges?
Yes, you can. Use painter’s tape around the hinges and hardware, then work in thin coats to avoid drips forming near the edges.
2. Can You Paint Over an Already-Painted Door?
Yes, as long as the old paint is clean and sound. Sand it lightly first so the new coat has something to grip onto.
3. How Do You Stop a Painted Door From Sticking?
Let the paint cure fully before closing the door. Avoid painting the edges too thick, since extra buildup there often causes sticking later.
4. Is It Better to Paint a Door With a Brush or a Roller?
Brushes work best for panels and edges, while rollers cover flat sections faster. Many people use both for the smoothest overall result.