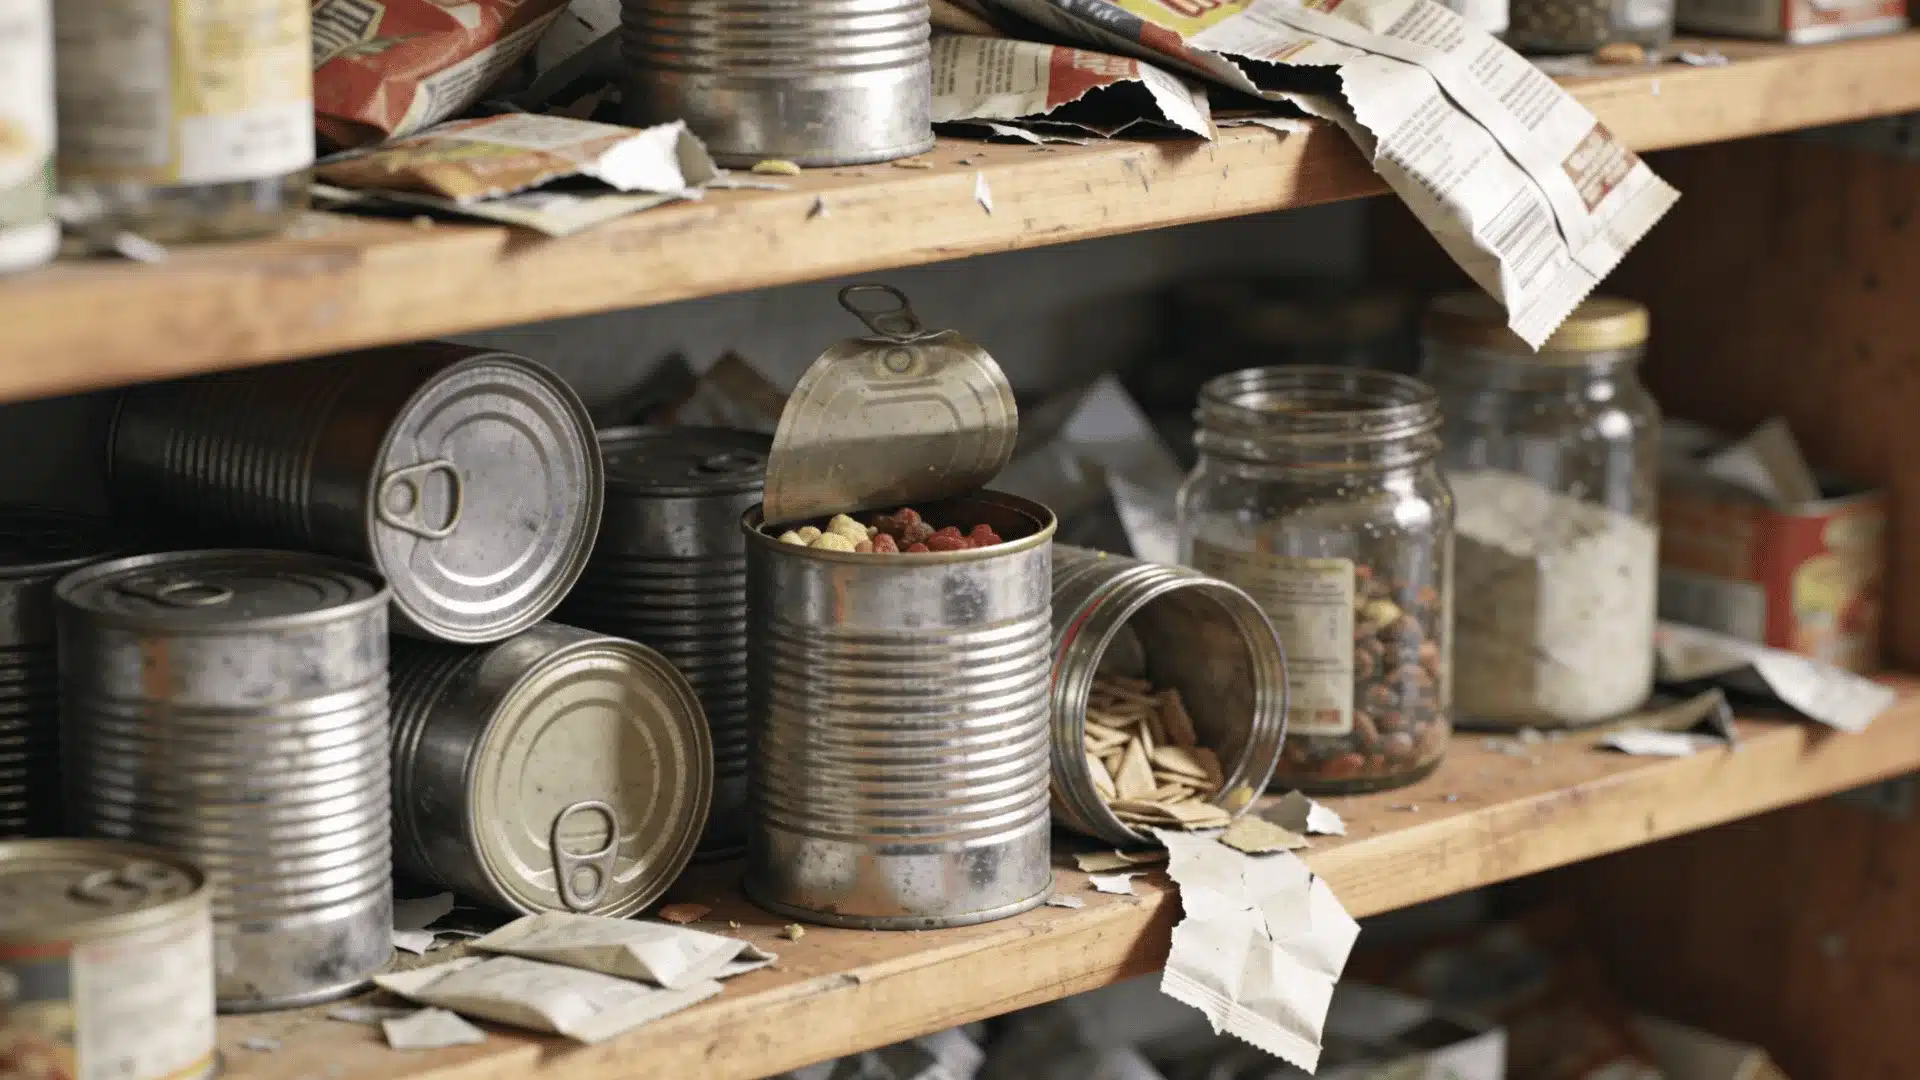

You open the pantry to grab one simple thing, and suddenly it turns into a small search mission.
A packet shifts, a tin rolls forward, and five minutes later you’re still wondering how it got this messy.
Pantry clutter doesn’t look like a big problem, but it quietly slows everything down.
Learning how to organize a pantry is not about fancy containers or perfect shelves. It starts with a quick reset, simple categories, and a system that actually fits how you cook every day.
A couple of focused hours can change how your whole kitchen feels.
How to Organize a Pantry Step by Step
The fastest way to organize a pantry is to empty it completely, clean the shelves, sort items by category, choose storage that suits the space, and place everyday items where you can reach them without thinking.
Done right, the whole process takes 2 to 3 hours.
1. Empty Everything Out First
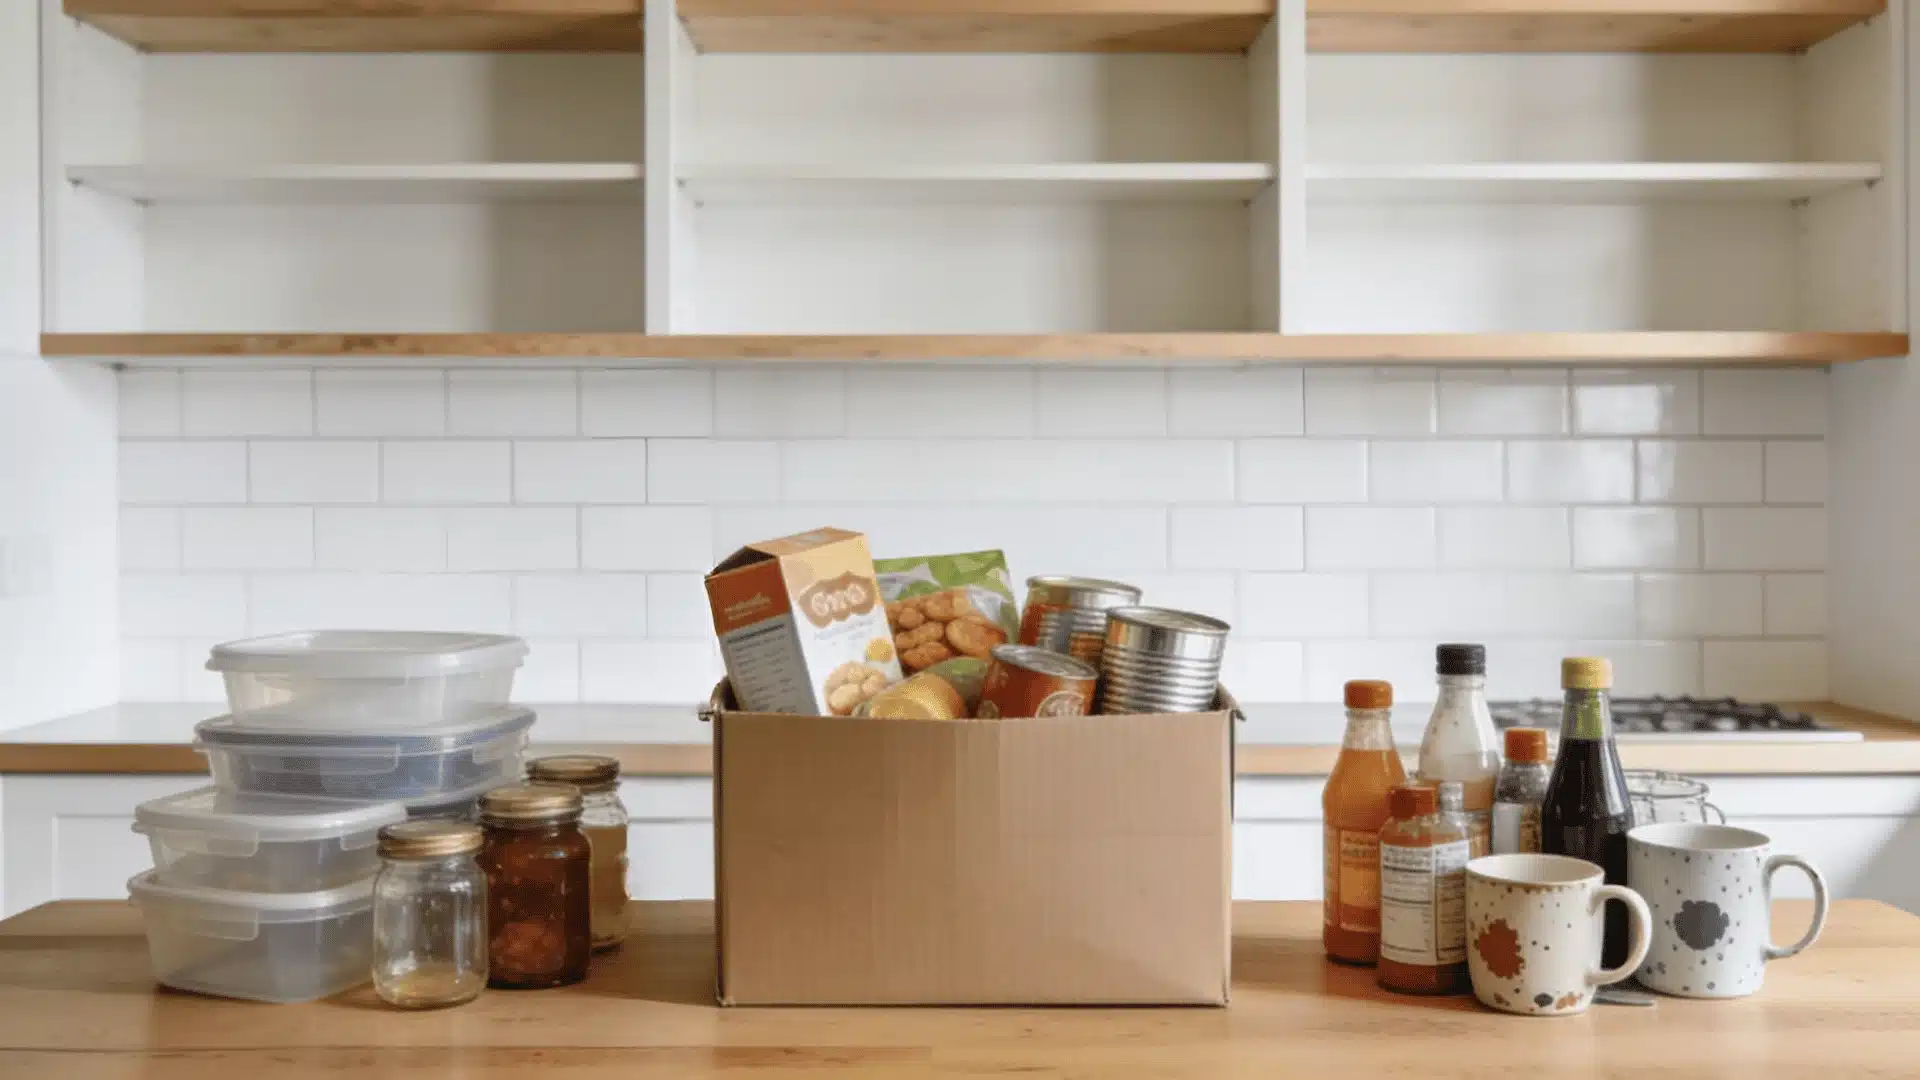
Start with a completely bare pantry. Pull every item off every shelf and put it on your counter or kitchen table. Don’t sort as you go; just get everything out.
Once the shelves are empty, go through each item and put it into one of three groups:
- Keep: in date, used regularly
- Donate: in date, but won’t be used
- Bin: expired, stale, or unidentifiable
Check every best-before date as you go.
According to the USDA Food Safety and Inspection Service, most dry pantry staples remain safe past their best-before date, but flavor and texture decline. If you haven’t reached for it in the past year, let it go.
Do not skip this step. Restocking a pantry without cutting clutter first is the main reason most organization attempts fall apart within a month.
2. Clean and Reset the Space
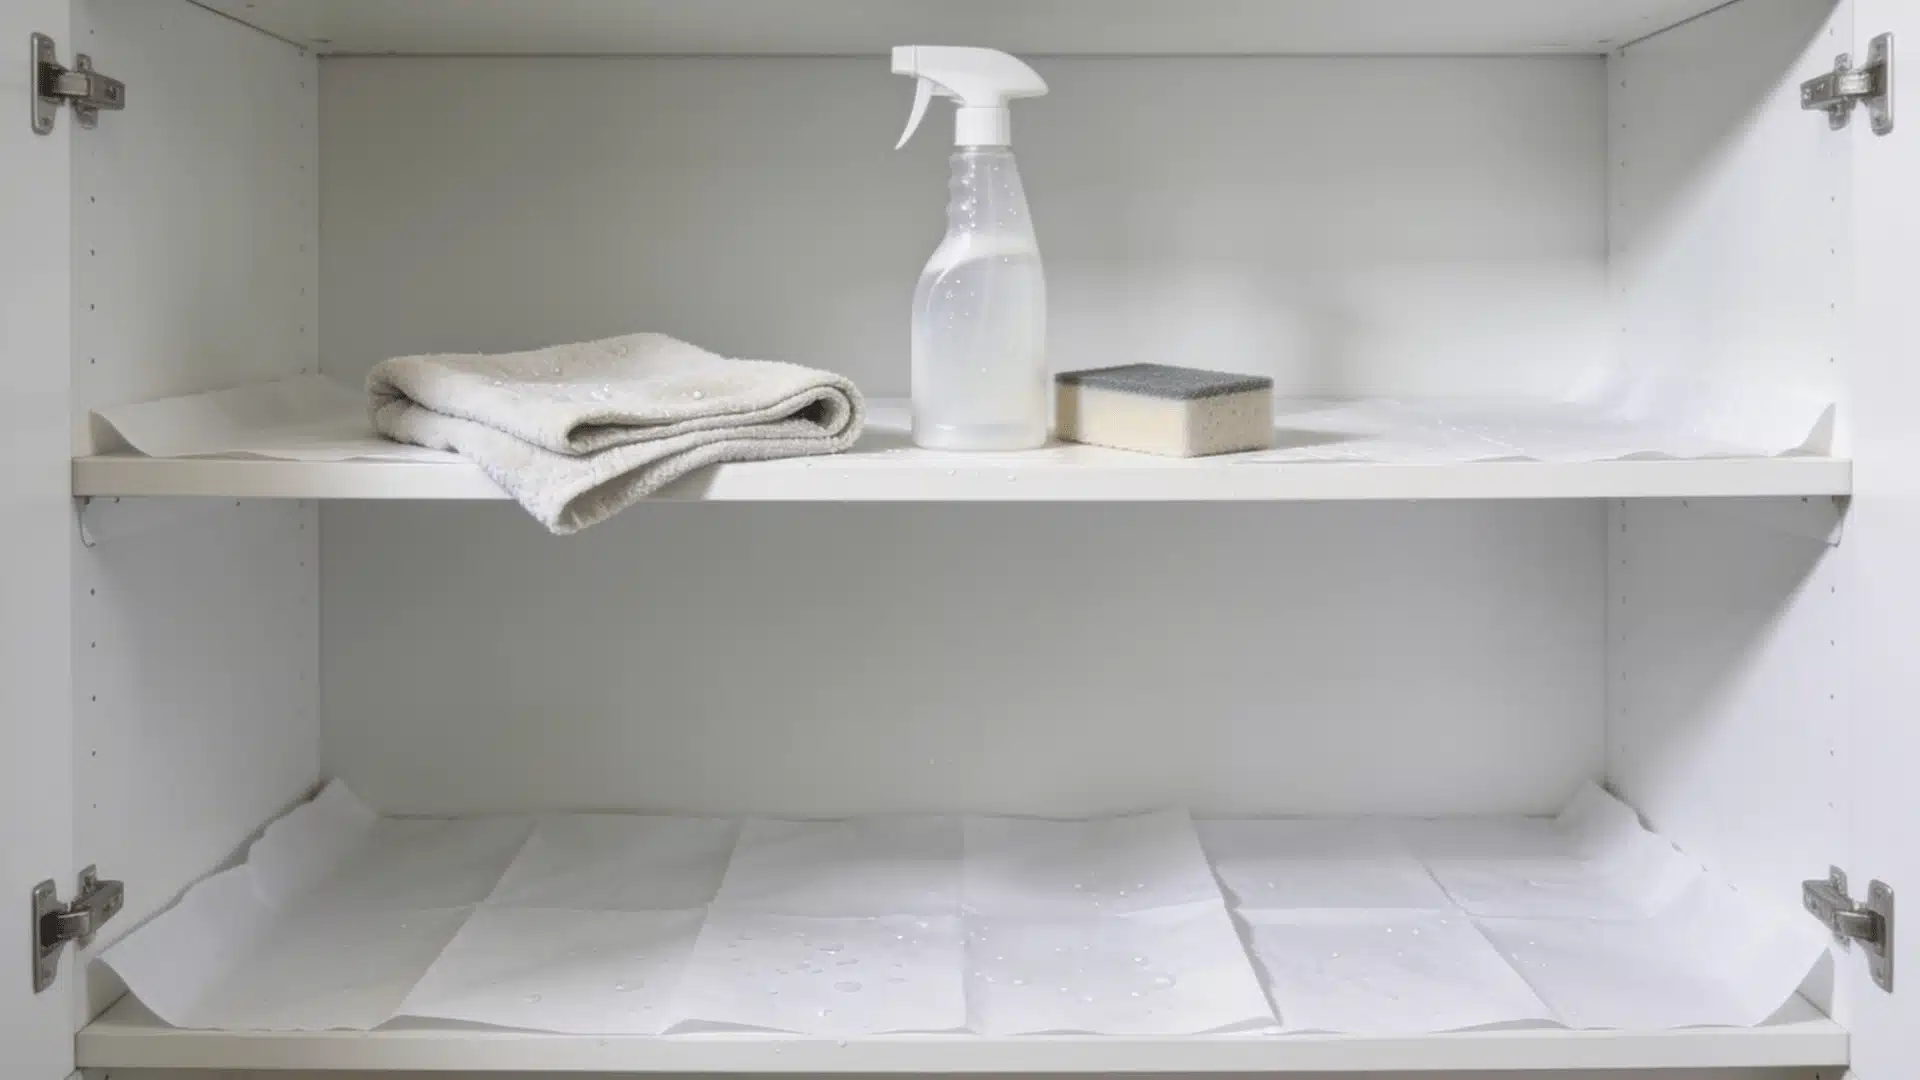
With the shelves bare, wipe them down properly. Use a damp cloth to clear dust, crumbs, and sticky residue from the shelf surface, corners, and edges.
Let shelves dry fully before restocking. 15 to 20 minutes is enough.
While cleaning, consider ways to maximize the space you have. Using stackable bins, pull-out containers, or shelf risers can make even the smallest pantry feel organized and accessible.
While you’re at it:
- Check for signs of damp, mold, or pest activity. If you spot any, fix the source before you restock anything.
- Add shelf liners if your shelves are rough, porous, or prone to staining. Simple paper liners take 5 minutes to cut and lay flat.
- Check the condition of any existing storage baskets or bins. If they’re broken, warped, or too small to be useful, replace them now rather than rebuilding around them.
A clean surface makes a real difference to how long the organization holds. Restocking onto dusty or sticky shelves just traps the mess underneath.
3. Sort Items into Categories
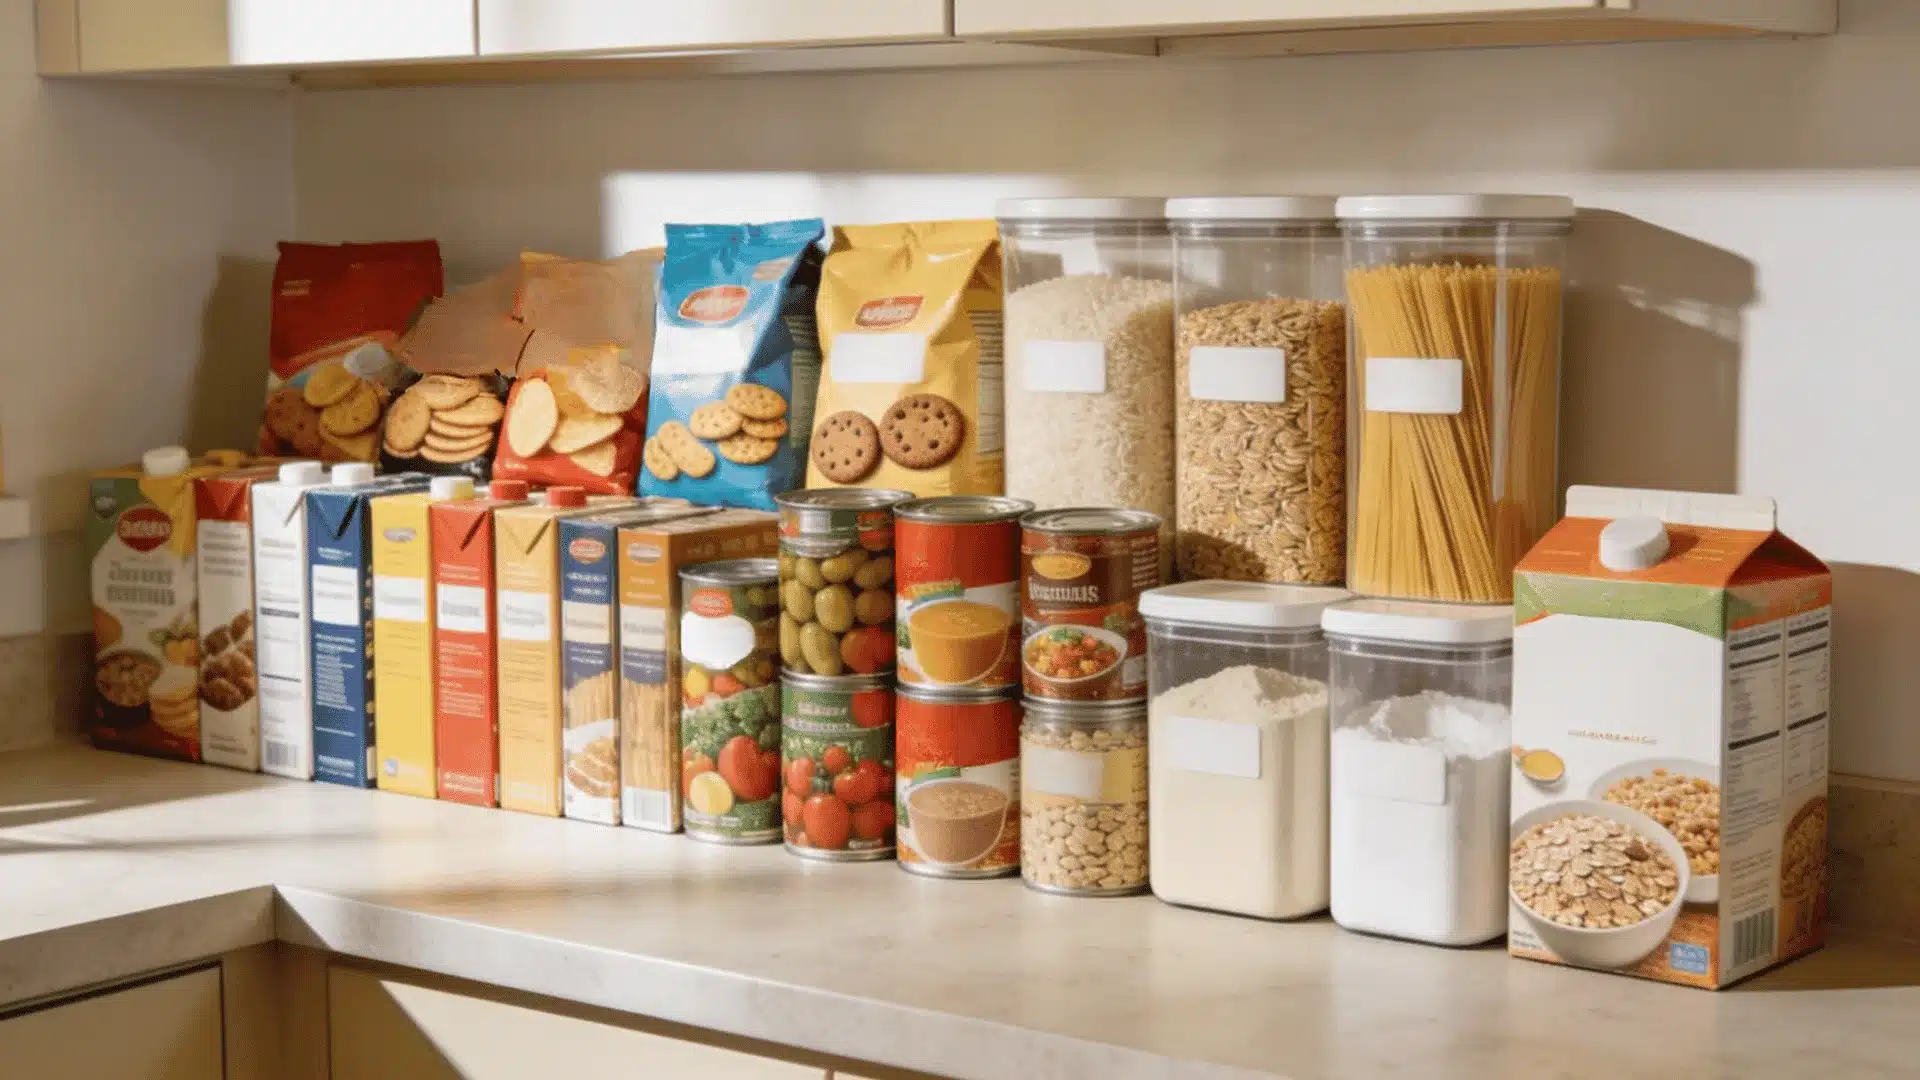
Before anything goes back in, group your kept items into clear categories on the counter.
The categories that work for most kitchens are the following:
- Snacks – crisps, crackers, granola bars, nuts
- Grains and pasta – rice, dried pasta, noodles, couscous, quinoa
- Canned goods – tinned tomatoes, beans, fish, soups, coconut milk
- Baking supplies – flour, sugar, baking powder, cocoa, vanilla, chocolate chips
- Breakfast items – cereals, oats, nut butters, honey, dried fruit
Grouping by category on the counter first means you can see what you actually have before you decide where it lives.
You’ll often find duplicates you didn’t know about. Two open bags of rice and three half-used packs of pasta.
Consolidate those before a single item goes back on the shelf.
4. Choose the Right Storage Containers
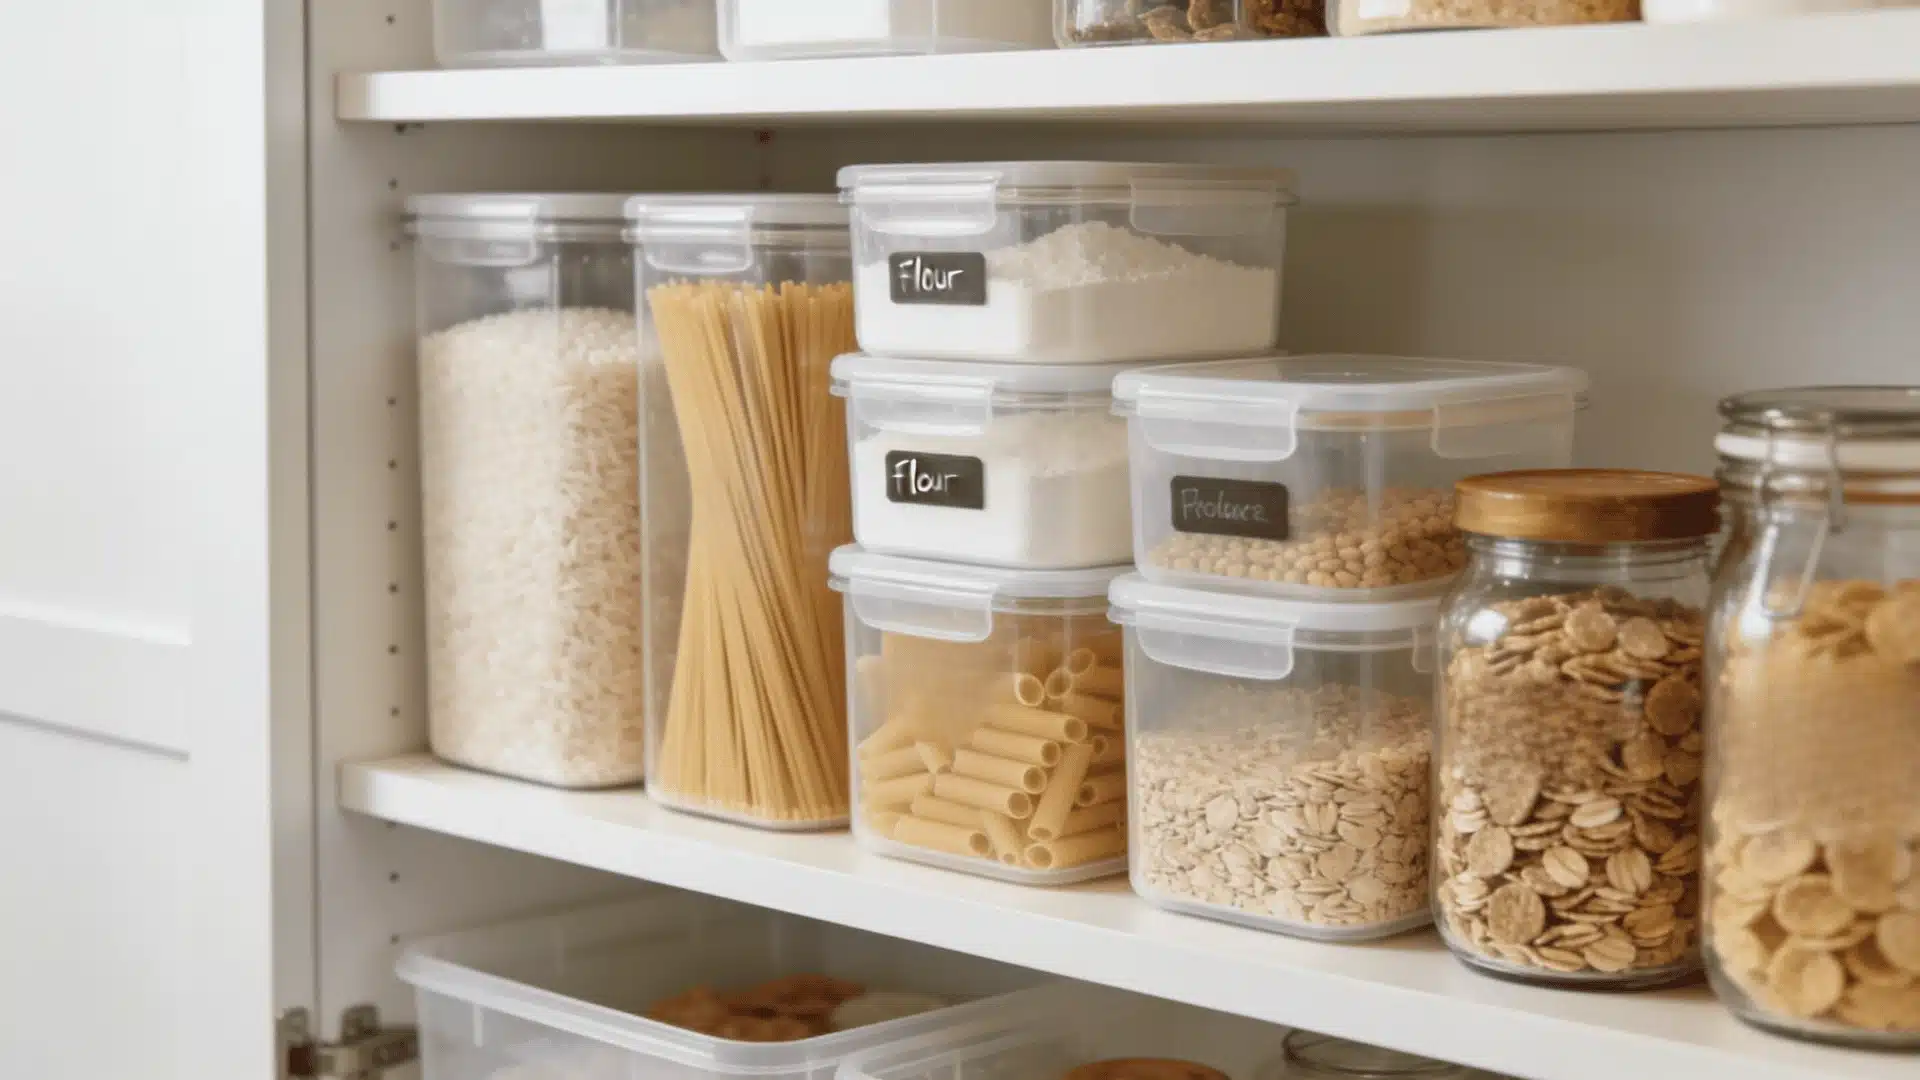
You don’t need a matching set of expensive containers for a functional pantry.
What you need is airtight storage for dry goods, clear containers or bins so you can see what’s inside, and stackable shapes that use shelf space efficiently.
The three container types worth buying:
- Airtight jars or containers for dry goods, flour, rice, oats, sugar, pasta, and breadcrumbs. According to King Arthur Baking, all-purpose flour stored in an airtight container at room temperature stays fresh for up to 8 months. Left in its paper bag on an open shelf, its lifespan drops noticeably due to exposure to air and moisture.
- Clear bins for loose snack packets, spice sachets, stock cubes, and tea bags. Clear sides mean you can see what’s running low without pulling everything out.
- Stackable containers, square or rectangular shapes, stack far better than round ones and use corner space more efficiently.
What to skip: oversized decorative baskets with lids that hide contents, containers far larger than the food you store in them, and any bin or jar you have to move three other things to reach.
5. Arrange Based on Frequency of Use
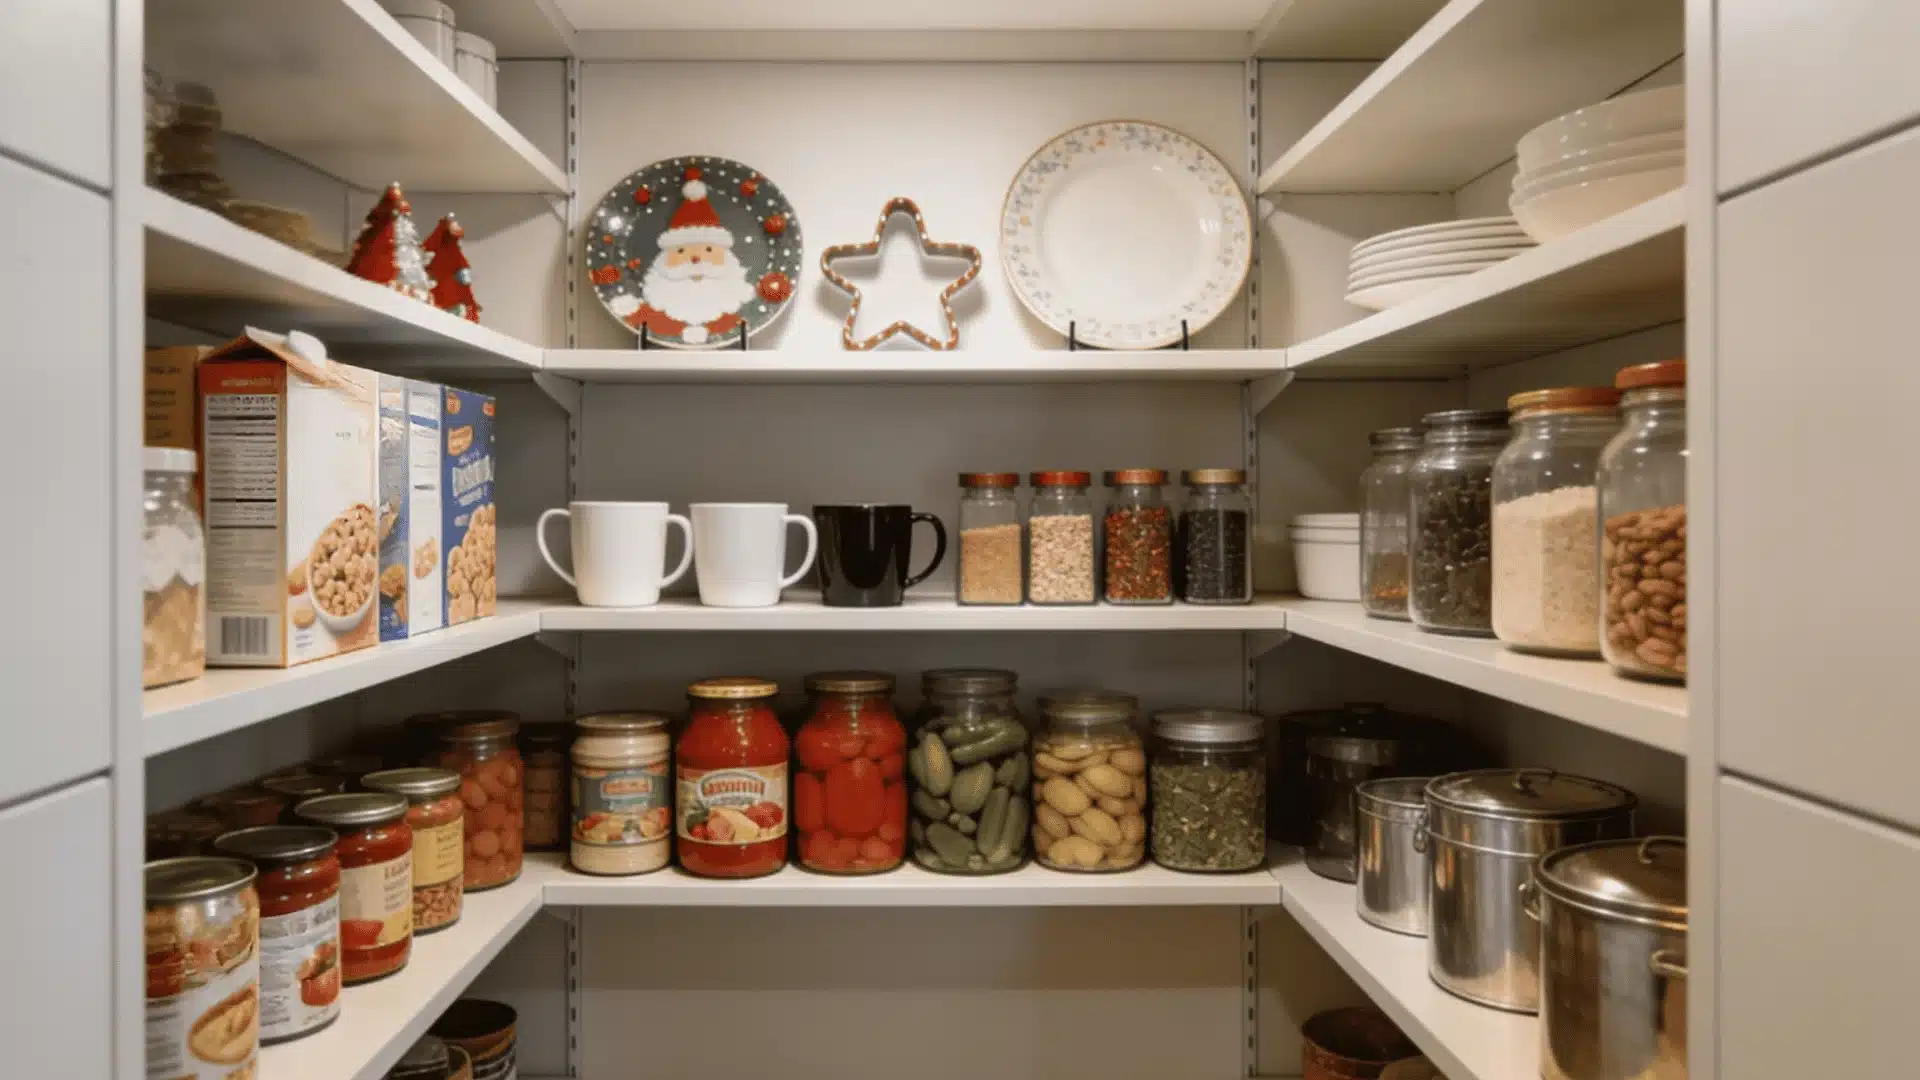
This is the step most people skip, and it’s the one that determines whether the system lasts.
- Eye level: items that you use every day. Oils, salt, vinegar, stock, spices you cook with constantly, coffee, and tea.
- Top shelves: Items you use less than once a week. Specialty flours, preserved items, seasonal baking supplies, things you’re glad to have but don’t reach for regularly.
- Lower shelves: Heavy items. Large tins, big jars, and bottles. Low placement means less risk if something falls.
A shelf that looks organized but puts your daily staples on the top shelf isn’t actually working for you. Placement should follow your habits, not a stylistic preference.
Smart Pantry Organization Ideas That Actually Work
Use Labels for Everything
Label the container, not just the shelf. If a container moves, and it will, the label moves with it. If you only mark shelf positions, the system breaks down the moment someone puts something back in the wrong spot.
For containers: write the item name.
For shelves and zones: a small label on the shelf edge (“Baking,” “Grains,” “Snacks”) takes 10 minutes to apply and cuts the restocking confusion that slowly unravels most pantry systems.
You don’t need a label maker. Masking tape and a permanent marker work just as well.
The only thing that matters is that every container is clearly marked and every family member knows what lives where.
Labels also help everyone in the household maintain the system, not just the person who set it up.
For more clever ways to save time and keep every corner of your kitchen in order, check out our blog on organization hacks.
Create Zones in Your Pantry
Zones are the backbone of a pantry that stays organized. Instead of storing items wherever they fit, you assign a fixed area to each type of use.
Three zones that work well for most kitchens:
- Cooking zone — oils, vinegars, stock, sauces, and the spices or condiments you use at the stove. Keep this together and close to the kitchen workspace if your layout allows.
- Snack zone — everything grab-and-go. If you want snacks to be easy to reach, put them at eye level. If you want them less accessible, move them higher.
- Baking zone — flour, sugars, raising agents, chocolate, vanilla, and any other baking-specific ingredients. Keep all of it together so you’re not hunting across three shelves when you start a recipe.
Zones only work if every person in the household knows they exist. A 2-minute walkthrough after setup is worth doing.
Maximize Vertical Space
Most pantry shelves have far more vertical clearance than the items stored on them actually need. That gap is usable storage you’re leaving empty.
Three ways to use it:
- Shelf risers – sit on top of existing shelves and create a second level for shorter items like spice jars, small tins, or condiment bottles. A basic set costs around $12 to $18 (approximately £10 to £15). If you don’t want to buy risers, small sturdy cutting boards or flat-bottomed boxes work as a substitute.
- Hanging racks – mounted on the inside of a pantry door or on the wall beside a shelf unit. Good for spices, foil, cling film, and small packets that clutter up shelf space.
- Stackable bins – pull-out-style bins that stack vertically make it easy to access items at the back of a deep shelf without unpacking the front row first.
Vertical storage won’t fix a pantry that’s genuinely too small for the volume of food you store. But most pantries have more usable space than they appear to.
The issue is usually that flat, single-layer stacking is wasting 6 to 8 inches of vertical clearance on every shelf.
How to Maintain an Organized Pantry Long-Term?
Getting the pantry organized is the easy part. Keeping it that way is where most people drop off.
Do Monthly Checks
Once a month, ideally the day before a grocery shop when stock is at its lowest, spend 10 minutes checking each zone.
Look for anything out of place, check that nothing is nearing its use-by date, and note what needs replacing. This is also the moment to catch items that have quietly migrated out of their zones.
Follow “First-In, First-Out.”
When you restock, put new purchases at the back and move older stock to the front. This is standard practice in professional kitchens and takes about 30 extra seconds per shop.
It eliminates the problem of finding expired items buried at the back of a shelf six months later.
Put Items Back in Their Zones
The single habit that makes or breaks long-term pantry organization.
Every item has a home. It goes back there after use, not on the nearest available surface. This takes no additional time; it just requires the habit to exist.
Avoid Random Dumping
New shopping should be unpacked into zones, not stacked on the nearest shelf, because it’s quick.
Three minutes of proper restocking prevent 90 minutes of reorganizing two months later.
If the pantry starts drifting back to disorder within a few weeks, the zones probably don’t match how your household actually cooks.
Adjust them. A system that works imperfectly but fits real habits will always outlast a perfect system that nobody follows
Conclusion
An organized pantry comes down to three decisions made correctly: what to keep, where to put it, and how to make it easy to maintain.
Get the zones right based on how your household actually cooks, not on a generic category system, and the rest follows.
Your pantry is now sorted by use, labeled clearly, and set up for a 5-minute weekly reset that keeps it that way.
Frequently Asked Questions
1. How do I Start Organizing a Pantry when it is Completely Messy?
Empty everything out first. Sort into keep, donate, and bin piles before a single item goes back.
2. What are the Best Storage Containers for Pantry Organization?
Airtight square containers for dry goods, clear bins for loose packets, and stackable shapes for deep shelves.
3. How Often Should I Reorganize or Clean my Pantry?
A 10-minute monthly check keeps most pantries in good shape. Do a full reset every 3 to 4 months.
4. What is the Most Efficient Way to Arrange Pantry Items for Daily Use?
Put what you use daily at eye level. Heavy items go low. Rarely used items go high.