

Kitchen counters attract clutter the way a junk drawer attracts batteries.
You start with a clean surface, and somehow, within a week, there is a stack of mail, three appliances, a random charger, and a fruit bowl you forgot about.
The result looks less like a kitchen and more like a storage unit with a backsplash.
Decorating kitchen counters is really about making better decisions before you place anything down.
Keep about 70% of your counter surface clear, and use the remaining 30% for items that are either genuinely useful or worth looking at.
That ratio is what separates a styled kitchen from a crowded one.
This guide covers the best ways to decorate kitchen counters, from building a focal point to styling a coffee station, along with quick refresh ideas you can do in 10 minutes.
Clear the Counter Before You Style it
Before anything new goes down, everything comes off.
Clear the entire surface and sort what was on it into three groups: items you use daily, items you use a few times a week, and items that do not belong on the counter at all.
Daily-use items earn their spot back. Everything else goes into a cabinet.
Skip this step and any styling you add just disappears into the background noise.
Nate Berkus, one of the most recognised names in American interior design, puts it plainly: the counter-as-storage-zone habit is the single most common kitchen styling mistake.
Follow the 70/30 Rule
The 70/30 rule is simple: keep 70% of your counter surface visually clear and use the remaining 30% for decorative and functional items.
That 30% covers your daily-use appliances, one or two styling groupings, and perhaps a small plant or herb pot. Everything else belongs inside a cabinet.
On a standard 8-foot counter run, that means roughly 2.4 feet of surface can hold objects. The remaining 5.6 feet stay open. That open stretch is not wasted space.
It is what makes the kitchen feel clean, spacious, and easy to work in.
How to Decorate Kitchen Counters – 8 Ways
1. Start With a Focal Point
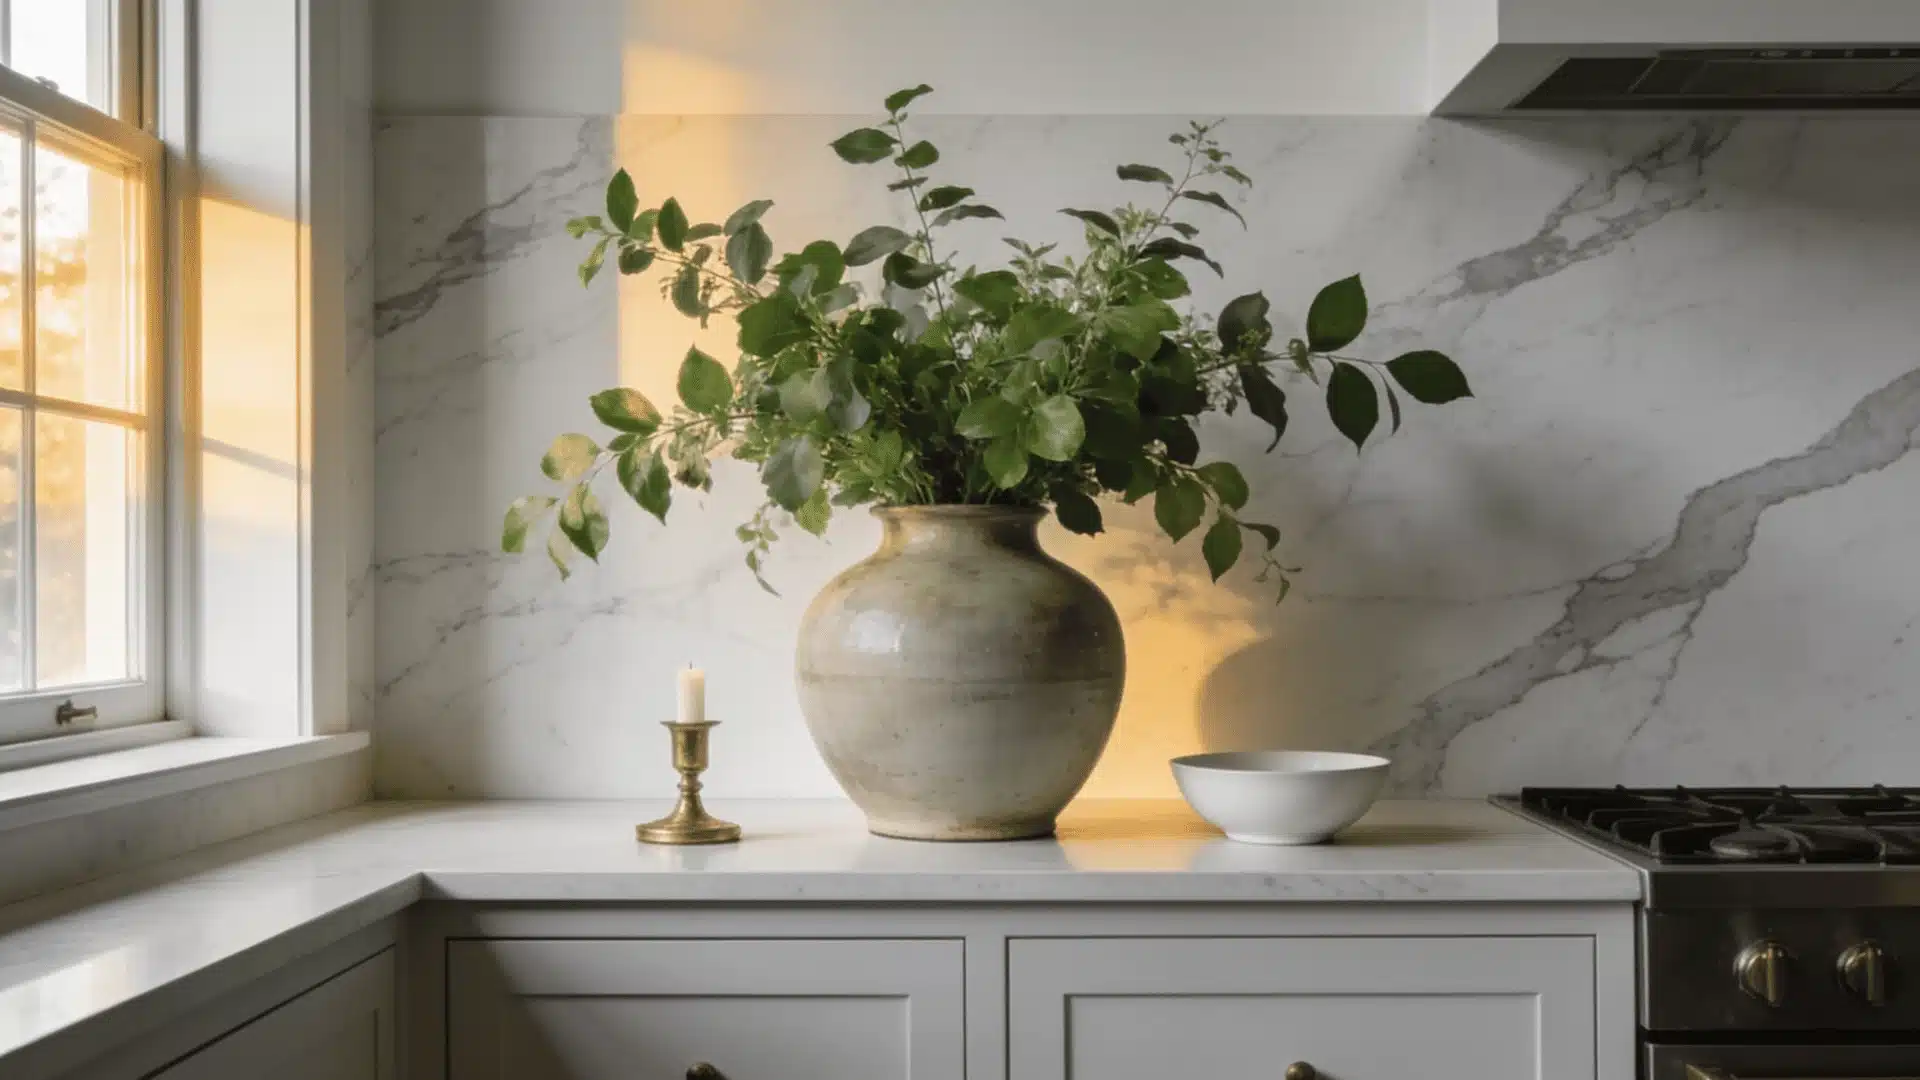
Every well-styled counter has one main item that anchors the whole arrangement. This is your focal point, and it should be the first decision you make, not the last.
Good focal point options include:
- A large vase with a single stem or a small bunch of flowers
- A statement bowl in ceramic or marble
- A decorative tray that anchors a whole grouping of smaller items
The focal point sets the scale. Everything else you place nearby should relate to it in height, color, or material.
2. Create Decorative Zones
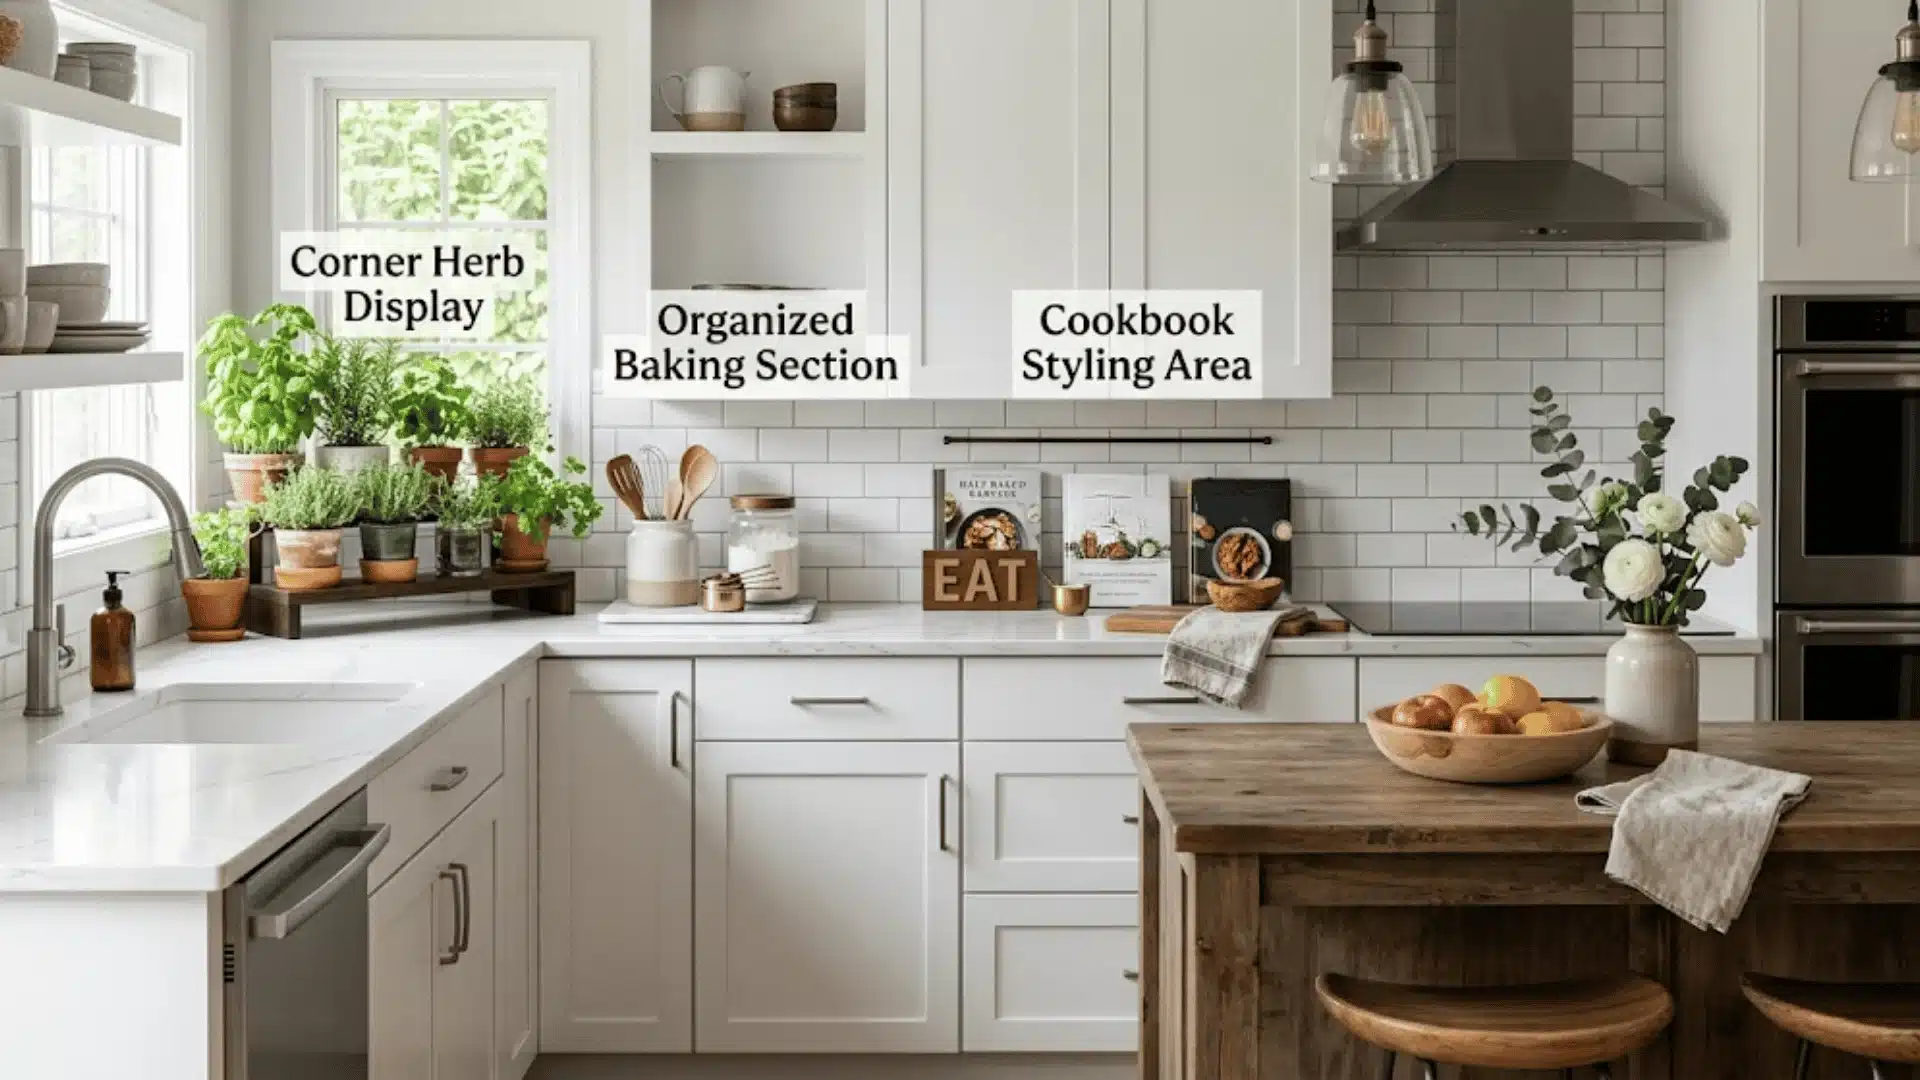
Rather than styling the counter as one long stretch, break it into small, distinct zones. Each zone has a purpose and a clear boundary.
Corner styling: Corners are often wasted. A tall object like a potted herb or a slim vase works well here because it draws the eye upward without taking up much horizontal space.
Island styling: Kitchen islands get a lot of foot traffic, so keep decor minimal. A single bowl of fruit or a small tray with one or two objects is enough. The island needs to function first.
Empty wall counter sections: If a stretch of counter sits against a wall with open space above it, use that vertical space. A leaning cookbook, a tall canister, or a small shelf above can extend the styling upward rather than outward.
3. Use Decorative Trays for Organization
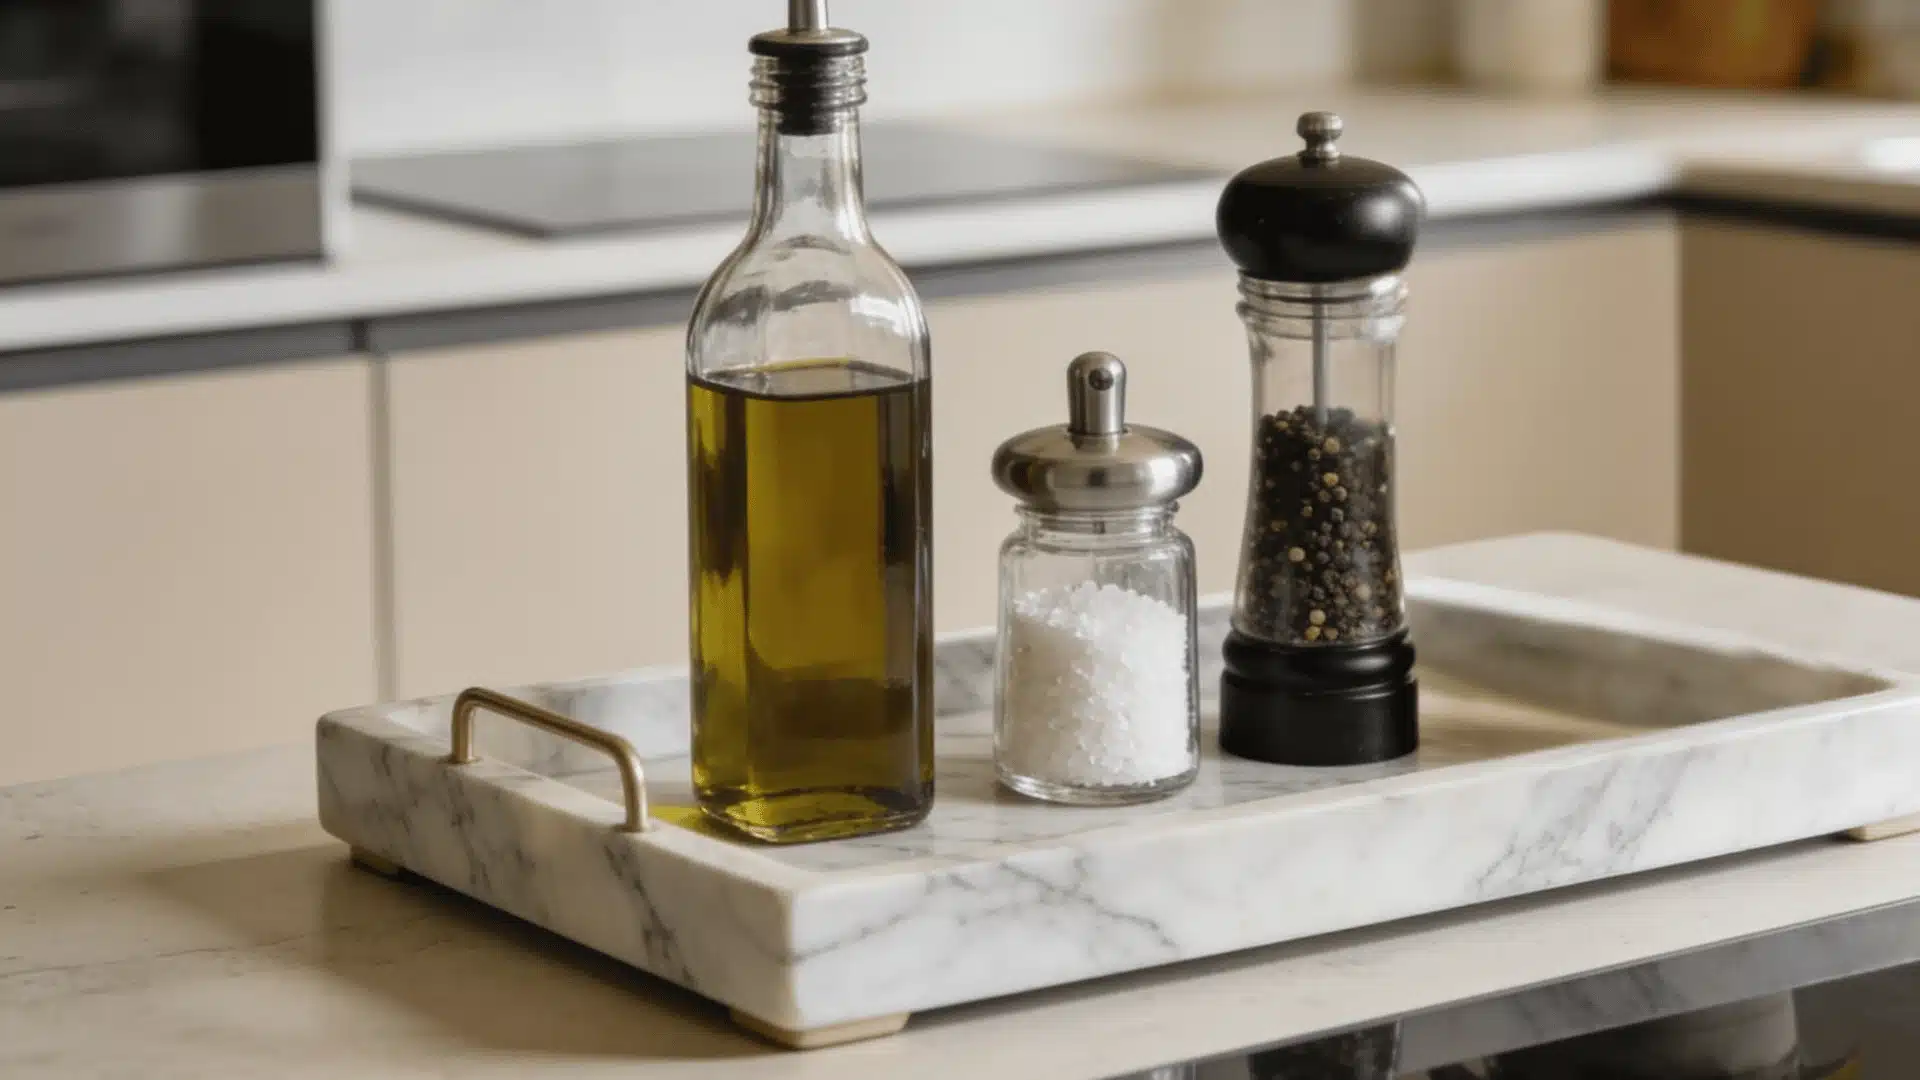
A tray is one of the most useful tools in counter styling. It creates a visual boundary that tells the eye where a grouping starts and ends.
Without it, objects just look placed. With it, they look considered.
The best tray materials for kitchen counters:
- Marble or stone: Works well in kitchens with neutral or white color schemes. Easy to wipe clean.
- Acacia or bamboo wood: Warmer tone, suits farmhouse or natural-material kitchens well.
- Painted metal or lacquered tray: Works in modern or industrial kitchens. Holds its look without showing water marks as quickly.
Group your daily-use items inside the tray, perhaps a small decanted olive oil bottle, a salt cellar, and a pepper grinder, and the whole arrangement looks like a choice rather than a habit.
4. Vary Heights and Shapes
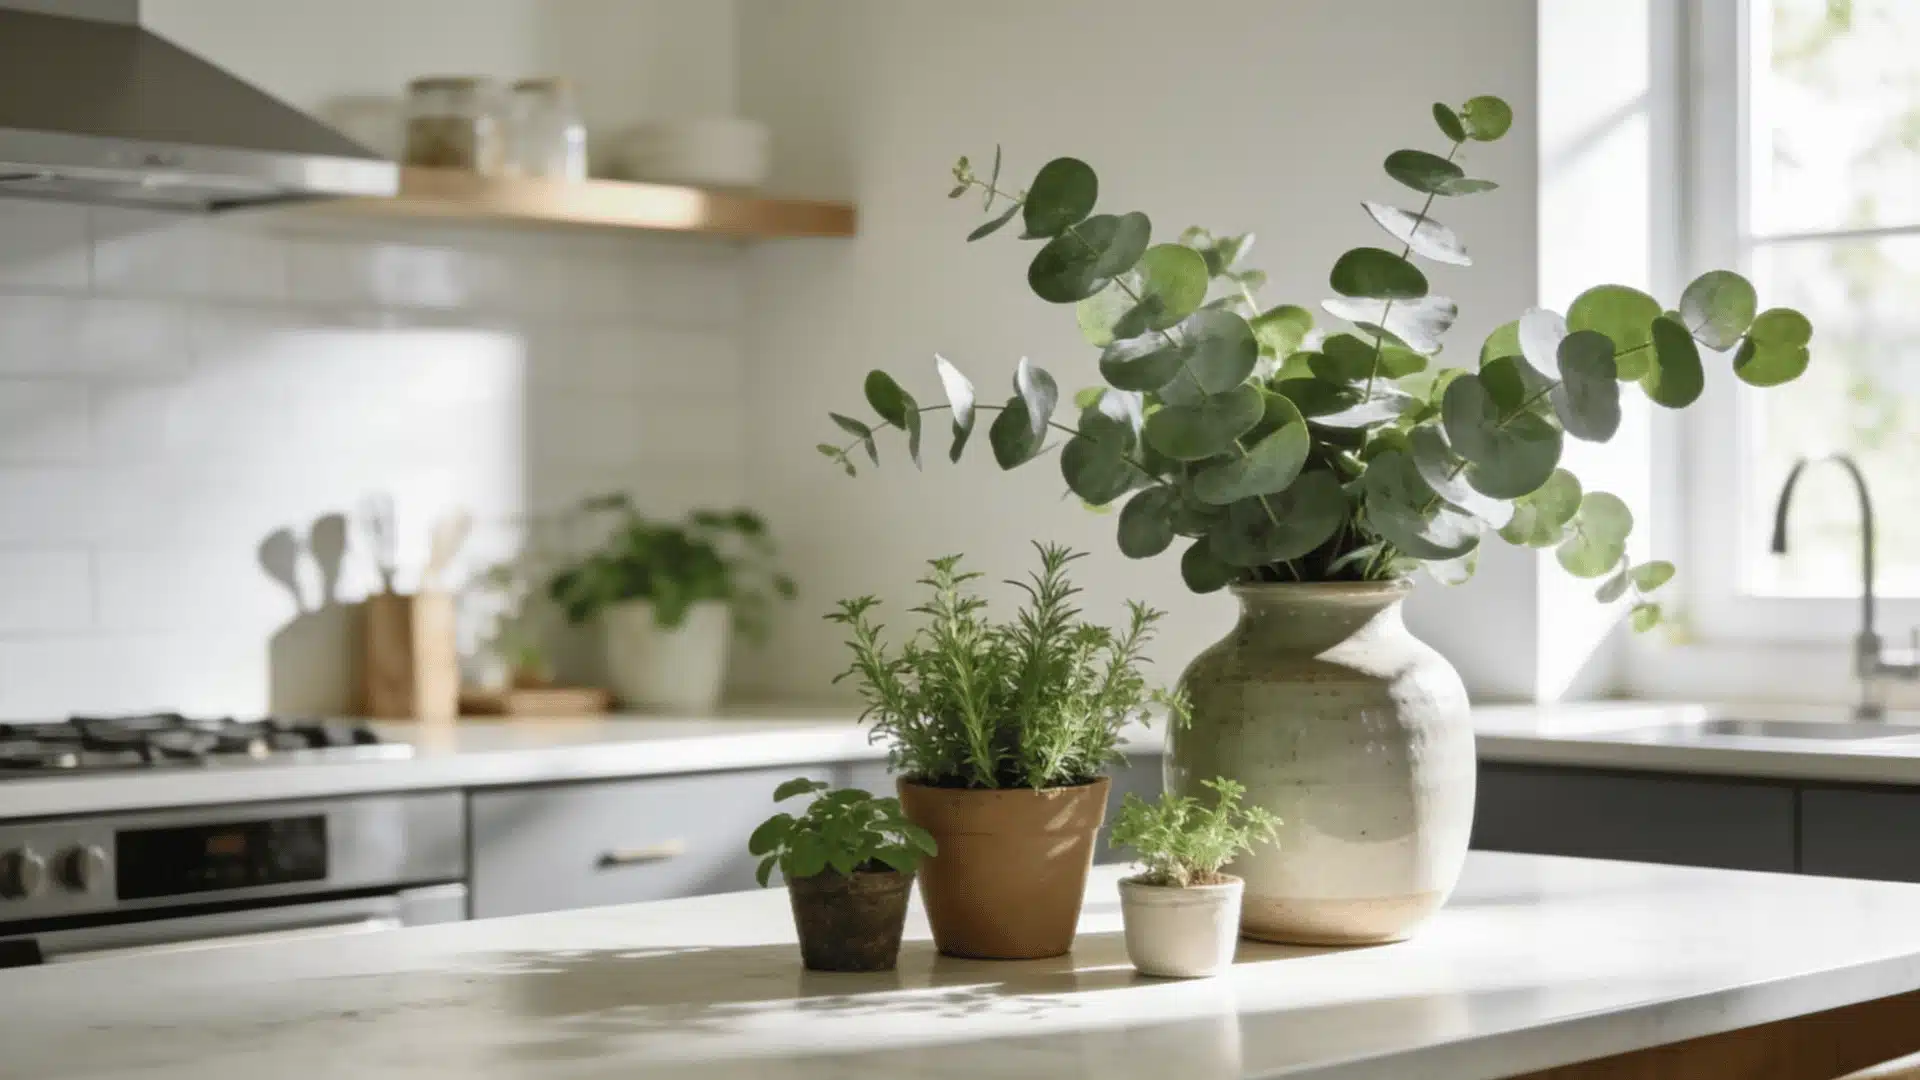
Placing objects of the same height next to each other creates a flat, static look. Varying height is what gives a counter grouping visual movement.
Work with three height bands:
- Tall (12 to 18 inches): A potted herb, a slim vase, a leaning cookbook, a tall glass jar of utensils
- Medium (6 to 10 inches): A ceramic bowl, a short canister, a small plant in a low pot, a stack of two cookbooks
- Low (1 to 4 inches): A flat tray, a small ceramic dish, a coaster stack, a cluster of three small objects
In any grouping of three items, try to include at least two different height bands. Tall, medium, and low together create the most visual interest. Tall, tall, and medium still work. All three at the same height do not.
5. Coffee Station Counter Setup
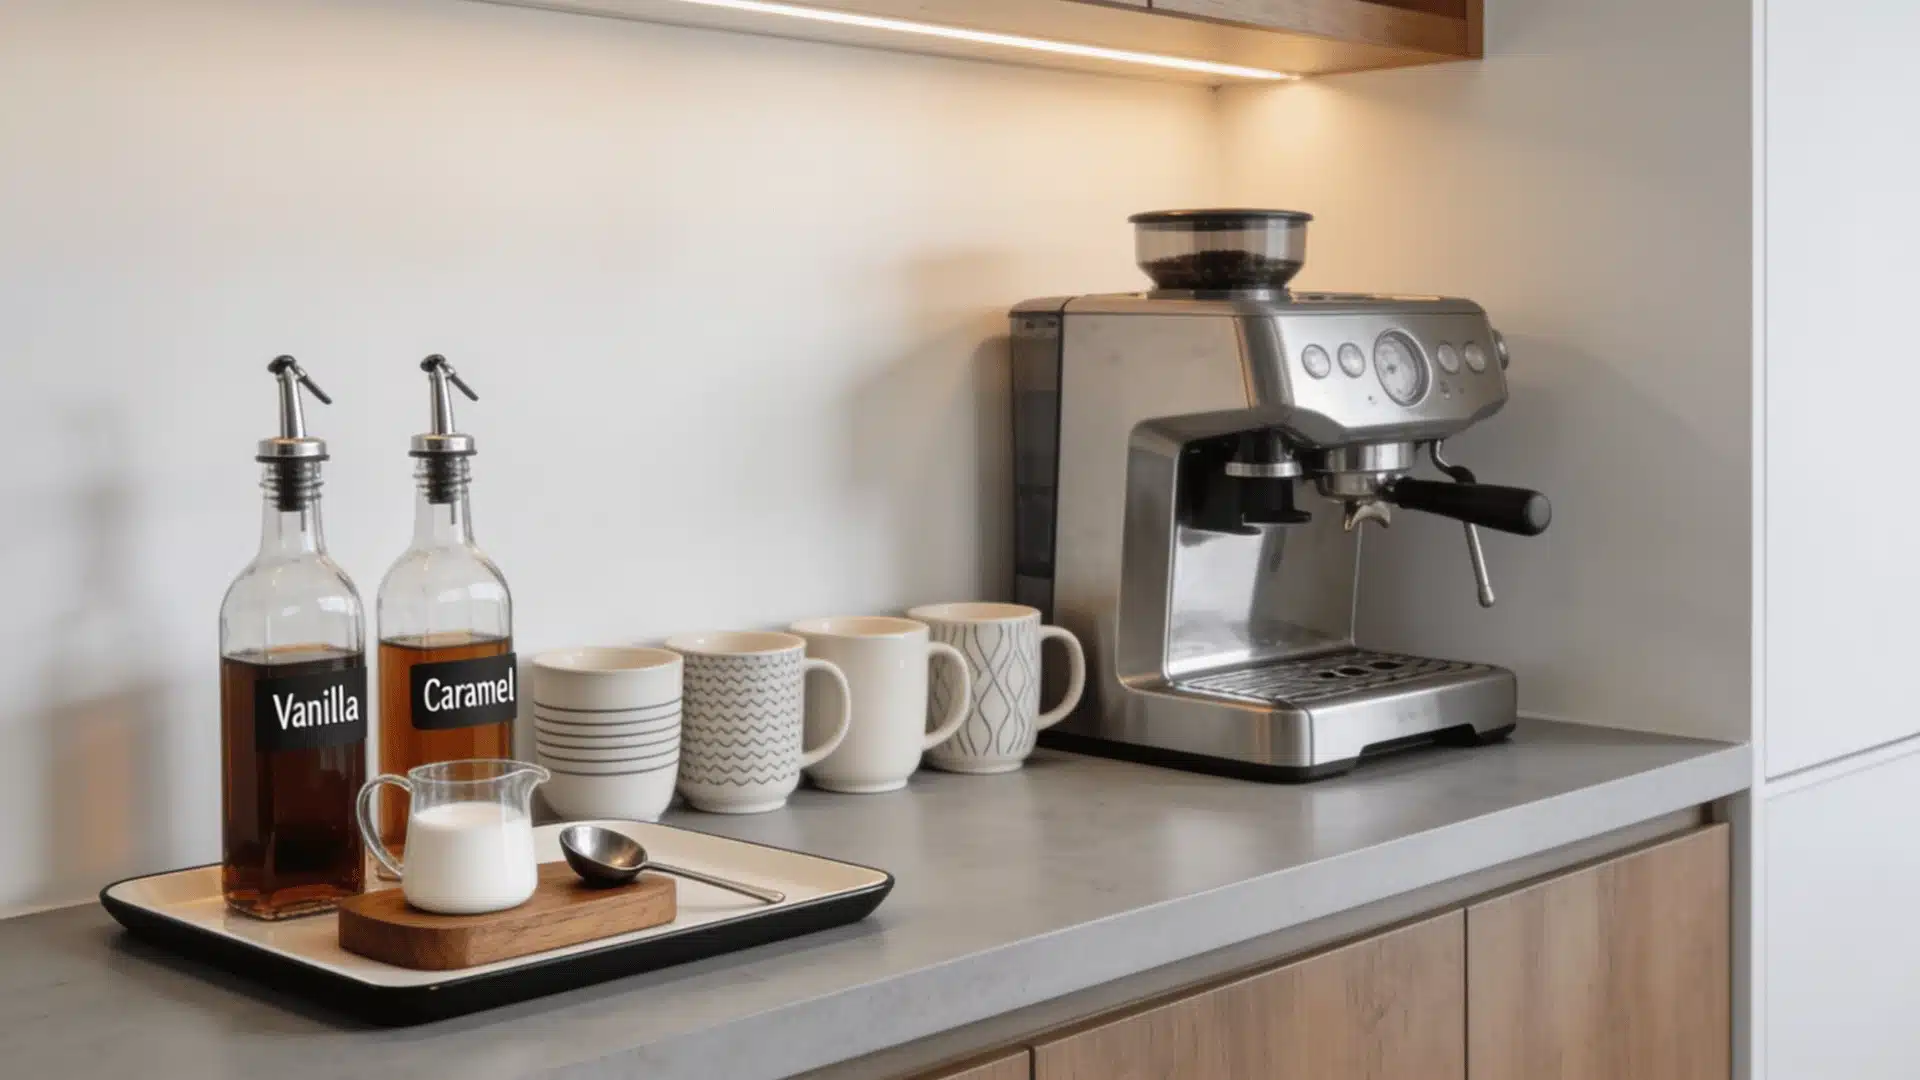
A coffee station is one of the few places where you can justify more objects on the counter, because the grouping has a clear, unified purpose.
A functional, styled coffee station includes:
- The coffee machine is the anchor; it takes up the most space and sets the tone
- Two to four mugs on a small mug tree or hook rack, or grouped on a small ceramic tray
- One or two syrup bottles in matching glass decanters rather than the original branded packaging
- A small decorative sign or a single framed print if there is wall space directly above
Keep the station tight. It should occupy no more than 24 to 30 inches of counter space. If it spreads wider than that, it stops being a station and becomes a mess.
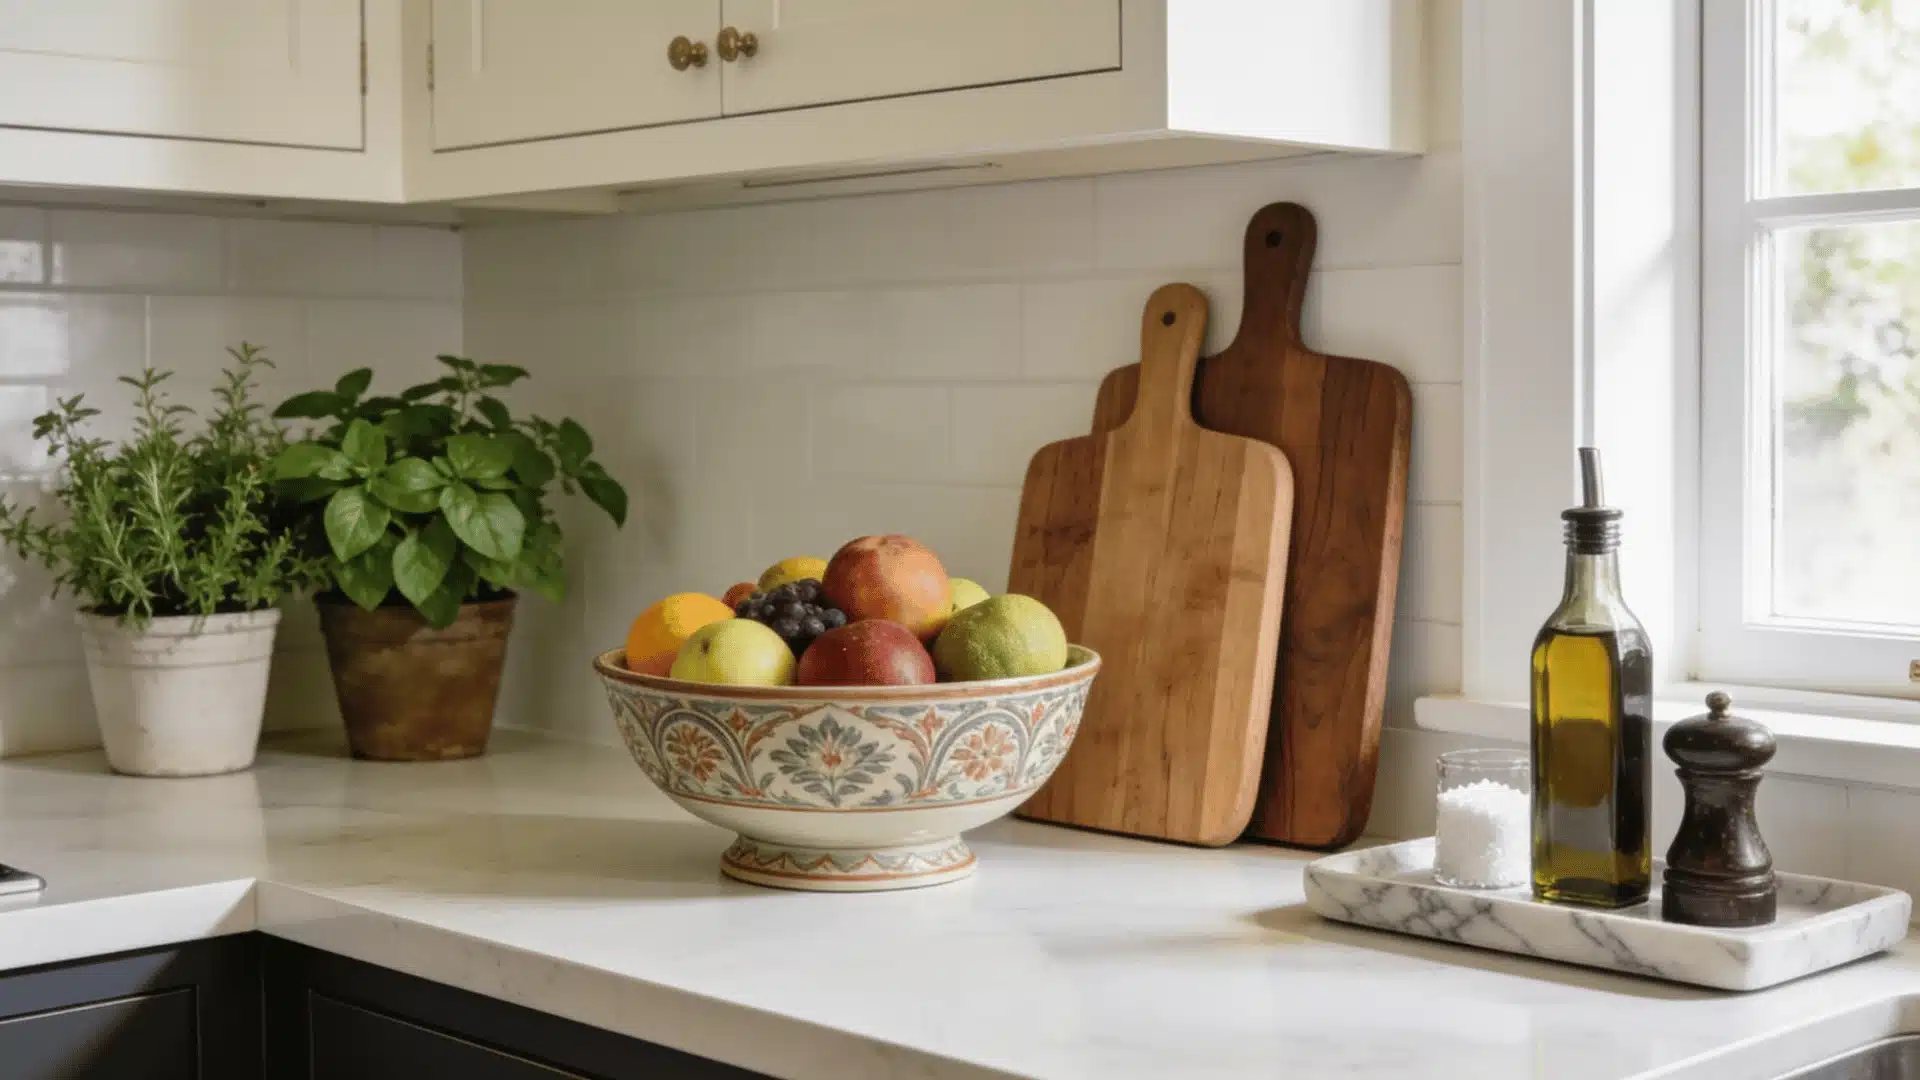
6. Decorative Cutting Board Display
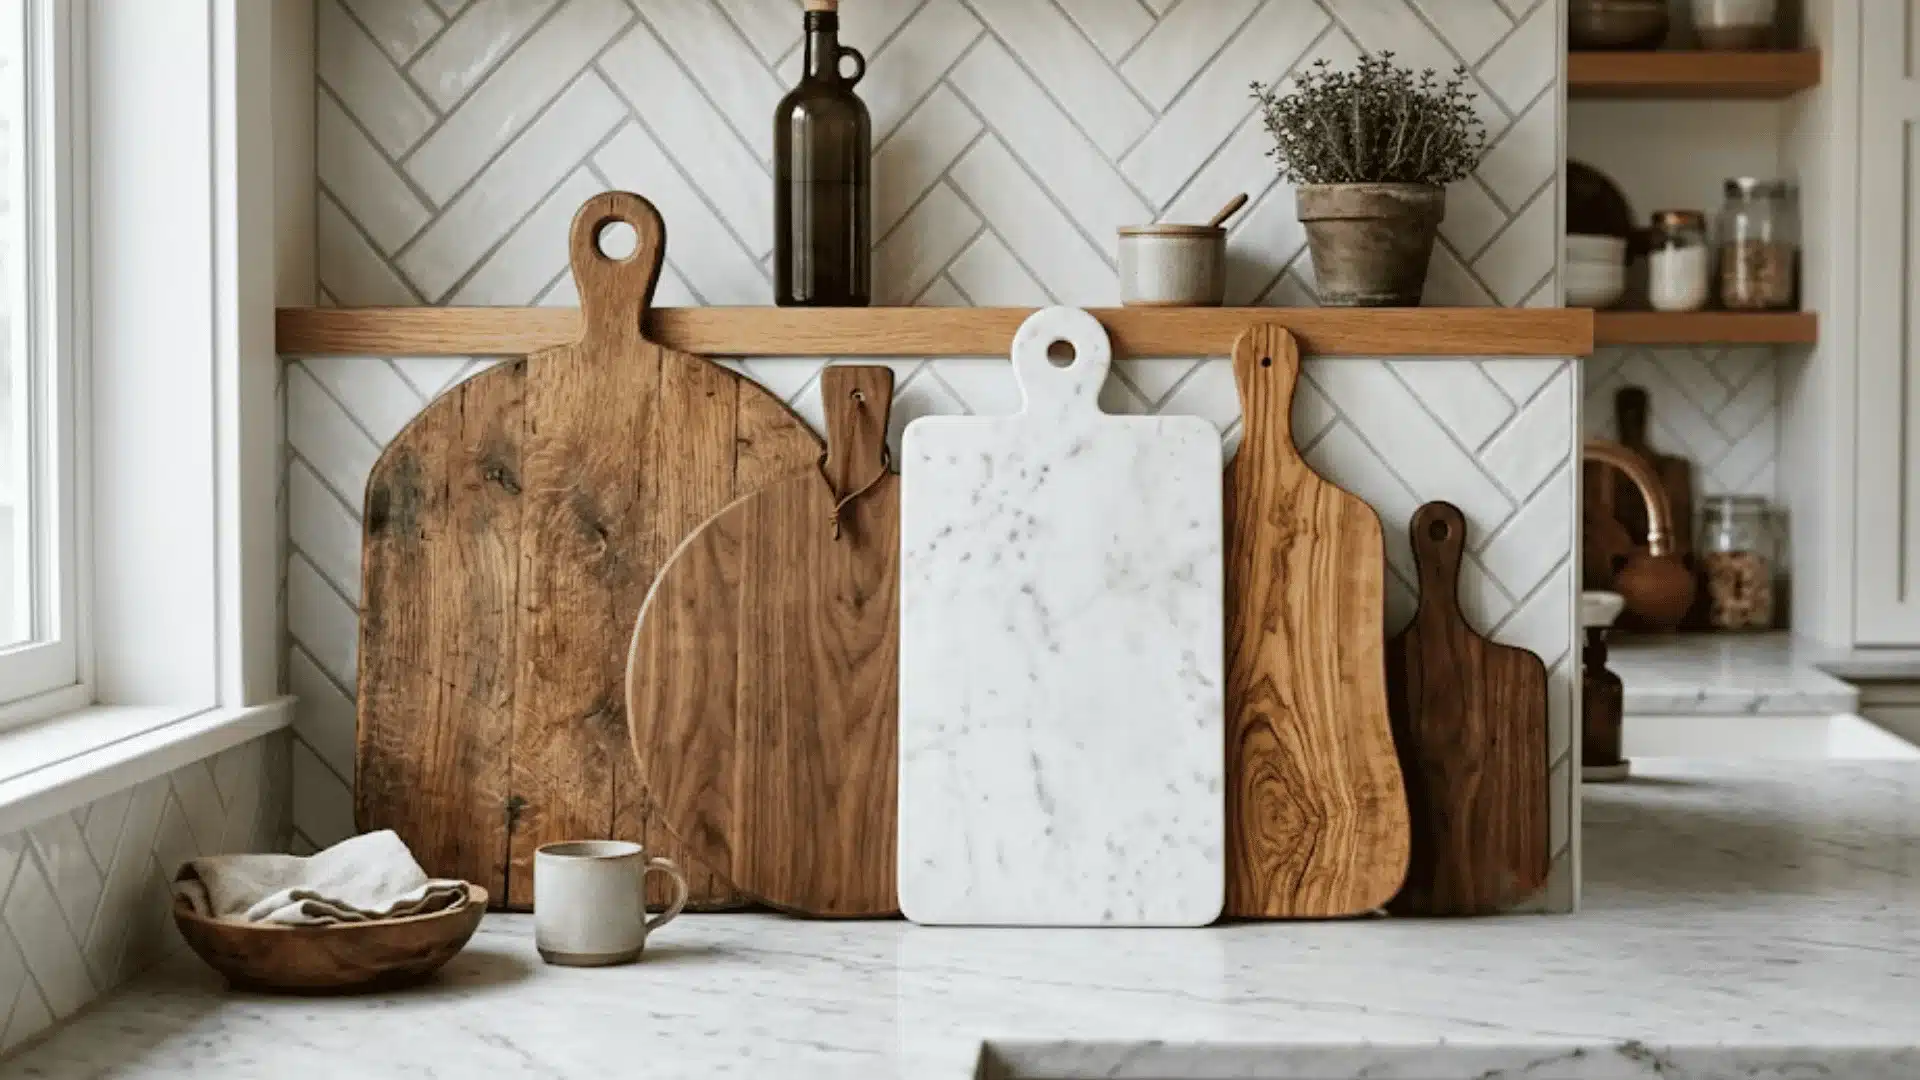
A cutting board leaning against the backsplash is one of the easiest ways to add warmth and height to a counter without adding clutter.
The key is layering. Use two or three boards of different sizes and materials: a large end-grain wood board at the back, a smaller flat board in front of it, and perhaps a small marble board leaning slightly to the side.
The different textures and sizes create depth.
Avoid plastic boards in a decorative display. They do not photograph well and they do not age well. Stick to acacia, walnut, maple, or marble.
7. Fruit Bowl Arrangement
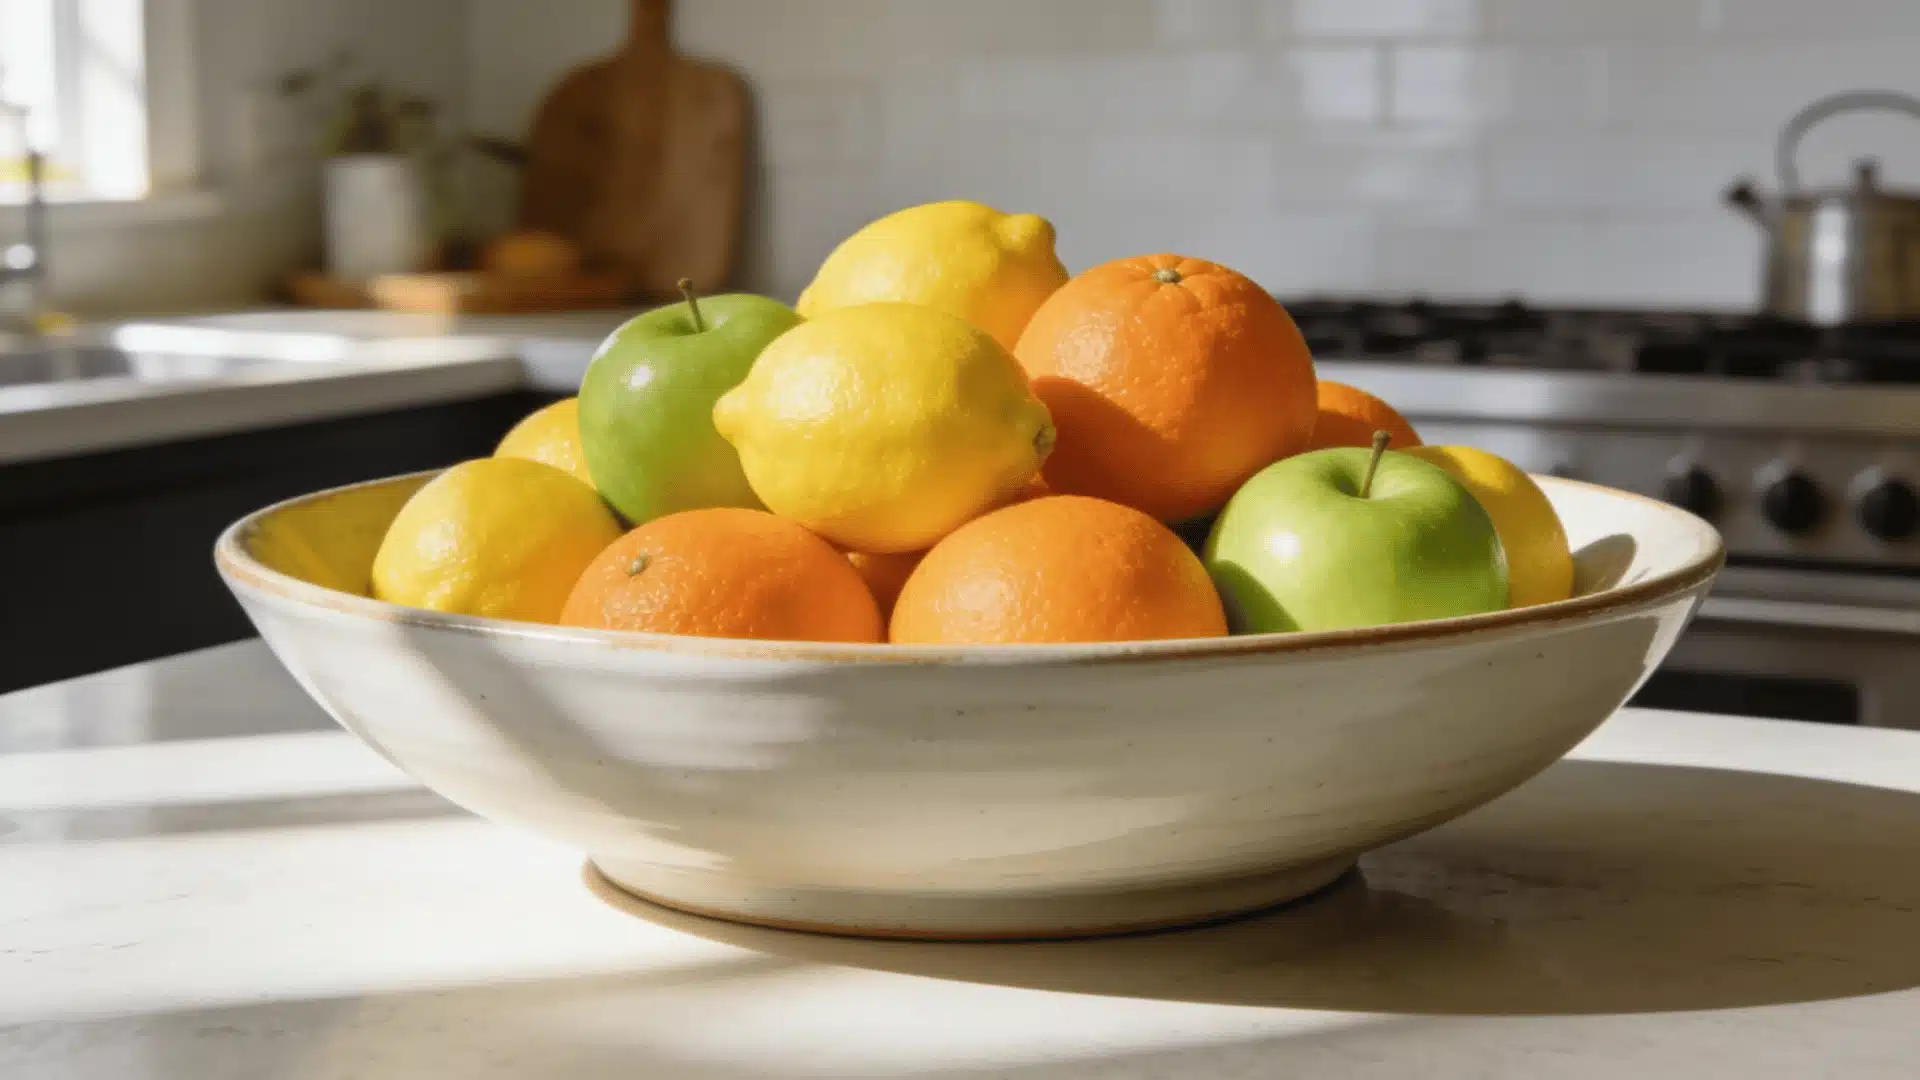
A fruit bowl works on a kitchen counter when the bowl itself is worth looking at, and the fruit inside it is actually fresh.
Choose a bowl that is wide and shallow rather than tall and deep. A wide ceramic bowl in a neutral or earthy tone sits lower on the counter and gives you a better view of what is inside.
Deep bowls hide the fruit and just look like a container.
Best fruits for a counter display:
- Lemons and limes (last 1 to 2 weeks out of the fridge; look clean and bright)
- Oranges (hold their color well, do not soften quickly)
- Green apples (add a cool-toned counterpoint to warm wood surfaces)
- A small bunch of bananas on a stand if you prefer them separate
Swap the fruit out before it softens. A bowl of browning bananas undoes every other styling choice on the counter.
8. Cookbook Styling Corner
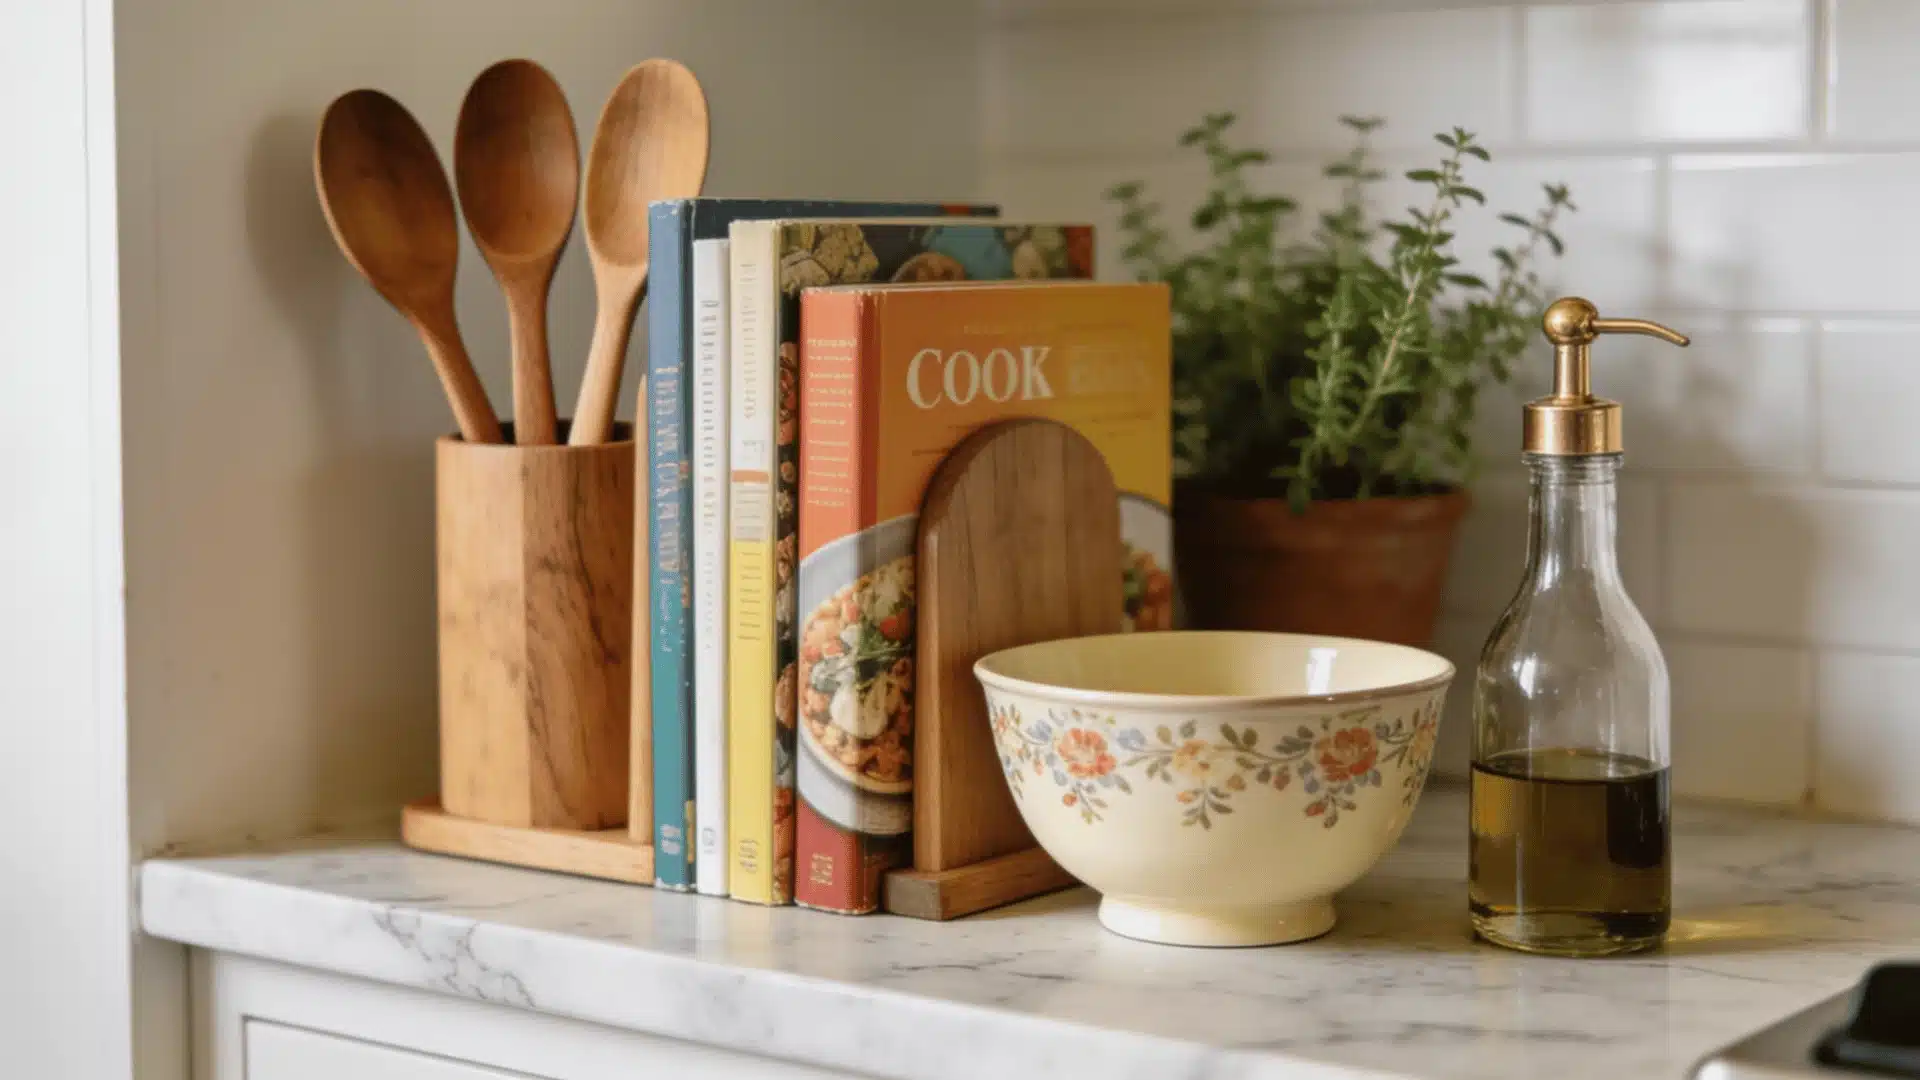
Cookbooks displayed on a counter look intentional when they are treated as objects, not just books.
Stand one or two vertically. Place a small ceramic or wooden object in front of them, like a small bowl, a short canister, or a stone bookend.
That support gives the books a reason to be there beyond simply sitting in a row.
Stick to cookbooks with visually strong spines. A cookbook with plain text on the spine adds nothing. One with a deep color or a clean typographic cover adds both color and texture to the zone.
Pair the cookbook corner with one small functional item, a wooden spoon in a slim holder or a single oil bottle, so the whole section reads as a working, styled area of the kitchen rather than a bookshelf that ended up on the counter.
What to Put on Kitchen Counters? A Quick Look
These items consistently look good on kitchen counters and earn their space:
A single large vase or vessel: Sets scale, adds height, and needs nothing else around it to look finished.
A wooden or marble cutting board: Functional and visual at the same time. Leaning against the backsplash adds height without taking up more surface space.
A fruit bowl with fresh fruit: Works only if the fruit stays fresh. When the bowl is empty or the fruit is overripe, it becomes the most prominent mess on the counter.
A potted herb: Basil, rosemary, or thyme. Practical, inexpensive, and better-looking than most decorative alternatives.
A canister or utensil holder: One, not three. One tall glass or ceramic holder with wooden spoons and spatulas looks considered. Three canisters in a row look like a kitchen store display.
A small tray with grouped items: A tray holding olive oil, salt, and pepper in coordinated vessels turns a functional cluster into a styled one.
A coffee or tea station: Justified by daily use. Keep it contained within a defined zone.
Fresh flowers in a simple vase: The fastest way to change the feel of a counter. Even a single stem in a bud vase makes a difference.
A cookbook displayed vertically: Adds color, height, and a sense that this kitchen is actually used.
A small plant or succulent: Low-maintenance and visually effective. Keep the pot compact and swap it out if the plant starts to look tired.
Quick Kitchen Counter Refresh Ideas
You do not need to restyle an entire kitchen to make a counter look better. These small changes take under 10 minutes and make a visible difference:
Swap Seasonal Decor
Replace a spring herb pot with a small pumpkin in autumn.
Swap a white ceramic vase for a terracotta one in winter. Seasonal objects cost very little and change the whole feel of the counter.
Add Fresh Flowers
A $5 bunch of supermarket flowers in a simple vase changes a counter more than almost any other single action. It takes 3 minutes, and the effect lasts a week.
Rearrange Your Tray
Move the objects inside your styled tray. Put the tall item on the left instead of the right.
Angle the cutting board differently. A new arrangement of existing items reads as fresh without spending anything.
Replace Worn Accessories
A wooden spoon holder that has gone grey, a canister whose lid no longer sits flush, and a tray that has stained. Worn accessories drag the whole counter down. Replace them one at a time as they age.
Introduce a New Color Accent
Add one small object in a color that is not currently on the counter.
A navy blue ceramic bowl, a terracotta pot, a green glass bottle. One new color placed deliberately into an existing arrangement updates the whole zone without a full restyle.
Conclusion
Good counter styling starts with subtraction, not addition.
Clear the surface first, apply the 70/30 rule, and place one focal point before anything else.
From there, layer in natural elements, vary your heights, and keep each grouping contained to a tray or a defined zone.
You now have a clear framework for a counter that looks styled without looking fussed over and one that takes about 10 minutes to refresh whenever it starts to drift.
Frequently Asked Questions (FAQ’s)
1. How Do I Decorate Kitchen Counters without Cluttering Them?
Keep 70% of the surface clear, choose one focal point, and group items in threes. Remove anything you use fewer than three times a week.
2. What Should Always Stay on Kitchen Counters?
Daily-use appliances like a coffee maker or toaster, a knife block, and one or two intentional decorative items that genuinely earn their space.
3. How Many Decorative Items Should Be on a Kitchen Counter?
Two to three items per grouping work best. One to two groupings per counter run. More than that, and the styling starts to compete with itself.