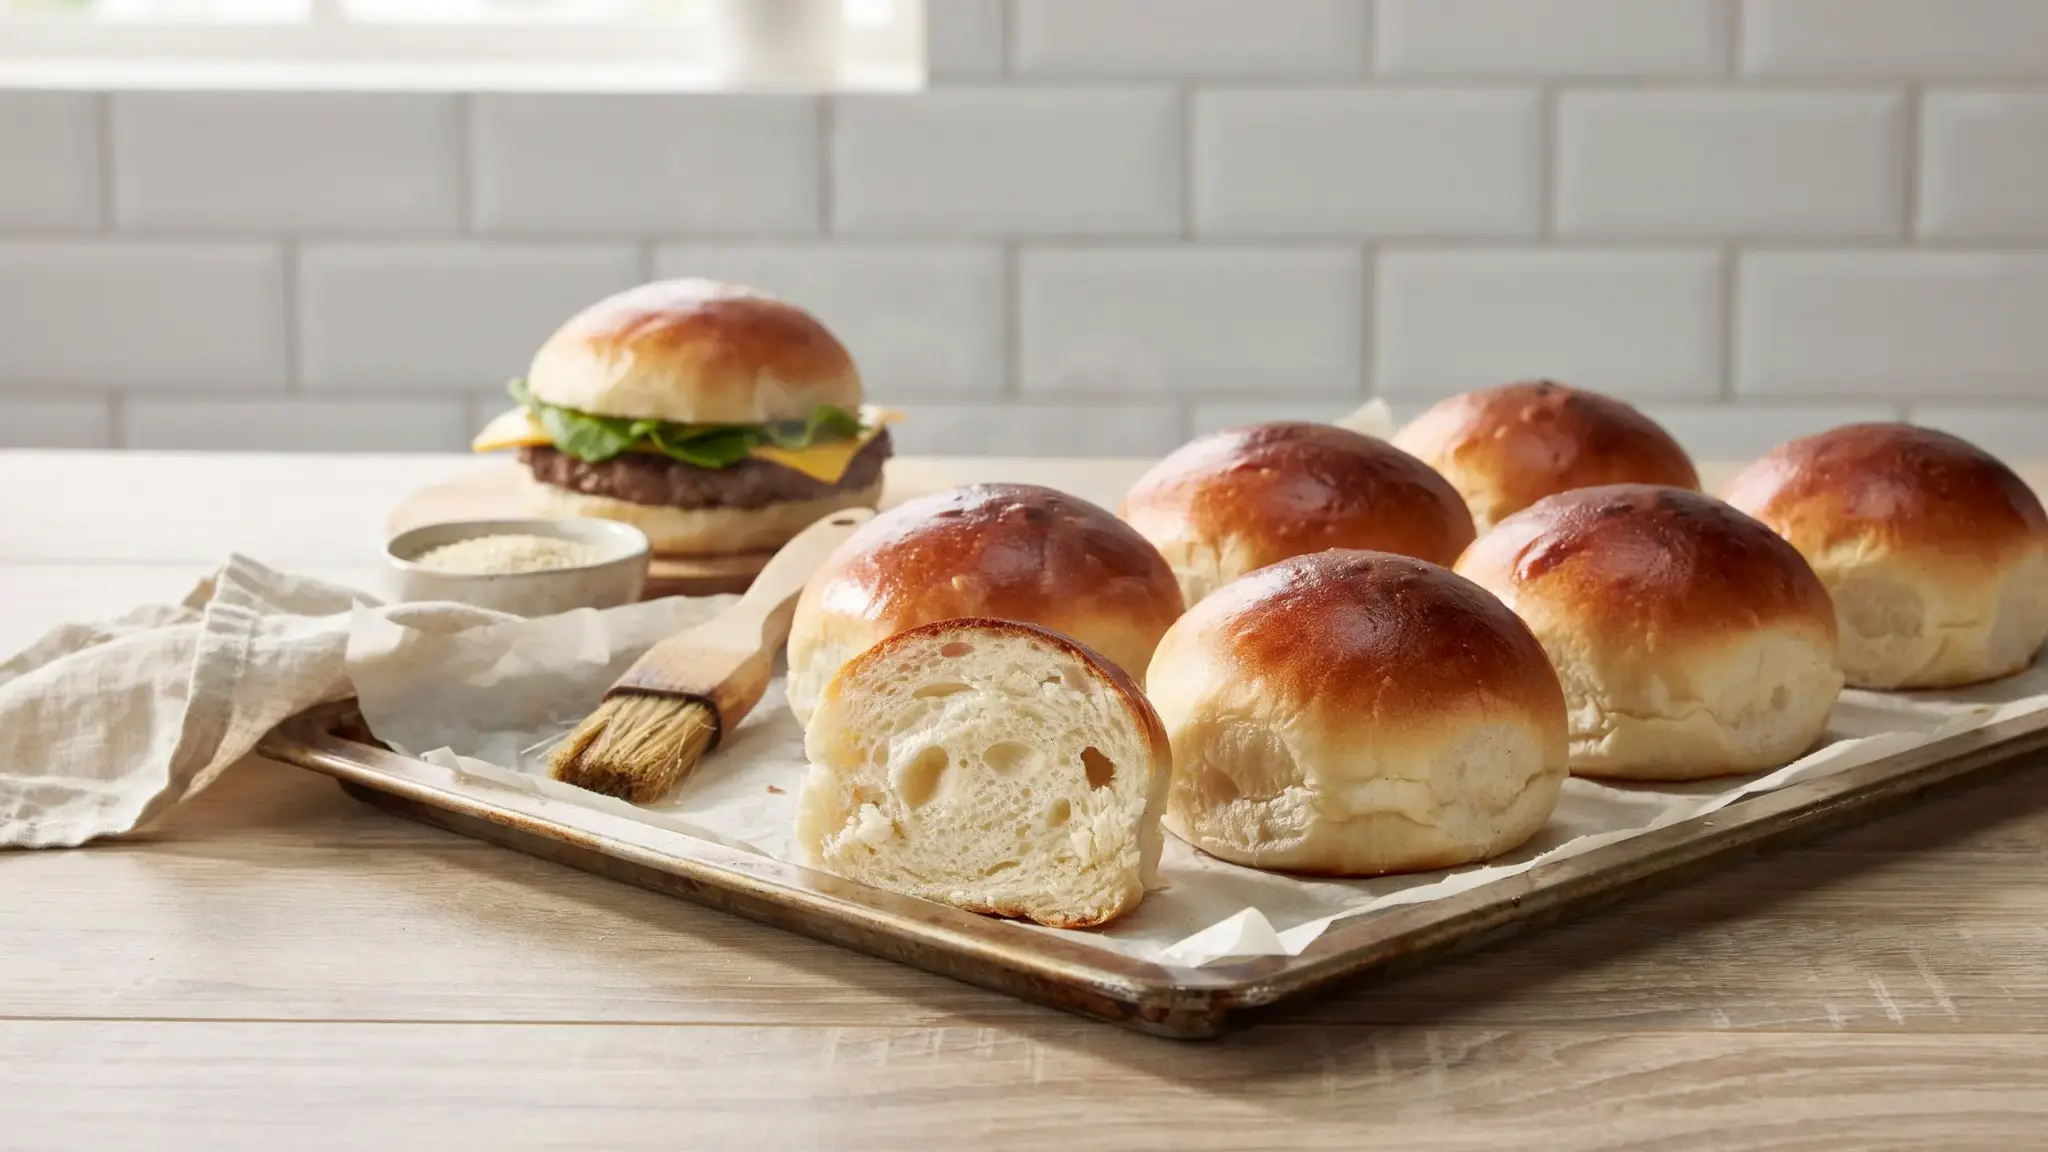

Delicious homemade brioche buns – soft, shiny, and substantial enough to hold up to those buttery fillings – are born of correct kneading, slow incorporation of butter, and an even rest and rise!
This recipe for brioche buns is about achieving that wonderful soft pull in brioche bread without the slickness of under-kneaded, overworked, reluctant dough.
Using good ingredients-eggs, milk, butter, and bread flour- yields a rich flavor and a light, airy crumb to make even the choicest burgers, fried chicken sandwiches, pulled pork buns, and breakfast sausage melts weep with joy.
Made in batches, this project may look long, but the majority is pure loaf time.
Equipment for Making Brioche Buns
A stand mixer makes this soft dough easier to handle, although you can also knead it by hand with additional time and effort.
- Stand mixer with dough hook: Kneads the enriched dough efficiently.
- Large mixing bowl: Holds the dough during the first rise.
- Digital kitchen scale: Measures the flour accurately and creates evenly sized portions.
- Dough scraper: Helps lift, divide, and shape sticky dough.
- Large baking sheet: Gives the buns room to expand.
- Parchment paper or silicone mat: Prevents sticking.
- Pastry brush: Applies the egg wash evenly.
- Clean towel or reusable cover: Protects the dough during proofing.
- Wire cooling rack: Allows air to circulate around the baked buns.
Use two baking sheets if the buns cannot be spaced at least 2½ inches apart on one pan. Crowded buns may join together as they rise and bake.
Brioche Bun Ingredients
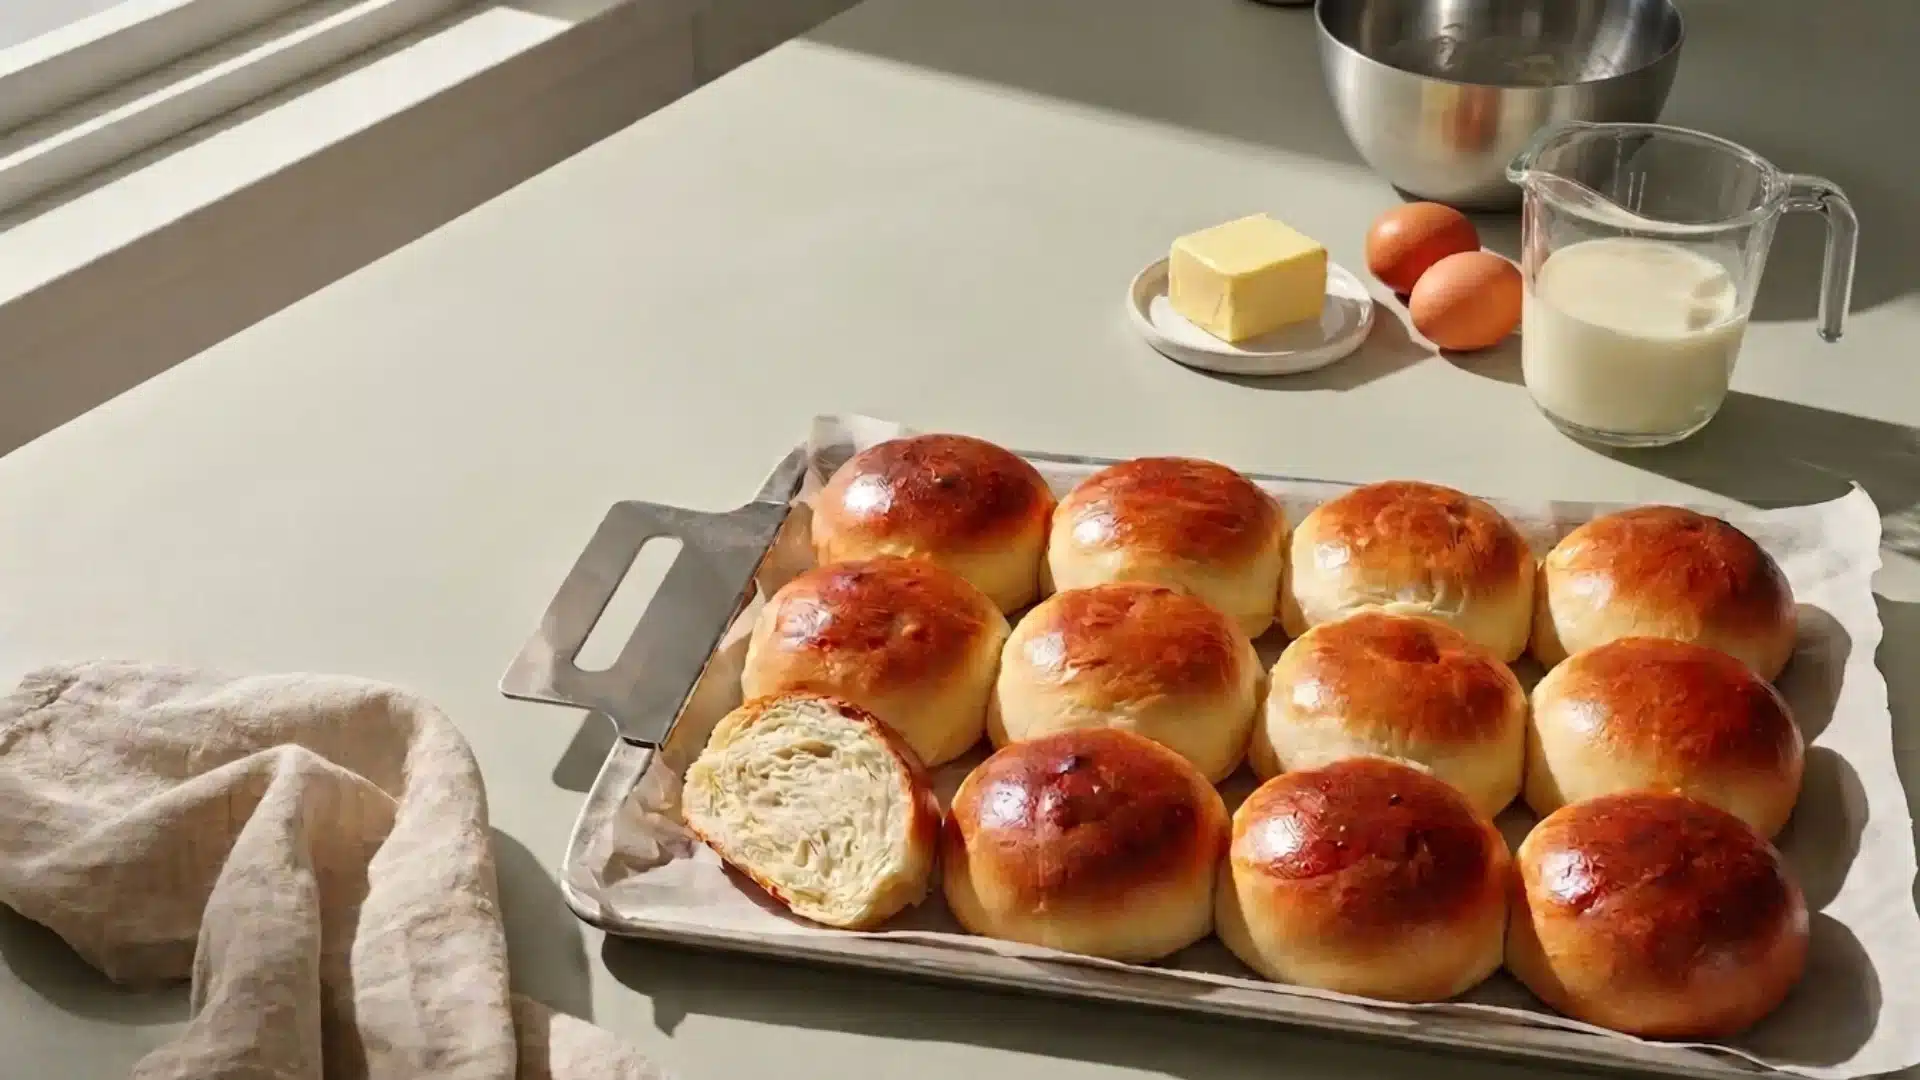
Measuring the flour and butter by weight gives a more dependable result than using volume measurements. Even a small excess of flour can make enriched dough heavier and drier.
For the Dough
Four large eggs should weigh approximately 190 to 200g without shells. Weighing them can improve consistency when egg sizes vary.
- 500g bread flour
- 10g instant yeast
- 50g granulated sugar
- 10g fine salt
- 4 large eggs, at room temperature
- 180ml whole milk, lukewarm
- 170g unsalted butter, softened and cut into small cubes
For the Topping
- 1 large egg
- 1 tablespoon milk or water
- Sesame seeds or poppy seeds, optional
Hand-Kneading Brioche Dough
You can also make brioche without a stand mixer, though it takes more effort and patience to work with such a soft dough.
In a large bowl, use a strong spoon or spatula to combine the flour, yeast, sugar, salt, eggs, and milk, then tip the mixture onto your clean work surface and use the stretch-and-fold technique to develop some elasticity before adding the butter.
Add the butter one piece at a time, working it in as you go.
Use your dough scraper to lift the sticky dough from your surface as it sticks together, so you don’t have to add extra flour.
Working by hand can take between 15 and 25 minutes, depending on how you work the dough and the room temperature.
How to Make Brioche Buns
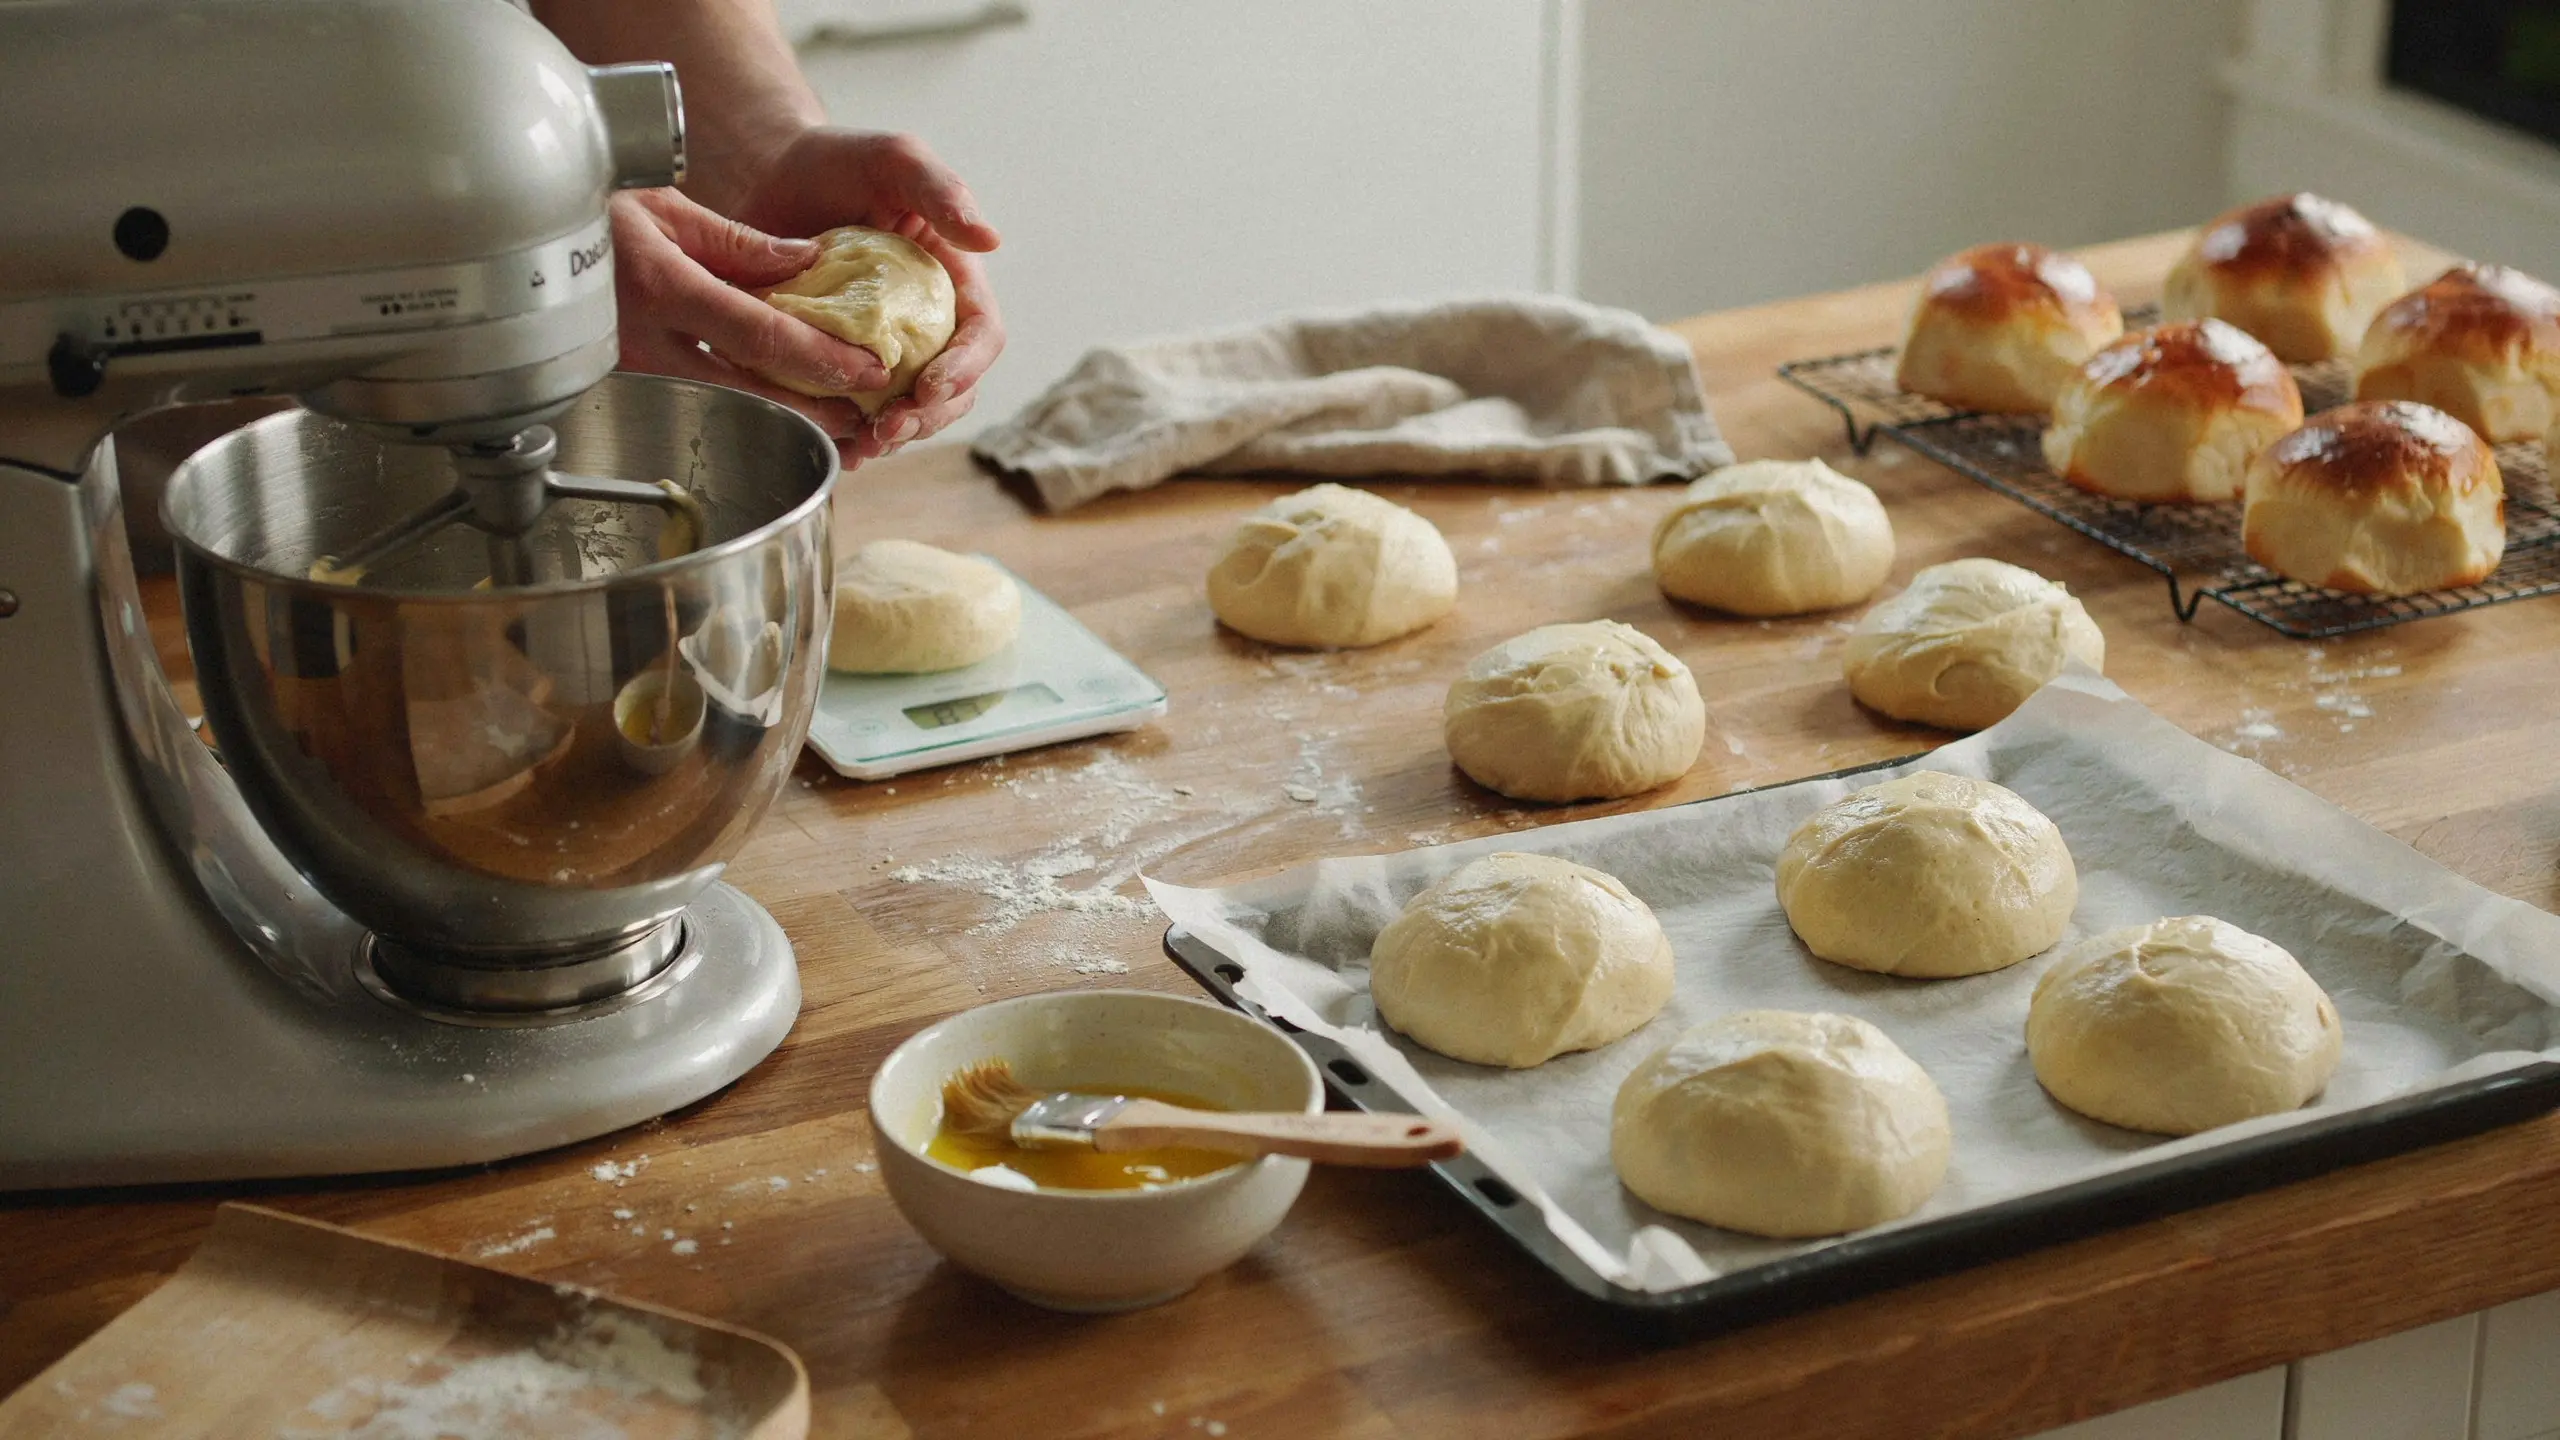
Making brioche buns requires careful mixing, gradual butter incorporation, and two complete rises. Following the stages in order helps the dough develop enough strength to bake into soft, evenly shaped buns.
Step 1: Mix the Dough
Add the bread flour, instant yeast, sugar, and salt to the bowl of a stand mixer. Add the eggs and lukewarm milk.
Attach the dough hook and mix on low speed until no dry flour is visible and the rough, sticky dough is clumping on the dough hook, for 4 to 5 minutes.
Step 2: Knead and Add the Butter
Turn the mixer up to medium-low speed and knead for 4 minutes.
Slowly add the softened butter in pieces, letting each piece absorb before adding more, and continue kneading until the dough turns smooth, elastic, and shiny.
If the dough starts to become too oily, place the bowl in the refrigerator for a moment.
Step 3: Check the Gluten Development
Break off a small bit of your dough and slowly stretch it between your fingertips.
When the dough is well kneaded, it’s ready for The Windowpane Test, a process by which you make a very thin, translucent square of dough that doesn’t tear.
This test indicates that sufficient gluten has formed.
If your dough tears when you test it, return it to your mixer and knead it for another two minutes, then test it again.
Step 4: Complete the First Rise
Gently shape the dough into a loose ball in a lightly oiled bowl.
Cover and let rest in a warm, draft-free location for 1-2 hours, or until increased by approx 50% in volume.
Aim to create an area between 75 and 80 F, so that a decent proof happens, and it’s not a butter ball that can’t hold its shape.
Step 5: Divide and Shape the Buns
Turn the kneaded dough to the center of a clean table, and knock down the larger air holes.
Divide the dough into 10 parts, weighing 110–112g for each portion.
Pinch up all four edges toward the center of the dough, turn so the seam is down on the table, and roll it into small circles until you have round, tight, and smooth dough with a taut surface.
Step 6: Complete the Second Rise
Place the formed dough buns on parchment paper–lined baking sheets, placing them 2½ inches apart.
Loosely cover and proof for 1 to 1½ hours, or until puffy.
You can check the dough for readiness by lightly poking the top of one bun with a floured finger. If the indentation pops back very slowly and leaves behind a slight indent, it’s good to bake.
Step 7: Apply the Egg Wash
Preheat the oven to 375°F while the buns finish proofing. Whisk one egg with one tablespoon of milk or water, then brush a thin, even layer over each bun.
Add sesame or poppy seeds if desired. Avoid pressing down on the dough or allowing the egg wash to pool around the bases of the buns.
Step 8: Bake and Cool
Bake the buns on the center rack for 18 to 22 minutes, rotating the pan if needed. They should be deeply golden on top and lightly browned underneath.
Cover loosely with foil if they darken too quickly. Transfer the baked buns to a wire rack and cool for at least 20 minutes before slicing.
Estimated Nutrition
Based on 10 buns and excluding optional seeds, each bun contains approximately:
- Calories: 370
- Carbohydrates: 43g
- Protein: 9g
- Fat: 18g
- Sugar: 6g
Nutrition is an estimate calculated from the listed ingredients and divided among 10 buns. Values may change with egg size, ingredient brands, toppings, and the amount of egg wash used.
Why Brioche Buns Go Wrong
Brioche dough behaves differently from ordinary sandwich dough. It may look sticky, soft, or briefly separated during mixing. These signs can help determine whether it needs more kneading, proofing, or cooling.
1. The Dough Looks Greasy
The butter may have been too warm or added too quickly. Stop mixing and let the dough rest for 5 minutes.
If the room is warm, refrigerate the bowl for 10 to 15 minutes before continuing. Do not immediately correct greasy dough with flour because the finished buns may become dense and dry.
2. The Dough Remains Very Sticky
Brioche should feel softer and tackier than ordinary bread dough. Continue kneading until it becomes elastic and begins releasing from the sides of the bowl.
If it remains batter-like after thorough kneading, check whether the flour, milk, and eggs were measured accurately.
3. The Buns Spread Sideways
Flat buns may result from weak gluten development, loose shaping, warm dough, or insufficient proofing.
Check that the dough passes the windowpane test and creates firm surface tension when shaping each portion. Briefly chilling very soft dough can make it easier to handle.
4. The Buns Are Dense
Dense buns may be caused by inactive yeast, excessive flour, insufficient kneading, or shortened rising times.
Let both rises finish based on the dough’s appearance. The shaped buns should look distinctly puffy before they enter the oven.
5. The Tops Brown Too Quickly
Cover the buns loosely with foil and continue baking. Also confirm that the baking sheet is placed near the center of the oven, not close to the upper heating element.
6. The Finished Buns are Dry
Dry buns commonly result from too much flour, overbaking, or leaving the baked bread uncovered.
Weigh the flour, begin checking the buns near the lower end of the baking range, and store them once they have cooled completely.
7. The Buns Wrinkle After Baking
A small amount of wrinkling can occur as soft bread cools. Severe sinking may indicate underbaking, overproofing, or insufficient gluten development.
Ways to Serve Brioche Buns
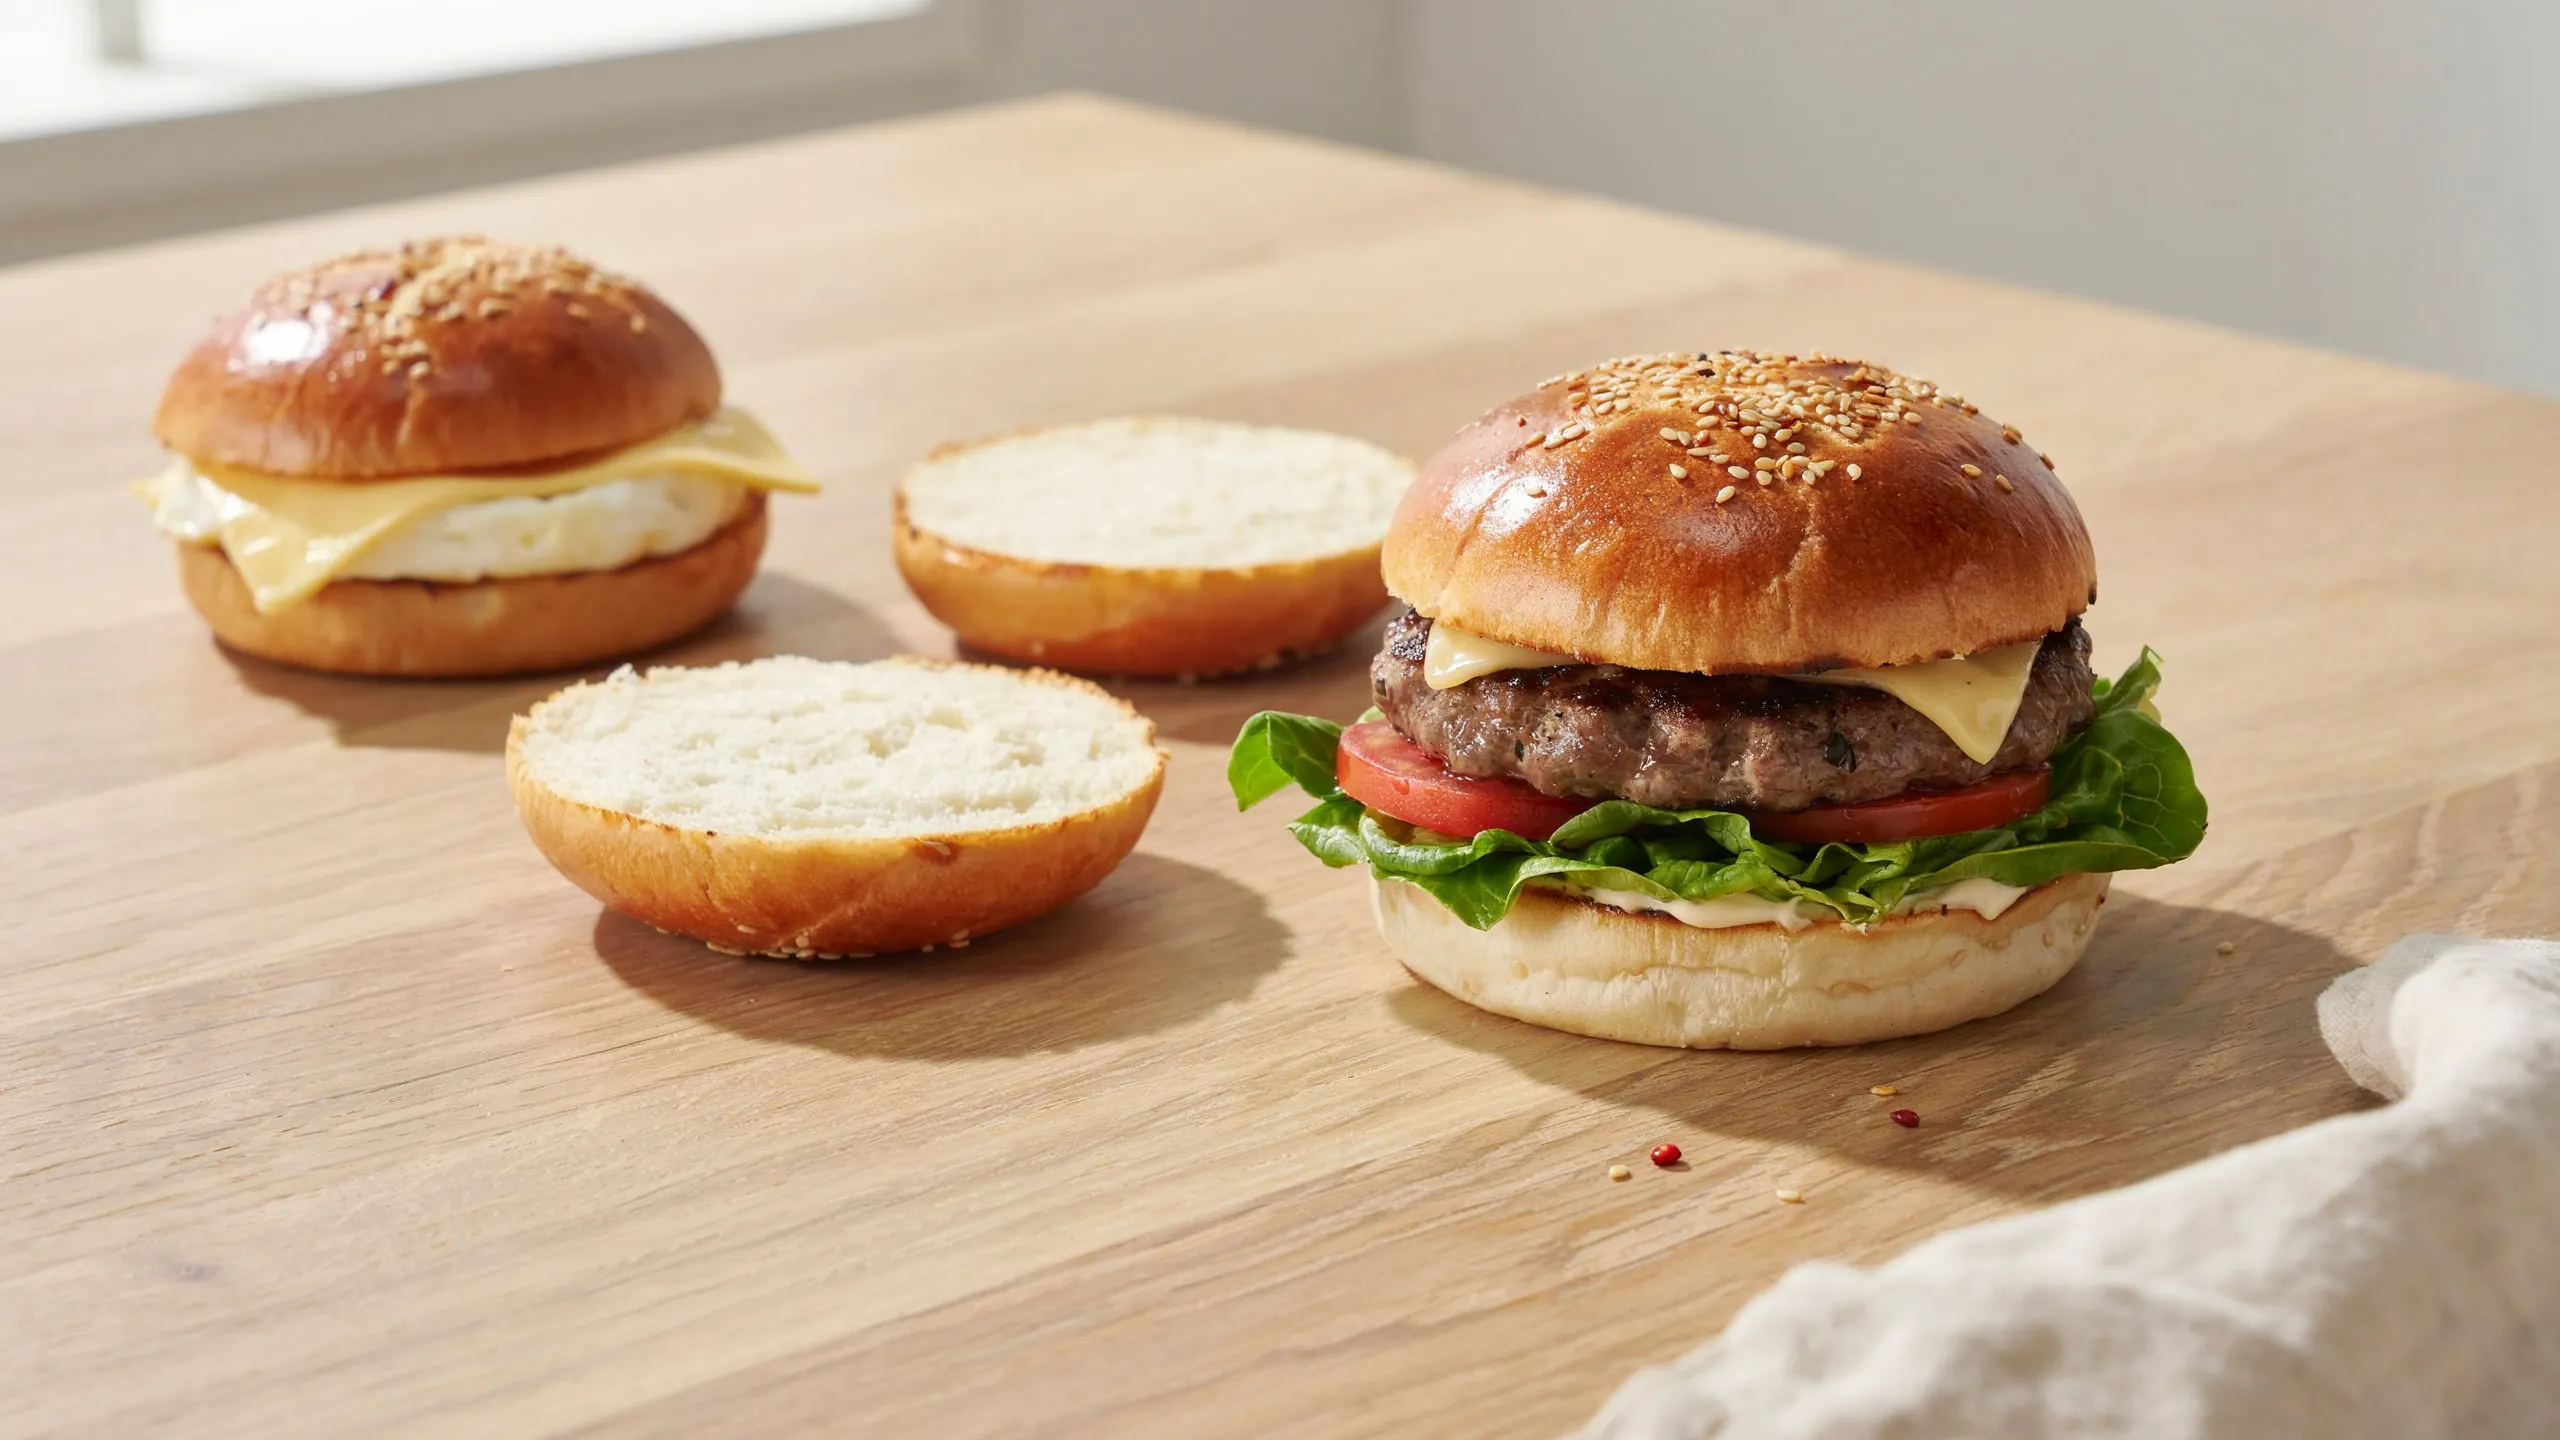
The mild sweetness and buttery crumb work with savory fillings as well as simple breakfast combinations.
Serve the buns with:
- Beef, turkey, bean, or vegetable burgers
- Fried chicken
- Pulled pork or shredded chicken
- Egg and cheese breakfast sandwiches
- Grilled cheese
- Sloppy joes
- Butter and jam
For burgers or sandwiches containing sauces, lightly toast the cut sides before assembling. Toasting adds flavor and helps slow moisture absorption.
Slice the buns horizontally with a serrated knife and toast the cut surfaces briefly when using wet sauces or juicy fillings.
Day-old brioche buns can also be used for French toast, bread pudding, breakfast strata, croutons, or soft breadcrumbs.
How to Store Brioche Buns
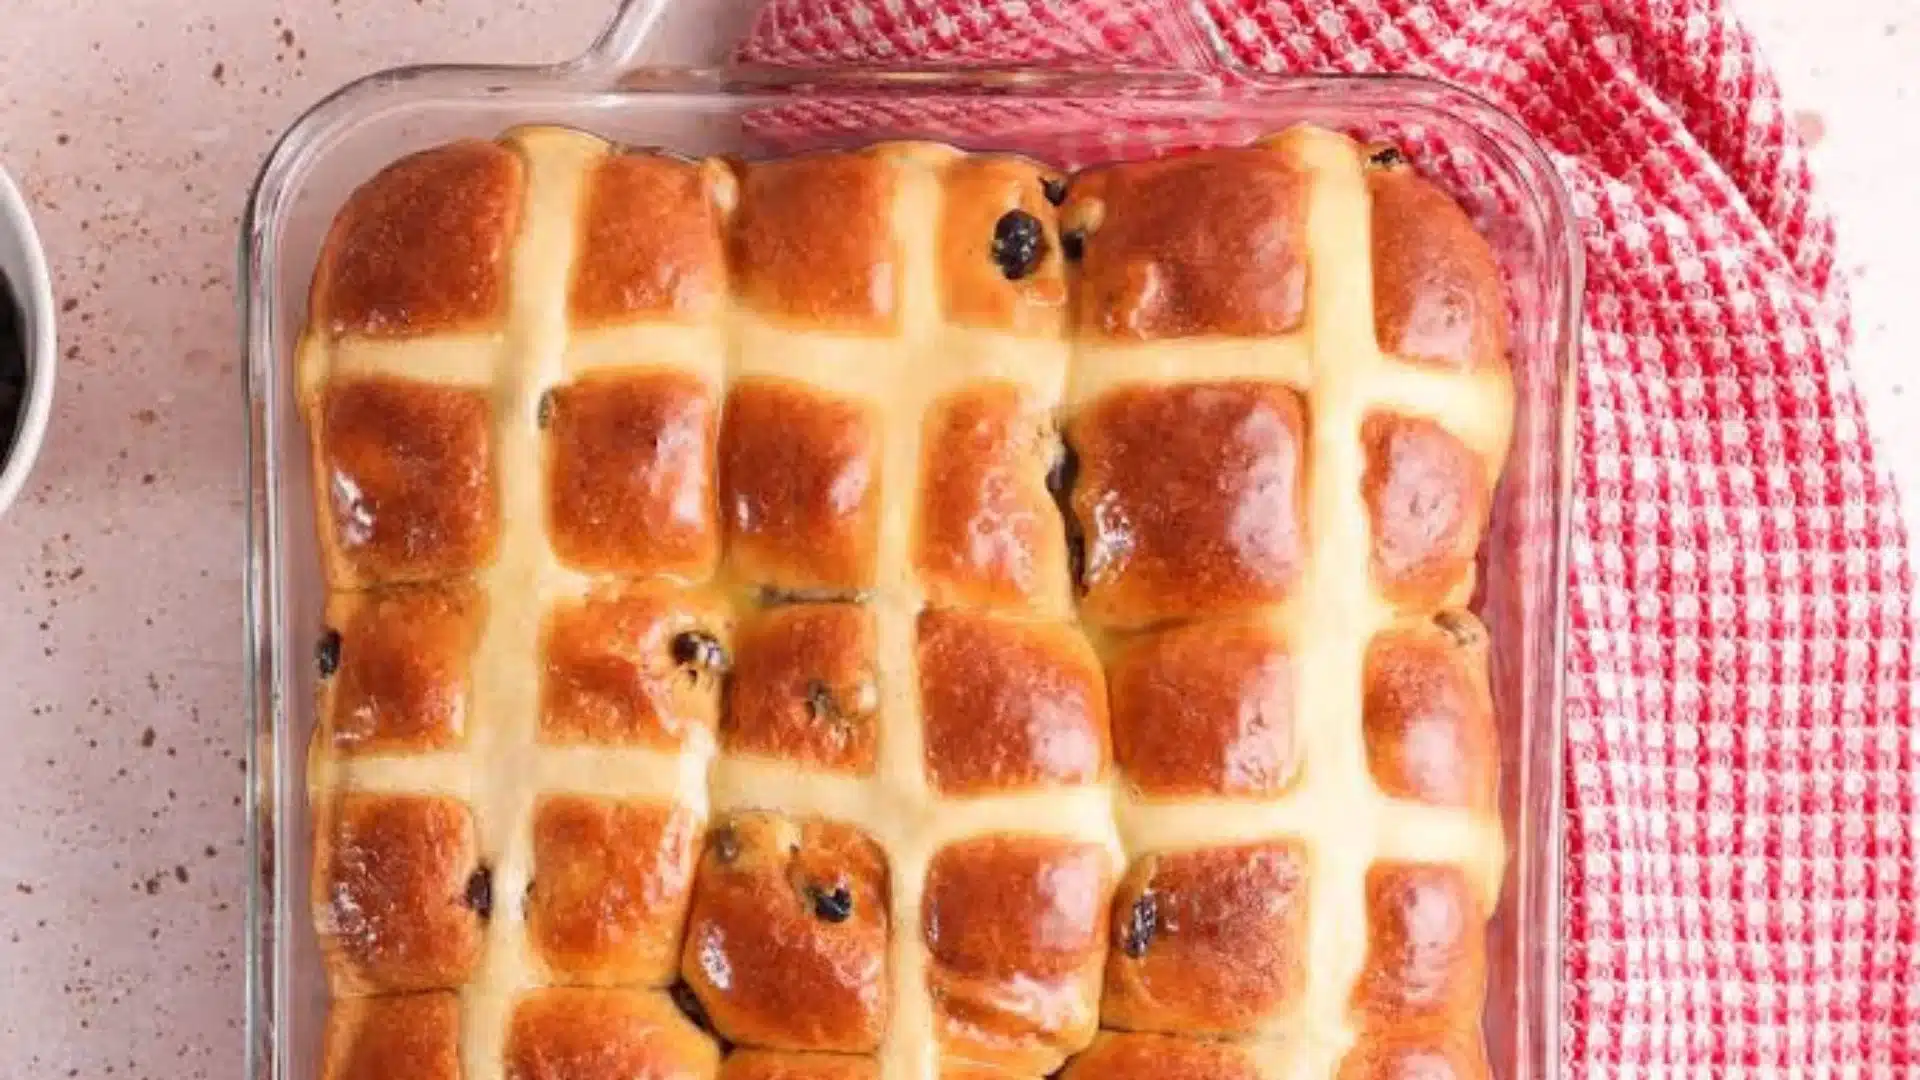
Let the buns completely cool before storing them, as wrapping a warm loaf can cause condensation, whereas a hot loaf left to sit for too long will become dry.
Store the buns in an airtight bundle or in a bag filled with sealed buns at room temperature for up to 2 days.
If you need longer storage, place the cooled bread buns in a freezer-safe bag and freeze until you’re ready for a delicious homemade treat.
Slip parchment paper between the buns while packing so you can remove individual treats easily when it comes time to defrost.
Thaw frozen bread in its airtight packaging at room temperature.
Gently reheat defrosted bread in your 300°F or 149°C oven for no longer than 5 mins before devouring. Freezing the fully baked, cooled buns gives more predictable results than freezing the raw enriched dough.
Final Takeaway
A successful brioche bun recipe comes down to patient kneading, gradual butter incorporation, and allowing both rises to finish properly.
The dough should feel smooth and elastic, while the shaped buns should look puffy before baking.
Once golden and fully cooled, these buns offer a soft, tender crumb with enough strength for burgers, breakfast sandwiches, pulled meat, or simple toasted servings.
Although the process takes several hours, most of the time is inactive, making the rich flavor and bakery-style texture well worth the wait.
Frequently Asked Questions (FAQs)
1. What Makes Brioche Buns Different from Regular Buns?
Brioche buns are enriched yeast breads containing more eggs and butter than ordinary sandwich bread. These ingredients create a richer flavor, a finer crumb, a softer bite, and a deeper golden color.
2. Can All-Purpose Flour Replace Bread Flour?
Yes, although the dough may feel softer and the buns may have less structure. Begin with the same quantity and avoid adding more unless the mixture remains batter-like after kneading is complete.
3. Can Brioche Buns be Made Without a Stand Mixer?
Yes. Mix the ingredients with a sturdy spoon, then knead using a stretch-and-fold or slap-and-fold motion. Add the butter gradually and expect hand-kneading to take about 15 to 25 minutes.
4. Can Smaller Slider Buns be Made?
Yes. Divide the dough into approximately 18 portions weighing around 60g each. Smaller buns bake faster, so start checking them after 13 to 15 minutes.