
A backyard pool usually means a big budget, a construction crew, or months of waiting, none of which sounds appealing on a hot Saturday.
That frustration is exactly why the DIY stock tank pool has become such a popular fix.
It uses one galvanized tank, a pump, and a single weekend to turn an ordinary yard into a real swimming spot.
Ahead, you will find the right tank size, the full supply list, and every step needed to build one that stays level, sealed, and ready for summer.
What is a Stock Tank Pool?
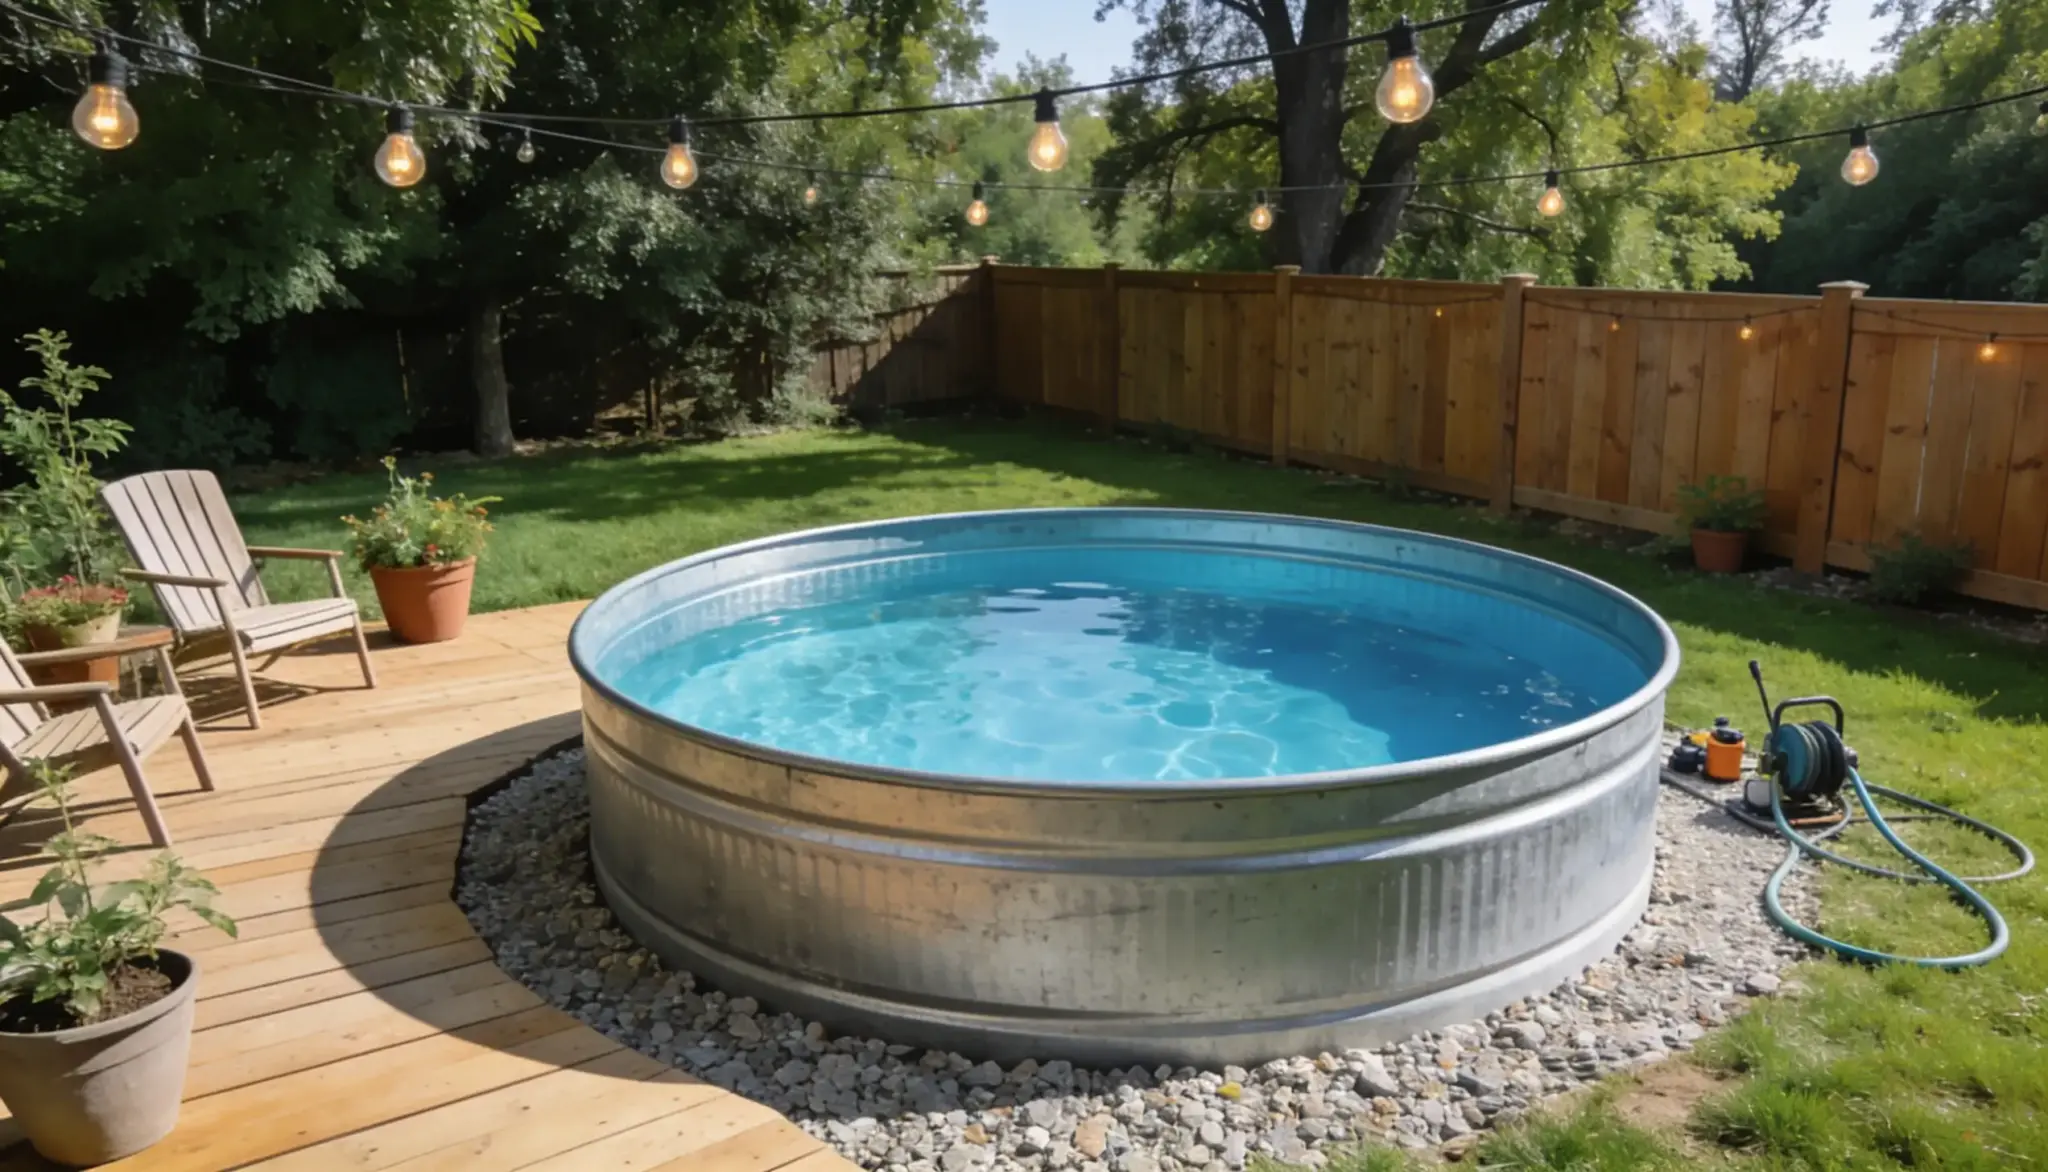
A stock tank pool starts as a metal trough used to water farm animals. Farm stores like Tractor Supply sell them in 6’, 8’, and 10’ sizes, all about 2 feet deep.
Some brands now sell these same tanks made just for pools, usually at a higher price but with the pool parts already included.
Metal tanks last longer and keep water cooler than plastic ones, though plastic costs less to start. The right size depends on the yard and how many people will use it.
A 6’ tank works well for one or two swimmers, while an 8’ or 10’ tank gives a small group more room. Every size follows the same basic steps to build.
Stock Tank Pool Supplies
Building a DIY stock tank pool takes a specific set of tools and materials, not just the tank itself. Forget one part, and the whole project stalls halfway through.
Gathering everything before starting keeps the whole build moving without delays.
Essential
- Galvanized stock tank: The main basin, available in 6’, 8’, or 10’ widths
- Pool pump and filter system: Keeps water circulating and clear
- Inlet and outlet valve kit: Connects the tank to the pump lines
- Hole saw with arbor: Cuts clean holes sized to match your fittings
- Metal file: Smooths sharp edges left after drilling
- Marine-grade silicone sealant: Seals every fitting against leaks
- Plumbing tape: Adds a second layer of protection on threaded connections
Recommended
- Plunger valves let you shut off water flow for maintenance without draining the pool. A standard shutoff valve works instead, though it slows routine upkeep.
- The pump timer automatically runs the filter on a set schedule. Skipping this means remembering to switch the pump on and off by hand.
- Pre-fill water filter removes calcium and other hard-water minerals while the tank fills. Without it, the water may take longer to look fully clear.
Filter type affects how much upkeep the pool needs. Sand filters are affordable, widely available, and only need the media replaced every few years.
A pump sized for a small pool will struggle to keep an 8′ or 10′ tank clean. Check the pump’s gallon rating against your tank’s total volume before buying.
DIY Stock Tank Pool
- Working Time: 2–3 hours
- Total Time: 24–26 hours
- Difficulty Level: Intermediate
- Estimated Cost: $300–$800 (£240–£640)
- Number of People Needed: 2 people
- Number of Sessions: 2 sessions
A stock tank pool depends on solid preparation just as much as the build itself.
Getting the setup right beforehand saves hours of frustration later, and the steps move fast once you’re ready.
Another DIY: Build a nightstand; follow these simple steps.
Prepare Before You Build
Pick a spot with partial shade to keep water from overheating in direct sun. Check that a garden hose and outdoor outlet can reach the area comfortably.
A location too far from either one adds extra cords, hoses, and hassle.
Level ground matters more than almost any other step in the entire project. Use a long level across multiple points, not just the center, since small dips are easy to miss by eye.
Add sand or compacted soil under low spots until the surface reads level in every direction.
An unlevel base is the leading cause of leaks later on. Check level from at least four points before drilling anything.
Build Your Pool Step by Step
Once the ground is level and the supplies are ready, the build itself moves quickly. Each step builds directly on the one before it, so skipping ahead usually causes problems later.
Here’s the trimmed version, keeping every step under a tighter word count:
Step 1: Position the Tank
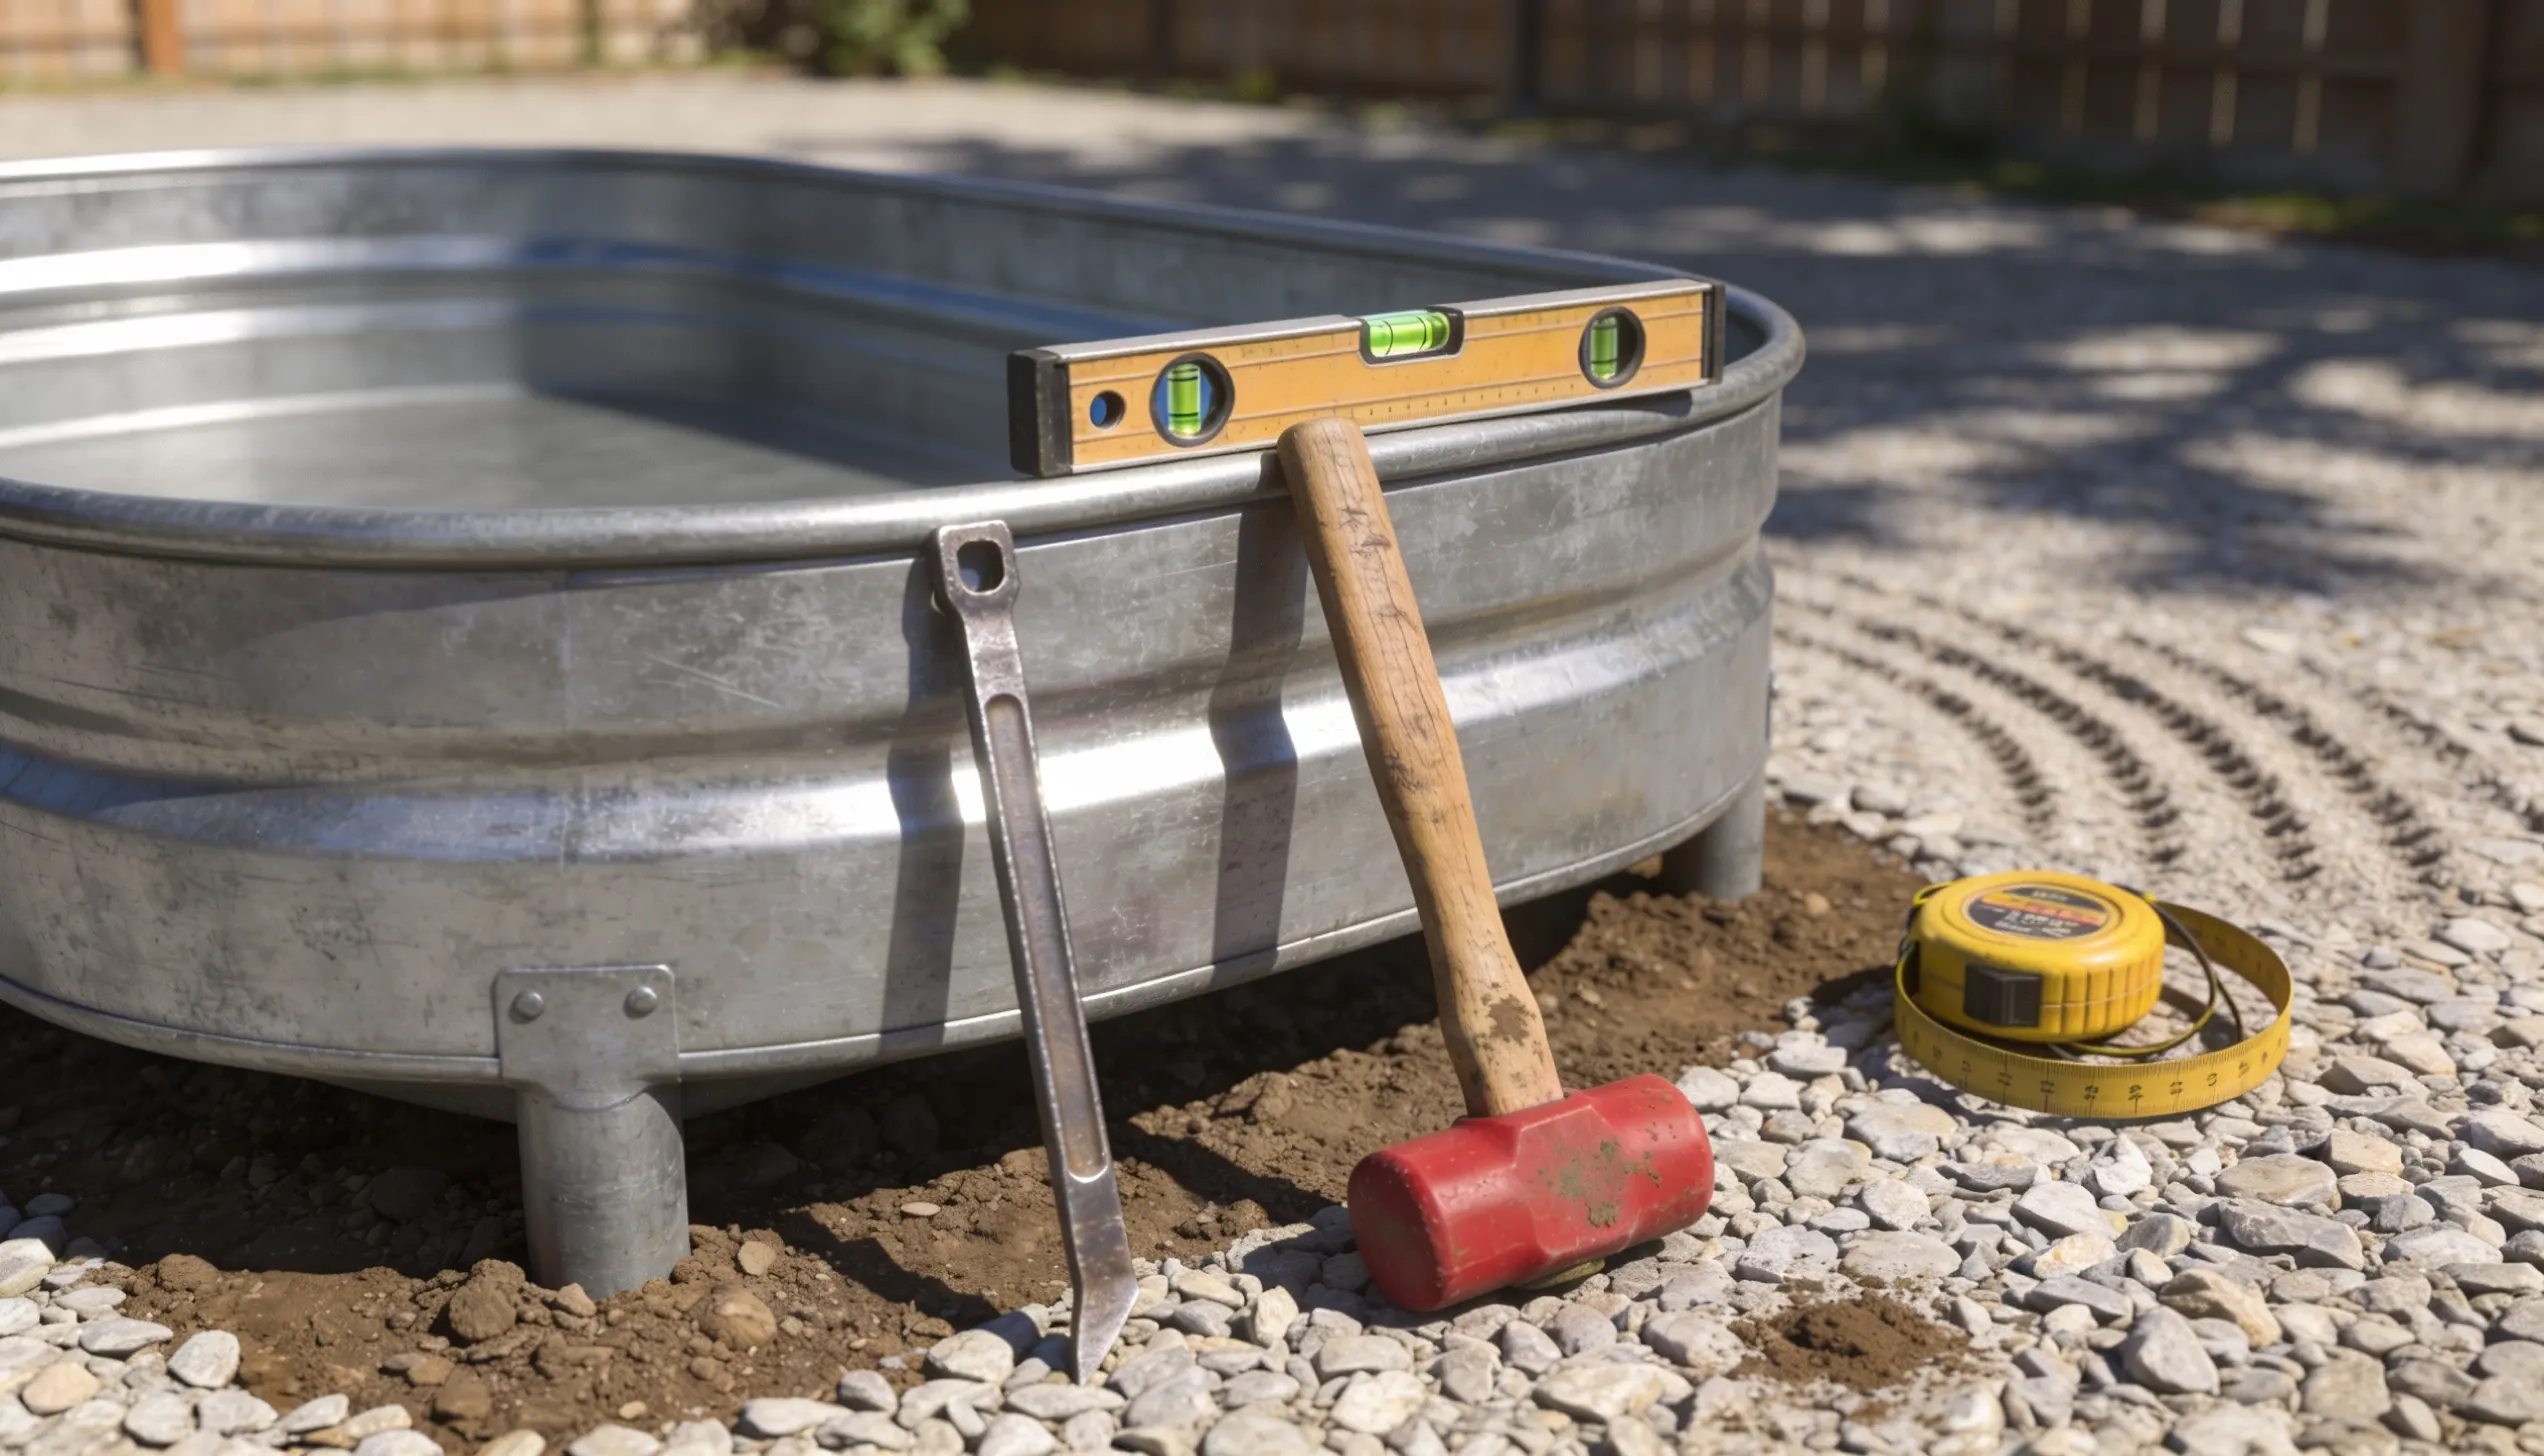
A concrete slab works well if one is already in place, since it stays naturally level. Otherwise, level the yard first with sand or compacted soil.
Set the tank down and check that it sits completely flat, with no gaps between the base and the ground.
Tip: An unlevel base is the leading cause of leaks later on. Check level from at least four points before drilling anything.
Step 2: Drill the Inlet and Outlet Holes

Mark the outlet spot first, keeping it clear of the tank’s outer lip line. Mark the inlet spot lower, keeping it clear as well.
Use a hole saw sized exactly to the fittings, then file down sharp edges and clear away every metal shaving.
Tip: Oversized holes cause slow leaks that are hard to fix. Match the hole saw size precisely to the fitting instead of rounding up.
Step 3: Install the Inlet and Outlet Valves
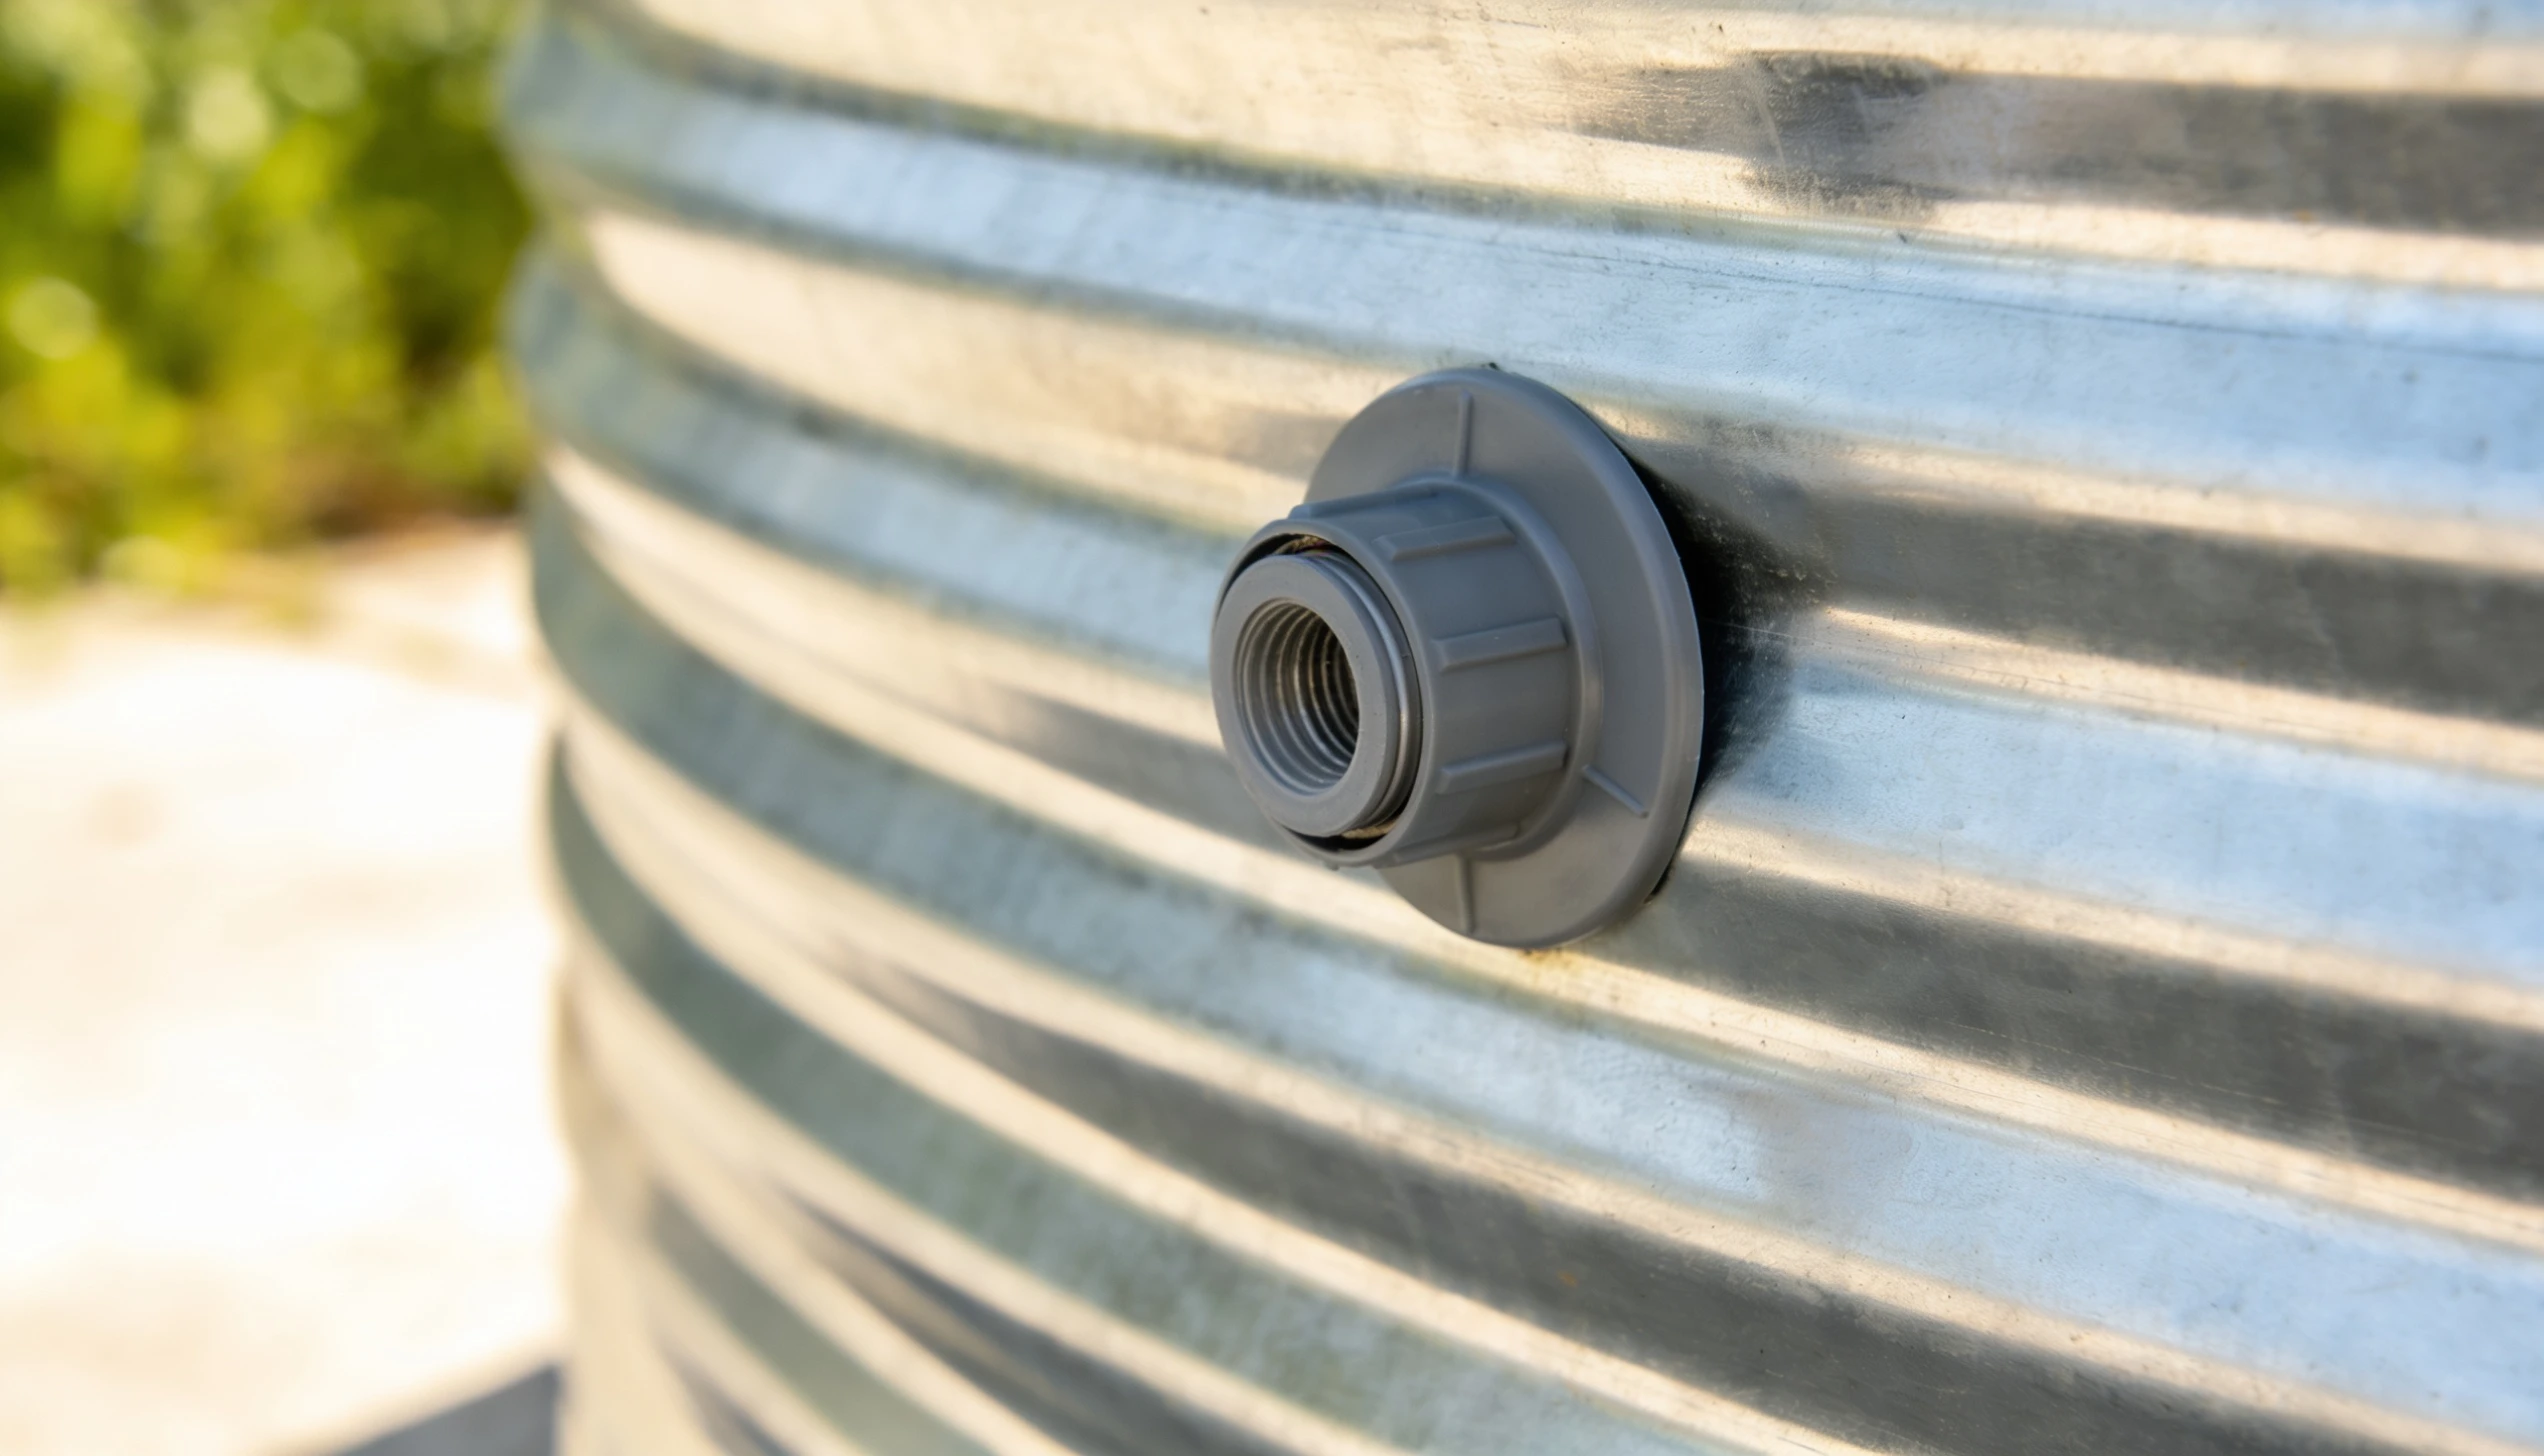
Wrap plumbing tape around the threads of both valves. Apply sealant around the outlet fitting, then place it into the higher hole and screw the nut on tight, air hole facing up. Repeat for the inlet valve in the lower hole.
Tip: Skip expanding foam sealant here. It does not cure properly against metal and often fails within a season.
Step 4: Install the Plunger Valves
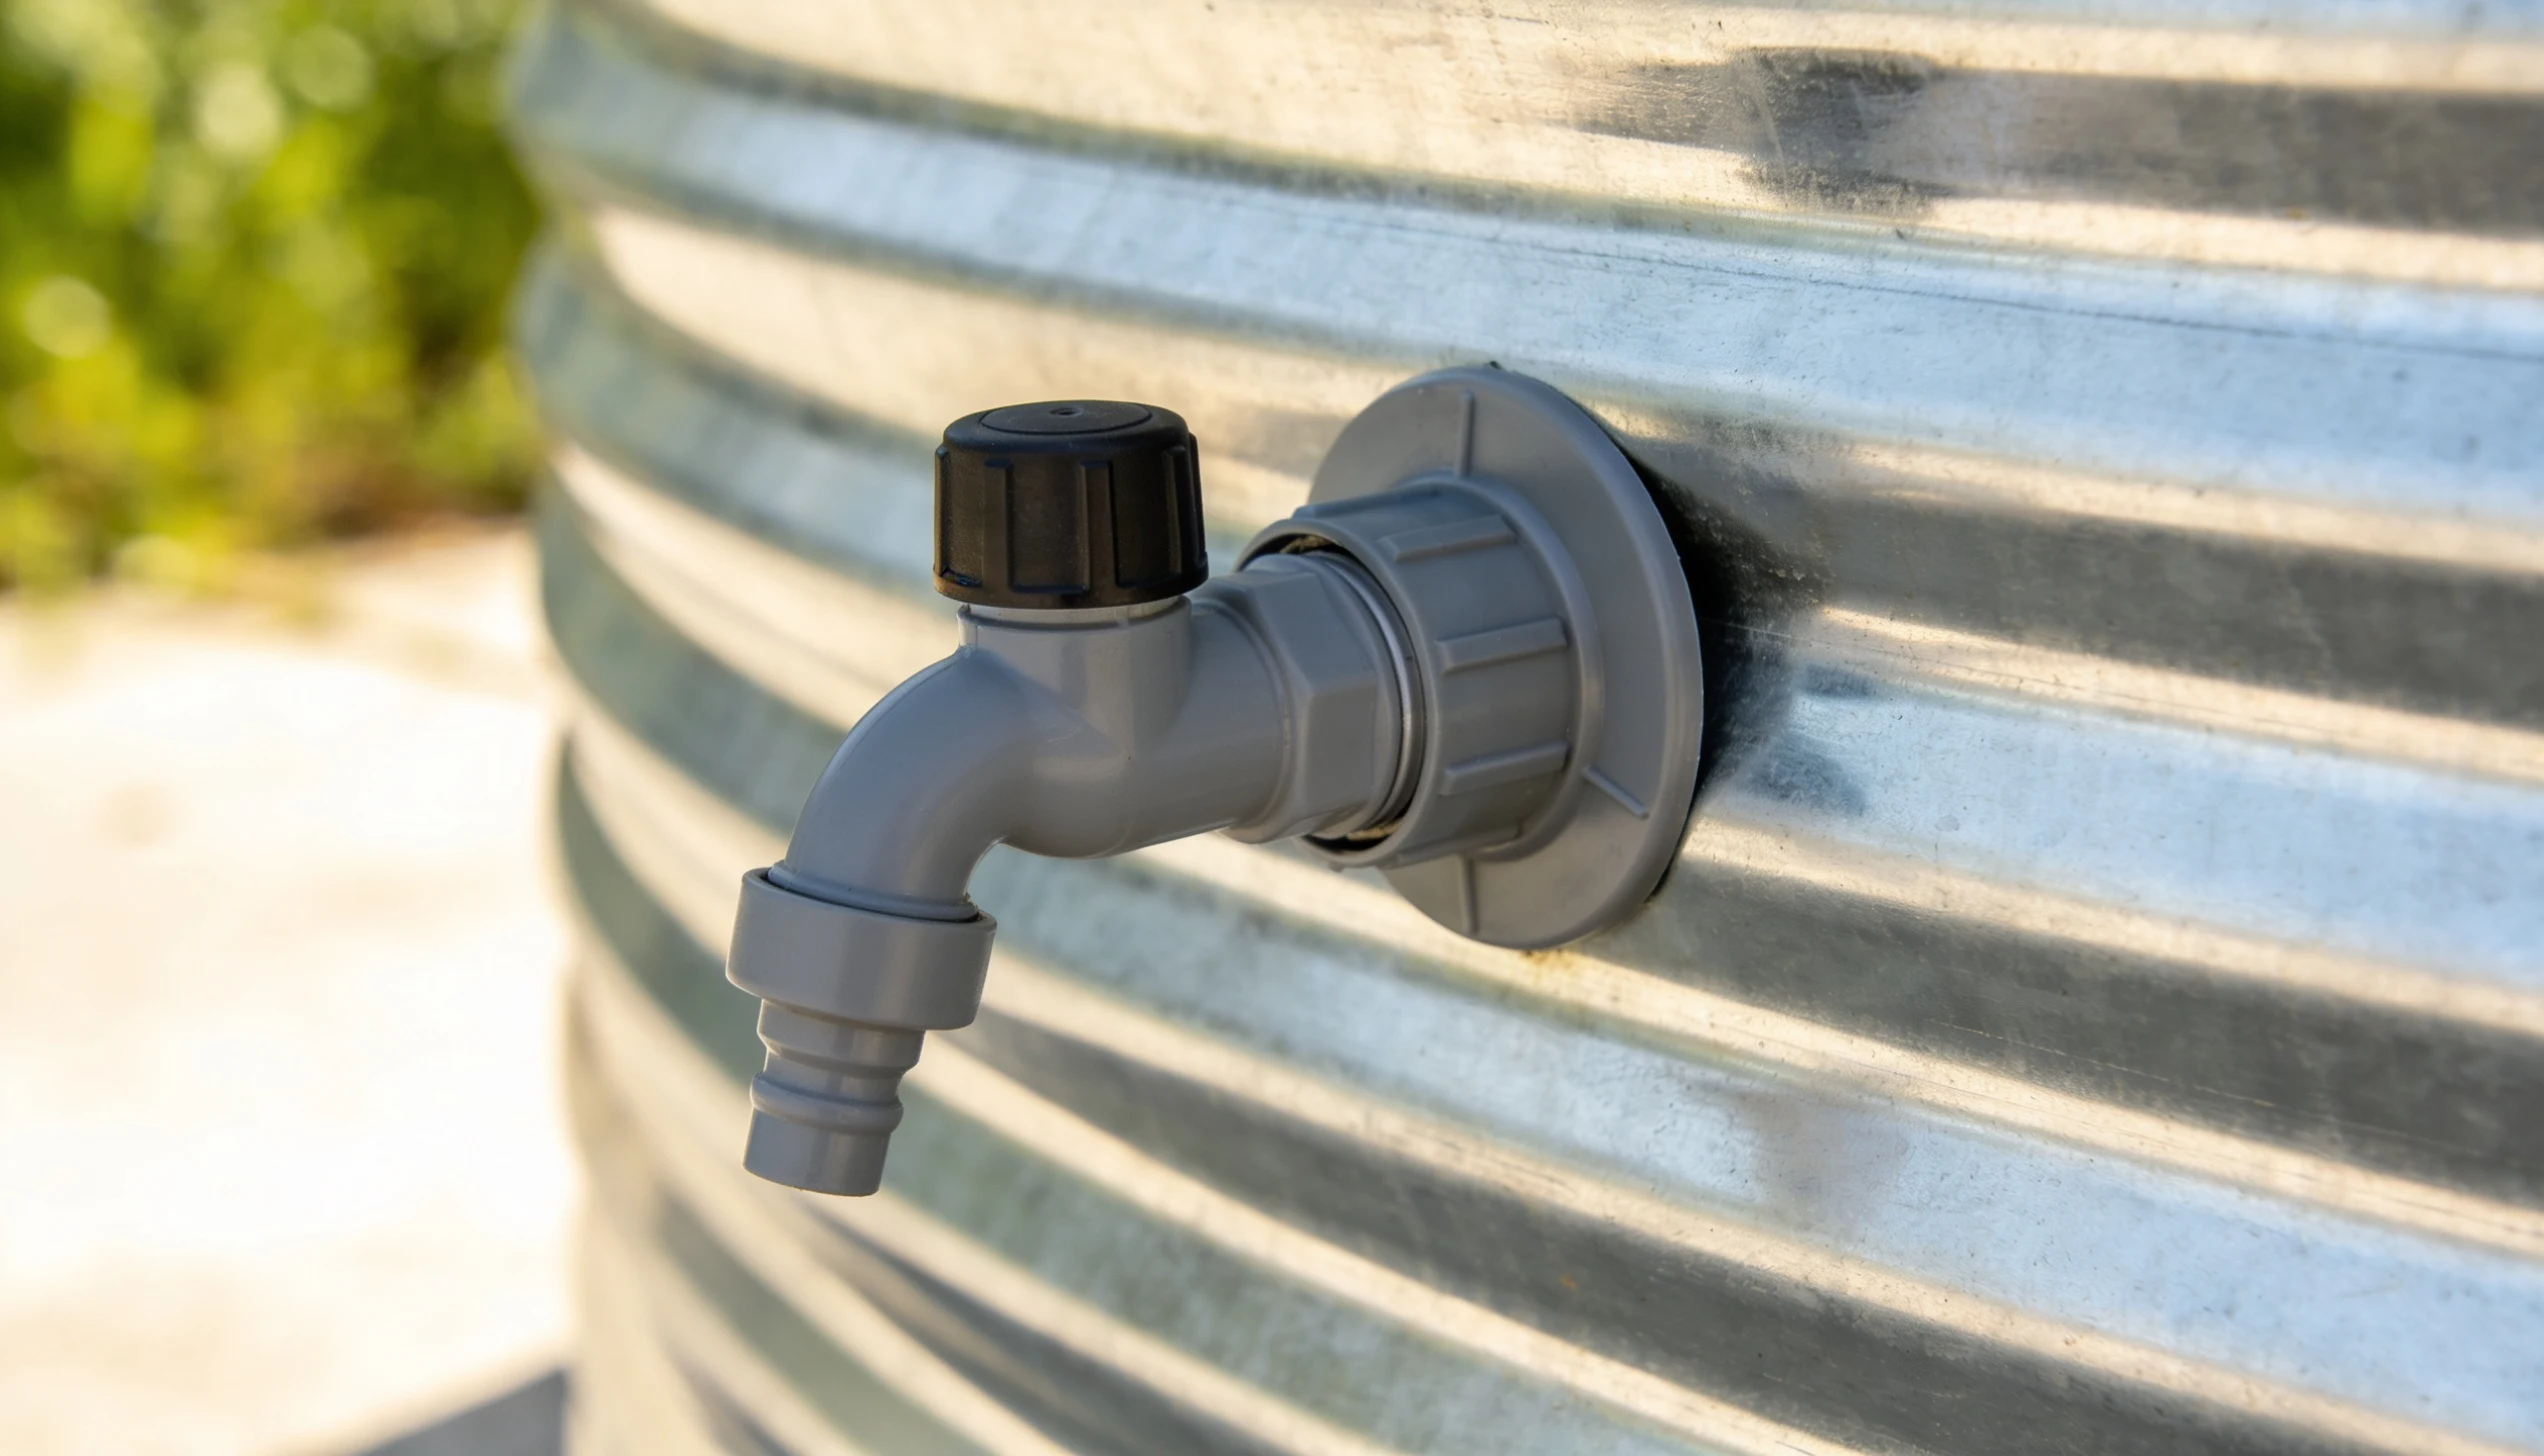
Attach a plunger valve to both the inlet and outlet. These allow filters or hoses to be changed later without draining the pool.
Step 5: Add the Filter Media
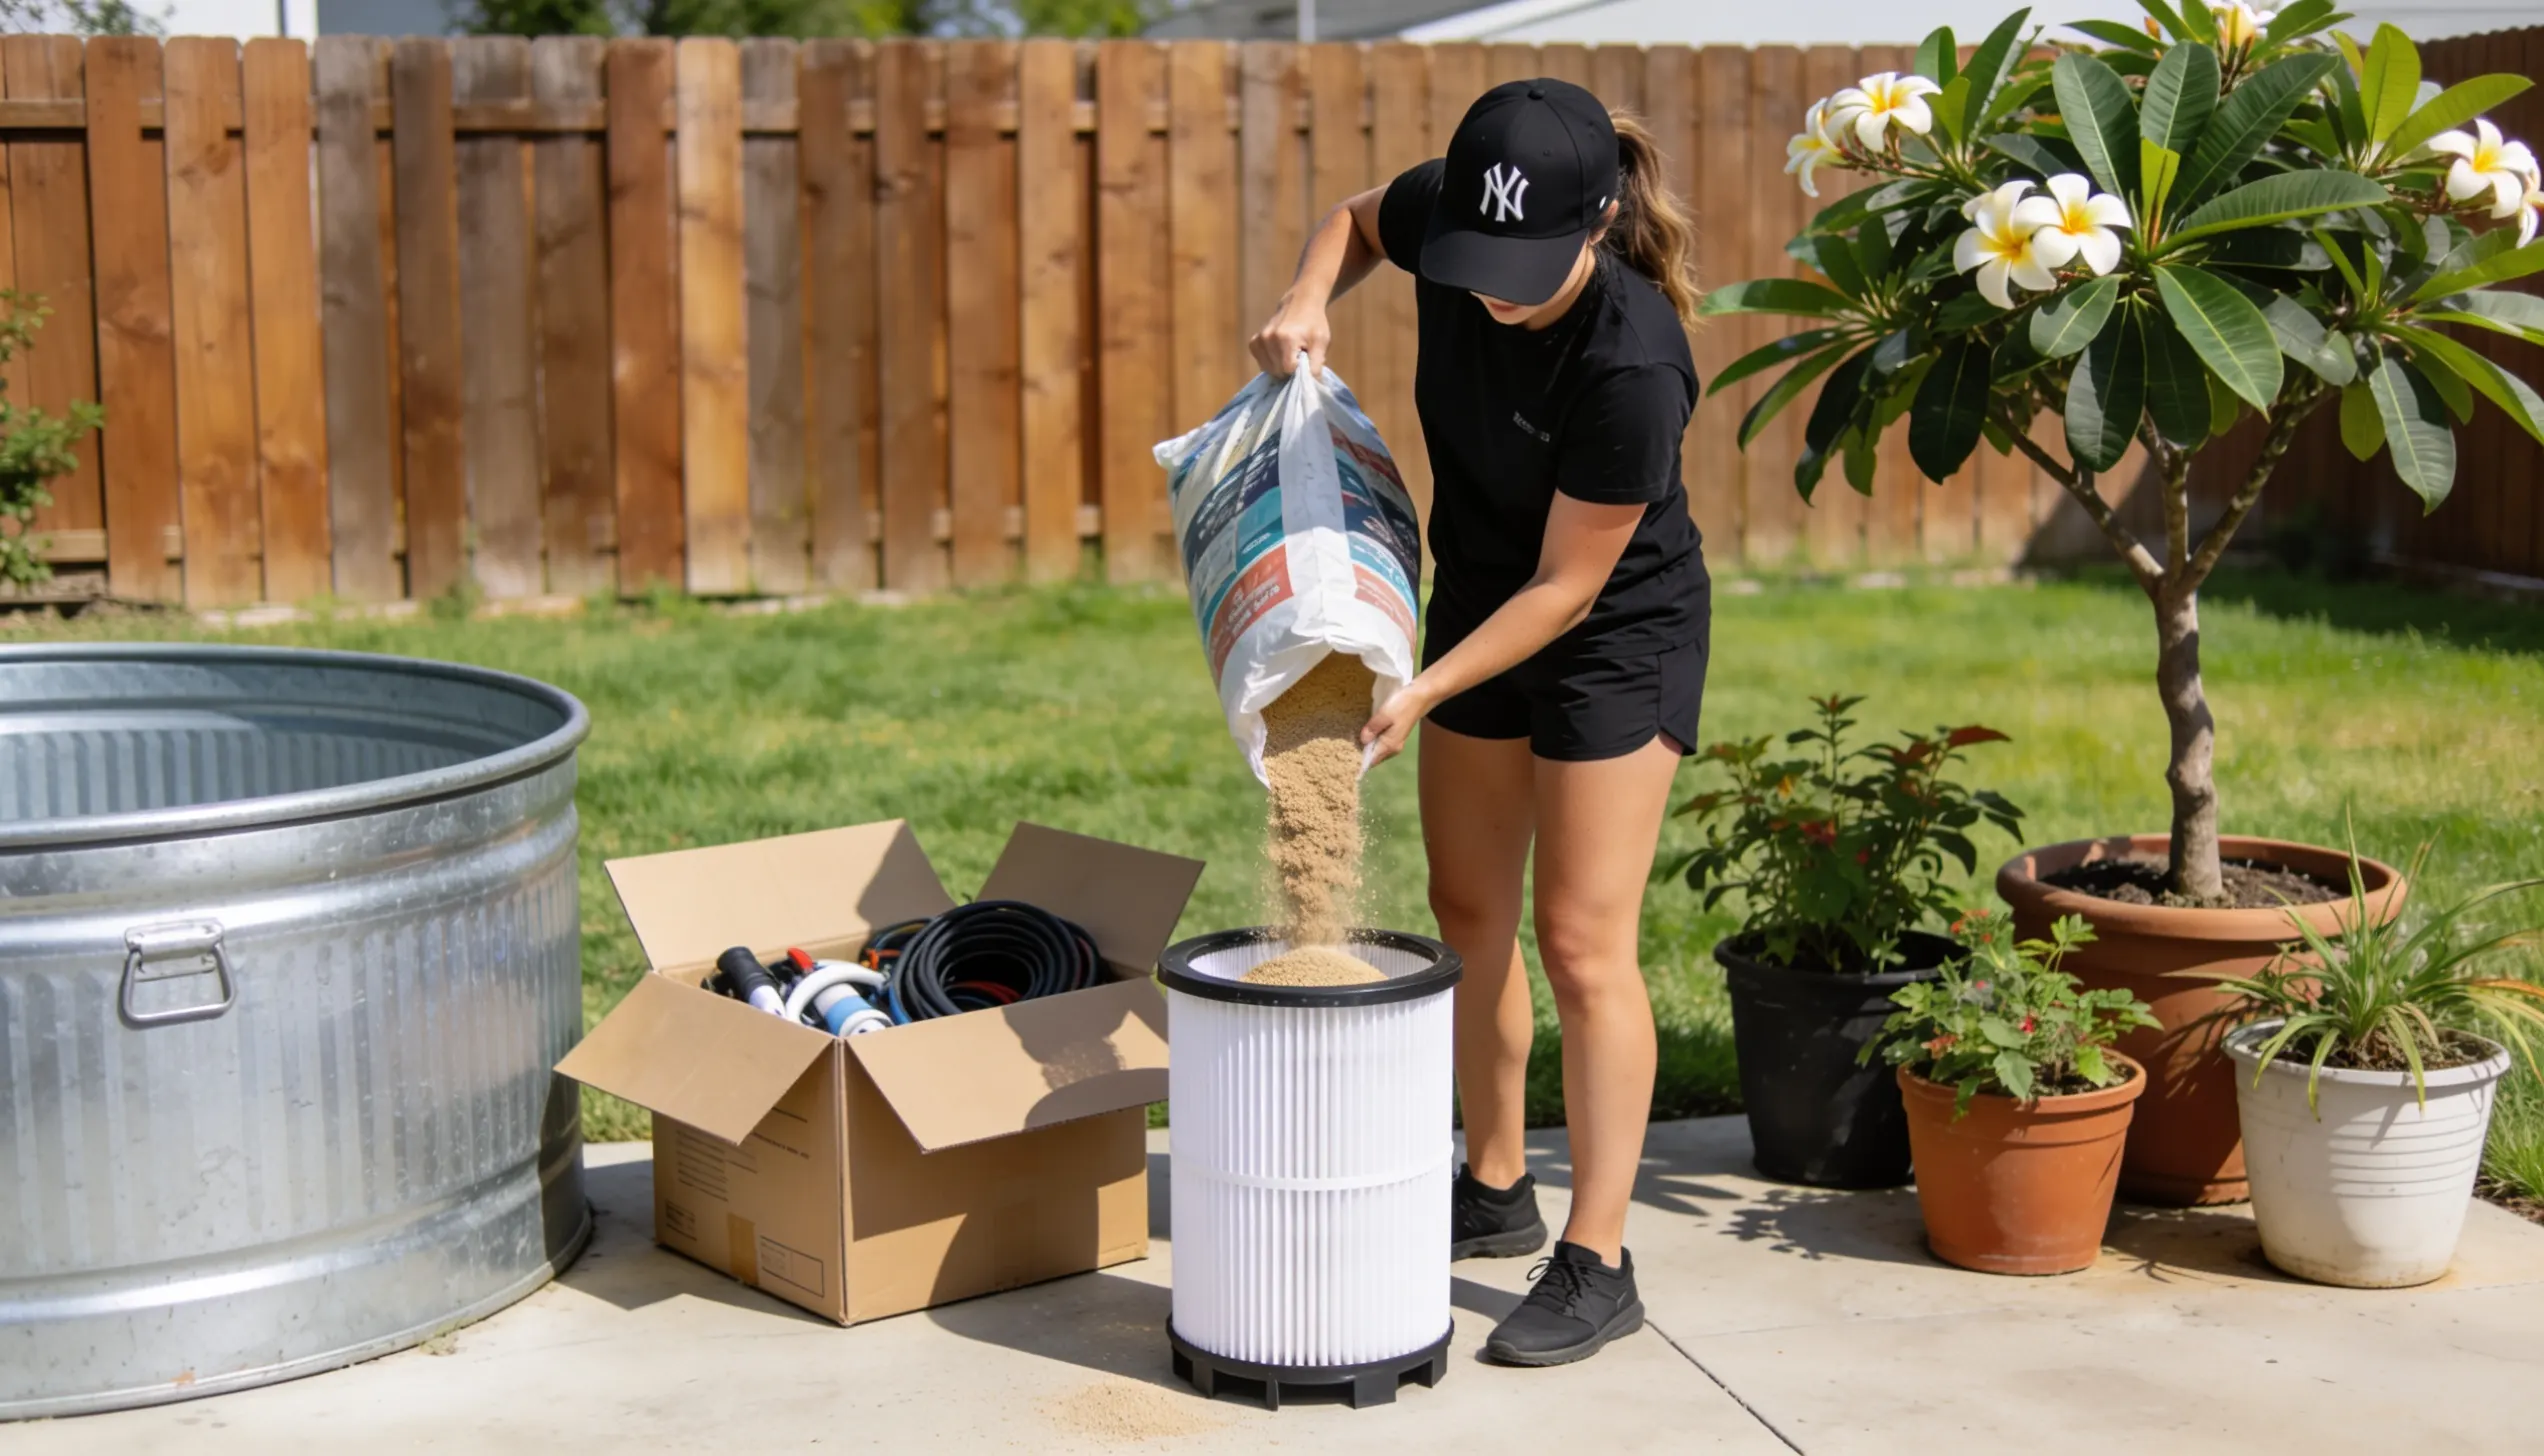
Pour sand into the filter tank up to the marked fill line. First, place a cup over the inner hole to keep the sand from falling into the centre.
Step 6: Attach the Hoses and Set up the Pump
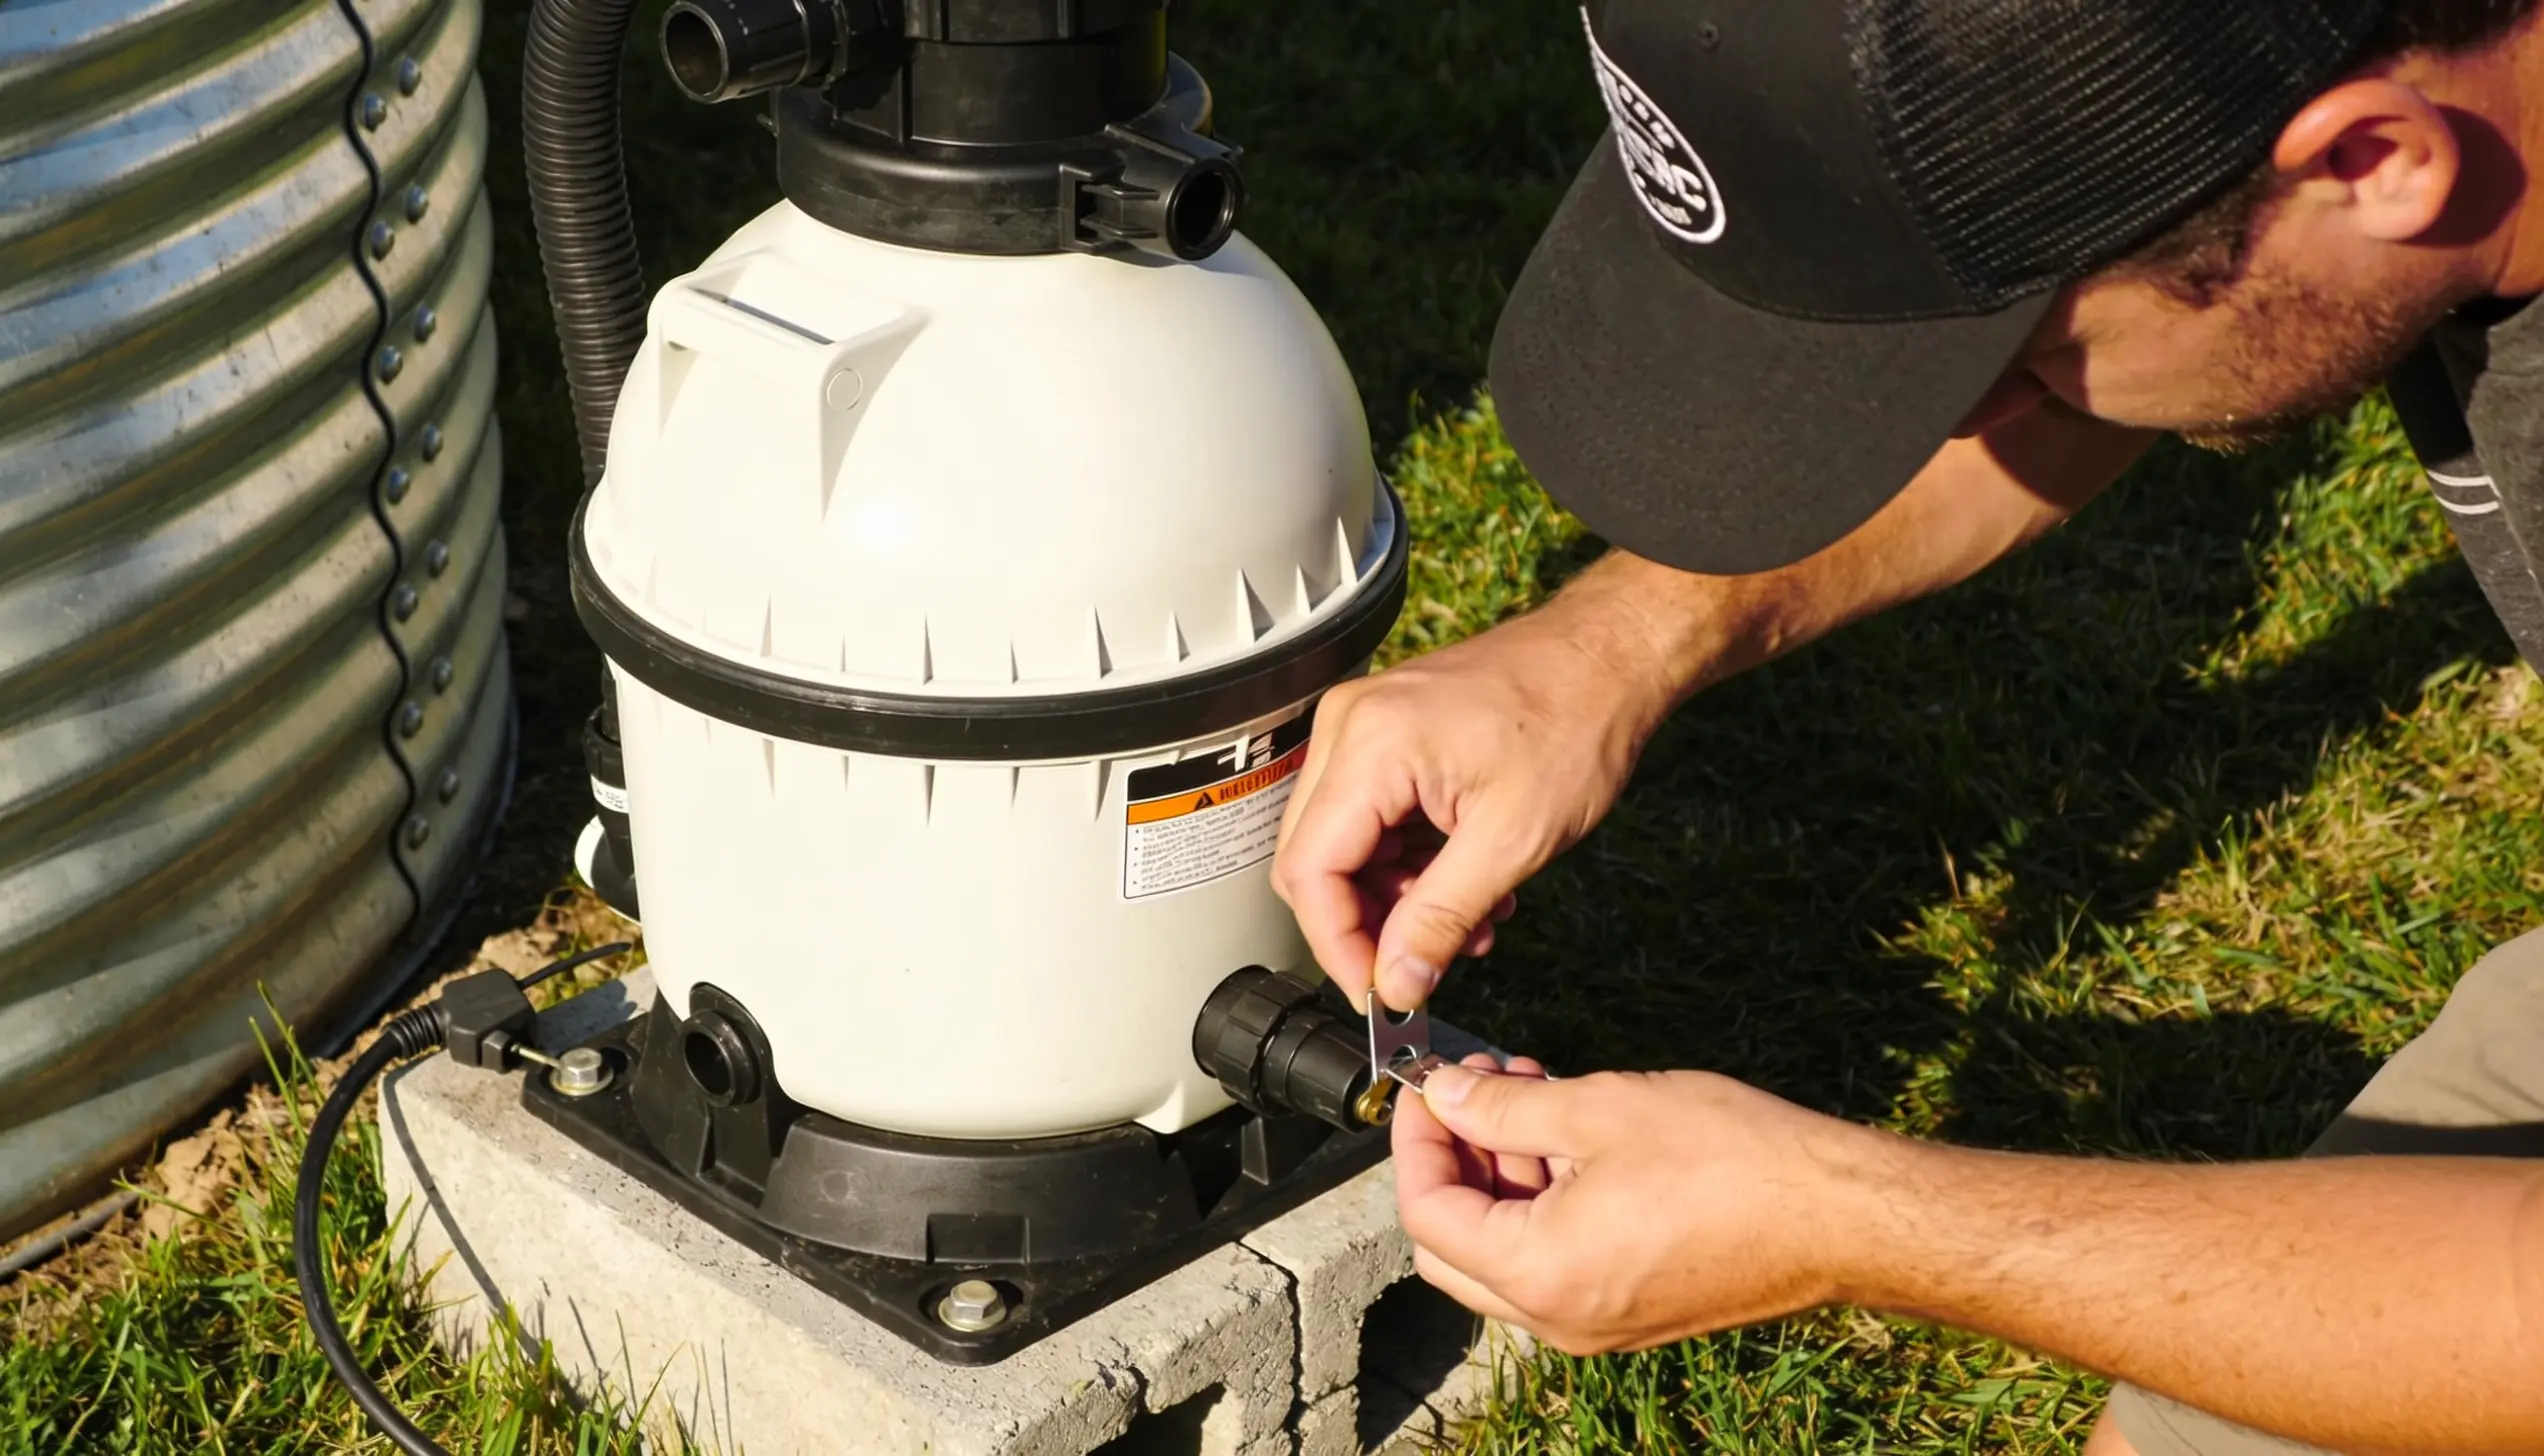
Connect the hoses to the plunger valves and the pump, then secure the collar on the filter tank. Follow the pump’s instructions for correct hose placement.
Step 7: Fill the Pool
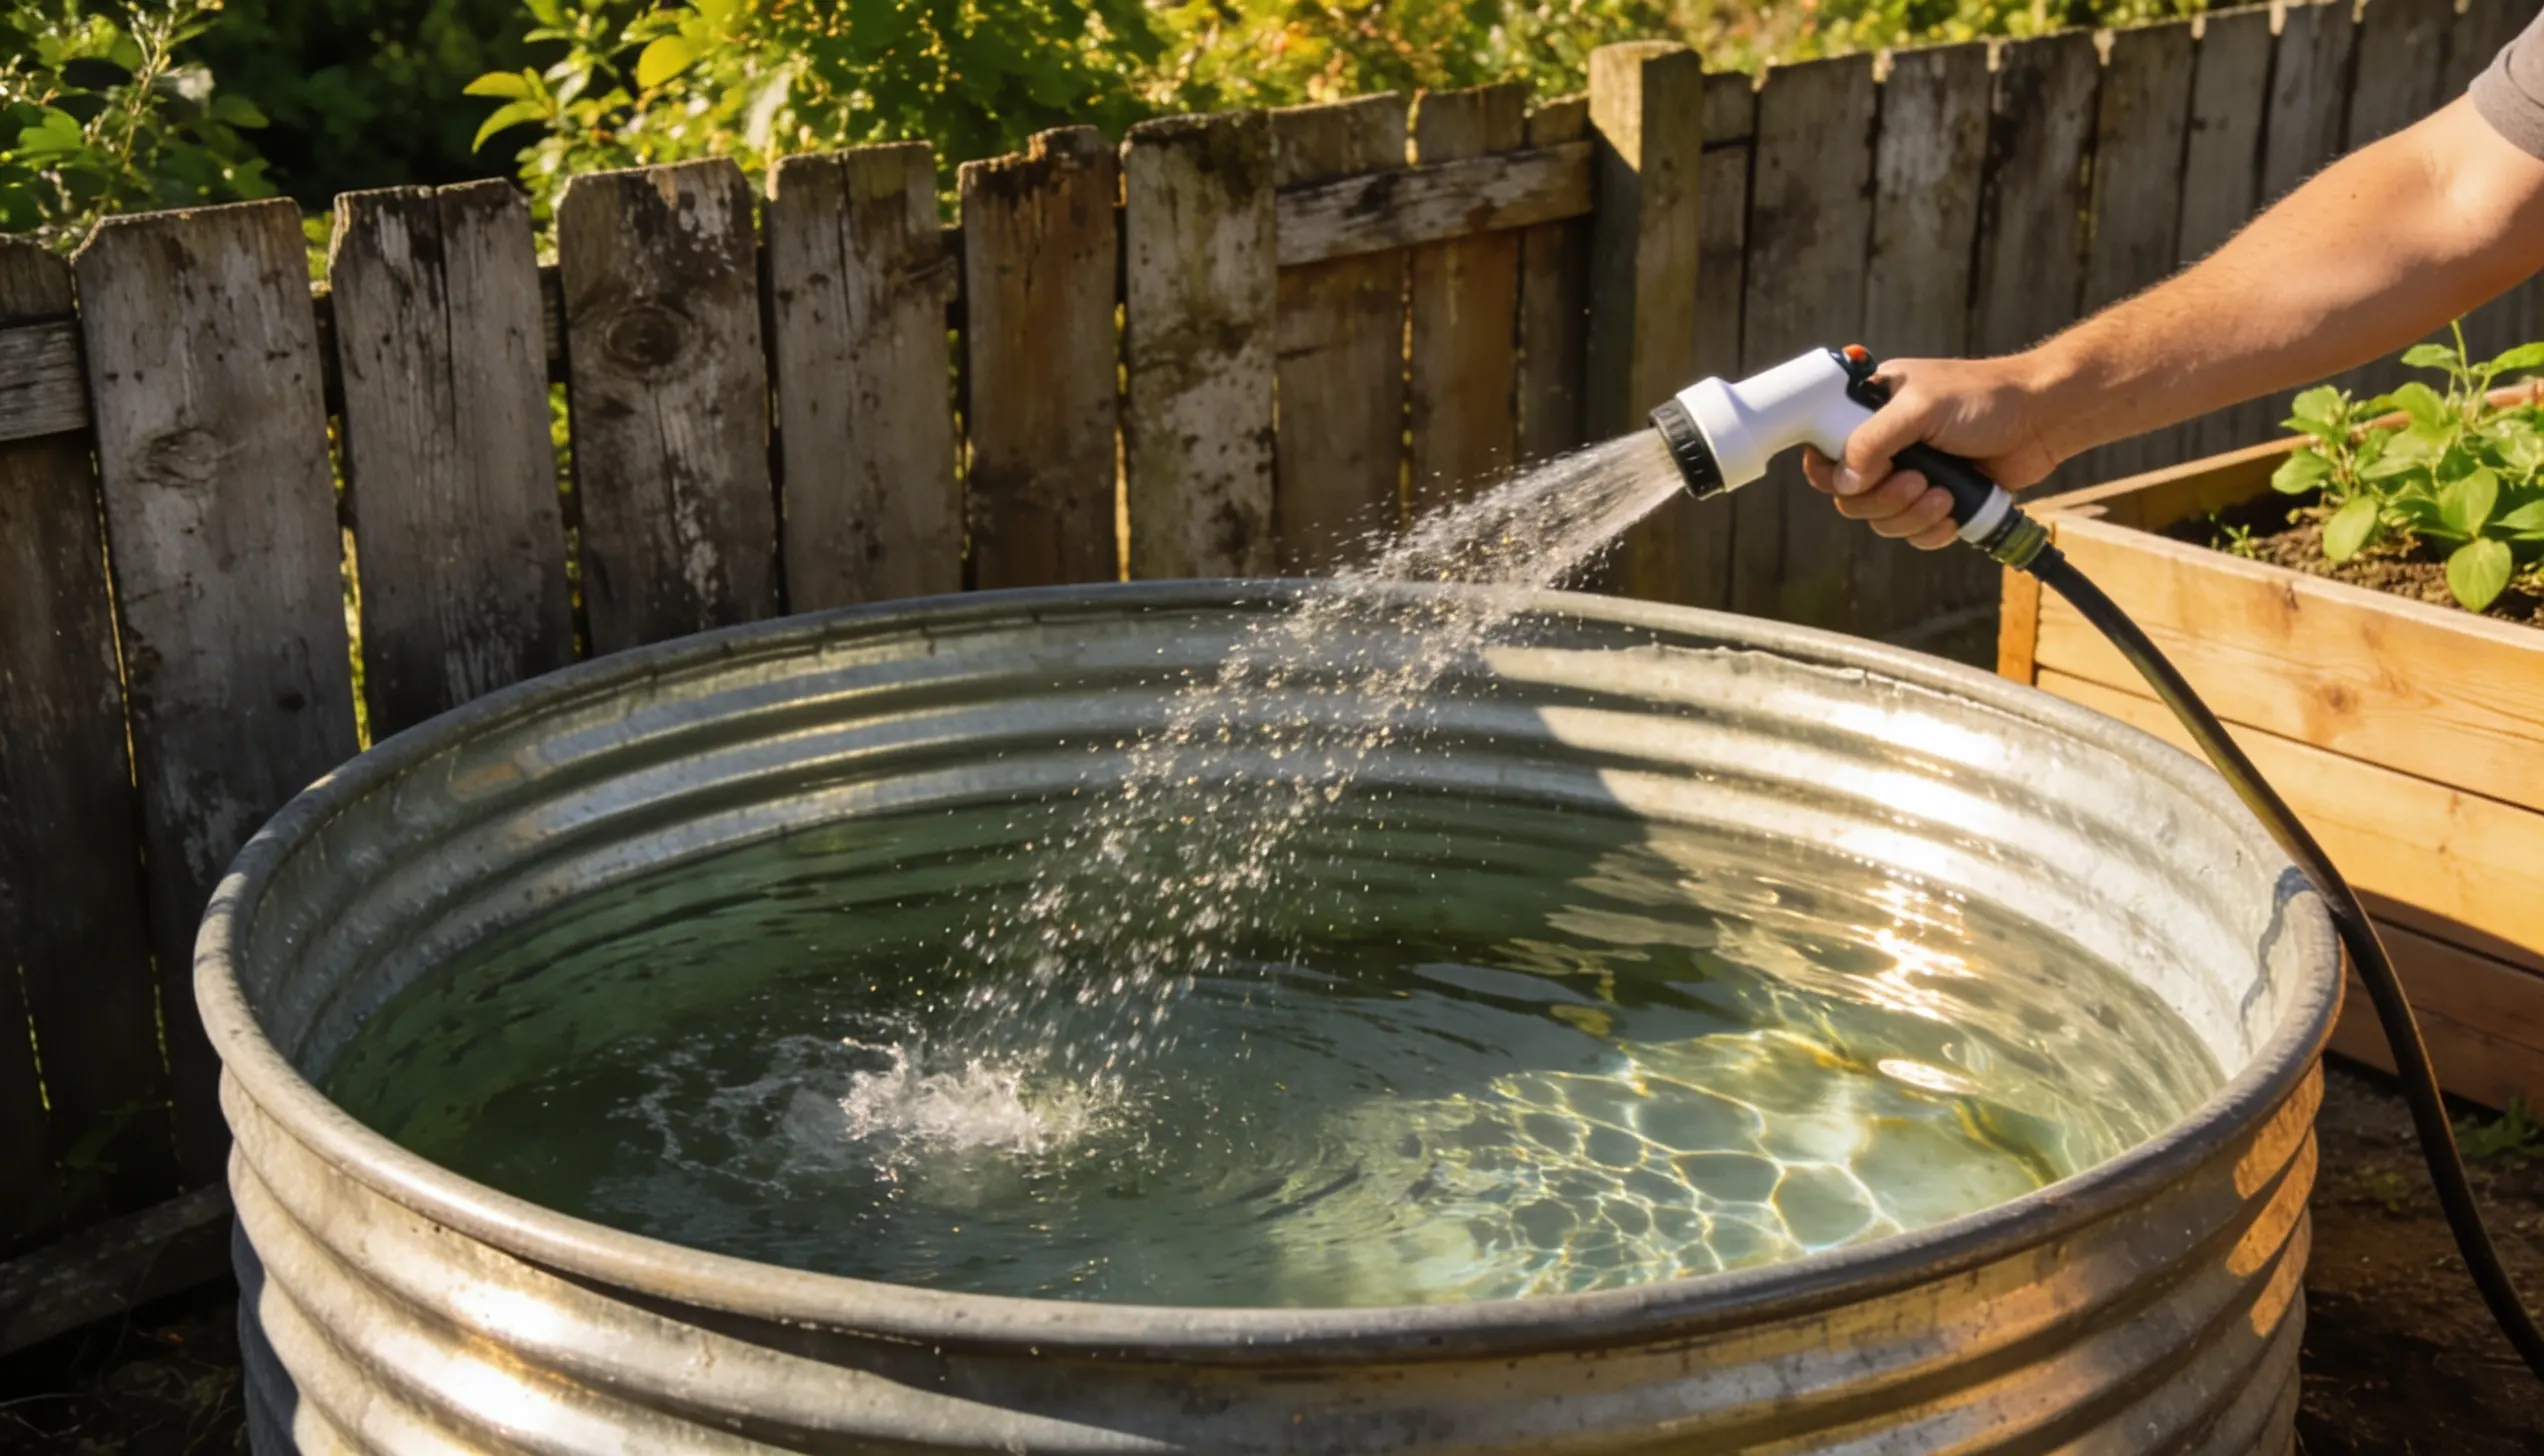
Fill the tank fully once every fitting checks out. Treat the water with chlorine or food-grade hydrogen peroxide, a gentler option that helps prevent corrosion of metal over time. Test strips confirm the right balance.
Step 8: Enjoy the Pool
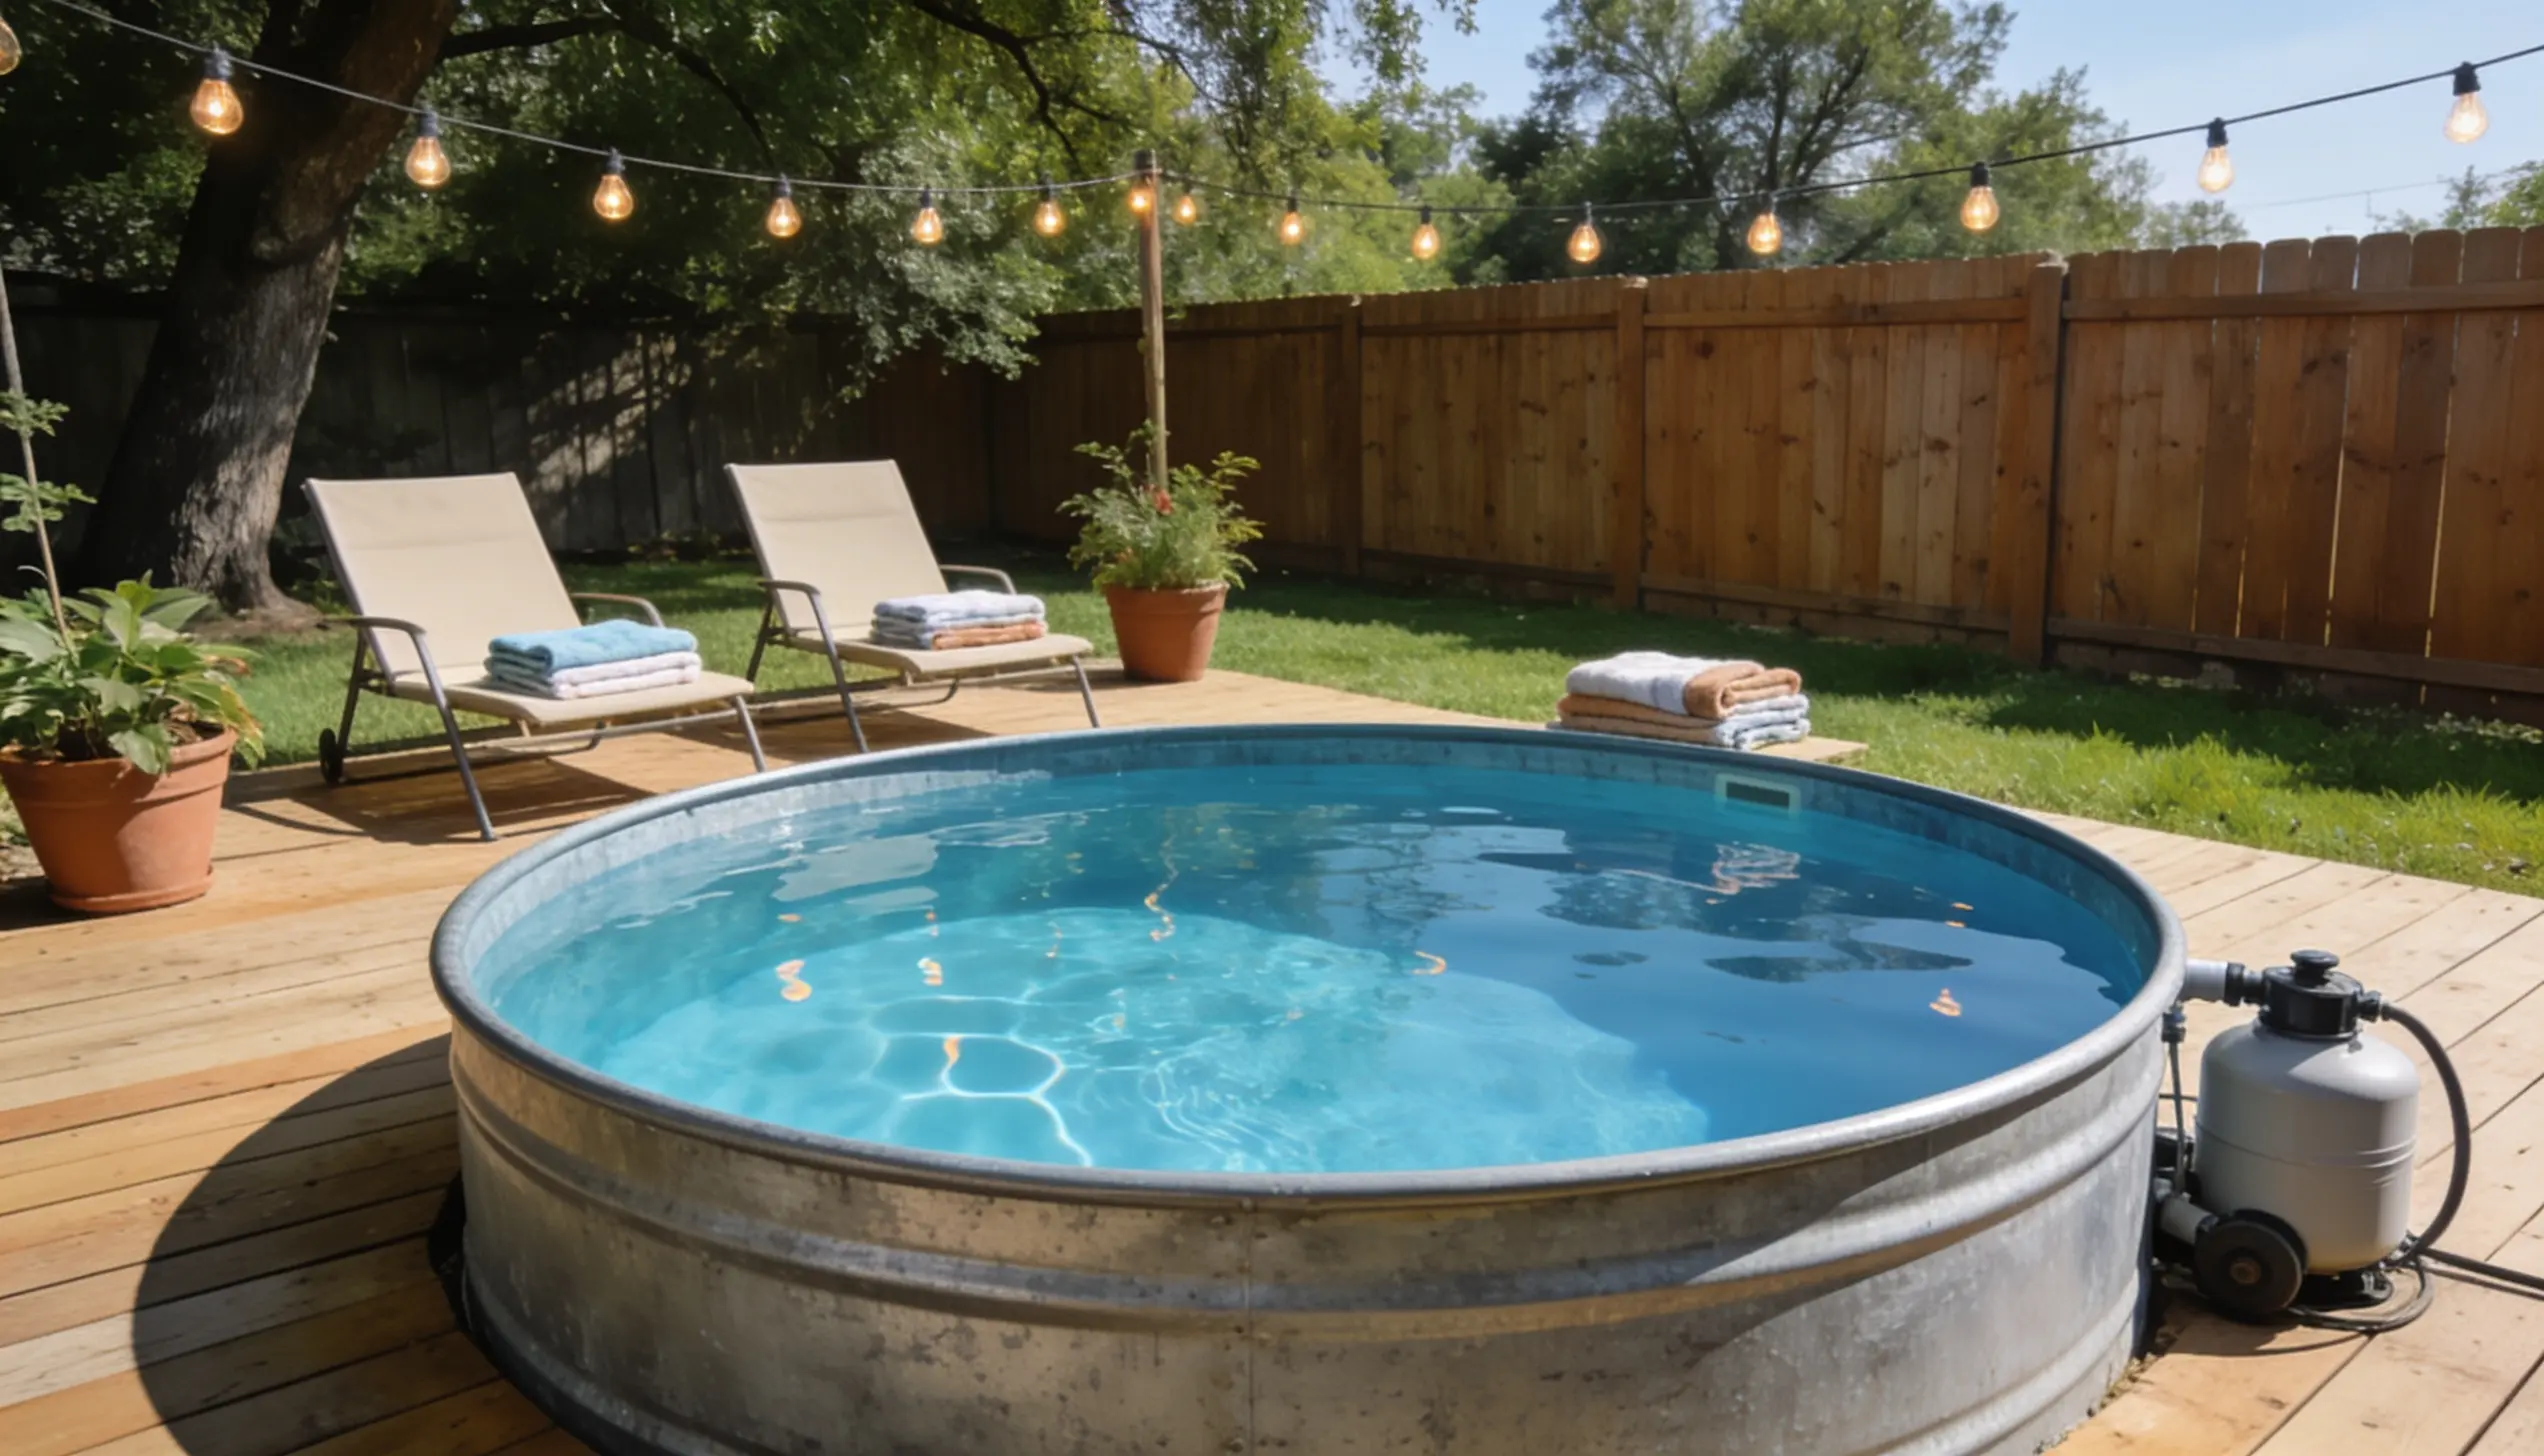
A properly built stock tank pool cools the water quickly and holds up well through the season, all from an affordable, weekend-sized project.
Conclusion
A Diy stock tank pool comes together through a few dependable steps: a level base, the right supplies, careful sealing, and a working filtration system.
Each stage builds directly on the last, from positioning the tank to checking the water once everything runs.
Turning an empty corner of the yard into a working pool no longer takes a big budget or a crew.
With the ground level, the fittings sealed, and the pump running steadily, the setup is ready for a full season of use.
Frequently Asked Questions
1. Do Stock Tank Pools Rust Over Time?
Galvanized tanks resist rust for years, especially when treated with hydrogen peroxide instead of chlorine.
2. Can a Stock Tank Pool Stay Outside During Winter?
Yes, but draining it fully before freezing weather prevents cracked fittings and pump damage.
3. How Often Should the Water Be Changed?
With regular filtration and balanced chemicals, water can last an entire season without needing a full change.
4. Is a Permit Required to Install a Stock Tank Pool?
Requirements vary by city, so checking local zoning rules before installing one avoids issues down the line.