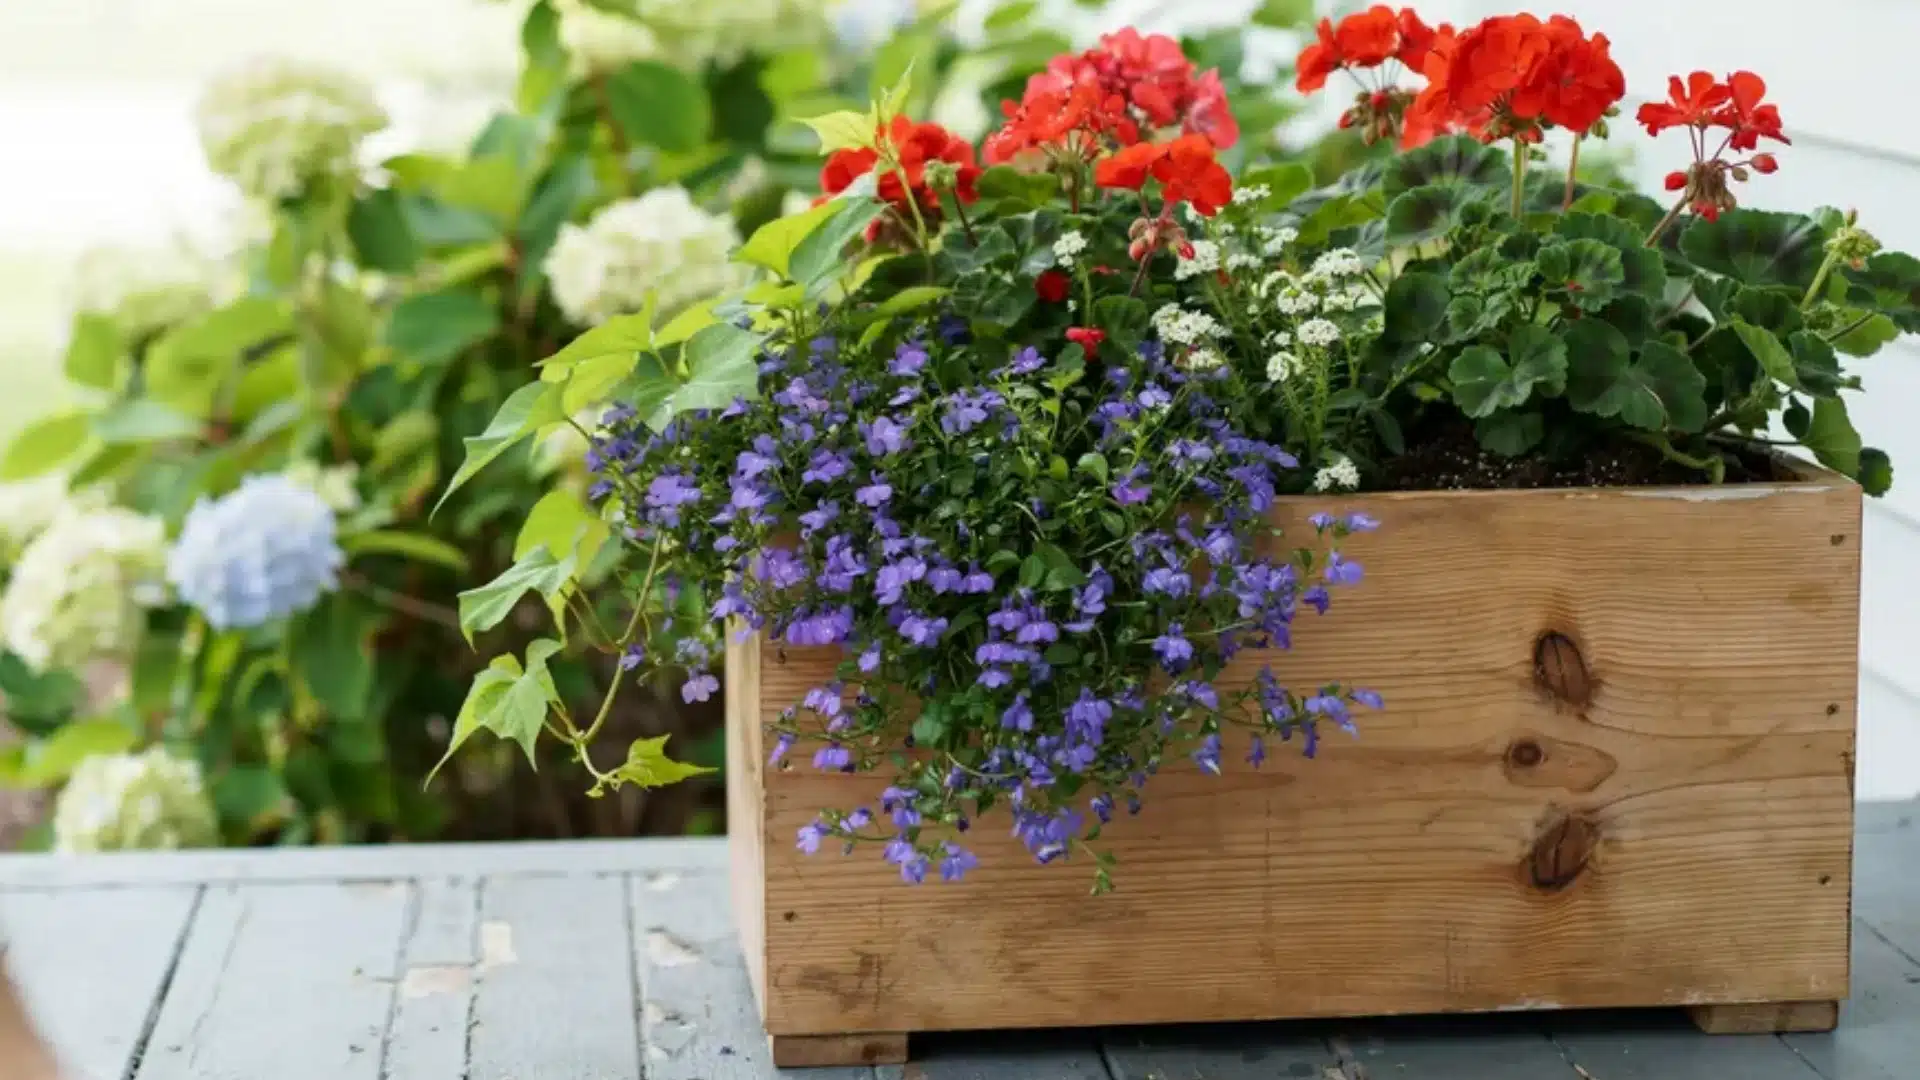

A planter box often needs a change of build within two seasons.
Not because the wood was cheap, but because the drainage wasn’t right and the joinery wasn’t sealed.
And when these are managed, you’ll have a planter that looks good for five years or more.
To build a DIY planter box, cut your sideboards to length, assemble with exterior-grade screws and waterproof wood glue, drill drainage holes in the base at least every 6 inches, and apply a non-toxic wood sealant before adding soil. Total build time is around 2-3 hours.
I’ll tell you how to build your planter box step by step and what you need to do to make it last!
Materials and Tools You’ll Need
Cedar or redwood is your best lumber choice. They both resist rot naturally without heavy chemical treatment.
Let’s get into the list of things you need!
Materials
- 1 × 6 cedar or redwood boards (side and end boards)
- 1 × 4 cedar or redwood boards (base boards)
- 2 × 2 lumber (corner posts)
- 2-inch exterior deck screws (stainless steel or coated) at least 30
- Waterproof wood glue (Titebond III or equivalent)
- Non-toxic wood sealant (Tung oil or ECOS Exterior Wood Paint)
- Exterior wood filler (for gap corrections)
Tools
- Circular saw or hand saw
- Drill with bits – standard driver bit plus a 1/2-inch spade bit for drainage holes
- Clamps (at least 2)
- Tape measure and pencil
- 80-grit and 120-grit sandpaper
Optional but useful
- Speed square (keeps corners at 90°)
- Sawhorses or a workbench surface
- Paintbrush for applying sealant
Working time: 2 hours|Total time: 3-4 hours|Difficulty level: Beginner|Estimated cost: $35-$65|
Number of people needed: Solo (2 people helpful for the assembly step)
Easy DIY Planter Plans: Step-by-Step
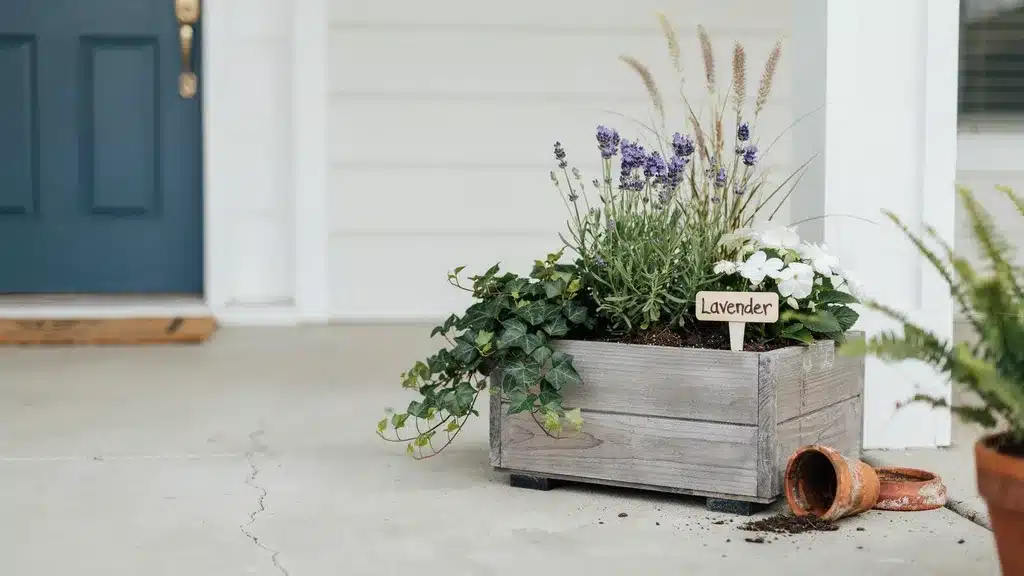
Building a planter box is very simple.
Cut your boards first, drill drainage holes before assembly, then glue and screw the frame together before attaching the base.
Seal every surface, including the end grain, before adding soil. Let’s get into the details!
Step 1: Cut Your Boards to Size
Measure and mark all cuts in pencil before picking up the saw.
For a standard 24” × 12” × 12” box, cut your side boards to 24 inches, end boards to 12 inches, base boards to 22 inches, and corner posts to 11 inches.
Check each board for twist before cutting – a warped board ruins the fit before you’ve driven a single screw.
Step 2: Drill Drainage Holes Before Assembly
Drill one 1/2-inch hole every 6 inches along each baseboard while it’s still flat on your work surface.
According to the Royal Horticultural Society (RHS), poor drainage causes more root rot in container plants than overwatering.
Do this step before assembly.
Step 3: Build the Frame
Stand one end board upright against a corner post, apply waterproof glue to the joint, clamp it, and drive two screws per corner.
Pre-drill every pilot hole first, and cedar splits easily near the ends.
Once all four corners are joined, measure diagonally to check the frame is square.
Both diagonal measurements should match within 1/8 inch.
Step 4: Attach the Base
Lay the frame on its side and position the pre-drilled baseboards along the bottom with a 1/4-inch gap between them.
Glue each board to the corner posts and drive two screws per end.
Flip the box upright and press each corner down. If it rocks, sand the low corner post until flat.
Step 5: Sand and Seal
Sand all surfaces with 80-grit, then finish with 120-grit.
Pay extra attention to end grain, as it absorbs moisture fastest and rots first.
Apply your sealant to every surface, inside and out, and let it cure fully before adding soil. Sealants require 24 hours at temperatures above 50°F (10 °C).
How to Know You’ve Done it Right?
Fill the planter with water.
Within 30 seconds, you should see water dripping steadily from multiple drainage holes. If it pools on the surface, your drainage holes are blocked or too small.
The box should sit flat on all four corners without rocking.
Press each corner down, if any lift off the ground, the base isn’t level and needs adjustment before you add soil weight.
Check all four corners for gaps between the end boards and side boards.
A gap larger than 1/16 inch means the joint wasn’t clamped properly while the glue set. Fill it with exterior wood filler and let it dry before planting.
DIY Planter Box Customization Ideas
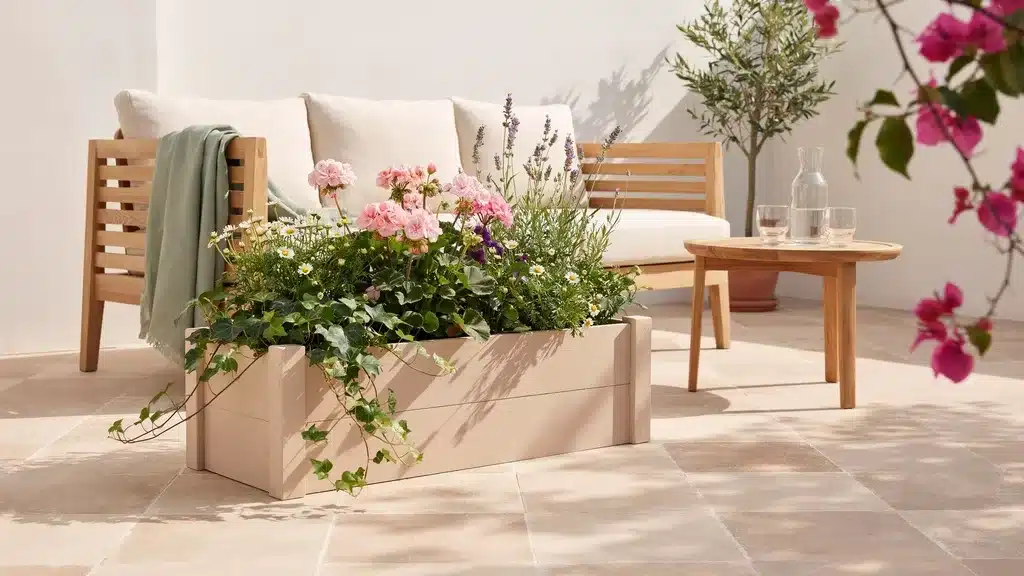
A basic planter box is just the starting point. With a few simple changes to size, finish, or structure, you can build something that fits your space and style exactly.
Add Legs for Better Drainage and Height
Attach four 4-inch 4 × 4 post offcuts to the base corners using exterior screws.
They also bring the planting surface up to a more comfortable working height, which is useful for anyone with limited mobility.
Build a Trough-Style Planter for Narrow Spaces
A long, narrow planter fits along a fence line, balcony rail, or windowsill without eating into floor space.
Keep the same construction method, but add an extra central support post along the base to prevent the long sides from bowing outward under the weight of the soil.
Paint It to Match Your Outdoor Furniture
A zero-VOC exterior paint like ECOS Exterior Wood Paint bonds well to cedar and redwood without sealing off the wood’s natural moisture movement.
Stick to light or mid-tone colors in full-sun positions.
Dark colors absorb heat and can raise soil temperature to levels that stress plant roots.
Is It Cheaper to Build Your DIY Planter Box?
Yes, building your own planter box is almost always cheaper than buying a ready-made one.
A basic DIY cedar planter box costs roughly $35-$65 in materials.
A comparable store-bought cedar planter of the same size typically runs $80-$150 at retailers like Home Depot or Wayfair.
The sweet spot for DIY savings is when you’re building multiple planters at once.
Buying lumber in longer lengths and cutting multiple boxes from the same boards brings the per-box material cost down to $25-$40, well below comparable retail prices.
Conclusion
A DIY planter box is one of the few projects where wood choice, drainage, and sealing make a big change.
Once yours is built, the real work shifts to what goes inside it.
Match your soil mix to your plants, check drainage after every heavy rain, and reseal the exterior once a year to keep the timber in good shape.
Get started today, and comment about your experience!
Frequently Asked Questions (FAQs)
1. What Should I Put in the Bottom of a Planter Box?
Add a layer of landscape fabric or coconut coir liner. This prevents soil from washing out through the drainage holes while still allowing water to pass freely.
2. What Not to Fill a Raised Garden Bed With?
Avoid regular garden soil, gravel layers, and non-composted wood chips. These either compact badly, block drainage, or rob nitrogen from your plants.
3. What to Use Instead of Rocks at the Bottom of a Planter?
Use landscape fabric, broken terracotta pieces, or a coconut coir liner. All three allow drainage without the weight penalty that rocks add to the base.