
Decluttering your home is one of the fastest ways to make your space feel bigger and easier to manage.
Start with one room, work in 20-minute sessions, and sort everything into four categories: keep, donate, trash, and relocate.
Your homes can be fully decluttered in 4-6 focused sessions without buying a single storage product first.
Is Decluttering Beneficial?
Yes, decluttering makes a difference, and not just visually.
A clutter-free space is easier to clean, faster to move around in, and far less mentally draining.
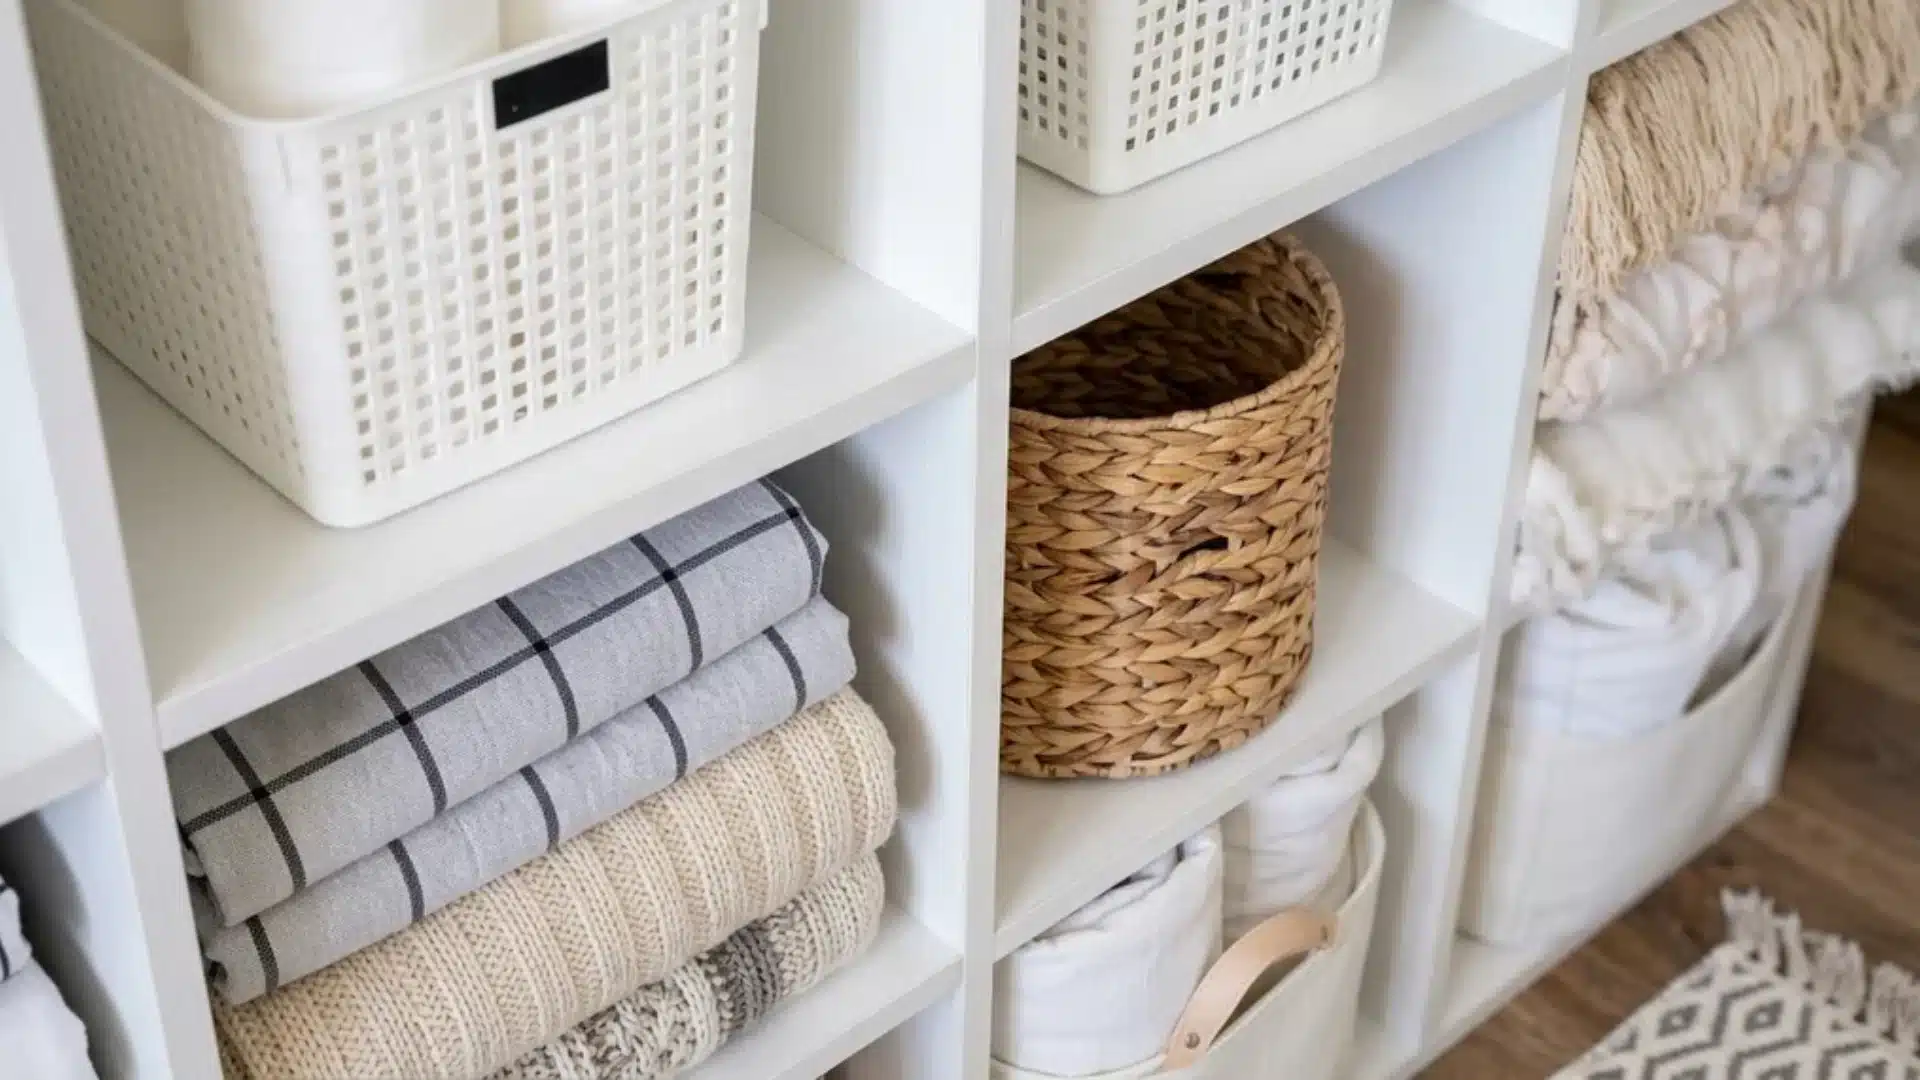
When every surface is clear and every item has a place, you stop wasting time searching for things and start using your home the way it was meant to be used.
Studies have linked physical clutter to higher stress levels and reduced ability to focus, which means a tidier space can actually affect how you feel day-to-day, not just how it looks.
How to Prepare Before You Start Decluttering Your Home?
Decluttering is a tiring process, and you can stop even before you’re halfway there.
So a little planning always helps you stay on track!
1. Set a clear time block: Pick a session of 20 to 45 minutes and stick to it. Do not start a declutter you cannot finish in one sitting.
2. Gather your four containers: You need one for donations, one for trash, one for recycling, and one for items that belong in another room. Label them clearly.
3. Take a quick photo of the room: Right before you begin, take a photo. It can have an impact, as seeing the before-and-after side by side keeps you motivated.
4. Do not start with music or a podcast: Decision-making requires focus. Save the background noise for cleaning tasks, not for sorting ones.
How to Declutter Your Home: Step-by-Step
People go straight in and end up with half-cleared rooms and three piles on the floor that stay there for a week. A simple step-by-step process fixes that.
Here is what you need to do. Come follow along!
Step 1: Start With the Easiest Room First
Do not start with the attic or the garage. Start with the room that needs the least work.
A bedroom or a bathroom is the starting point, as a quick win in the first session builds the confidence to tackle harder spaces later.
Step 2: Clear Every Surface Completely
Before you sort anything, clear every flat surface in the room.
Put everything on the floor or a central table. This gives you a full, clear view of what you are working with. It also stops you from tidying around items rather than making decisions about them.
Step 3: Sort Everything Into Four Piles
Go through every item one at a time and place it into one of four categories. Also, do not create a fifth pile for maybes. Maybe piles become permanent fixtures.
- Keep – You use it regularly, and it has a fixed home.
- Donate – It is in good condition, but you no longer need it.
- Trash – It is broken, expired, or beyond use.
- Relocate – It belongs in a different room.
Step 4: Deal With the Donate and Trash Piles Immediately
Bag up the donations and put them directly in your car or by the front door.
Book the charity drop-off the same day. Put the trash bags out straight away, as these items can make you drift back into using them.
Step 5: Return Only What You are Keeping
Before putting anything back onto a surface or into a drawer, assign it a specific place.
If you cannot decide where something goes, that is a sign you have one too many of that item. Every kept item should have a fixed, logical place.
Step 6: Clean the Space Before Restocking it
With the room empty, wipe down the shelves, vacuum under the furniture, and clean the inside of drawers and cabinets.
Putting clean items back into a dirty space undoes everything. This step takes just 10 minutes.
Step 7: Move to the Next Room
Do not jump between rooms mid-session. Finish one space completely: items returned, donations bagged, surfaces wiped, before moving on.
Spreading the process across multiple unfinished rooms creates more visual chaos than you had to begin with.
Room-by-Room Decluttering Plan
Every room in your home collects clutter differently.
Let’s go through a room-by-room walkthrough before you start to save time and stop you from getting stuck.
1. Kitchen
Start with the countertops. Clear everything out and return only items you use at least 3 times a week. Then move to the cabinets, pull everything out of one cabinet at a time.
2. Bedroom
Pull everything out and work through it, item by item. If it does not fit right now or you have not worn it in the past 12 months, it goes.
3. Living Room
Work by category here rather than by location. Group books, magazines, cables, remote controls, and decorative items separately.
4. Bathroom
Start with the cabinet or medicine shelf. Check every product and medication for expiry dates and throw out anything past its date. Keep only what you use within a standard two-week cycle.
Also read: How to organize a pantry
Conclusion
Pick one room. Set 20 minutes on the clock, and start decluterring your home.
Work the four-pile system: keep, donate, trash, and relocate. Do not buy any storage products until the sorting is done.
Let’s get started!
People Also Ask
1. What is the 20 20 Rule for Decluttering?
If you can replace an item for under $20 and within 20 minutes, let it go. It is not worth keeping just in case.
2. What is the Hardest Thing to Get Rid of When Decluttering?
Sentimental items are the hardest to discard. Gifts, inherited objects, and memory-linked belongings carry emotional weight.
3. What are the 4 C’s of Decluttering?
The 4 C’s are Clear, Categorize, Cut, and Contain. Work through each stage in order before moving to the next.