Strawberry Cake Cookies

Have I mentioned to you that I love cake mix cookies?  Yeah! I think I have!  And I think before it’s all over with, I’m probably going to make every flavor of cake mix cookie available to me.  It’s know it sounds like a tough task, but I think I’m up to the challenge! LOL.
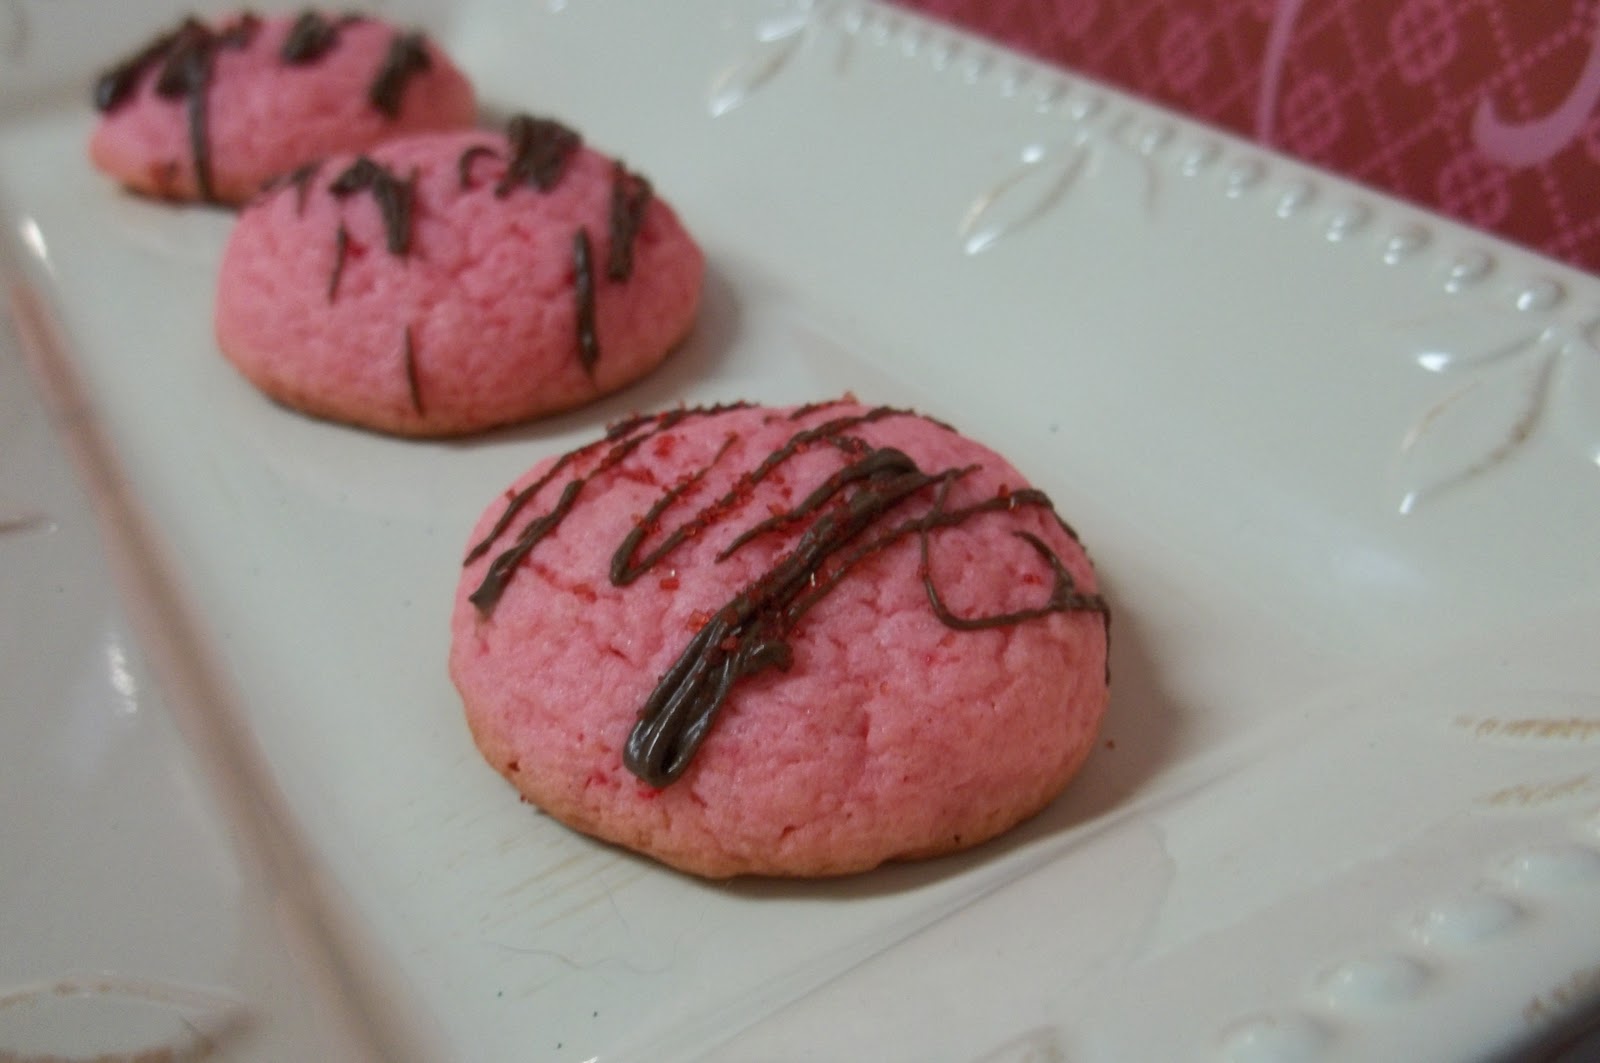
With Valentine’s Day just around the corner, it seemed like the perfect time to try out some Strawberry Cookies.  I thought the pink would be fantastically festive for the holiday.  And once they were baked, I thought what could I add to really make them scream, “Happy Valentine’s Day!”  My answer: Chocolate! Of course!  Hope you enjoy!

Recipe for Strawberry Cake Cookies:

Ingredients:
1 Strawberry Cake Mix (18.5 oz)
1 egg
1/3 cup water
1/3 cup oil

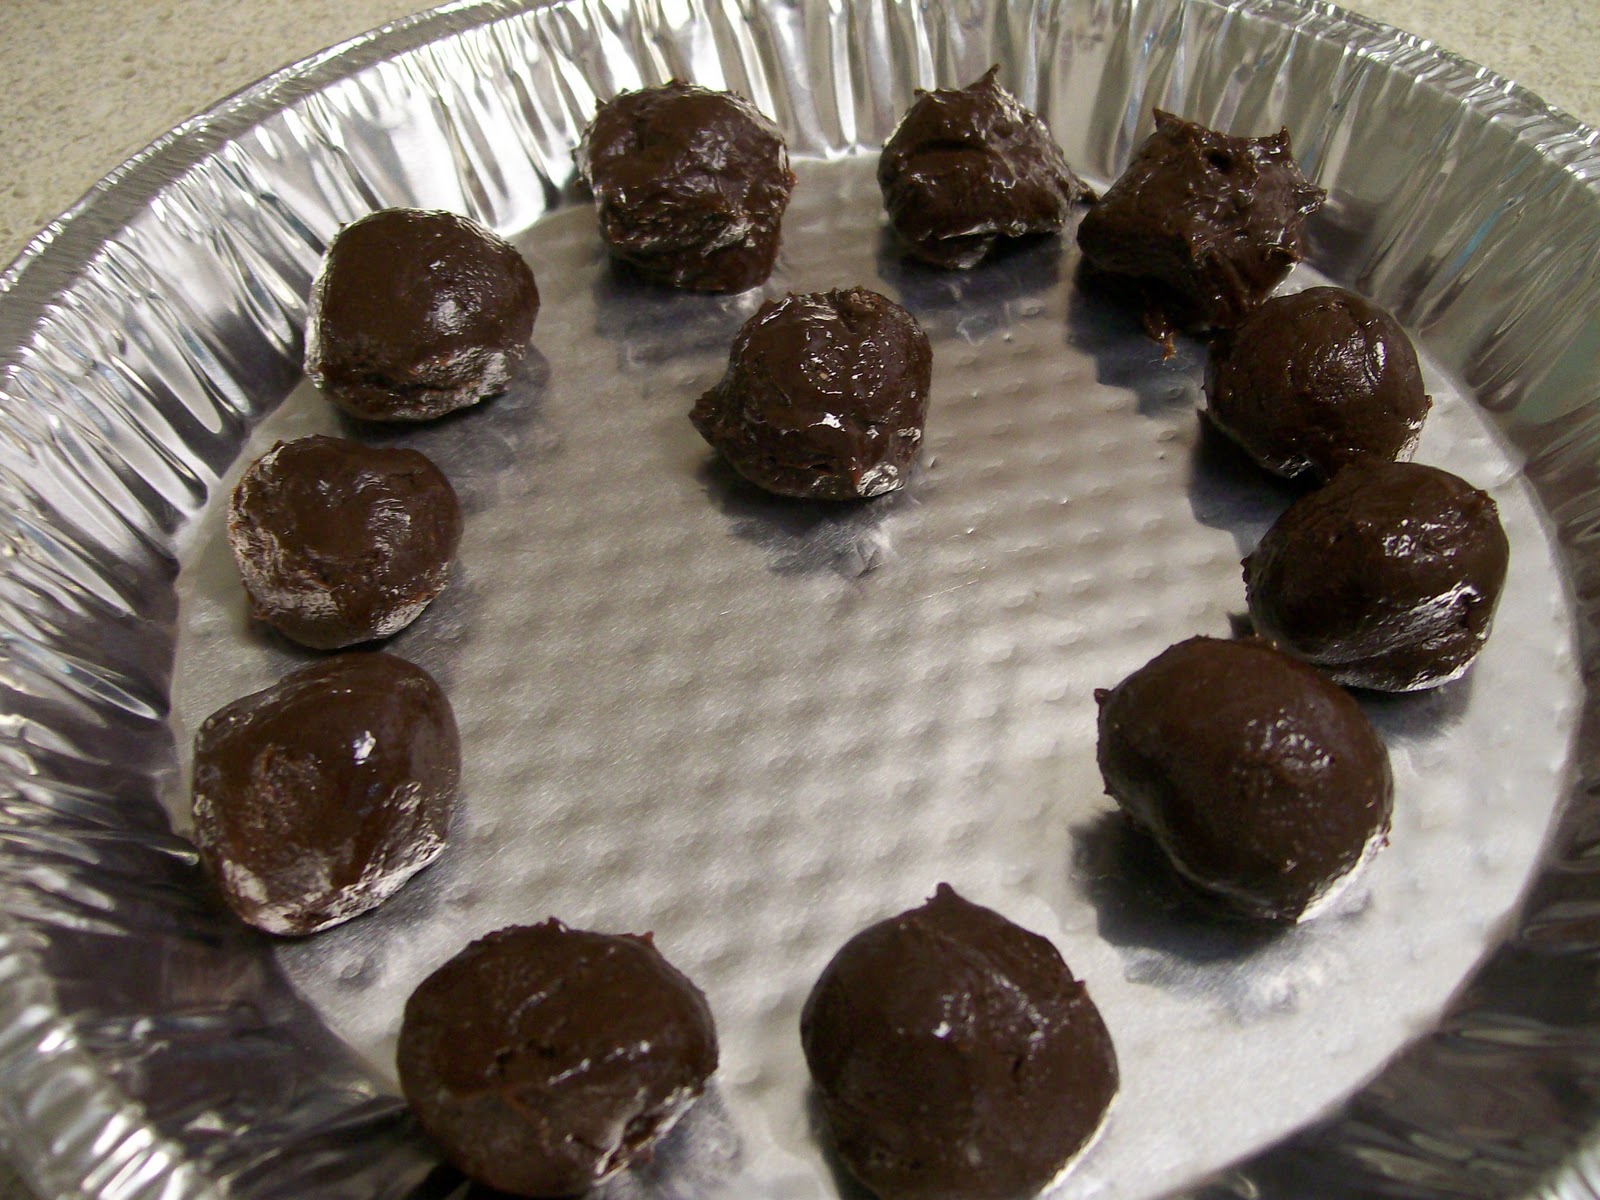
Directions:  Mix ingredients together with spoon or electric mixer.  Refrigerate for 20 minutes or so to keep dough from sticking to your hands. (If dough is still sticky, refrigerate a few minutes more.)  Roll into one inch balls and place on a non stick cookie sheet, lined with parchment paper or sprayed with cooking spray.   Bake at 350 for about 15 minutes.  Edges should be lightly browned.

Decorating/Toppings: 
Ingredients:
Candy/Sugar Sprinkles
Almond Bark, Chocolate Chips, or a Chocolate Bar
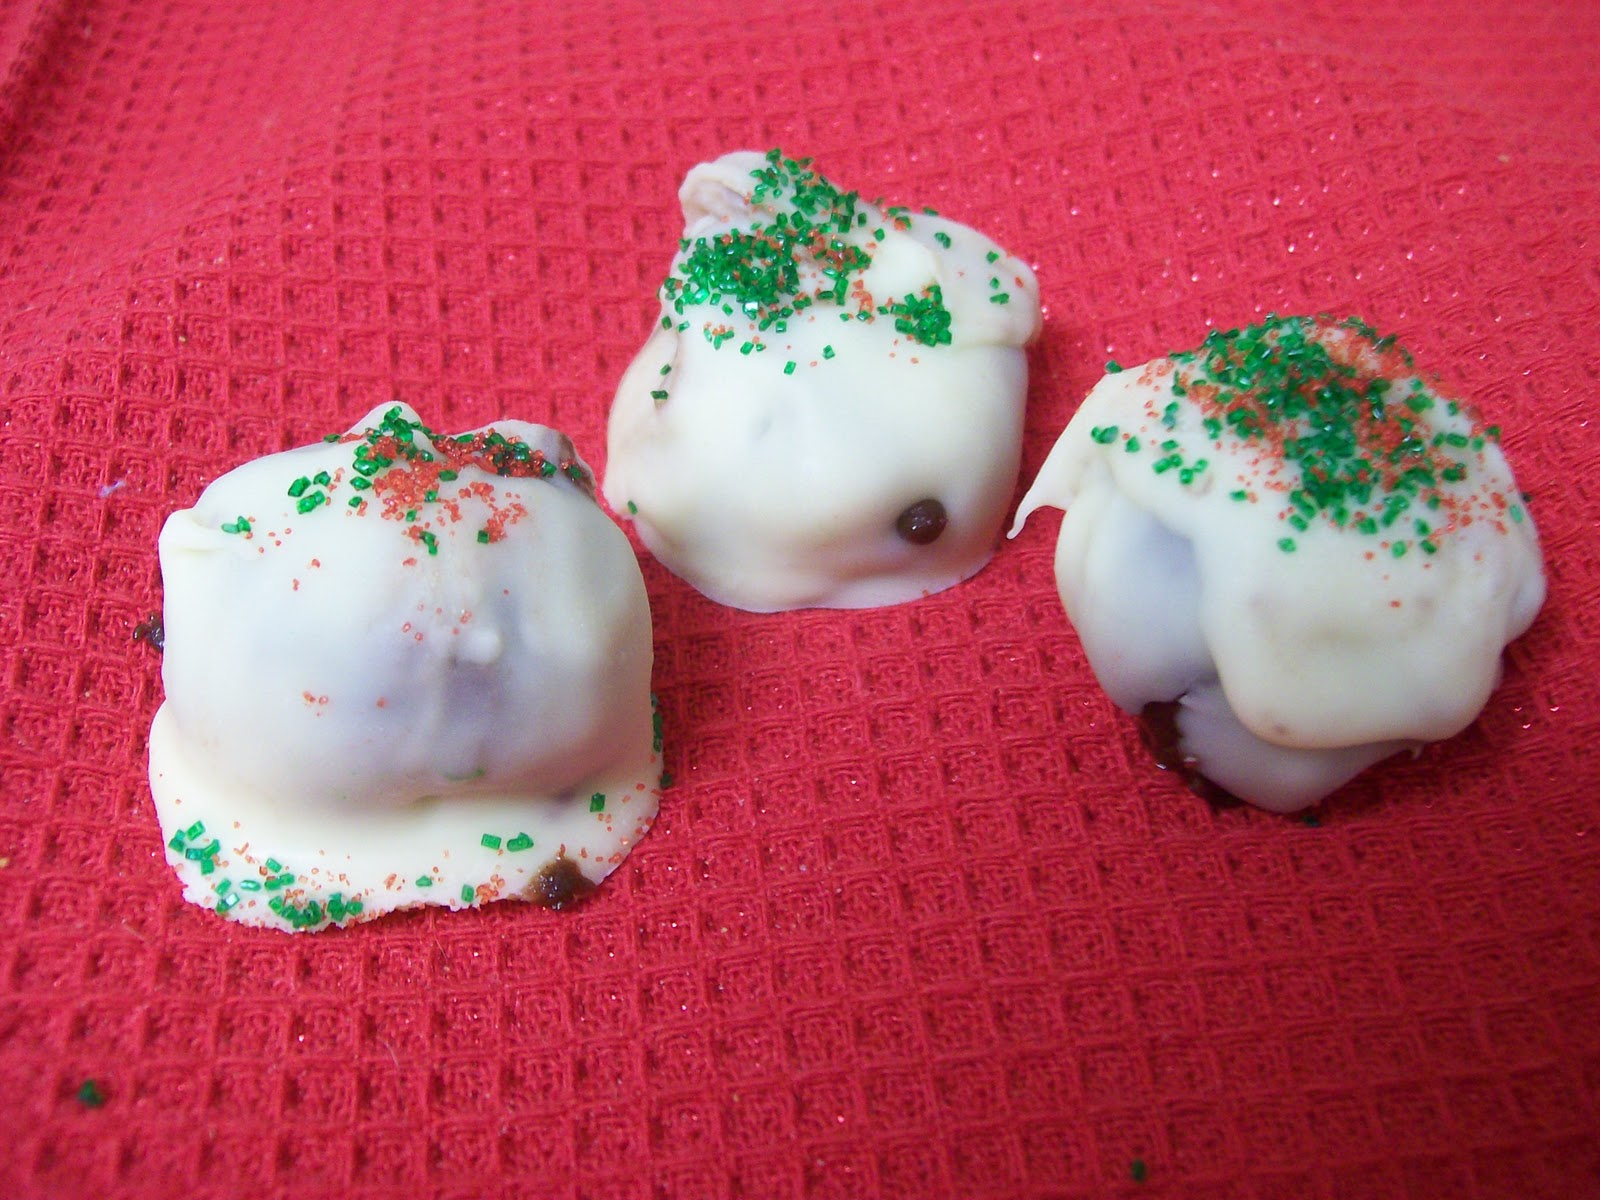
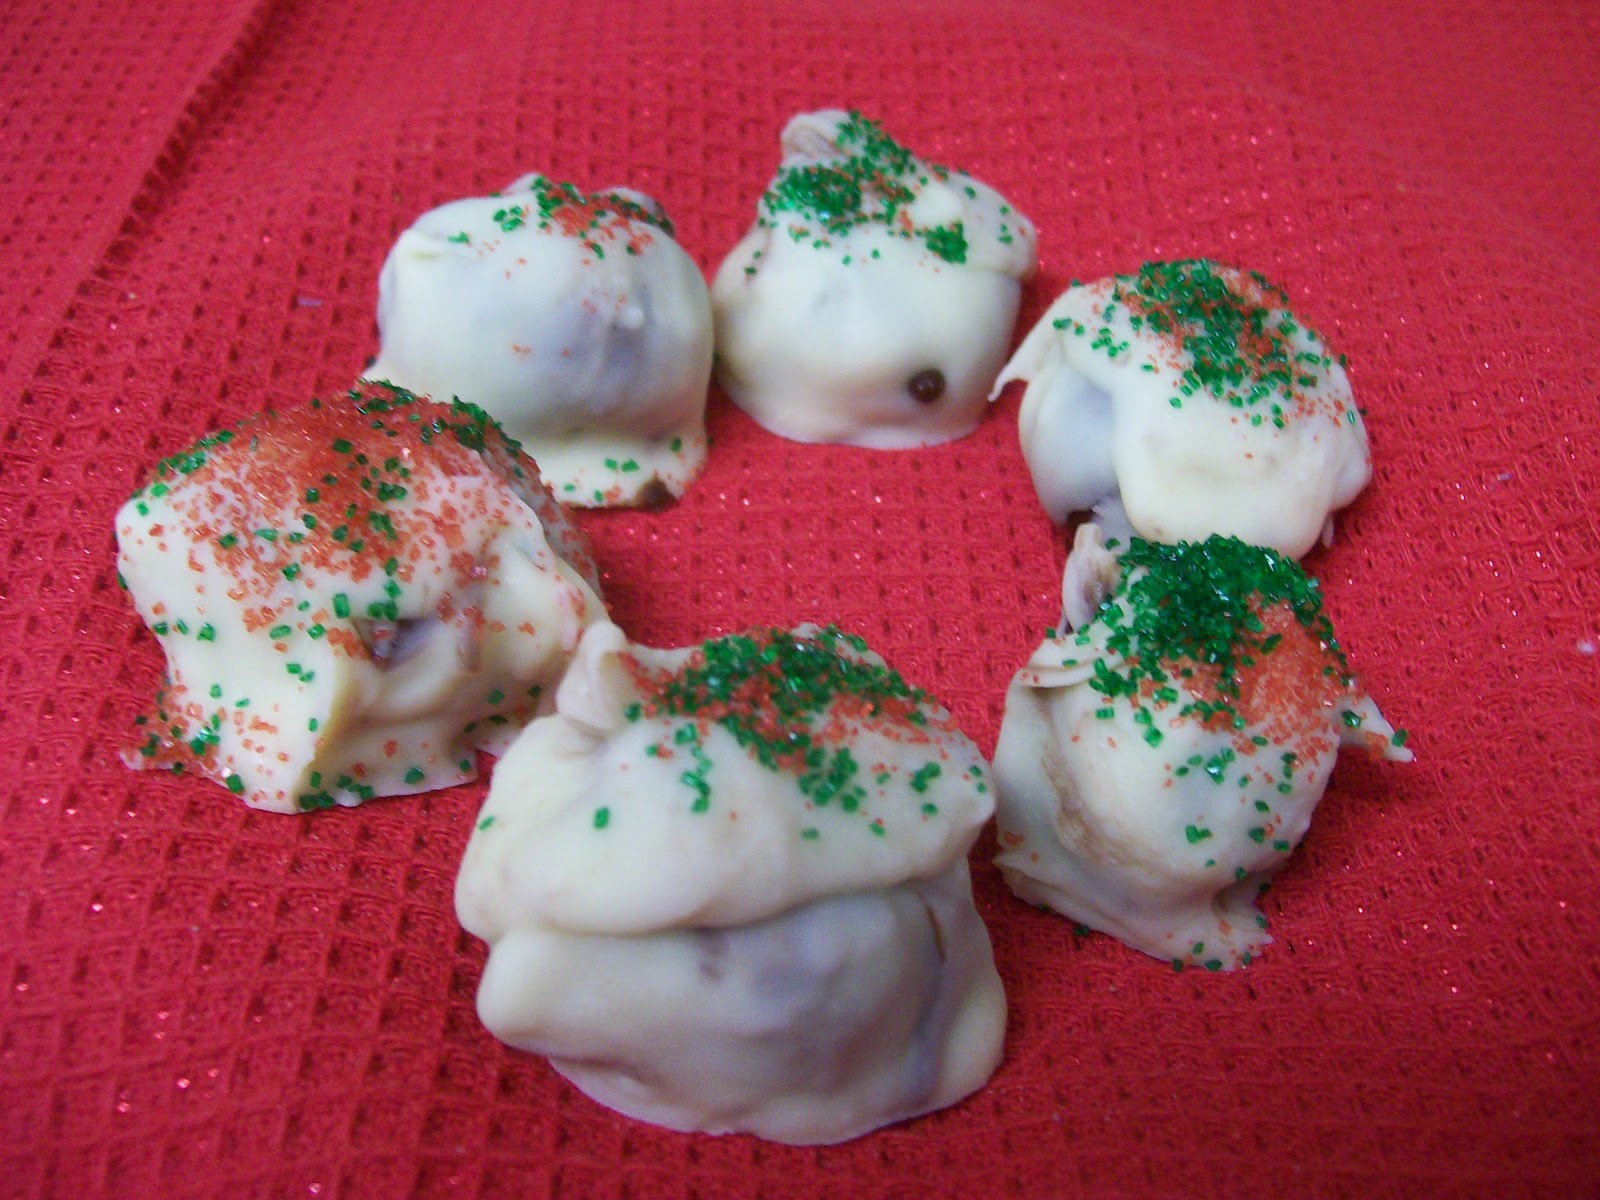
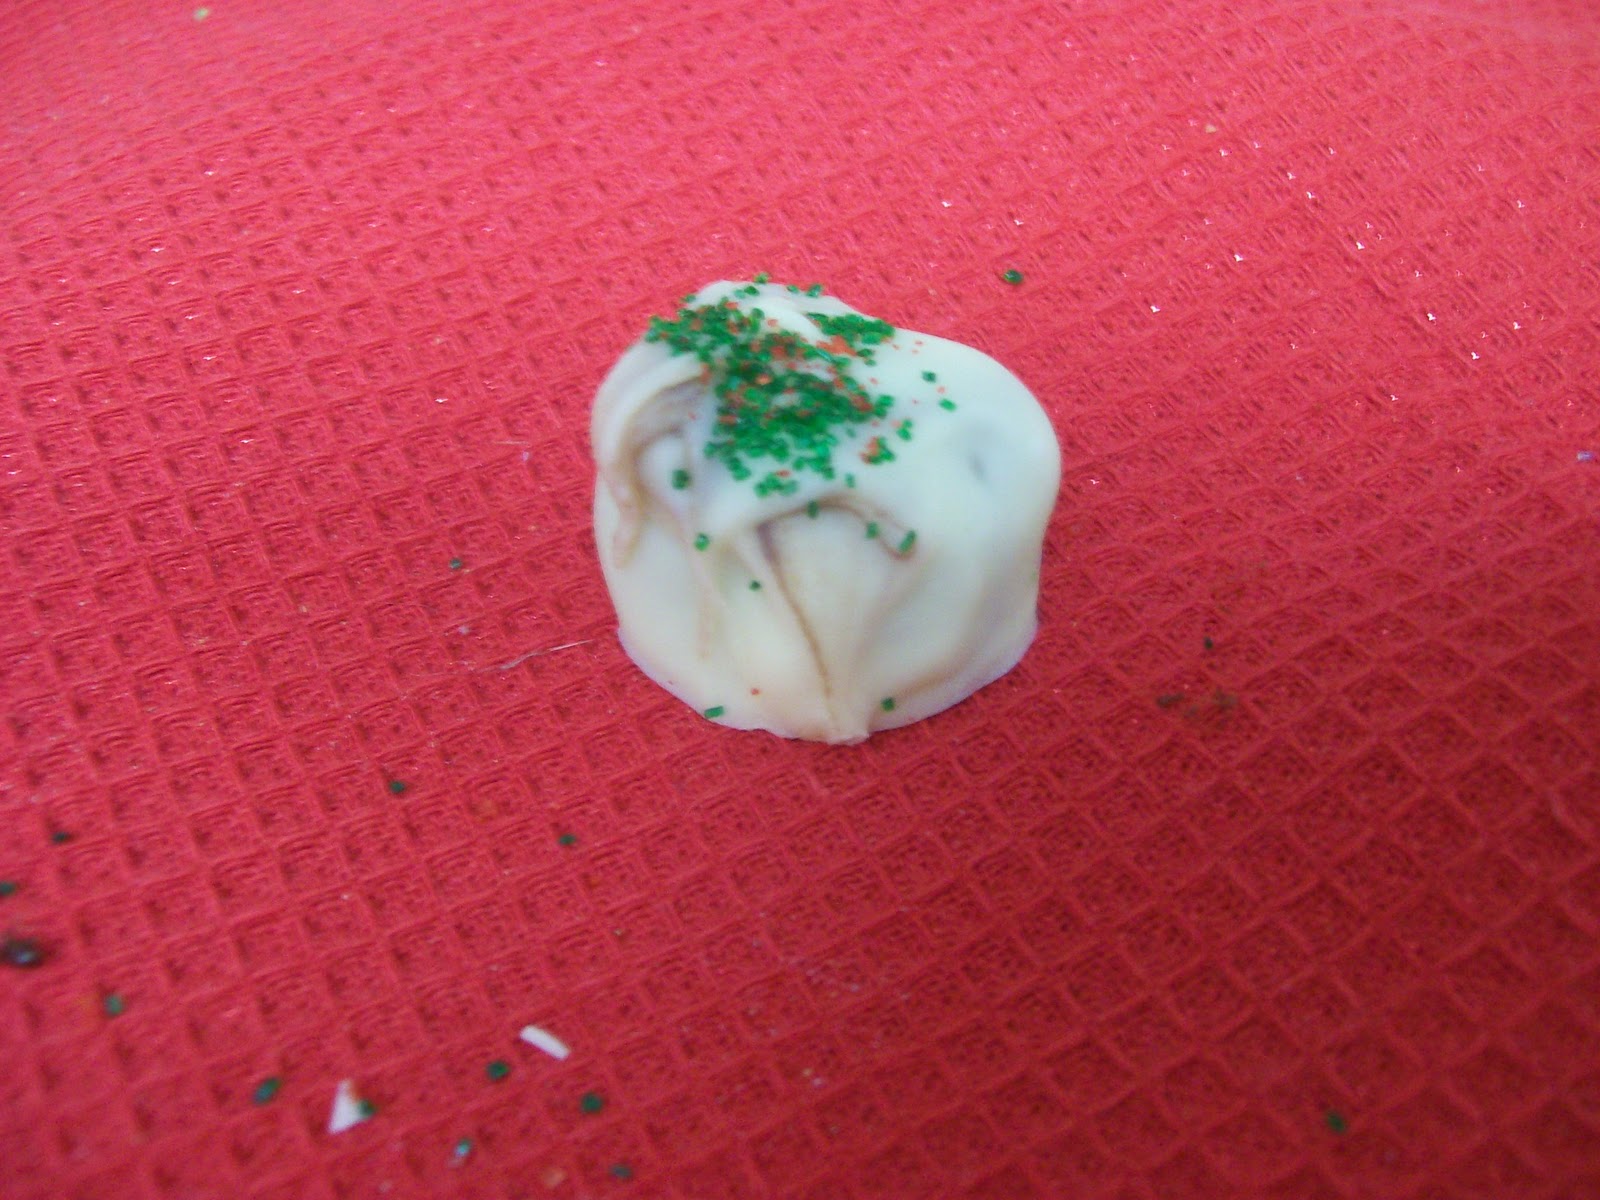
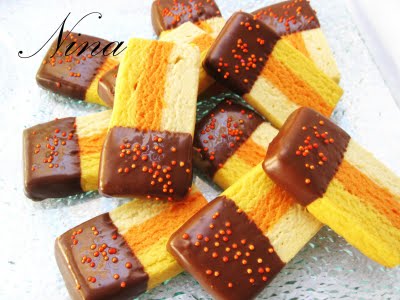
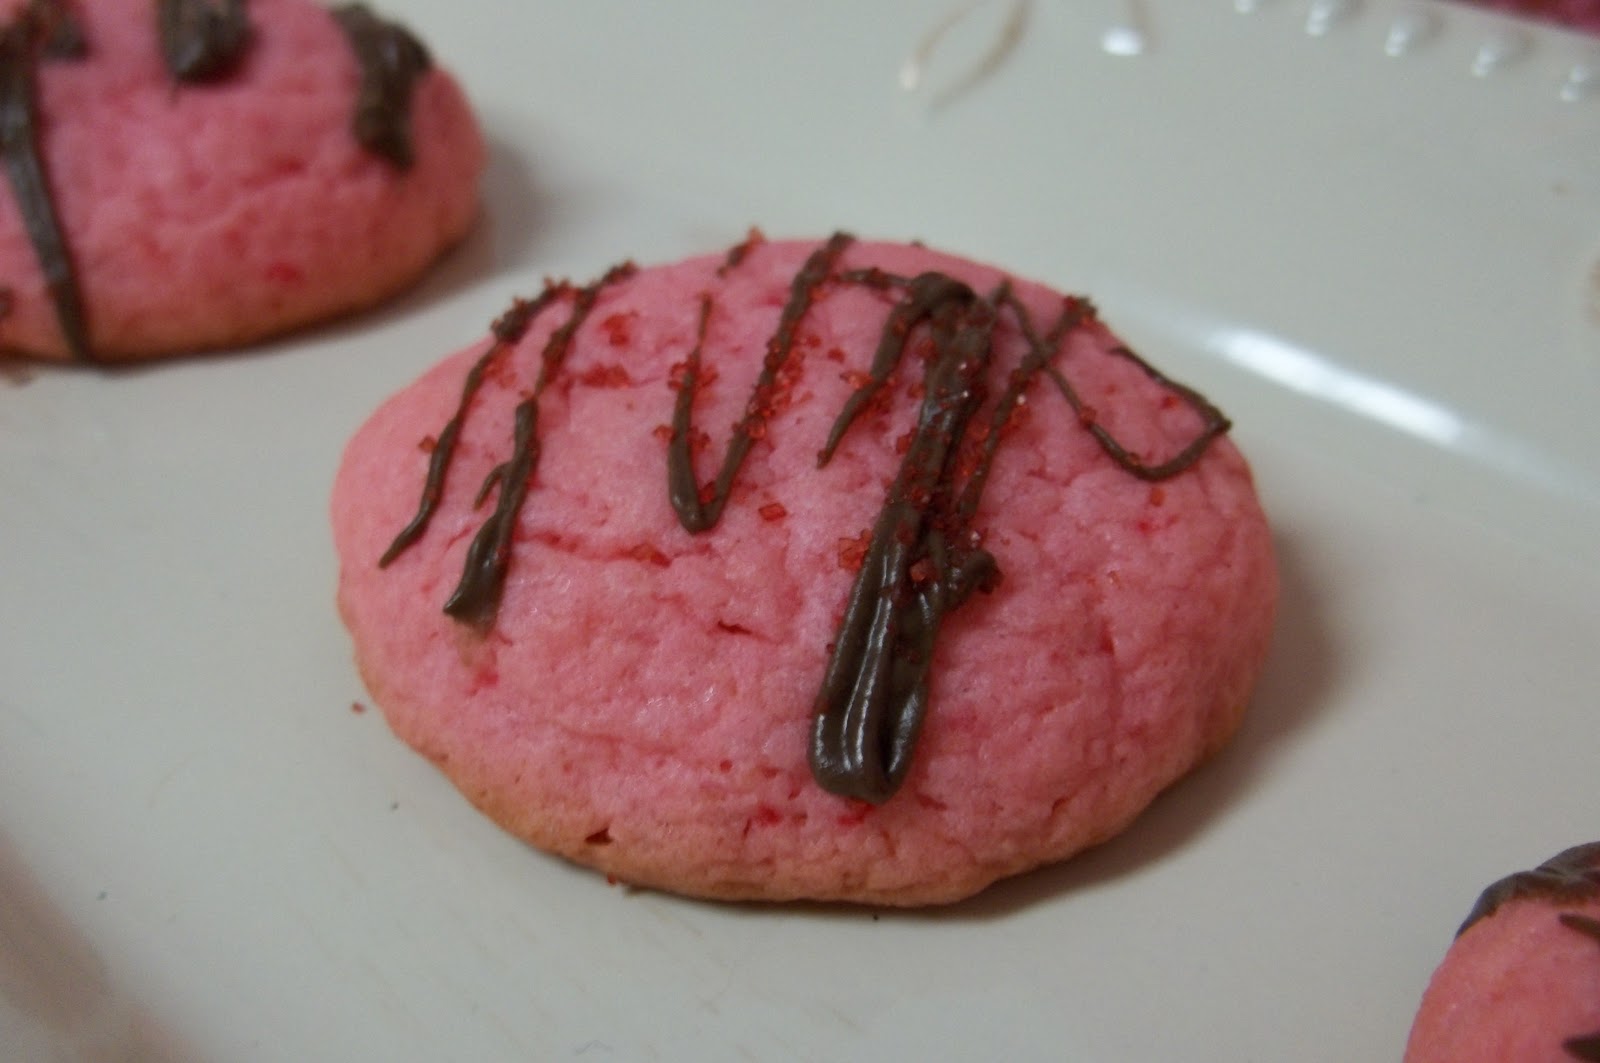
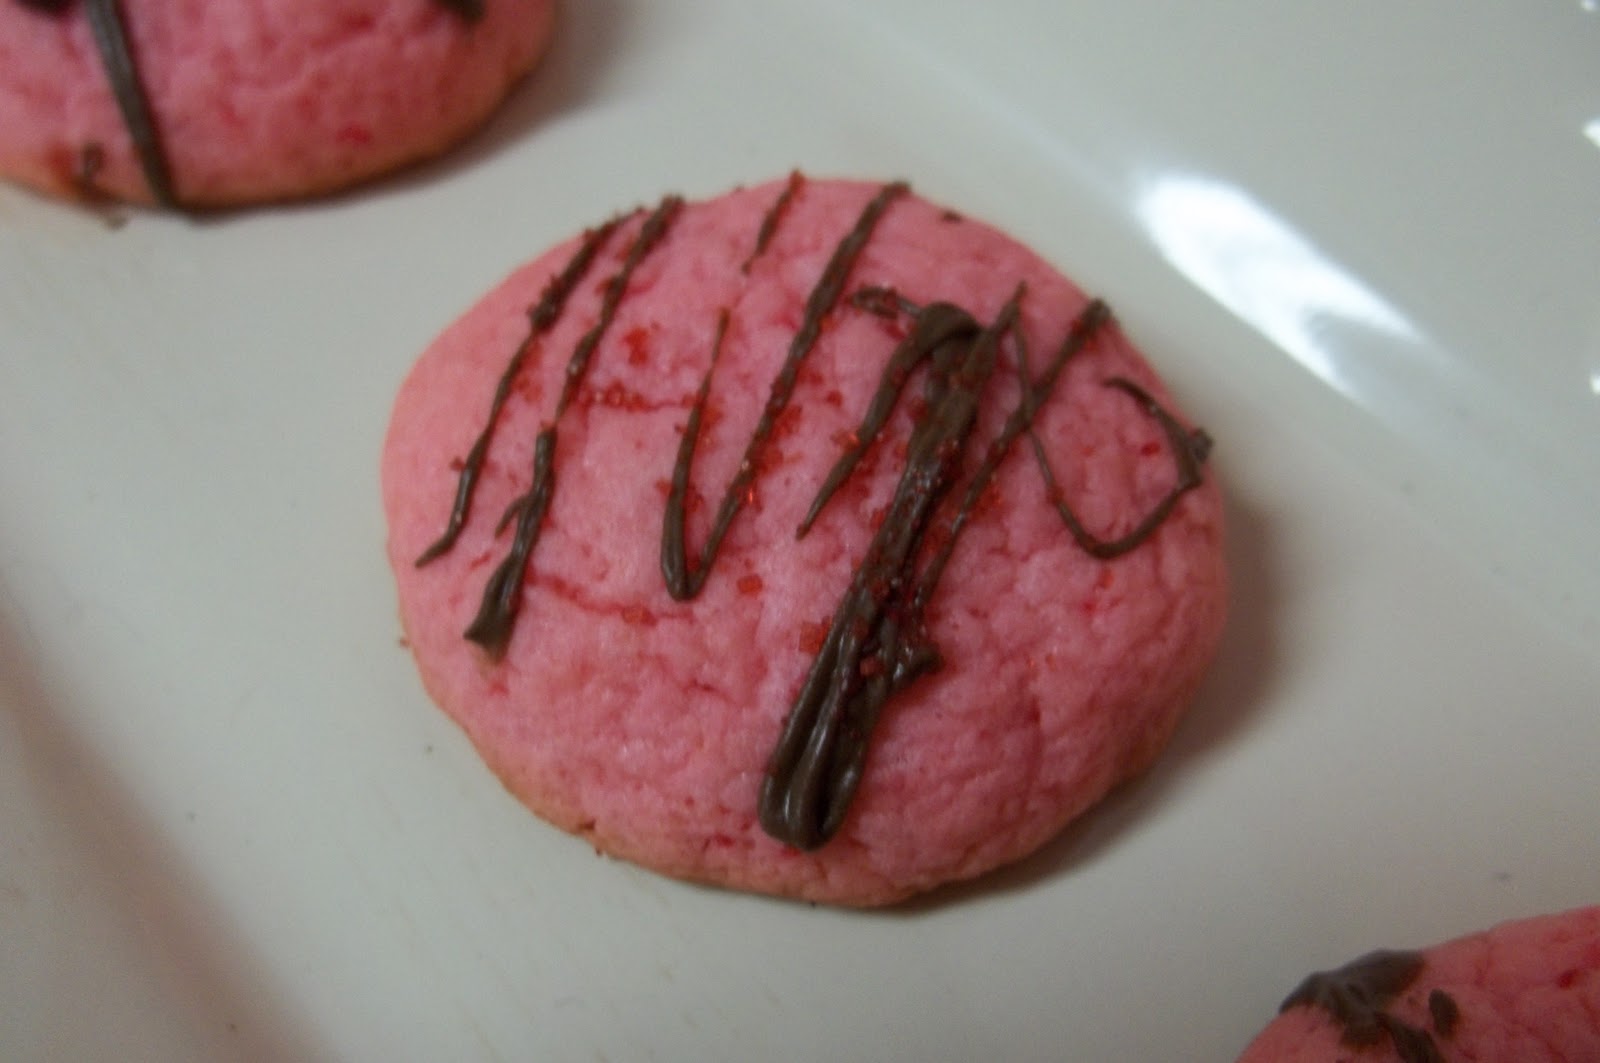
To decorate the cookies, I immediately poured just a small amount of red candy sprinkles on them right after I took them out of the oven.  And usually I mix a spoon full sprinkles in with the actually dough before making, but I didn’t do that this time. 
For the topping, I just took a couple of squares of almond bark and heated in the microwave for about a minute and half.  Don’t forget to take the chocolate out every 15 seconds to stir, in order to prevent scorching.  Then just drizzle the chocolate on.  I was in a hurry so I just used a spoon and shook it back and forth to create a drizzled effect.  For a more professional look, you can use a piping bag. And if you don’t have this you can put the chocolate in a ziplok bag with a tiny whole cut in the corner.
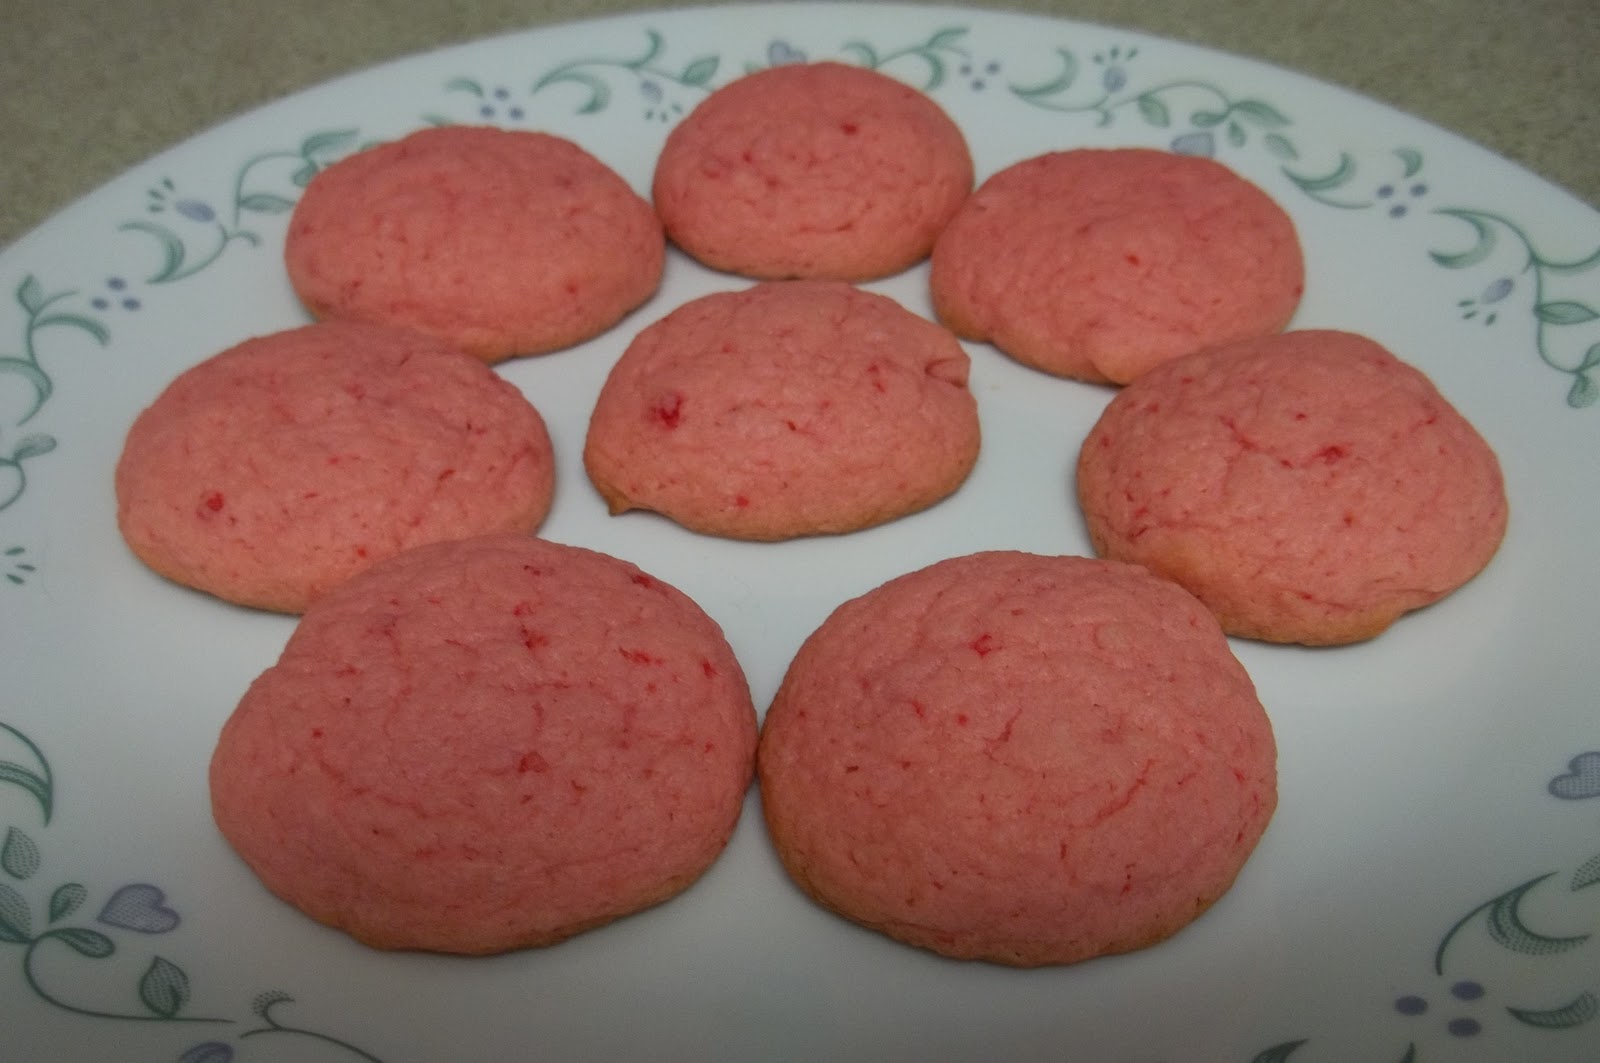
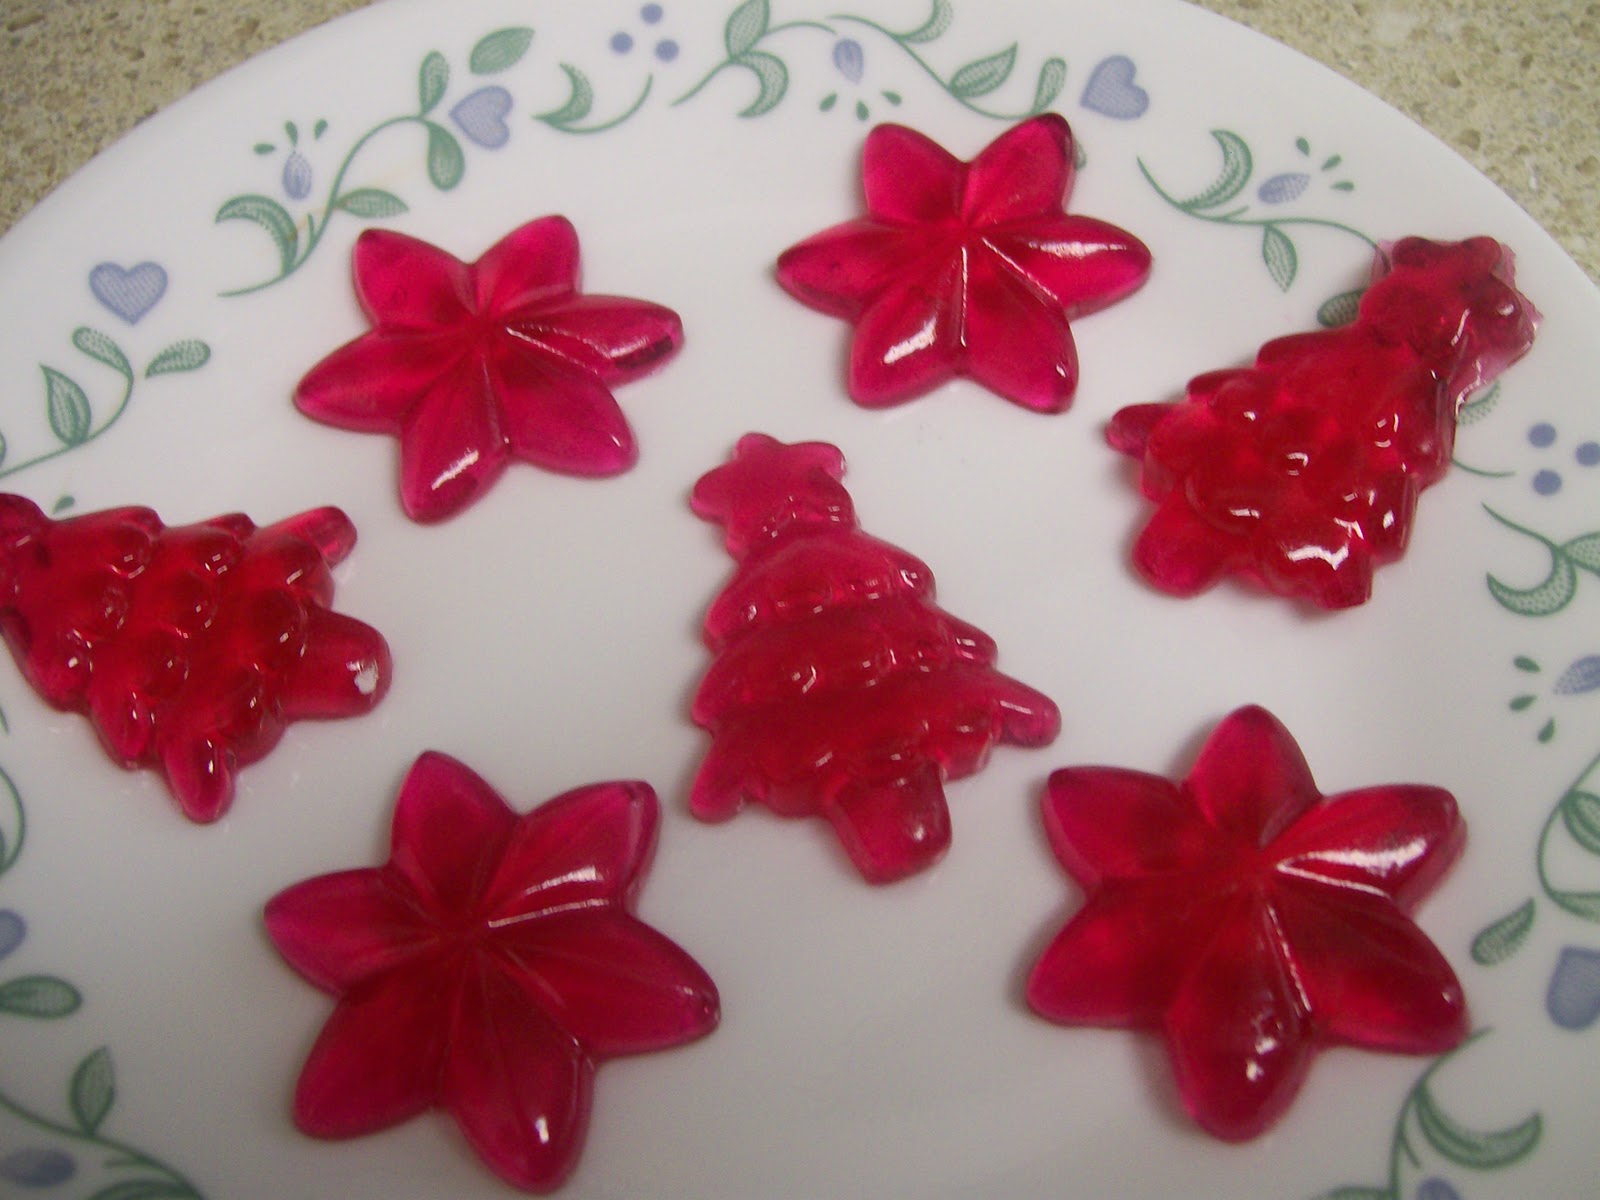
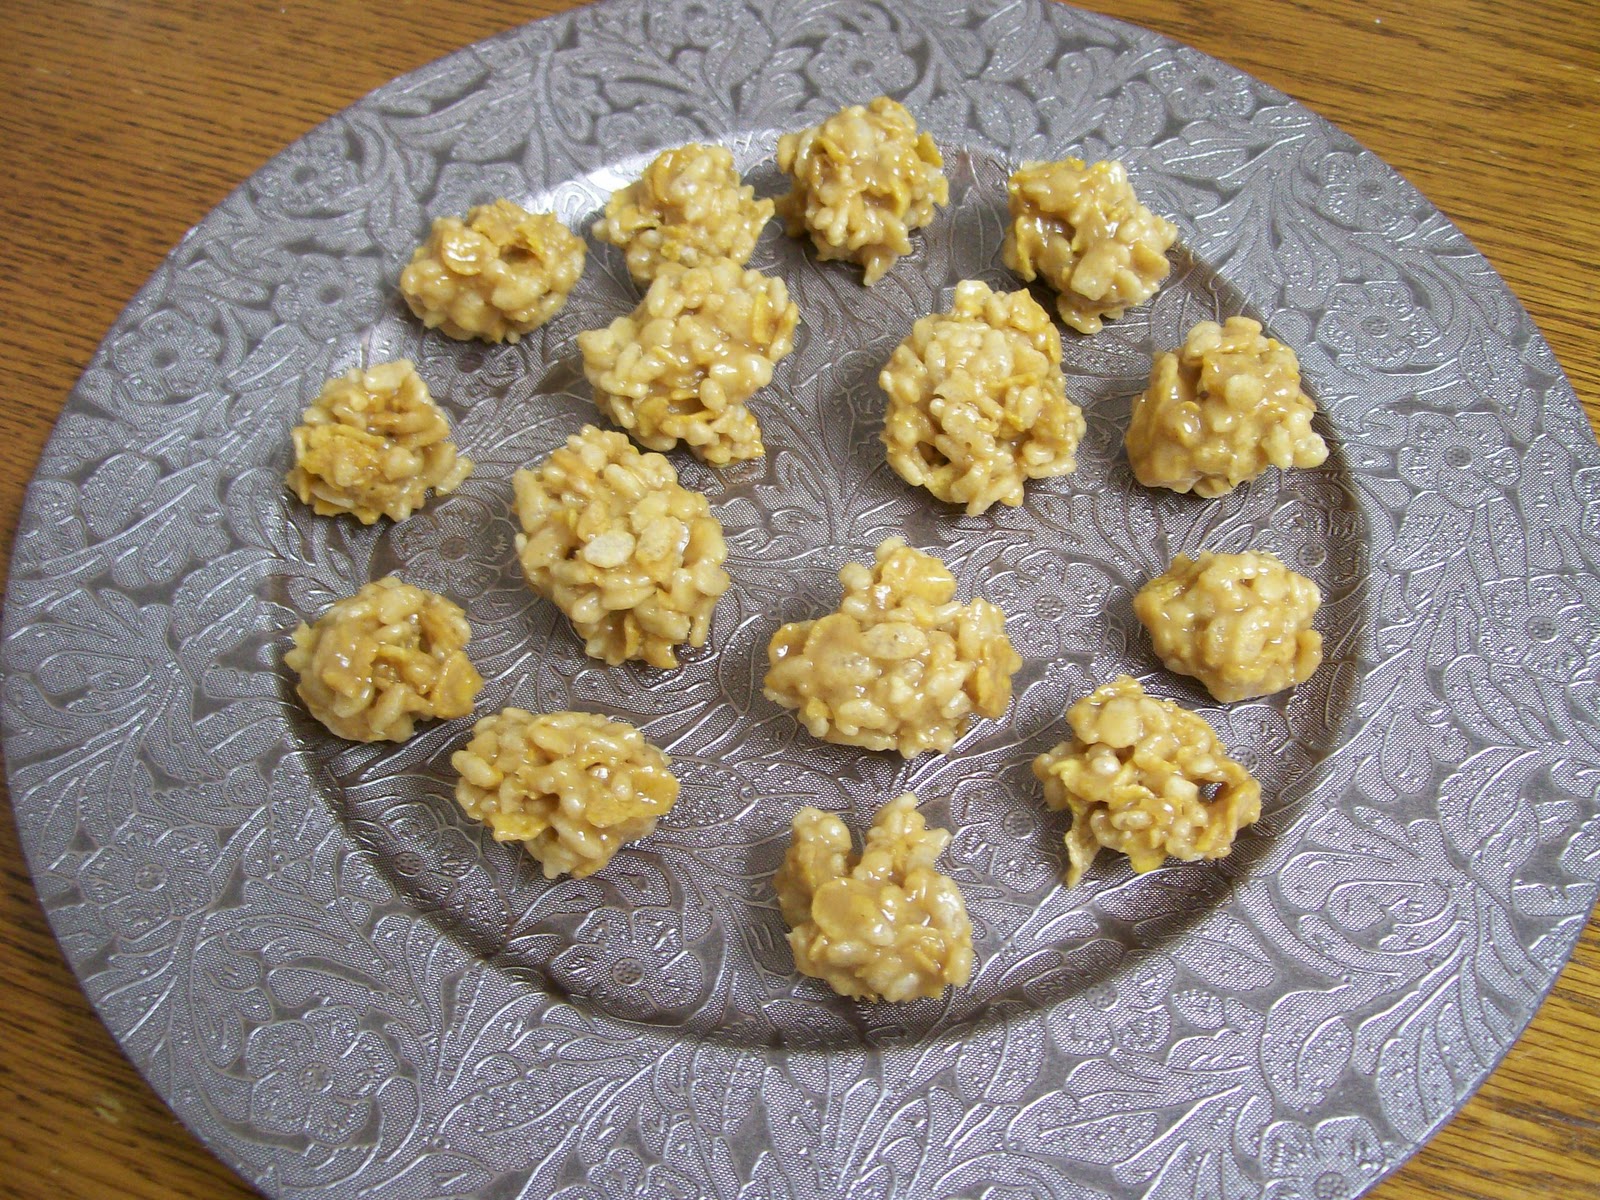
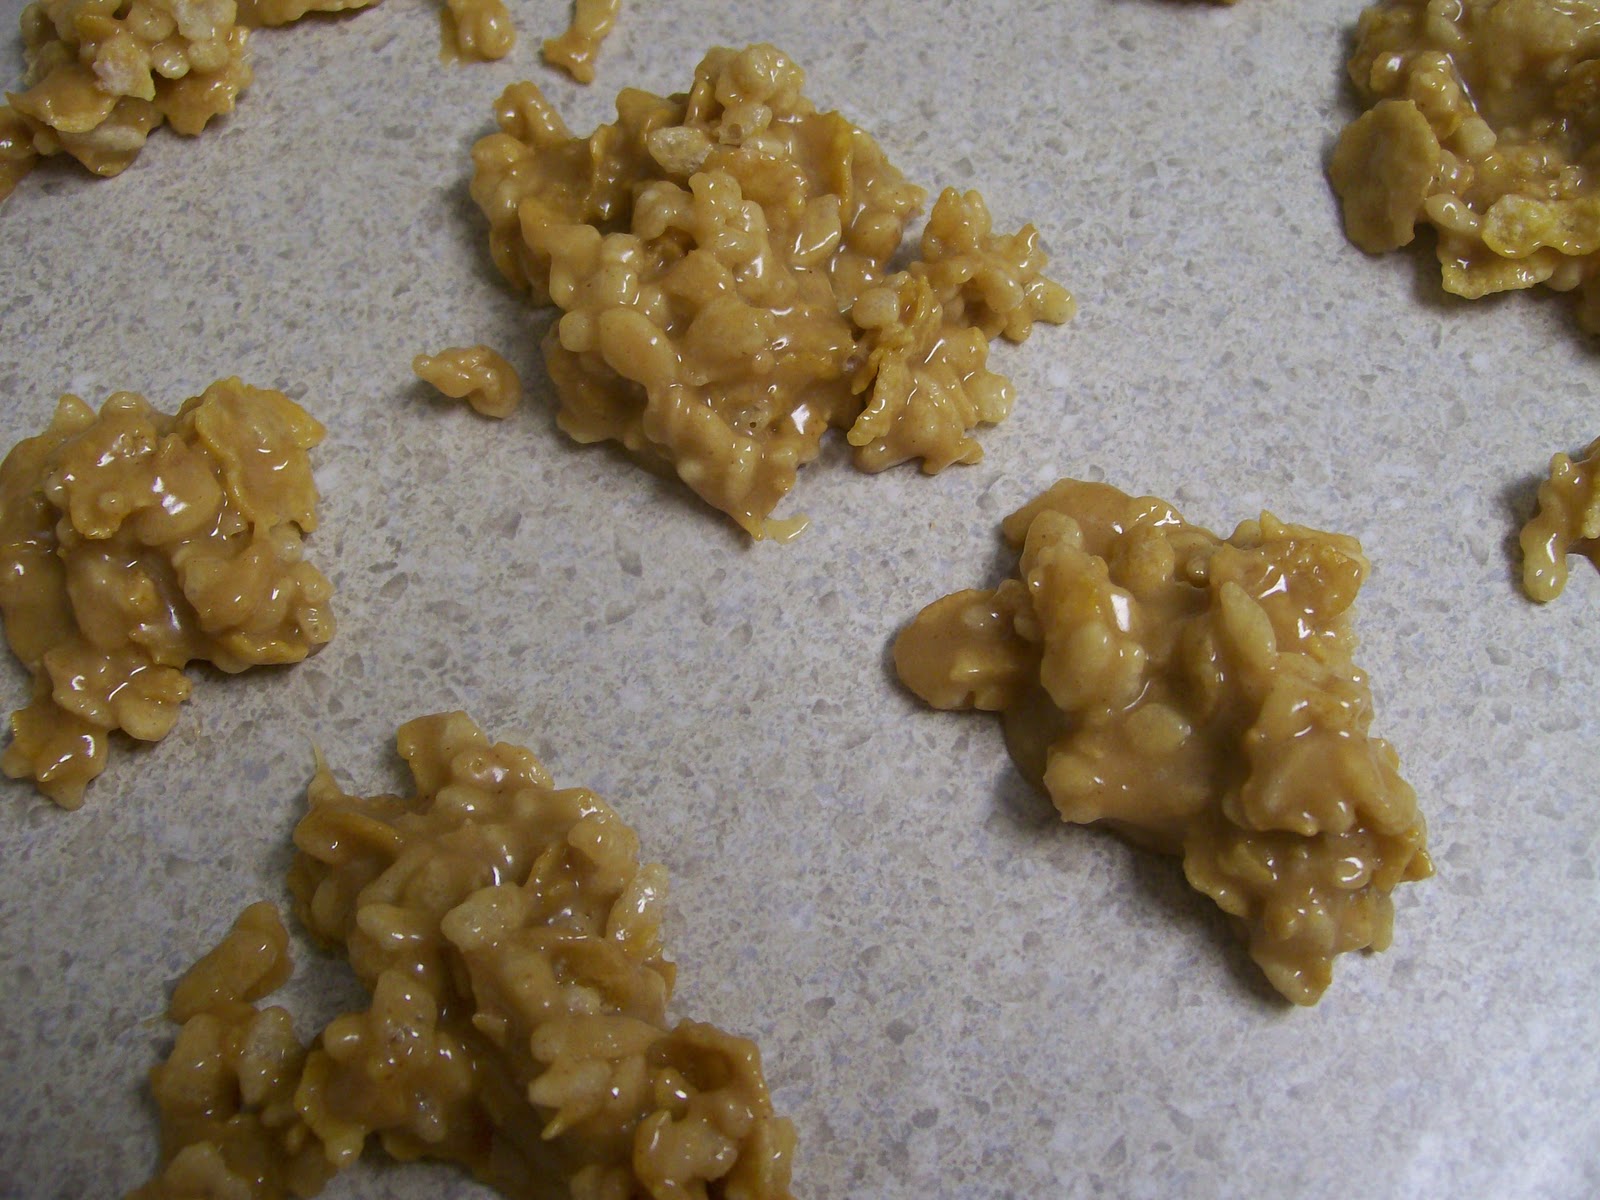
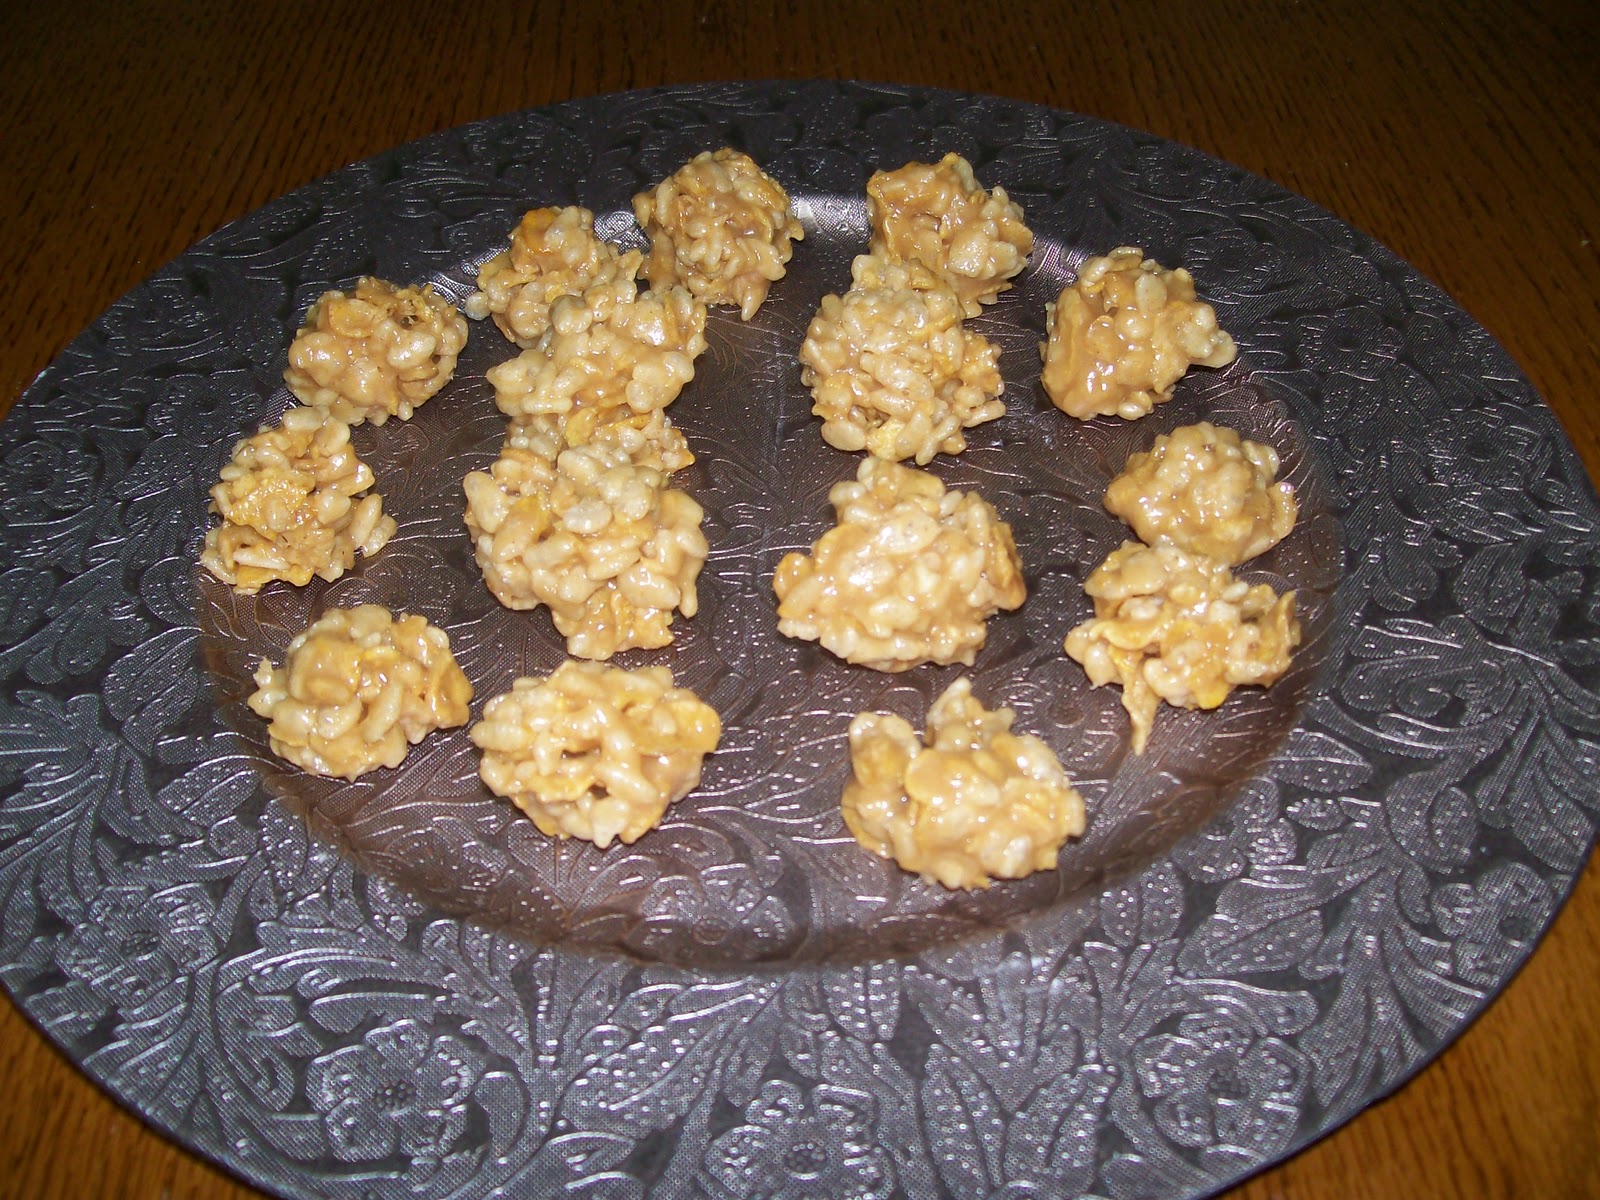
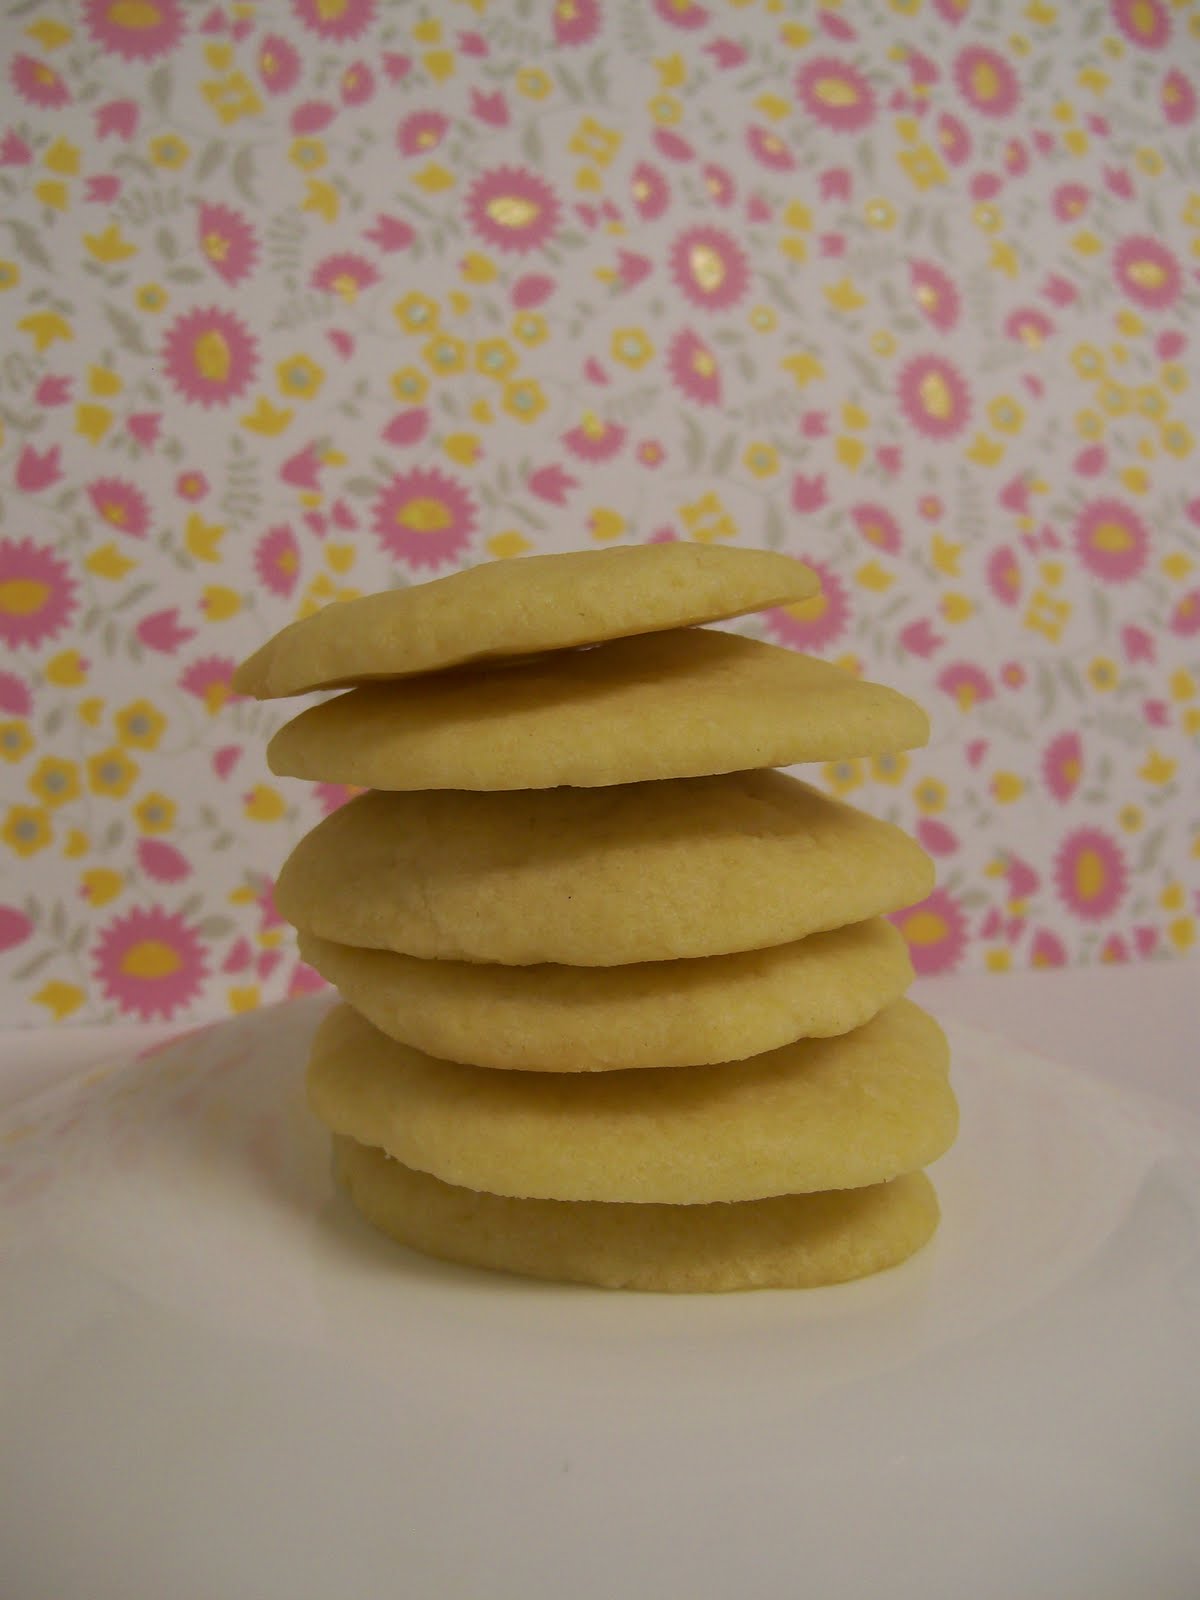
And here’s a picture of some of the cookies that I kept plain. And I have to tell you, if you really want just a simple tasting, sweet treat, without all the frills, these plain strawberry cookies are just delightful!

I’m linking up at these parties..

Photobucket

Spotlight on Nicole’s Homemade Treats

My newest sponsor will definitely leave you licking your lips! So “Go Ahead and Indulge!”

Nicole’s Homemade Treats is a fabulous etsy shop offering yummy, delectable, sweet treats! 
Nicole is a stay at home mom of two boys and a military spouse. She uses candy-making as a stress reliever and creative outlet! She also enjoys baking, cooking, golf, playing with her kids, reading, socializing & working out. “Candy making, it is a great stress reliever and creative outlet for me! Selling my products locally and online is a fun and rewarding endeavor! I have spent many hours trying to get my treats ‘just right!’ It is safe to say that some of my first attempts were very interesting!”
Nicole’s Homemade Treats is an LLC operating out of New York State. All the products are prepared in a fully licensed kitchen. NYS Dept. of Agriculture #31AAAA

The treats are prepared in small batches, to preserve the taste and quality of the product, and to ensure that there is no waste. It takes about 5-7 days to produce your order. But Nicole PROMISES – they will be worth the wait!

And if you’re interested in only the highest quality sweets (and who isn’t?), you’ll be very impressed with Nicole’s menu of products: “I make only all natural, preservative free products, and use as many organic ingredients as possible. My products may not have the shelf life of store bought products, no worries! They won’t last very long!”

Nicole’s Homemade Treats is also a very environmentally conscious company:  “The packaging products I use are considered ‘green’ because they are made using recycled products, or come from ecologically conscious companies. I am really conscious about who I purchase my products from – the majority come from local companies, farms, and shops, however if that is not possible I buy from companies that are known to be eco-friendly/green themselves.”

“I hope you enjoy eating my treats as much as I like making them!”

Be sure to check out Nicole’s Homemade Treats for all your Valentine’s Day (and everyday) goodies!  You can also connect with Nicole at her blog and on twitter @Nikid70.

Go ahead and indulge!

Photobucket

Disclosure:  Nicole’s Homemade Treats is a paid sponsor.  If you’d like to advertise on Simply Sweet Home, please see my PR Page. Rates start as low as $5.

SSH’s Best of 2010: Food

Hi everyone!  Hope you’re enjoying the new year so far!  I think it’s no secret to anyone that food is my favorite thing to post about here at Simply Sweet Home, and I’m so excited every week to get your comments on my recipes. For this week, instead of posting a new recipe, I am revisiting some of my favorite foods that I shared with you on my blog in 2010.  Hopefully you’ll enjoy them just as much the second time around and maybe even catch something that you might have missed the first time! 
Happy Baking in 2011!


Crisco’s Cookie Central, Frosted Brownie Cups, and a Giveaway!

Today I have a fun-filled and very exciting post for you! Last weekend I got the chance to do some holiday baking using some amazing new baking supplies and resources from our good friends at Crisco.
To support this season of bountiful baking, Crisco has launched a new online resource called  Cookie Central.  All it takes is a few clicks to solve any cookie-related woe.  Features, such as “Cookie of the Day,” can sustain a devoted baker throughout the holiday season and beyond, while novice bakers will quickly feel at ease after watching the site’s instructional videos.
The website also provides a simple homemade cookie recipe mix that can be used for more than a dozen different types of cookies.

At Cookie Central you can also download some printable Recipe Cards and Gift Tags!  These are perfect to use for holiday gift giving, whether you’re giving out cookies that are already baked, or handing out cute jars filled the ingredients so your friends can make their own.

Personally I was very impressed by the site.  It gives you a big variety of recipes to fit all tastes.  The videos and tips are perfect for people who need extra help.  And the printable cards and tags are super cute and convenient!

I was given a set of the printable recipe cards,which I used to make Crisco’s Homemade Cookie Mix.  And after much consideration, I used the mix to make some delicious Frosted Brownie Cups.  Mine were made kind of hastily, so their not as cute as they could be, but they are definitely delicious!

Recipe for Frosted Brownie Cups:

Ingredients:
2 1/4 cups Homemade Cookie Mix
2 tablespoons sugar
3 tablespoons unsweetened cocoa powder
1 tablespoon Crisco® Pure Vegetable Oil
OR 1 tablespoon Crisco® Light Olive Oil
1 large egg
1/3 cup milk
1/2 cup semi-sweet chocolate chips
1/2 cup chopped walnuts
1 (16 oz.) container Pillsbury® Chocolate Fudge Frosting
OR 1 (13.5 oz.) can Pillsbury® Easy Frost™ Decadent Chocolate Fudge No Fuss Frosting
Chocolate or other decorator sprinkles (optional)
Directions:  Heat oven to 375ºF. Line mini muffin pans with foil mini muffin baking cups. Combine Homemade Cookie Mix, sugar and cocoa in large mixing bowl until blended. Add oil, egg and milk. Beat with electric mixer on low until combined. Stir in chocolate chips and nuts. Drop by tablespoonfuls into prepared muffin cups.  Bake 10 minutes or until center is dry and puffed. Cool completely on wire rack. Frost brownie cups. Top with decorator sprinkles, if desired.

Win it! To help you with your holiday baking, Crisco is offering a prize pack filled with baking supplies to one Simply Sweet Home reader.
-Glass Jar filled with a dozen Cookie Cutters
-Baking Sheet
-Set of Measuring Spoons & Measuring Cups
-Spatula
-Cookie Dough Scoop
-Recipe Cards
-Sample of Crisco Baking Sticks
This is a very impressive prize pack with high quality items. I checked around on the internet, and if you ordered each of the items featured here, you’d pay around $100 for them!  Talk about a super prize!

Giveaway Closed.
I’m linking up to these parties.
Photobucket
Disclosure: Not a paid post. For hosting this giveaway, I received a prize pack like the one being given away here.

Holly Bloggy Christmas Recipe Party

Thursday is Day 4 of Holly Bloggy Christmas, which means it’s time to share our Christmas Recipes! For me, one of the best things about the Christmas season is the food!  I always enjoy munching on my traditional favorites and finding new favorites as well!

For the last few years I’ve been making Christmas candy boxes for neighbors and close family members.  For my gift boxes, I always try to include 3 or 4 different things.  I always include my absolute favorite Chess Bars, and then I try to do some type of candy ball or cluster, and then some kind of cookie. 

Today I’ll be sharing recipes for the 3 treats that I gave away last year: Devil’s Food Cookies, Chess Bars, and Peanut Butter Krispy Balls. Hope you enjoy them!

Recipe for Devil’s Food Cookies:

Ingredients:
1 Devil’s Food Cake Mix
1/3 cup water
1/3 cup oil
1 egg
candy sprinkles (optional)

Directions: Mix eggs, water, oil, and cake mix. Refrigerate dough for a few minutes to prevent it from sticking to your hands.  Roll into balls or cut with cookie cutter and place on greased cookie sheet or cookie a sheet lined with parchment paper. Place about 2 inches apart. Bake at 350 degrees for about 15 minutes. (Makes 2 dozen round cookies)

Recipe for Chess Cake:

Ingredients:
For Cake:
1 box yellow cake mix
2 eggs
1 stick margarine (softened or melted)

For Icing:
8 oz cream cheese
1 stick margarine (softened or melted)
2 eggs
1 box powdered sugar

Directions:  For cake – Mix together the cake mix, eggs, and margarine. Press into a 9×13 inch pan. For icing, cream together cream cheese, margarine, eggs, and sugar. Pour over cake mixture. Bake at 350 degrees for 45 minutes. (It should come out lightly browned and gooey.) Cut into squares and enjoy!

Recipe for Peanut Butter Crispy Balls:

Ingredients:
1 cup Light Karo syrup
1 1/2 cups White sugar
1 1/2 cups Peanut butter
5 cups cereal (Original recipe calls for Special K cereal, but I used a combination of Rice Krispies and Corn Flakes.)

Directions: Bring Karo syrup and sugar to a boil. Remove from heat and stir in peanut butter until dissolved. Slowly mix in cereal. Drop by rounded teaspoon onto waxed paper. Then mold into balls.
Tip – You can also spoon the mixture into a 9×13 dish if you prefer to serve these as bars.

And if you’d like to know what’s going in the boxes this year, check these out!

Easy Chocolate Truffles

Place these treats in cute box or bag, and you’ve got a yummy Christmas gift!

HOLLY BLOGGY GIVEAWAYS!
Lisa Leonard is known throughout the blogosphere for her beautiful, one-of-kind jewelry. You can choose something cute that fits your style from her inspired necklaces. Or you can create a custom piece of jewelry! Each piece is hand-cut, hammered, antiqued and is polished sterling silver. Beautiful!
Connect with Lisa Leonard on Facebook and Twitter.
Prize: $50 gift certificate

Twelve Crafts offers cute jewelry, flower pins, sachet pillows, and other fun gifts and accessories.  They come in bold, beautiful colors and designs that you just have to see! The owner of this shop, Elizabeth, also has a great blog where she shares her latest projects and tutorials.
Connect Twelve Crafts on Facebook and Twitter.
Prize:  Pretend and Play Chef Set
Another cute etsy boutique!  If you like bows, you should definitely visit this shop.  Hope Abound offers lovely accessories from bows and clippies to brooches and pins.  These come in a variety of styles, colors, and materials, so you’re sure to find something you like! 
Connect with Hope Abound Facebook and Twitter
Prize: A Set Christmas Bows
How To Enter:
Bloggers: If you link up a project, you will automatically be entered for all the giveaways.  (For an additional entry, you may leave a comment saying that you linked up.)
Non-bloggers: If you DO NOT have a blog, you may still enter. Just visit one of the sponsors and leave a comment telling me something you like.
Additional Entries:
1 entry for EACH sponsor you follow on Facebook or Twitter. (Links provided above)
1 entry if you subscribe to my blog by email.
1 entry if you follow my blog.
1 entry if you follow SimplySweetHome on twitter.
1 entry if you like Simply Sweet Home on facebook.


HollyBloggyButton1

Linky Party! I can’t wait to see what kind of goodies your cooking up this holiday season! Please link up the url to your Christmas Recipes below! The linky and giveaway will be open for entries through December 22. And winners will be announced the week after Christmas.
Photobucket

Easy Chocolate Truffles

If you like chocolate truffles, you are going to love this post!  As much as I love truffles, I don’t really love their price!  So a couple of weeks ago I got inspired to invent this great recipe.  I’m not going to say that they’re as good as Lindor’s, but they are tasty and cheap alternative!
This was just a trial run so as you can see they’re not as beautiful as I would like! (ie – I didn’t chill them long enough before dipping, and they started to melt on me.)  But the taste is incredible! So I just adjusted the freeze time for you, and voila!
The secret ingredients to this cheap alternative are brownie mix (one box will make about 3 batches or so!), and mayonnaise.  (Yes, you read that right! Mayonnaise!)  I started out adding water and oil to brownie mix, and it just didn’t taste right.  Then I remembered that a Wise Man, who I affectionately call My Dad, once told me that you could substitute mayonnaise in the place of egg (because the mayonnaise contains eggs).  So I tried this, and I was amazed at the change!  You can’t taste the mayonnaise itself, but it does give the brownie batter it’s proper taste and consistency that you usually get with eggs. And thus, it’s a big key to these semi-homemade truffles!   Hope you enjoy the recipe!

Recipe for Easy Chocolate Truffles:


Ingredients:
1 1/2 cups brownie mix (I used Betty Crocker Original Supreme)
2 tablespoons oil
2 tablespoons water
2 teaspoons mayonnaise
2 or 3 squares of almond bark (or chocolate chips)
candy sprinkles (optional)

Directions:  Measure out your brownie mix and place in a bowl.  Add water, oil, and mayo.  Mix well.  Batter should be extra stick, so that you can roll it into balls. (If it doesn’t appear thick enough, add extra batter.  If it’s too thick, add a very small amount of water.)  If the batter seems too sticky for rolling, you can place the batter in the refrigerator for a few minutes before rolling. 
This recipe should make 12 truffles, measuring 1 1/2 inches wide, or 18 truffles measuring a inch wide.  After you’ve rolled the batter into balls, place them on a plate lined with wax paper or parchment paper.  Chill in the freezer for a few hours or overnight.  (Note: If you don’t let them chill long enough they will start to lose their shape and melt when they are dipped in the chocolate.)
When you’re ready to dip the truffles, melt the your almond bark or chocolate chips.  To do this, just place the chocolate in a microwave safe bowl  and heat it for a minute or so.  Very Important: Check it every 15 seconds and stir to prevent scorching.  (Note: If the chocolate starts to harden during the dipping process, simply reheat again in 15 second increments.) 
To dip your balls, you can use a couple of different methods:  You may use a candy dipper to dip the balls.  Or you may also place them on a spoon if you don’t have a candy dipper.
My favorite dipping method is the toothpick method.  Before freezing your balls, just poke each one with a toothpick.  (Sticking them with the toothpicks before chilling will prevent the balls from falling off the toothpick once the balls are dipped.)  The only downside to this method is that there will be a hole when you take the toothpick, but you can get rid of this by simply spooning a tiny amount of melted chocolate over the balls.
To decorate the truffles, you may either place the sprinkles in the bowl and dip them or you can pour the sprinkles over the top of them.  Just make sure that you do the sprinkles immediately after the truffle has been dipped in the chocolate, because it will harden in seconds and the sprinkles won’t stick after that.
Place on a tray to serve to your party guests, or place in a cute candy bag or box to give as gifts.

I’m linking this up for this week’s parties and  The Holiday Recipe Exchange at Food, Fun and Fotos.

Photobucket

Making Your Own Gummies (Review and a Giveaway!)

Looking for a fun and unique Christmas gift for the kids?  Or a fun homeschool activity? Then check this out! Over the weekend I got a chance to make my very own Christmas Gummies  using a Make Your Own Gummies Kit from the makers of Glee Gum!

“Available in Make Your Own Chocolate, Make Your Own Chewing Gum, and Make Your Own Gummies, these activity kits are all-natural, educational, and eco-friendly. With pre-packaged ingredients and easy-to-follow instructions, everyone aged 8 and up gets a real kick out of making candy from scratch. Focusing on the history behind and the origin of these candies, each kit is designed to captivate your interest, connect you to the global community, and create something yummy to eat in the process.”
As you all probably know by now, I’m always excited to try new recipes and food products, so I was really psyched to try out this kit.  I was very intrigued by the process in which these candies are made, particularly by the use of powdered seaweed and a piece of actual seaweed!  And I think kids will really love this activity.  After all, what kid doesn’t love to mix and make things? (And since there’s candy involved, that will make it an even more exciting experiment!)

And you’ll be happy to know that you don’t even have to cook it on the stove!  The gummies can be made in your microwave, and beyond the kit, the only ingredient you need is water.  The process by which the candy is made is very quick and painless too!  I don’t know about you, but sometimes candy making can be a little intimidating for me (when you have to get the temperature and consistency just right and so on).  Thankfully that is not an issue with this project at all.  The step by step instructions were very easy to follow, and the process was so simple!
So this kit allows you to try a new activity with your kids, make a little a candy, and have fun, without making a total mess of your kitchen, taking up your entire afternoon, or costing you a lot of money!  Excellent!
And the taste?  Yummy!  The kit comes with sour-sugar so that you can coat the gummies, and I have to tell you, the taste took me back.  In my teens I used to love eating sour gummies, but I haven’t had them in years!  And if you’re not in to the sour stuff, I did try eating a couple of them plain, and I thought they tasted good too.
Buy it!  To find Glee Gum and these great Make Your Own Candy Kits check out this store locator.  Or you can order online.
Connect!  You can connect with Glee Gum through their Facebook and Twitter pages.

Win it! One Simply Sweet Home reader will win a Make Your Own Candy Kit.  Winner chooses between the Gummies kit, the Make Your Own Chocolate kit, or the Make Your Own Gum kit. (Giveaway is for US residents only.)

Giveaway Closed.  Congrats to Gabrielle at California Monkey Momma!

I’m sharing this post at these food and project parties!

Photobucket

Disclosure:  I was given a Make Your Own Candy Kit of my choice for review purposes.  The opinions expressed in this post are my own.

Peanut Butter Cereal Ball Candy

Is everyone ready for Holiday baking?  One treat that I always love to make this time of year is Special K Candy.  It’s very similar in taste to my absolute favorite, Peanut Butter Balls.  But these are a lot easier and faster to make.  And they are just scrumptious!
I’ve also changed the recipe up a bit, making it with a mixture of Corn Flakes and Rice Krispies, instead of the Special K.  In the future I may do a batch using just the Rice Krispies too because I really liked the consistency that the Rice Krispies brought to the mix.
Recipe for Peanut Butter Cereal Balls:

Ingredients:

1 cup Light Karo syrup
1 1/2 cups White sugar
1 1/2 cups Peanut butter
5 cups cereal (Original recipe calls for Special K cereal, but I used a combination of Rice Krispies and Corn Flakes.)
Directions: Bring Karo syrup and sugar to a boil.  Remove from heat and stir in peanut butter until dissolved.
Slowly mix in cereal.  Drop by rounded teaspoon onto waxed paper.  Then mold into balls.

Tip – You can also spoon the mixture into a 9×13 dish if you prefer to serve these as bars.

I’m link this post up for this week’s linky parties.

Photobucket

Sweet Thursday: Cookie & Bar Edition

sweet Thursday

I’m pleased to present the Cookie Edition of Sweet Thursday! Feast your eyes upon this month’s yummy selections.  Then link up your own recipes below!

Next Month’s Event: For October, I’ll be featuring Fall and Halloween Sweets. You can have your dessert featured here, just by emailing your link to simplysweethome@hotmail.com. Entries must be received by Oct 26.  The linky event will then be posted, Wedesday night, Oct 27.

Chocolate Dipped Cookies from Nina’s Recipes

Apple Cookies from A Crafty Escape

Amaretto Coffee Brownies from My Sweet and Savory

Malted Milk Ball Cookies from  from glitter to gumdrops
Candy Corn Cookies from Nina’s Recipes
Lemon Glazed Shortbread Cookies from Millie’s Place
Chocolate Filled Brownies from Chaya’s Comfy Cook Blog
Oreo Strawberry Biscotti from Nina’s Recipes
Shortbread Cookies from Simply Sweet Home

Homemade Samoas from Simply Sweet Home

I’m excited to see your yummy treat! Link up below!

Photobucket

Homemade Samoa Cookies

I see so many recipes each week that I want to try.  Right now I’ve got a huge Word document full of recipes that I’ve found on various blogs and websites. And hopefully I’ll get around to trying them all one day! This week I’m sharing a yummy recipe that I found a few months ago over at Santa’s Gift Shoppe.  When I saw this recipe, I immediately knew that I had to try it, because my husband just loves Samoas!  And let me tell you, these cookies did not dissapoint.  I’m not even fan of Samoas. (I’m a Thin Mint girl!) But I just loved these!

Reminder: Don’t forget the Sweet Thursday Cookie Round-up is this week.  Come by and link up your cookie recipes.  Linky will be posted some time on Wednesday night!

Recipe for Homemade Samoa Cookies
Ingredients:
Shortbread Cookies:
1 cup butter, softened
1/2 cup sugar
2 cups flour
]1/4 tsp baking powder
1/2 tsp vanilla extract
Up to 2 tbsp milk (Only use if too dry!)

Coconut-Caramel Topping
3 cups shredded coconut
12 oz. caramel cubes
1/4 tsp salt
3 tbsp milk

Chocolate Drizzle & Chocolate Bottom
8 oz. semisweet chocolate chips
Cookie Directions:  Cream together butter and sugar.  Mix in flour, baking powder and salt. Then add vanilla.  Only add milk if the dough is too dry and won’t stick together. (Add additional flour if dough is too sticky.)  Roll out dough and cut with round cookie cutters or roll dough into balls and flatten between hands.  Bake cookies at 350 degrees for 11-13 minutes.
Topping Directions: After all your cookies are baked, spread coconut evenly onto a parchment-lined baking sheet (preferably one with sides) and toast for 20 minutes, stirring every 5 minutes, until coconut is golden brown.  Set aside and let cool on baking sheet.
Unwrap caramels and place in a large microwave-safe bowl with milk and salt.  Cook on high for 3-4 minutes, stopping to stir a few times to help caramel melt.  When smoth and creamy, fold in toasted coconut with spatula.  Use an offset spatula to spread topping onto cookies. (I just used a spoon.)  If the caramel gets too firm, just place it in the microwave for a few seconds to remelt.
Chocolate Directions:  While topping sets up, melt chocolate in a small bowl, for 1-2 minutes stirring every 15 seconds to prevent scorching. To get the chocolate on the bootom of the cookies, you can either dip the cookies in the chocolate, or take each cookie and spoon the chocolate onto the bottom of the cookies.  (I found it easier to spoon the chocolate on.) Place cookies on wax paper and place in the freezer for a few minutes to set.

Use remaining chocolate (or melt more chocolate if neccessary) and place in a piping bag or a Ziploc bag with the corner snipped off and drizzle on cookies in a back and forth motion for desired effect. Allow chocolate to set, and get ready to serve!

Check out my sidebar or my Parties Page to see the fabulous sites I link up to each week!

Photobucket