A damp or musty basement can quickly turn from a minor annoyance into a serious problem. Whether you use your basement for storage, a home gym, or additional living space, keeping it dry is essential for protecting your home and maintaining a healthy indoor environment.
The good news is that not every moisture issue requires a full-scale renovation. With the right preventative strategies and a bit of maintenance, homeowners can significantly reduce the risk of water damage and costly repairs.
In this guide, we’ll walk through practical, effective ways to keep your basement dry all year long.
Why Basement Moisture Happens
Before diving into solutions, it’s important to understand why basements are so prone to moisture issues.
Basements sit below ground level, which means they are constantly exposed to surrounding soil. When that soil becomes saturated from rain or melting snow, water naturally looks for ways to seep into your home. This can happen through:
- Small foundation cracks
- Porous concrete walls
- Improper drainage around the home
- Hydrostatic pressure pushing water inward
Even if you don’t see standing water, excess moisture can still lead to mold growth, musty odors, and long-term structural damage.
Start With Your Gutters and Downspouts
One of the simplest and most effective ways to prevent basement moisture is managing water at the roof level.
Clogged or poorly positioned gutters can allow water to spill directly next to your foundation. Over time, this leads to soil saturation and increased pressure against your basement walls.
Make sure to:
- Clean gutters regularly, especially in the fall and spring
- Extend downspouts at least 5 to 10 feet away from your home
- Check for leaks or sagging sections
This small maintenance task can have a huge impact on keeping your basement dry.
Improve Grading Around Your Home
The ground surrounding your home should slope away from the foundation, not toward it.
If water pools near your home after heavy rain, poor grading is likely the cause. Ideally, the soil should drop about 6 inches over the first 10 feet away from your foundation.
If needed, you can add soil to build up the grading and redirect water flow. For more persistent issues, consulting a professional like Blue Umbrella Waterproofing can help identify drainage problems and recommend long-term solutions.
Seal Small Cracks and Openings
Foundation cracks are one of the most common entry points for water.
While larger structural cracks should always be evaluated by a professional, small hairline cracks can often be sealed with DIY solutions such as epoxy or polyurethane injections.
Focus on:
- Wall cracks
- Floor cracks
- Gaps around pipes or utility penetrations
Sealing these openings helps reduce both water intrusion and humidity levels.
Use a Dehumidifier to Control Moisture
Even without visible leaks, basements tend to have higher humidity levels than the rest of the home.
A high-quality dehumidifier can make a noticeable difference by:
- Preventing mold and mildew growth
- Eliminating musty odors
- Protecting stored items
Aim to keep humidity levels below 60 percent, with an ideal range between 30 and 50 percent.
Install Window Well Covers
If your basement has windows, they can be a surprising source of water intrusion.
Without proper covers, rainwater and debris can collect in window wells and eventually seep inside.
Installing clear window well covers helps:
- Keep out rain and snow
- Prevent debris buildup
- Reduce the risk of leaks
This is a simple upgrade that adds both protection and peace of mind.
Check Your Sump Pump System
If your home has a sump pump, it plays a critical role in keeping your basement dry.
However, many homeowners forget to test or maintain it until it’s too late.
Be sure to:
- Test the pump regularly by pouring water into the pit
- Ensure the discharge line is clear and directed away from your home
- Consider a battery backup system in case of power outages
A properly functioning sump pump can prevent major flooding during heavy storms.
Consider Interior Drainage Solutions
For homes with recurring moisture issues, interior drainage systems can provide an added layer of protection.
These systems are designed to collect water before it reaches your basement floor and direct it safely away from your home.
While this is more of an investment than basic maintenance, it’s often more cost-effective than dealing with repeated water damage.
Watch for Early Warning Signs
Catching moisture problems early can save you thousands of dollars in repairs.
Keep an eye out for:
- Musty odors
- Water stains on walls or floors
- Peeling paint or efflorescence (white, chalky residue)
- Warped wood or damaged flooring
If you notice any of these signs, it’s best to address the issue quickly before it worsens.
When to Call a Professional
While many preventative steps can be handled on your own, some situations require expert evaluation.
If you’re dealing with:
- Persistent leaks
- Standing water
- Large foundation cracks
- Repeated flooding after storms
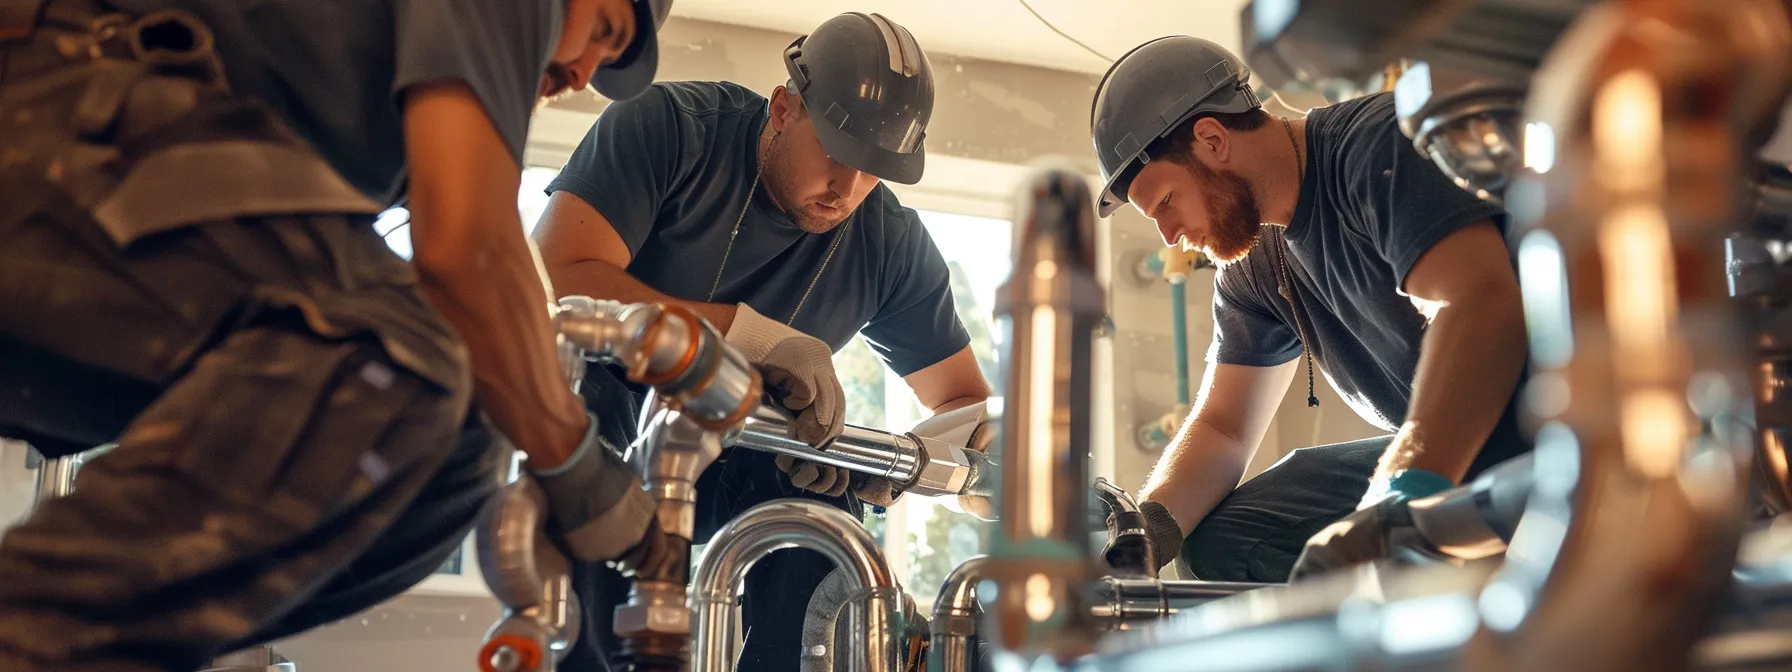
It may be time to consult a waterproofing specialist. A company like Blue Umbrella Waterproofing can assess your home’s specific needs and recommend tailored solutions that go beyond temporary fixes.
A Dry Basement Starts With Prevention
Keeping your basement dry doesn’t always require a major renovation. In many cases, a combination of proper drainage, routine maintenance, and moisture control can make a significant difference.
By taking proactive steps now, you can protect your home, improve indoor air quality, and avoid costly repairs down the road.
Whether you’re dealing with minor humidity or more serious water concerns, staying ahead of the problem is always the best approach.