
Scuffed baseboards make a whole room look tired. That white trim near the floor takes the worst beating in any house, and it shows fast
But no one needs a pro for painting baseboards. Just clean the surface, fill the dents, sand it smooth, tape off the edges, then apply two thin coats.
Five steps, one weekend, done. Skip a step to save time, and you’ll be redoing the whole thing in a month.
Project Card
- Working Time: 2–3 hours
- Total Time: 1–2 days, including dry time
- Difficulty Level: Beginner
- Estimated Cost: $30–$60 (£25–£50)
- Number of People Needed: Solo
- Best Time to Do This: Mild weather, low humidity. Skip it if humidity runs above 70%.
- Number of Sessions: 2 sessions, with overnight drying between coats
- Steps Requiring Waiting: Filler needs 1–2 hours to dry. Each coat needs 4–6 hours before the next.
What You Need to Paint Baseboards Right?
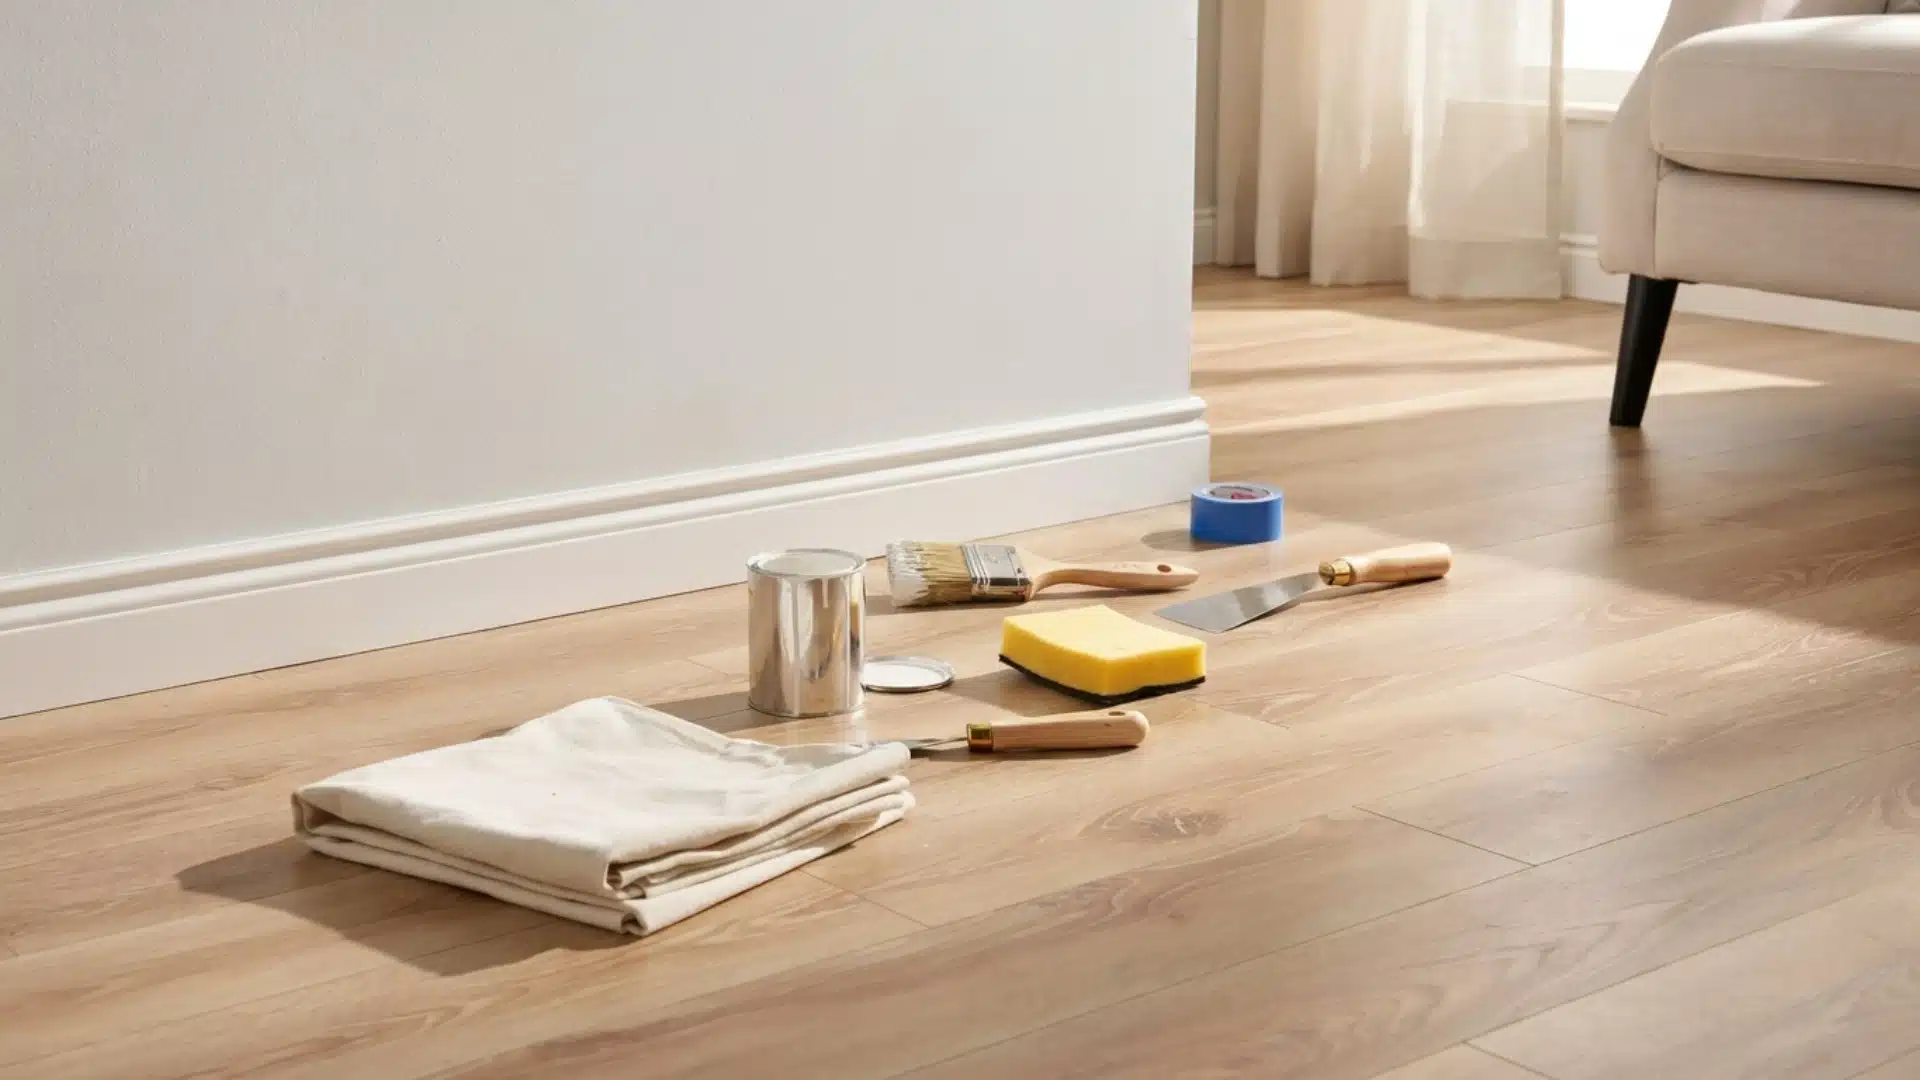
Good prep starts with the right supplies. Most of these already sit in a hardware store aisle or a garage.
| Category | Items |
|---|---|
| Essential | Angled paintbrush (2-inch), painter’s tape, drop cloth or plastic sheeting, wood filler or spackle, putty knife, fine-grit sandpaper (150–220 grit), TSP cleaner or mild soap and water |
| Recommended | Stain-blocking primer (substitute: all-in-one paint with primer built in), sanding sponge (substitute: sandpaper wrapped around a block) |
| Optional | Small foam roller (4 inches), paint shield for carpet edges |
For paint, semi-gloss or satin latex works best. Both wipe clean and hide small dings. Flat finishes show every flaw, so skip them on trim.
White trim that looks stark under morning light often reads soft and clean by evening.
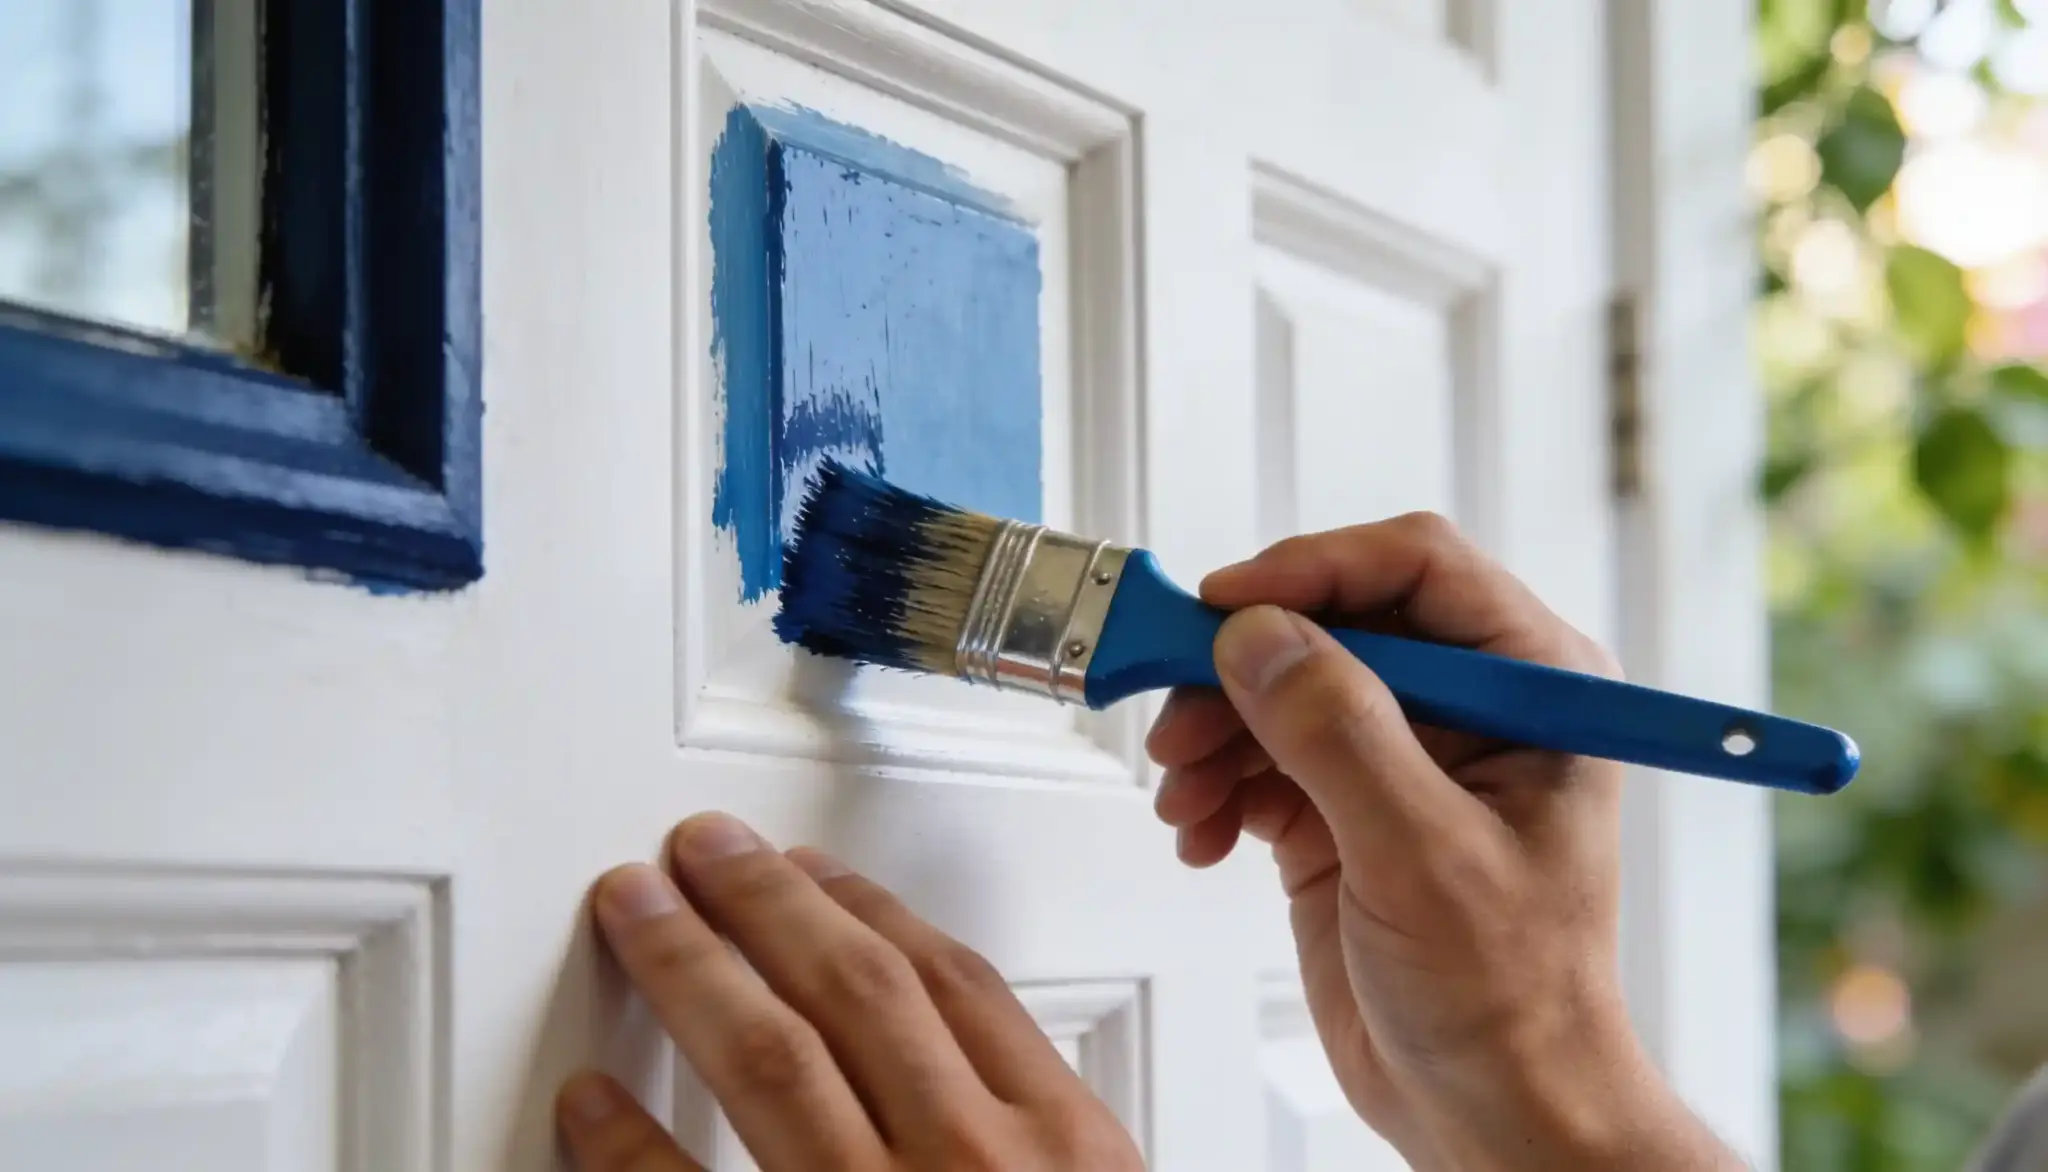
If you handled interior doors first, the process here will feel familiar — see How to Paint a Door the Right Way for the full breakdown of primer and coat technique.
How to Paint Baseboards Step by Step?
With the tools ready and the room checked over, it’s time for the main work.
Follow these steps in order. Each one builds on the last, so don’t skip ahead; rushing now means redoing it later.
Step1: Clear the Area Before You Start
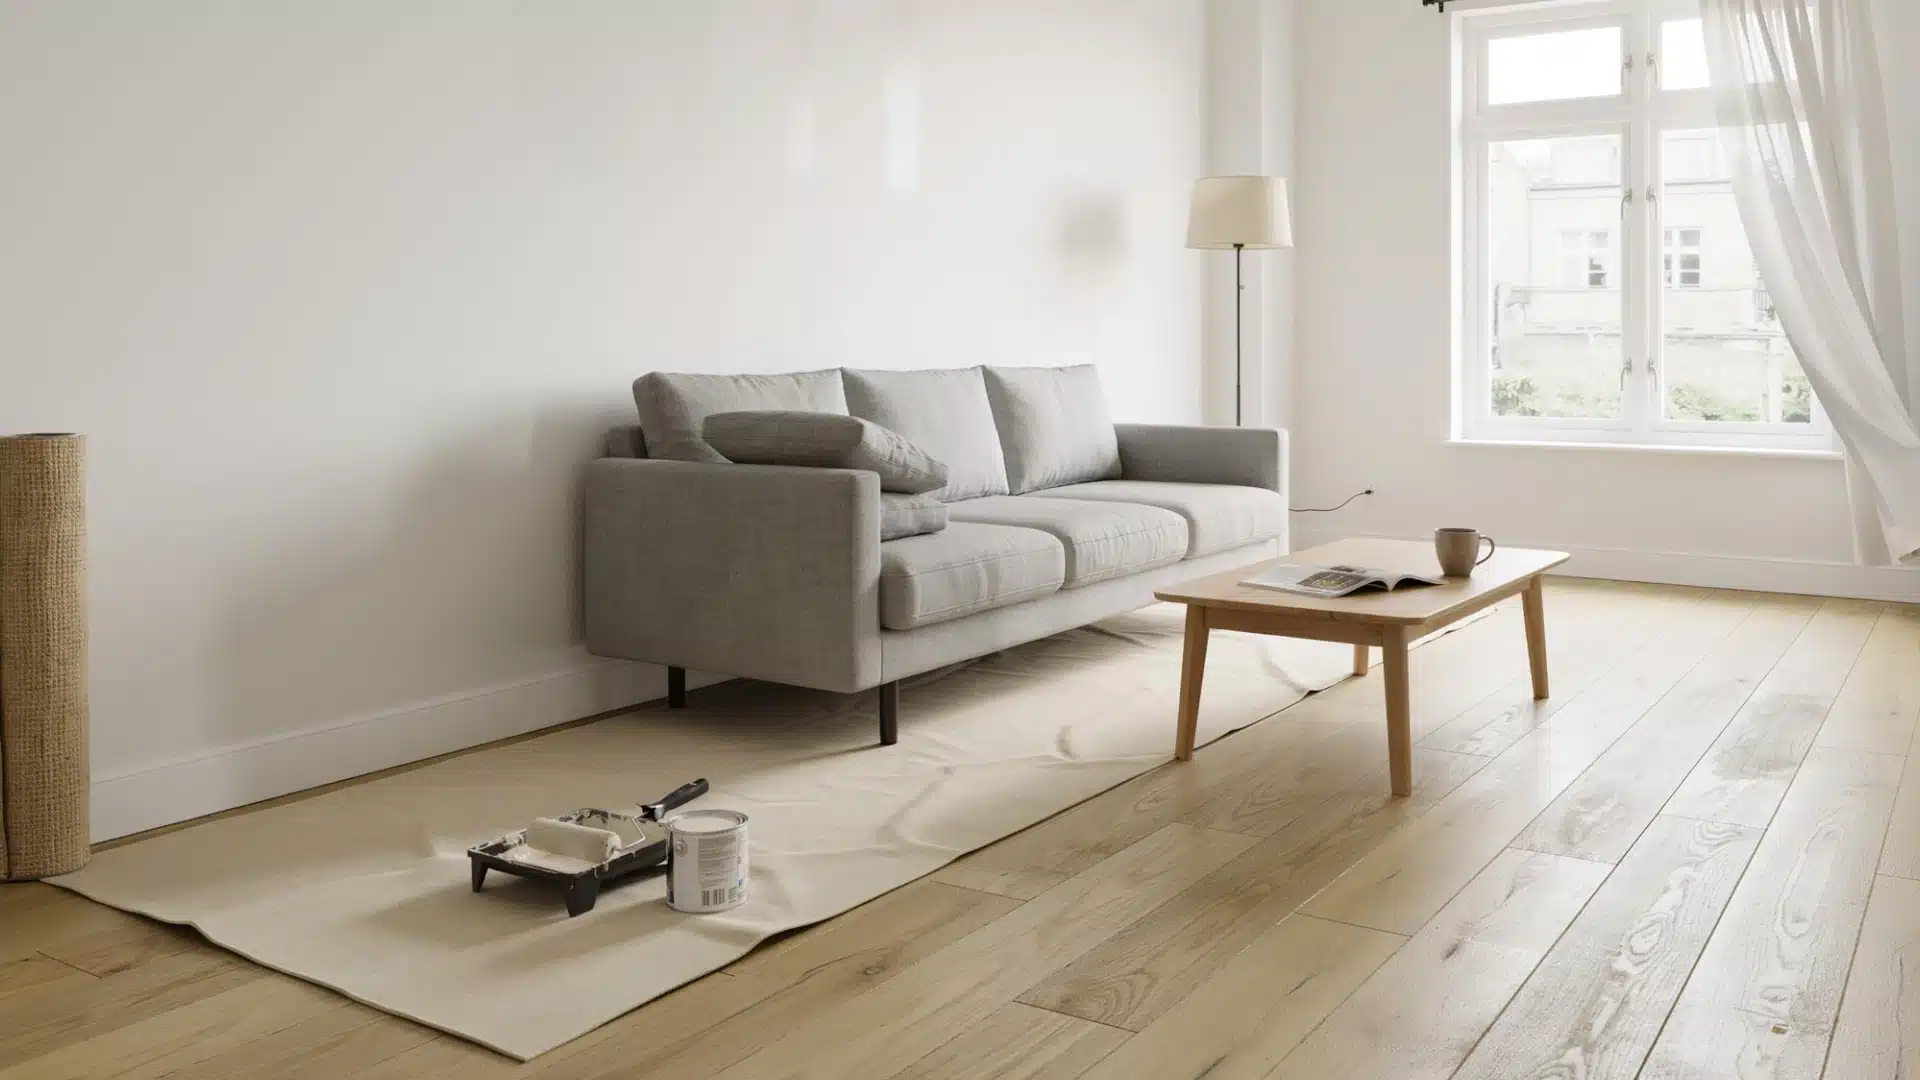
Before any paint comes out, clear the space so nothing gets in the way or gets splattered:
- Move furniture at least 2 feet away from the walls
- Pull up any rugs near the baseboards
- Lay a drop cloth or plastic sheeting along the floor to catch drips
- Open a window or turn on a fan so fumes clear and drying goes faster
Step2: Fill Dents, Holes, and Cracks
Check the length of the baseboard for dents, nail holes, and small cracks. Load a putty knife with wood filler or spackle and press it into each spot, scraping off the excess.
Let it dry for 1–2 hours, or follow the time on the product label. Once dry, sand the patched areas flush with 150-grit sandpaper.
Step3: Sand for a Surface Paint Will Stick To
Run 150–220-grit sandpaper or a sanding sponge over the entire baseboard, not just the patched spots.
This isn’t about removing paint; it’s about scuffing the surface enough for the new coat to grip. Skip this step only if the trim is new, bare, and unpainted.
Wipe away all dust with a dry microfiber cloth before moving on.
Step4: Tape it Off for Sharp, Clean Lines
Run painter’s tape along the floor edge, leaving a thin sliver of floor showing above the baseboard. Press the tape down firmly with a putty knife; fingers alone won’t seal it completely.
On carpet, tuck the tape edge under the baseboard using the putty knife instead of pressing it onto the fibers.
Step5: Prime When it Actually Matters
Priming isn’t always needed:
- Skip this step if the baseboards are already painted and in solid condition
- Apply a stain-blocking primer if the wood is bare, heavily patched, or a dark color underneath
- Load a 2-inch angled brush and apply one thin, even coat
- Let it dry for 1 hour before painting
Step6: Apply the First Coat the Right Way
Dip the brush about a third of the way into the paint, tapping off the excess. Apply paint in long, horizontal strokes, working with the length of the trim rather than up and down.
Move in 2–3-foot sections, blending each new section into the wet edge of the last. Let the coat dry for 4–6 hours before touching it again.
Step 7: Apply the Second Coat for Full Coverage
One more pass locks in the coverage:
- Once the first coat is fully dry, check the trim under good light for thin spots or streaks
- Apply a second coat the same way, using the same brush technique
- Most baseboards need two coats for even, solid coverage
- Wait until the final coat feels dry to the touch but hasn’t fully cured, which usually takes about an hour after finishing
Precautions to Take
A few things change how the job goes, so take a few minutes to look closely before grabbing a brush.
- Bare Wood: New or unpainted trim needs primer first. Skipping it means paint soaks in unevenly, leaving patchy spots that show through the topcoat.
- High-Gloss Trim: Varnished or slick surfaces need to be sanded first, since paint won’t adhere without it. Skip this step, and the new coat can peel within weeks.
- Carpeted Rooms: The taping method changes slightly. A paint shield helps in keeping lines clean near carpet fibers, since tape alone won’t seal against a soft, uneven edge.
- Hardwood Floors: Tile floors work the same way. The standard tape-and-drop-cloth method holds a clean line without extra tools.
- Painted Trim With Old Caulk Lines: Check where the baseboard meets the wall. Cracked or peeling caulk should be scraped out and replaced before painting, or the gap will show through the new coat.
- Water-Damaged Baseboards: Swollen wood falls into the same category. Paint won’t fix this. That trim needs repair, sometimes full replacement, before any painting starts.
Homeowners with solid baseboards that just look tired will find that this project works well. Trim that’s falling apart, though, only gets a temporary fix from paint.
Wrapping Up
Cleaned, patched, sanded, and taped, two coats of paint turn dinged-up trim into crisp, clean lines that pull the whole room together.
It’s a one day project, not a weekend-long, and it costs far less than most home upgrades.
Once you’ve done one room, the next set of baseboards goes twice as fast.
Frequently Asked Questions
1. Do Baseboards Need to Come off the Wall to Be Painted?
No. Taping and working in place is enough for almost every job. Pulling baseboards off only makes sense if you’re replacing flooring at the same time or the trim is damaged enough to need full repair.
2. How Often Should Baseboards be Repainted?
Every 5 to 7 years works well, though high-traffic homes with kids or pets may need it sooner.
3. Should Baseboards Match the Wall or the Trim Color?
Most homes pair baseboards with door and window trim, not the wall, for a cohesive look throughout.