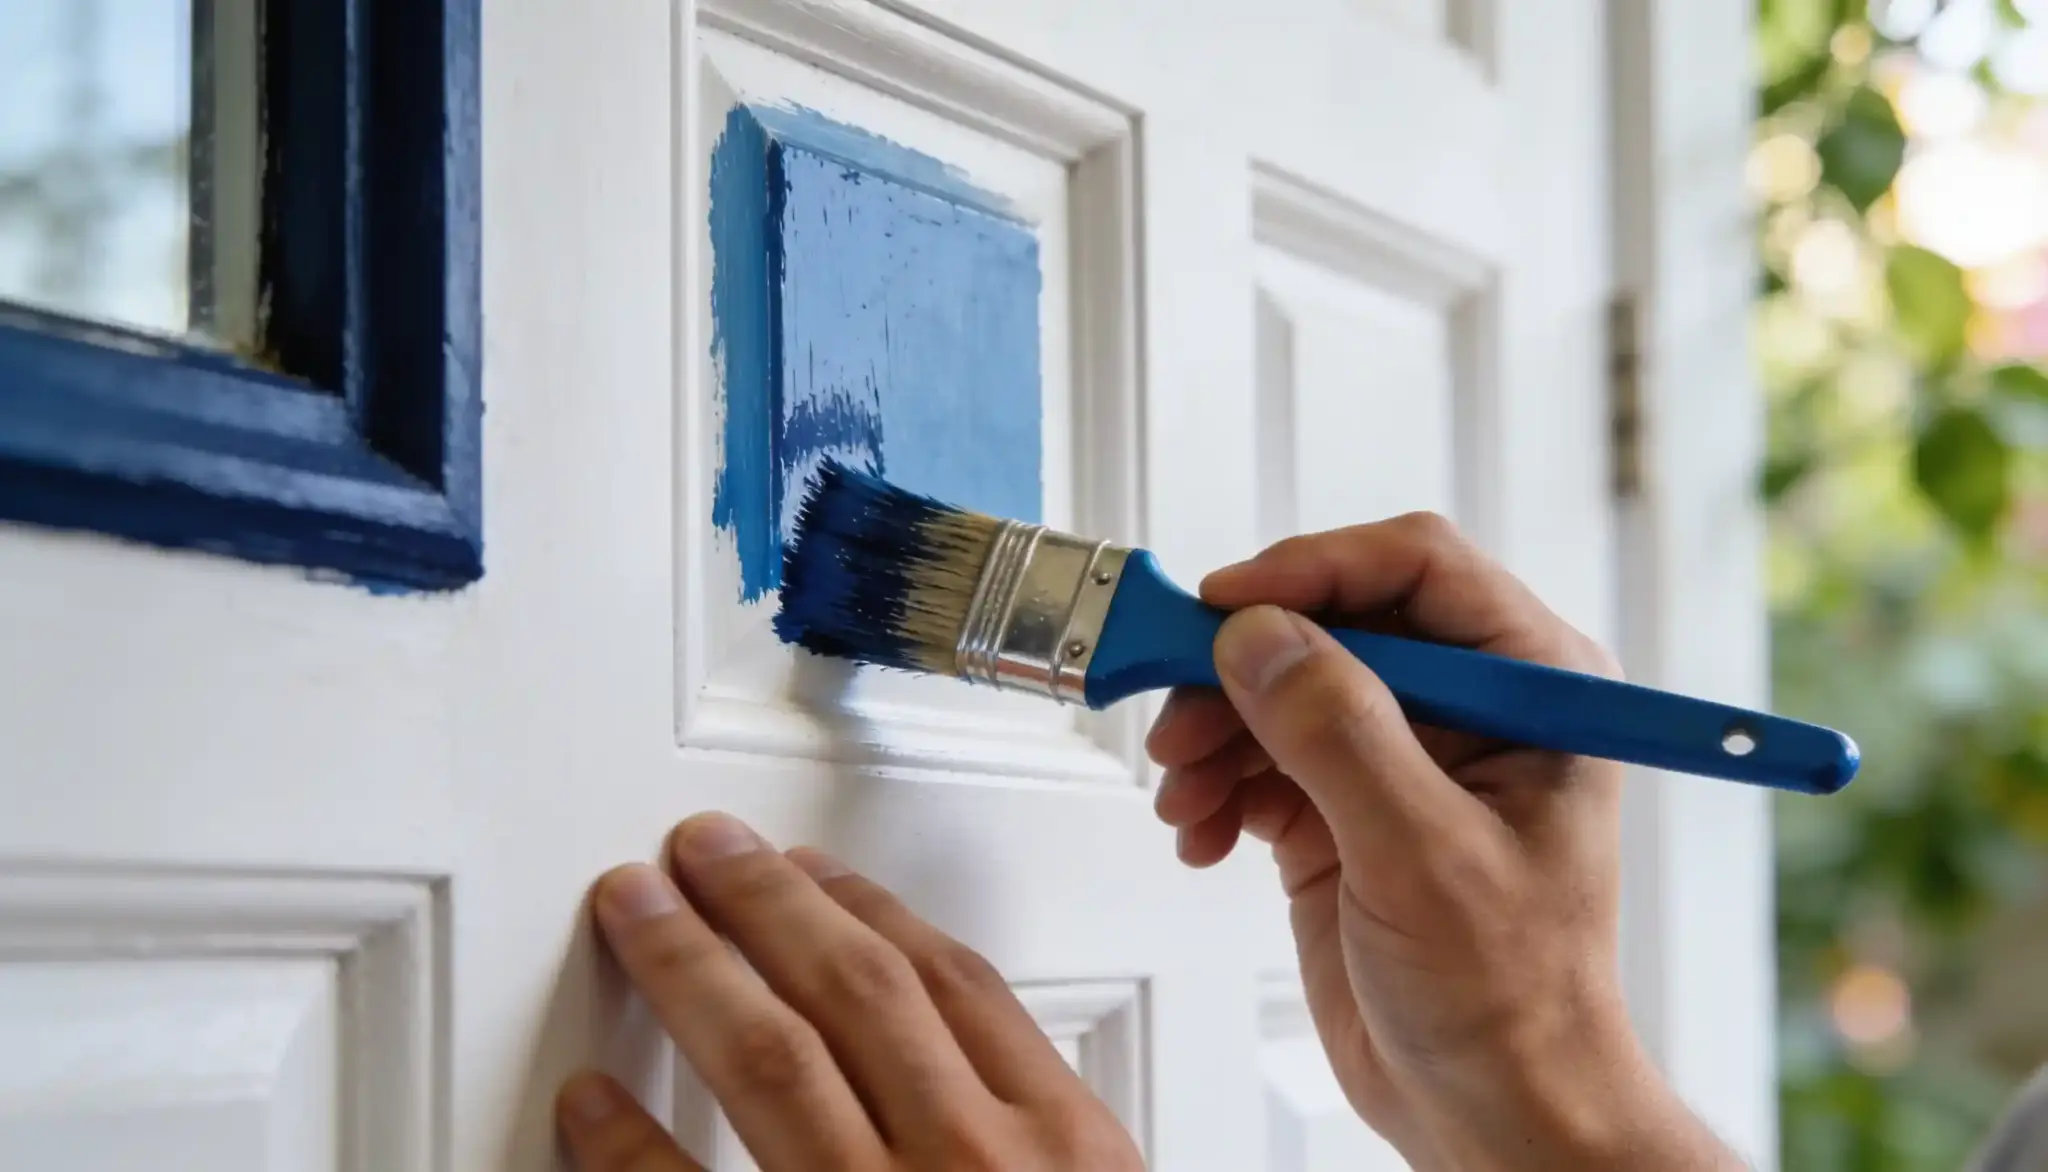

Painting trim seems easy enough until the finished job doesn’t look right. Brush marks show up, Paint peels within months, and the color looks uneven even after two coats.
This happens more than you’d think, even with decent tools and a fresh coat. The real problem is almost always prep, not the paint itself.
Now to be honest, it’s not that hard if you know what to do where.
Simply stating – to paint trim the right way, clean it, sand it, caulk the gaps, prime bare or patched wood, then apply two thin coats with an angled brush. Let each coat dry fully before the next. Skip any one of those steps and the finish fails early, no matter how good the paint is.
Most guides rush past the prep. That’s usually where the finish starts to go wrong.
When to Paint Trim?
Order actually matters; do the ceiling first so drips don’t ruin the trim or walls you’ve already painted.
Trim comes next. Crown molding, baseboards, door frames, window casings.
If a bit of paint gets on the wall, don’t worry about it; you’ll paint over that part anyway.
Walls last once the trim’s fully dry. Cut in along the edge, and you’re done. One more thing, watch the weather.
Paint hates extreme heat or cold, so stay between 50 and 85°F.
Skip humid days too, since the paint takes forever to dry and can sag. Morning works best for most people: cooler air, better light, easier to spot mistakes.
Project Card
- Working Time: 3–4 hours (active prep and painting)
- Total Time: 2–3 days, including dry time and cure time between coats
- Difficulty Level: Beginner to Intermediate
- Estimated Cost: $30–$60 for paint, primer, tape, and sandpaper
- Number of People Needed: Solo
- Best Time to do This: Spring or fall, 50–85°F, low humidity
- Number of Sessions: 2 sessions. One for prep and priming, one for painting with a recoat window
- Steps Requiring Waiting: Step 5 (2–4 hours between coats) and Step 7 (wait until the final coat is slightly tacky before pulling tape)
Basic Tools and Prep for Trim
This short list covers everything you need for the job.
- Painter’s tape
- Sanding sponge
- Putty knife
- Drop cloth
- Primer
- Trim paint
Trim Prepping Before Painting
Give the trim some attention before the paint ever touches it. This step decides whether the finish holds up or fails early.
Clean Away Dirt and Grease
Wipe down the entire trim to remove oils, dust, and sanding residue before you prime.
Combine warm water with dish soap, or use a degreasing cleaner for stubborn spots. Let the trim dry completely before moving on.
Fill Holes and Sand Smooth
Press wood filler or spackle into nail holes and cracks with a putty knife. Once it cures, sand the patched areas and the rest of the trim with 220-grit sandpaper.
Wipe away all dust with a tack cloth.
Caulk Gaps Where Trim Meets the Wall
Seal gaps between trim and wall with paintable acrylic latex caulk. Smooth it with a damp finger or sponge, then let it dry before painting
Prime Only When the Trim Needs it
Skip primer if the trim already has solid paint. Prime bare wood or heavily patched areas with a stain-blocking primer to address stubborn discoloration.
Let it cure fully before you paint.
Skipping cleaning, sanding, or primer can lead to poor paint adhesion and peeling.
How to Paint Trim?
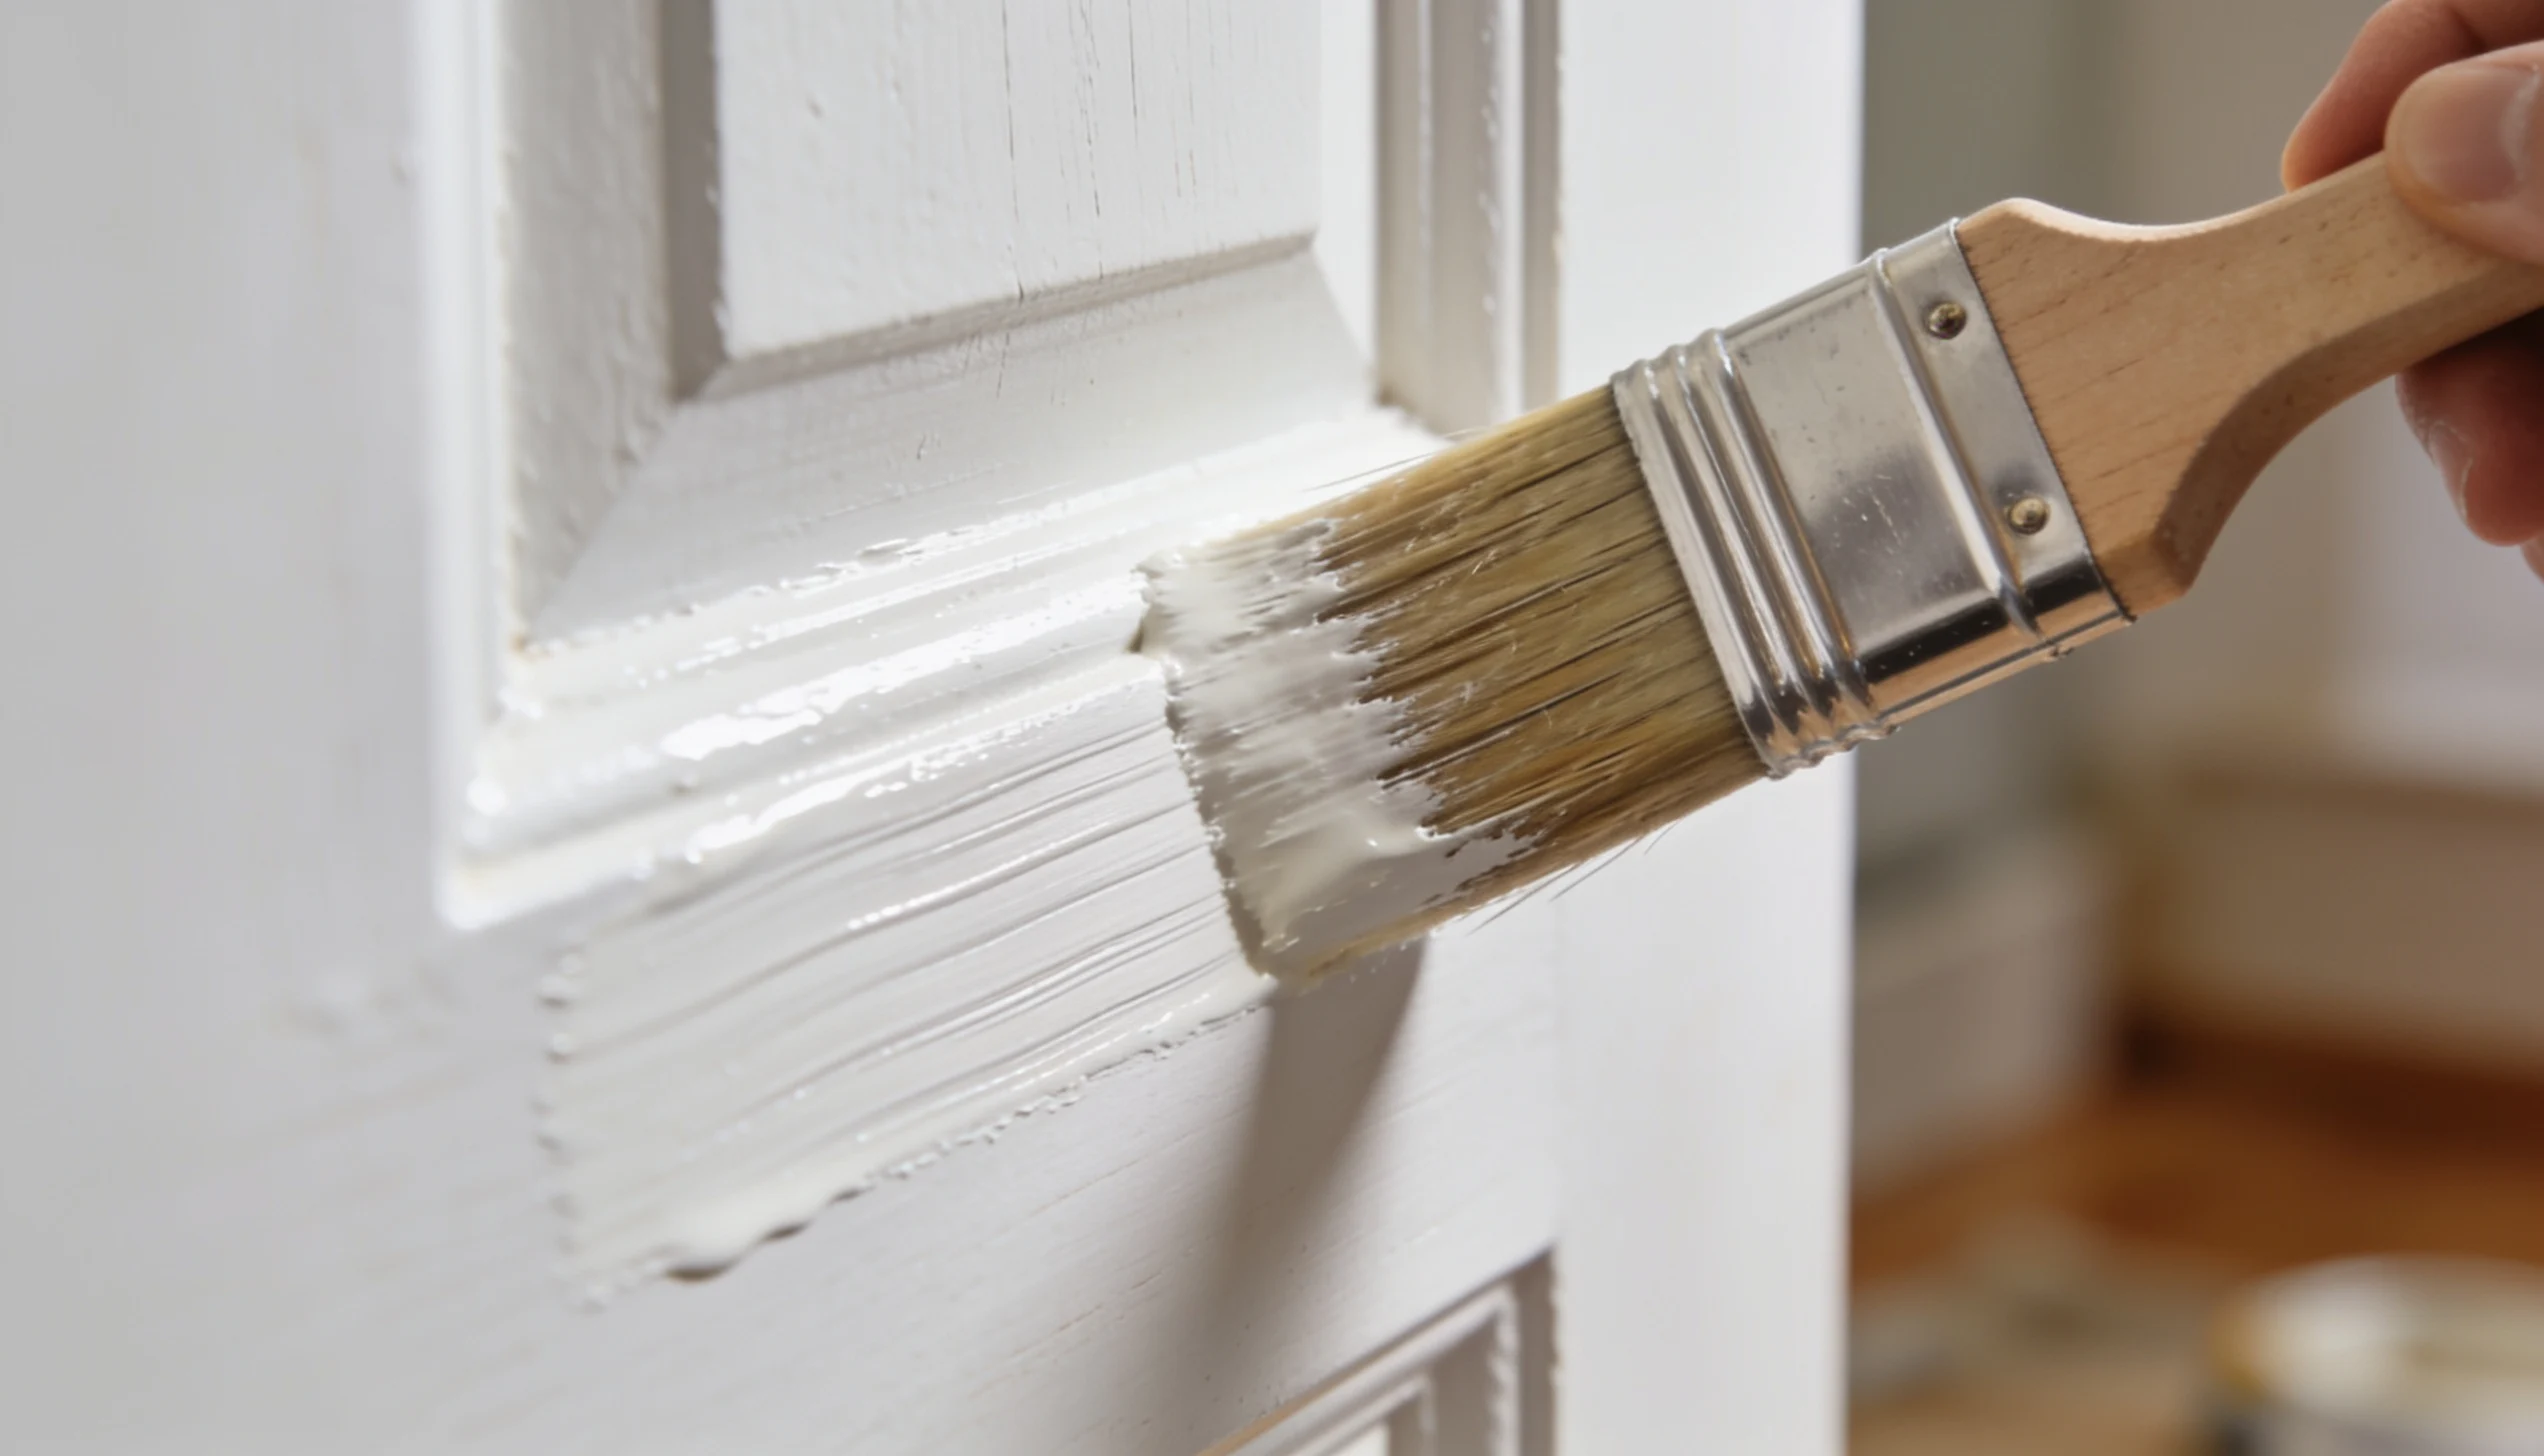
Work through these seven steps in order, from taping off the room to peeling back the final strip of tape.
Step 1: Protect Walls and Floors
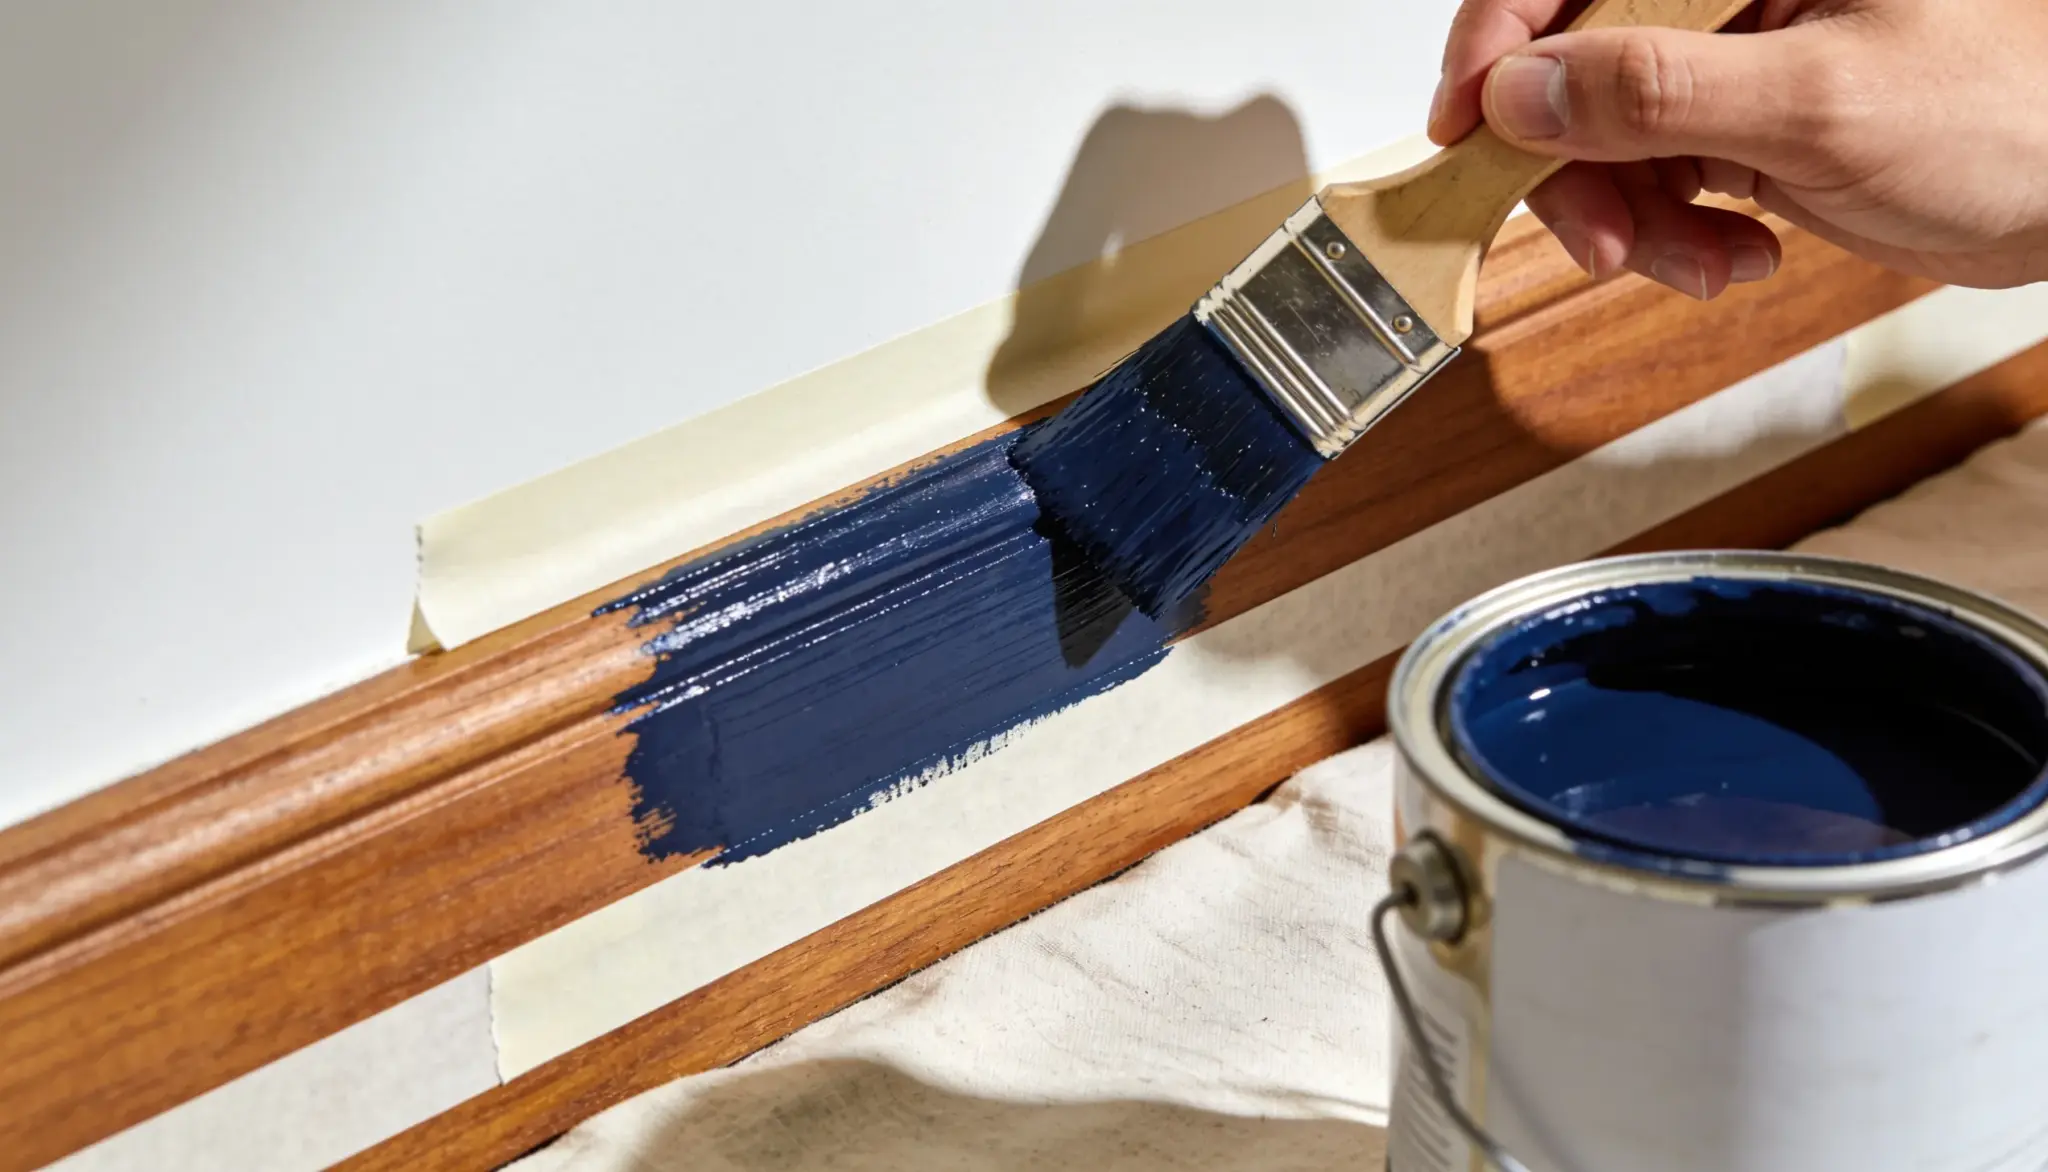
Tape off the wall edge and press it down firmly so paint can’t bleed underneath.
Lay a drop cloth over the floor to catch drips and spills. Move furniture out of the room, or cover it with plastic sheeting.
Step 2: Choose the Right Brush and Paint
Pick an angled sash brush, 2 to 2.5 inches wide, for clean lines around trim. Match the paint finish to the trim’s condition.
Semi-gloss suits trim in good shape, while satin forgives older or worn surfaces.
Step 3: Load the Brush Correctly
Dip the brush about a third of the way into the paint, avoiding overload since excess paint causes drips.
Tap each side gently against the inside of the can instead of dragging it across the rim. Dragging strips too much paint and dries out the bristles.
A properly loaded brush glides smoothly and leaves clean, even lines.
Troubleshooting: If you notice drips forming as you paint, you loaded the brush too heavily. Catch it fast and wipe the drip with the brush while it’s still wet, since dried drips need a full re-sand.
Step 4: Apply Thin, Even Coats
Paint in long, smooth strokes that follow the grain of the trim. Work in one direction and keep a wet edge as you go.
Keep each coat thin, since heavy coats sag, drip, and take far longer to dry. Two thin coats generally outperform one thick coat.
Step 5: Let Each Coat Dry Completely
Check the paint can label for the recommended dry time between coats, usually 2 to 4 hours.
Avoid touching the trim while it dries, since fresh paint marks easily. Humidity and cool temperatures slow drying considerably.
Step 6: Apply a Second Coat if Needed
Once the first coat has fully dried, check the trim under bright light for thin spots or uneven coverage.
These hide easily in dim light.
Apply a second coat using the same thin, even technique. Let this final coat cure before handling the trim, just like you did with the first.
Step 7: Remove Painter’s Tape Carefully
Pull the tape while the final coat is still slightly tacky, not fully cured. Peel it back slowly at a 45-degree angle to avoid lifting dried paint.
This step reveals clean paint lines.
Keep in mind that dry time and cure time aren’t the same thing, even though trim feels dry within hours.
Most latex paints need 2 to 4 weeks to cure fully, so handle the trim gently until then.
Applying heavy coats, rushing drying time, or peeling off painter’s tape too late can spoil an otherwise clean finish.
Will This Work for Your Trim?
This method works well on solid wood trim, MDF trim, and trim that’s already painted and in decent shape.
It’s less reliable on trim with heavy water staining, warped sections, or vinyl trim, since paint won’t bond to vinyl for long no matter how well you prep it.
If your trim is soft, spongy, or crumbling anywhere, that’s not a paint problem but you might just need a professional for that.
Let’s clear that confusion as well.
When to Call a Pro Instead
Okay so skip the DIY if the trim shows soft or crumbling wood, active water damage, or visible rot because paint won’t fix any of those, and it will hide a problem that keeps getting worse underneath.
Homes built before 1978 may have lead paint on older trim.
Sanding that yourself releases lead dust into the air, so test first and hire a certified lead-abatement contractor if the test comes back positive.
Conclusion
The best way to paint trim really comes down to prep, not the paint itself. Clean it, fill the gaps, sand it smooth, caulk the seams, and prime it before you open the can.
Apply thin coats, let each one dry fully, then peel off the tape while it’s still a little tacky.
Miss any of that, and brush marks or peeling paint show up fast.
Use this same process on every piece of trim in your house. Grab your tools, pick a finish, and get one room done this weekend.
Frequently Asked Questions (FAQs)
1. Can You Use the Same Paint Color for Walls and Trim?
Yes, but most homeowners pick a contrasting color to make the trim stand out.
2. Is Trim Paint Different from Wall Paint?
Yes, trim paint usually dries harder and resists scuffs better than wall paint.
3. How Much Paint Do You Need to Cover Trim in an Average Room?
One quart typically covers all the trim in a standard-sized room.
4. Should You Caulk Before or After Priming Trim?
Caulk after priming, then let it cure fully before you paint.