Mama’s Corn Bread

I love corn bread!  And I’ve tasted all kinds!  I have 2 recipes that I use regularly. Today’s recipe is the one that I think of as the “classic version.”  This is my mom’s recipe, and it is always a crowd pleaser!
I personally use the white cornmeal.  I’ve had cornbread made with the yellow plenty of times, but my mom uses white, so I use white. (Sorry I can’t think of a better reason than that!)  This recipe also uses buttermilk, which is what I think makes it so good.  I’ve had this cornbread, made with regular milk before, but in my opinion, it’s just not the same without the buttermilk.  And if you make this, you must have some butter on hand, because it is SO good with butter!  Hope you enjoy!
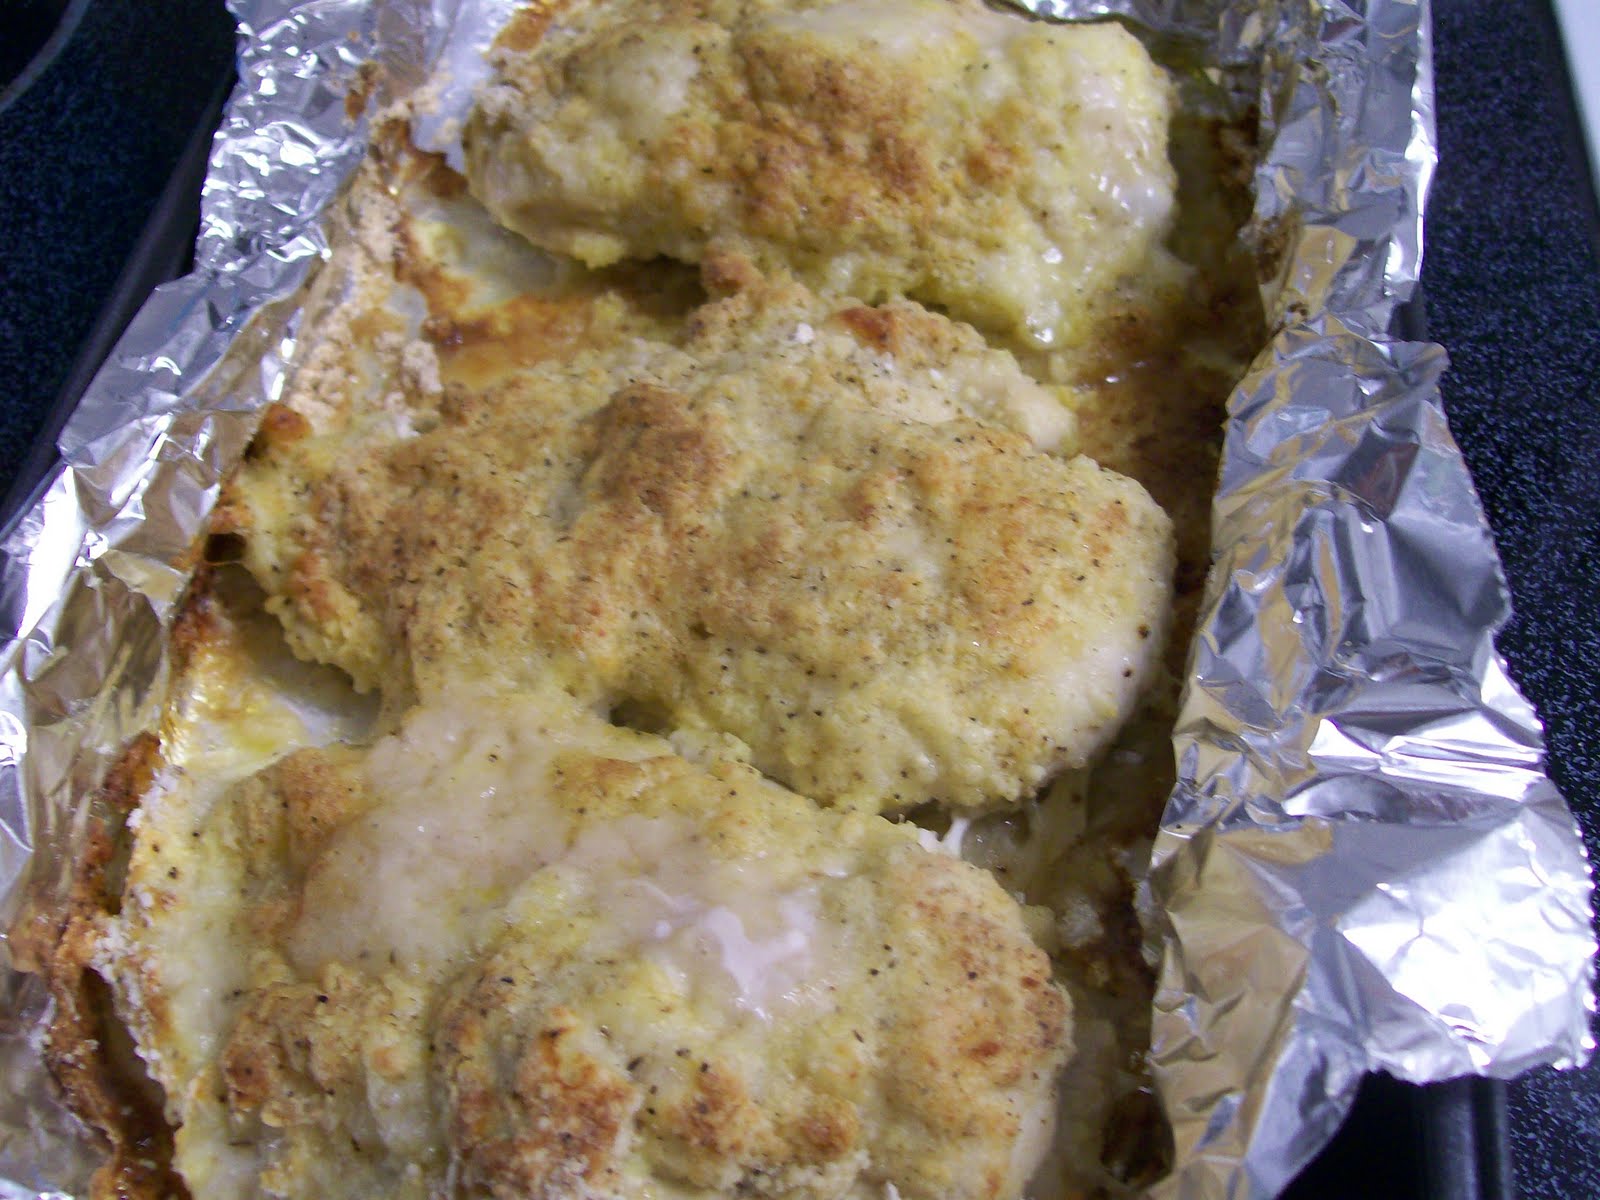
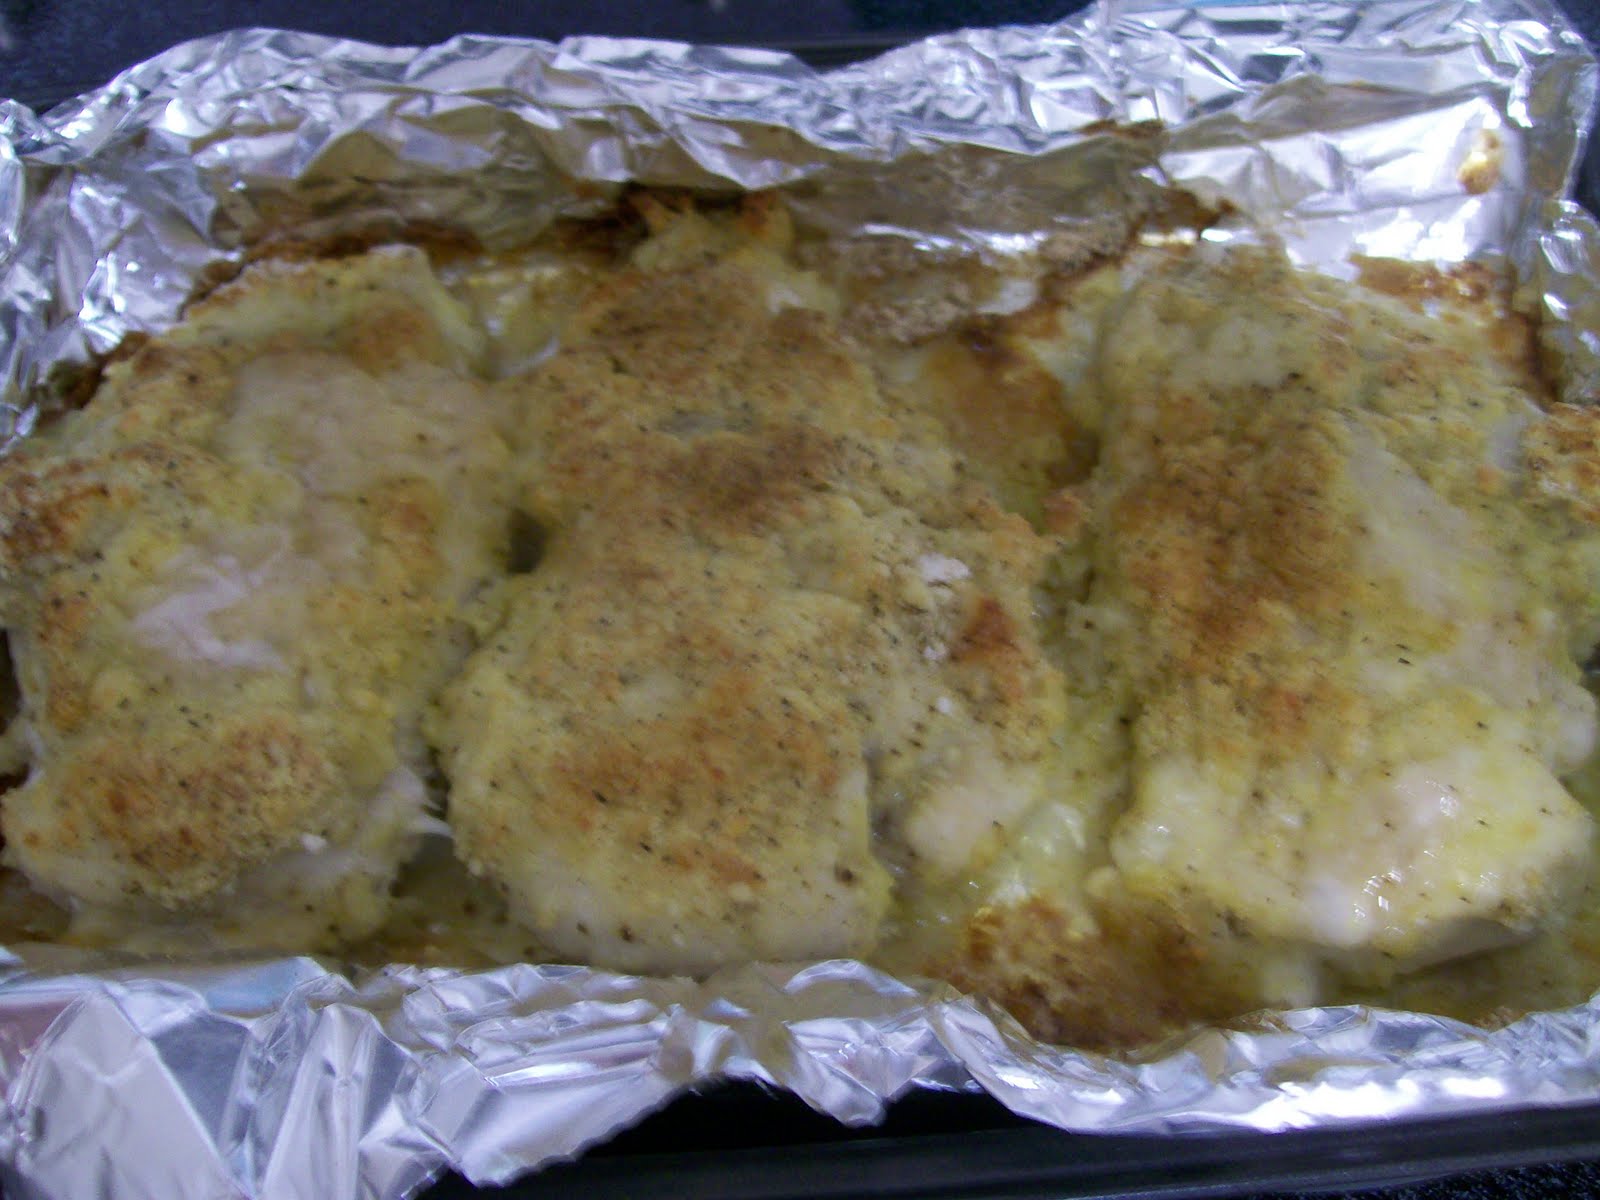
Recipe for Mama’s Corn Bread

Ingredients:
1 cup self-rising corn meal (I use white.)
1 tablespoon flour
3 tablespoon oil
1 egg
Add buttermilk (I don’t measure, just add enough to get desired consistency.)
Directions: Mix dry ingredients together. Then add oil, egg, and mix. Mix together. Bake at 425 for 20-25 minutes.

-Jerri

———————————–

I’m posting a link to this post on the following sites:
Tempt My Tummy Tuesday is hosted by Blessed With Grace.
Homemaker Mondays is hosted by 11th Heaven’s Homemade Haven.
Tasty Tuesday is hosted by Balancing Beauty & Bedlam.
Works for Me Wednesday is hosted by We Are THAT Family
Tip Me Tuesday is hosted by Tip Junkie
Tackle it Tuesday is hosted by 5 Minutes for Mom
Sharing Ideas Wednesday is hosted by The Trendy Treehouse
Friday Food is hosted by Mom Trends
Friday Foodie is hosted by Designs by Gollum
Finer Things Friday is hosted by Amy’s Finer Things
I’m Lovin It Fridays is hosted by Tidy Mom
Show off Your Stuff Thursday is hosted by Fireflies and Jellybeans

Easy Breaded Chicken Breasts

Here’s a quick chicken recipe that you don’t need to go out and buy a bunch of ingredients for.  This was actually a chicken finger recipe, but I decided to make it using skinless, boneless chicken breasts, and it turned out delicious!
Recipe for Easy Breaded Chicken Breasts:
Ingredients:
2 tablespoons butter or margarine
1/2 cup all-purpose flour
1 teaspoon paprika
1/2 teaspoon salt
1/4 teaspoon pepper
1 1/2 pounds boneless skinless chicken breasts, cut crosswise into 1 1/2-inch strips
Directions: Heat oven to 425ºF. Melt butter in a 9×12 pan, in oven. Mix flour, paprika, salt and pepper. Coat chicken with flour mixture. Toss with melted butter in pan. Bake uncovered 15 minutes. Turn chicken strips; bake 10 to 15 minutes longer or until no longer pink in center. (For chicken breasts, I cooked them for about 25 minutes.)


-Jerri

———————————–

I’m posting a link to this post on the following sites:
Tempt My Tummy Tuesday is hosted by Blessed With Grace.
Homemaker Mondays is hosted by 11th Heaven’s Homemade Haven.
Tasty Tuesday is hosted by Balancing Beauty & Bedlam.
Works for Me Wednesday is hosted by We Are THAT Family
Tip Me Tuesday is hosted by Tip Junkie
Tackle it Tuesday is hosted by 5 Minutes for Mom
Sharing Ideas Wednesday is hosted by The Trendy Treehouse
Friday Food is hosted by Mom Trends
Friday Foodie is hosted by Designs by Gollum
Finer Things Friday is hosted by Amy’s Finer Things
I’m Lovin It Fridays is hosted by Tidy Mom
Show off Your Stuff Thursday is hosted by Fireflies and Jellybeans

Buffalo Chicken Finger Salad

It’s no secret that we love buffalo chicken at our house! At least once a month we order a box of 20 buffalo chicken fingers from a little local place called Joe Rooster’s.  It costs us about $20 (which includes a pint of ranch….we LOVE their ranch).  And then I usually bake some fries to go with them. And this is usually enough to feed us for 2 1/2 to 3 meals.
Now sometimes we’ll eat a couple of meals, and we’ll have 2 or 3 chicken fingers left. Obviously that’s not enough to feed both of us, so we’ll either make the fingers a part of our leftover buffet meal, or I’ll chop them up and throw them into a salad.  Hubby likes a good salad, but when whenever he’s dieting, salads get old really quick!  This way we get to combine his favorite food with something healthy. And everyone is happy!
For this salad, I used about half of bag of salad mix.  Then I chopped up my chicken, and topped it with ranch dressing.  Hubby also likes bleu cheese dressing sometimes.  And if you want a little more kick you can pour additional buffalo sauce over the salad. (I recommend Franks.)  This is also great for plain chicken fingers.  I like to top them with ranch or honey mustard!
Do you have a favorite salad? Got any strategies to add excitement to your salads? I’d love to hear your ideas!

-Jerri

———————————–

I’m posting a link to this post on the following sites:
Tempt My Tummy Tuesday is hosted by Blessed With Grace.
Homemaker Mondays is hosted by 11th Heaven’s Homemade Haven.
Tasty Tuesday is hosted by Balancing Beauty & Bedlam.
Works for Me Wednesday is hosted by We Are THAT Family
Tip Me Tuesday is hosted by Tip Junkie
Tackle it Tuesday is hosted by 5 Minutes for Mom
Sharing Ideas Wednesday is hosted by The Trendy Treehouse
Friday Food is hosted by Mom Trends
Friday Foodie is hosted by Designs by Gollum
Finer Things Friday is hosted by Amy’s Finer Things
I’m Lovin It Fridays is hosted by Tidy Mom

Sugar Cookies

Sugar cookies are a big favorite of mine! Sweet, simple, and delicious! It’s one of those old fashioned treats that reminds me of childhood. I remember making these with my mom and my aunt.  And it’s also one of the only things I can remember my grandma baking when I was a kid.  She was older and didn’t do a lot of cooking anymore, but when she did, they were tasty!
Also, when we were in school, they used to serve sugar cookies on St. Patrick’s Day, except they’d add green food coloring to the dough.  I’m sure you can imagine all the giggles and jokes that went around about “the green cookies in the cafeteria.”  Well, I decided it would be easier to just add green sprinkles to these for a little St. Patrick’s Day flair.  And of course, they were yummy!   
Recipe for Sugar Cookies:
Ingredients:
1 1/2 cups sifted confectioners sugar
1 cup butter or margarine
1 egg
1 teaspoon vanilla
1/2 teaspoon almond flavoring
2 1/2 cups flour
1 teaspoon baking soda
1 teaspoon cream of tartar
Directions: Mix flour, soda, and cream of tartar together. Set aside.  Cream sugar and butter.  Mix in egg and flavorings. Add dry ingredients.  Roll out dough to 1/4 inch thickness.  Cut out with cookie cutters. Bake at 375 degrees for 7 to 8 minutes. (Makes 5 dozen 2-2 1/2 inch cookies).  Eat plain or decorate with sprinkles or frosting. 

-Jerri

———————————–

I’m posting a link to this post on the following sites:
Tempt My Tummy Tuesday is hosted by Blessed With Grace.
Homemaker Mondays is hosted by 11th Heaven’s Homemade Haven.
Tasty Tuesday is hosted by Balancing Beauty & Bedlam.
Works for Me Wednesday is hosted by We Are THAT Family
Tip Me Tuesday is hosted by Tip Junkie
Tackle it Tuesday is hosted by 5 Minutes for Mom
Sharing Ideas Wednesday is hosted by The Trendy Treehouse
Friday Food is hosted by Mom Trends
Friday Foodie is hosted by Designs by Gollum
Finer Things Friday is hosted by Amy’s Finer Things

Favorite Mashed Potatoes

We love mashed potatoes at our house! Actually we love potatoes in general.  And I can’t do instant….I just can’t!  I just never have really liked them.  There are a lot of things I can take shortcuts on or make “from the box.”  But I have to do potatoes from scratch!
Today I’m sharing my “recipe.”  I’m using the quotes, because I don’t actually have an exact recipe.  It’s one of those foods that I just sort of throw together.  But I do have some approximations for you at least!
Also, while we’re on the subject of mashed potatoes, I should tell you that Tater Mitts are awesome! My husband bought me some not long after they came out at the stores, and I love them! (So much that my hubby and I even have a song that we sing about the tater mitts….yeah, we’re just a kind of a little bit nuts!)  Anyway I use these every time I make mashed potatoes. (The secret is boiling your potatoes for about 20 minutes—skin & all…not chopped—and then the skin comes right off.  The instuctions that come with the mitts say 8 minutes I think….but I always do it for 20-25 minutes.  And then after you do your peeling and chopping, you just put them back in your pot to cook till they are done.) It’s so easy and quick!

Recipe for Favorite Mashed Potatoes
Ingredients:
4-6 potatoes (boiled, peeled chopped)
about 3 heaping spoonfuls of mayo
little milk (I’d say about 1/2 a cup)
Pepper
Morton’s Nature’s Season  (or salt/pepper/garlic salt)

Directions: Peel, chop, and boil your potatoes. (Or boil, peel, chop, and boil, if using tator mitts.) Drain the water off your potatoes. Add your milk and mayo. Stir.  Add seasonings. (I generally add, then stir, then add, then stir, until I have it right.)   Stir until  you reach desired consistency.  (We like ours a little lumpy.)

-Jerri

———————————–

I’m posting a link to this post on the following sites:
Tempt My Tummy Tuesday is hosted by Blessed With Grace.
Homemaker Mondays is hosted by 11th Heaven’s Homemade Haven.
Tasty Tuesday is hosted by Balancing Beauty & Bedlam.

Works for Me Wednesday is hosted by We Are THAT Family
DIY Day is hosted by A Soft Place to Land

Food Friday is hosted by  Designs by Gollum
Tip Me Tuesday is hosted by Tip Junkie
Weekend Review is hosted by Tater Tots & Jello

Homemade Alfredo Sauce

One of my favorite things to eat is Alfredo Pasta!  When we lived in South Alabama there was a locally owned place called Pintoli’s that had the best!  And now we frequent a place called Roman Rooster, and their pasta could easily rival our old place. (And not to mention, their pizza is the best I’ve ever had! But I digress…) 
But when I want to cook pasta at home, I use the alfredo sauce recipe that I’m sharing with you today.  I found this recipe nearly a year ago over at Amy’s Finer Things. This goes great with all kinds of pasta and meat.  We usually do Chicken Fettucini Alfredo, but over the weekend I served the sauce with egg noodles and tiny shrimp.  It was excellent!

Recipe for Homemade Alfredo Sauce:
Ingredients:
 1/2 c. butter (1 stick)
 1 (8 oz.) package cream cheese, softened
 2 tsp. garlic powder
 2 cups Half and Half
 6 oz. grated Parmesan cheese (shredded, not powder)
 pepper to taste
basil and/or parmesan for serving (optional)
Directions:  Melt the butter in a saucepan. Add cream cheese and garlic powder. Stir together until smooth.  Add half and half, cheese, and pepper. Stir until combined and smooth. If the sauce is thicker than you like, thin with a little milk. Serve over your favorite pasta, and season as desired.

-Jerri

———————————–

I’m posting a link to this post on the following sites:
Tip Me Tuesday at Tip Junkie
Tempt My Tummy Tuesday is hosted by Blessed With Grace.
Homemaker Mondays is hosted by 11th Heaven’s Homemade Haven.
Tasty Tuesday is hosted by Balancing Beauty & Bedlam.
Works for Me Wednesday is hosted by We Are THAT Family
DIY Day at A Soft Place to Land
Foodie Friday at Designs by Gollum

Darn Good Chocolate Cake Drizzled in White Chocolate


This week I’m proud to present one of my favorite cake recipes yet! I got the recipe for Darn Good Chocolate Cake out of the Cake Mix Doctor by Anne Byrn. This bundt cake is fabulous! The recipe doesn’t call for icing or any toppings, and let me tell you, it certainly doesn’t need any toppings.


But when I made it, I decided to give it a little something extra. I melted just a couple squares of white chocolate and drizzled it over the top. It added a light sweetness to this rich, decadent chocolate cake, and if I do say so myself, it made it a lot more attractive too! This cake would also be delicious with a milk chocolate icing if you prefer that.


And don’t forget to break out the ice cream or a jug of milk when you get ready to serve. You’ll need it!

(NOTE: Sweet Thursday round-up next week! Email your Valentine Dessert to me by next Wednesday if you’d like to be featured here. Also, I will be putting up a linky next week for anyone who wants to link up their Valentine treats!)

Here are just a couple of pictures of the cake without the white chocolate. Doesn’t that look delicious?

Recipe for Darn Good Chocolate Cake:

Ingredients:1 Devil’s Food or dark chocolate fudge cake mix
1 package (3.9 oz) chocolate instant pudding mix
4 large eggs
1 cup sour cream
1/2 cup war water
1/2 cup vegetable oil
1 1/2 cups semisweet chocolate chips (I left these out)
Directions: Preheat oven to 350 degrees. Lightly mist a bundt pan with cooking spray. Also, dust with flour if you like. (I skipped this.) Shake out the excess flour and set pan aside.

Place the cake mix, pudding mix, eggs, sour cream, war water, and oil in a large mixing bowl. Bleand with an electric mixer on low speed for 1 minute. Stop the machine and scrape down the sides of the bowl with a rubber spatula. Increase the mixer speed to medium and beat 2 to 3 minutes more, scraping the sides down again if needed. The batter should look thick and well combined. Fold in the chocolate chips, making sure they are well distributed throught the batter. Pour the batter in prepared pan. Place in oven.

Bake the cake until it springs back when lightly pressed and just starts to pull away from the sides of the pan, about 45-50 minutes. Remove the pan from the oven and let it cool for 20 minutes. rung a long sharp knife around the edge of the cake and invert it onto the rack to cool completely, 20 minutes more. Or invert it onto a servig platter to slice and serve while warm.

*White Chocolate Instructions – I used a couple of squares of white chocolate. Place these in a bowl and begin heating in the microwave for up to 90 seconds, stopping to stir at 15 second intervals to prevent scorching.*


-Jerri
———————————–

I’m posting a link to this post on the following sites:
Tempt My Tummy Tuesday is hosted by
Blessed With Grace.
Homemaker Mondays is hosted by
11th Heaven’s Homemade Haven.
Tasty Tuesday is hosted by
Balancing Beauty & Bedlam.
Works for Me Wednesday is hosted by We Are That Family

DIY Monday is hosted by A Soft Place To Land

Broccoli & Rice Soup

We don’t eat a lot of soups at our house. Hubby doesn’t find them very filling, but I experimented with this one not too long ago, and it turned out pretty good. This is one of those recipes where no exact measurements are really needed. The ones included here are really just a suggestion, but I guess that’s the case with all recipes. Feel free to add more or less of an item, or take something out all together. Personally I think noodles would be a great substitute for the rice, but that’s just me.

What’s your family’s favorite soup?


Recipe for Broccoli & Rice Soup:

Ingredients:

2 cans of broccoli cheese soup

2 cans milk

2/3 cup rice

1 – 1 1/2 cups broccoli

1-2 chicken breasts chopped (optional)

little oil (for cooking chicken)

1-2 cups of cheddar cheese or Velveeta

Directions: Chop up your chicken and cook on stove in oil. (If you’re in a hurry, use canned chicken breast.) Meanwhile cook your rice. In pot, add your soups. Then fill an empty can up with milk and add to the pot. Repeat. Mix together your soups and the milk. Add cheese at this time if using (see tip below). Add your brocolli to the mixture. Heat on medium-high, stirring occasionally. (If it starts to bubble, stir and turn down heat.) When soup is hot and broccoli is done, turn to low. Stir in your rice and chicken. Heat through for about 5 minutes on low and serve.

Tip: Serve topped with shredded cheddar cheese or a slice of velveeta. Or for a cheesy soup, add one or two cups of cheese to the pot before adding your brocolli.

Have a great week!

-Jerri


———————————–

I’m posting a link to this post on the following sites:

Tempt My Tummy Tuesday is hosted by Blessed With Grace.

Homemaker Mondays is hosted by 11th Heaven’s Homemade Haven.

Tasty Tuesday is hosted by Balancing Beauty & Bedlam.

Works for Me Wednesday is hosted by We Are THAT Family

DIY Day at A Soft Place to Land

Extraordinary Chocolate Chip Cookies

Who doesn’t love chocolate chip cookies? (No one I know of.) And I know everyone out there has their favorite version. This particular recipe came from the Betty Crocker magazine. I decided if it’s good enough for them, it’s good enough for me, so I tried it. And of course they came out looking, smelling, and tasting delicious!

(Reminder: No Sweet Thursday Dessert event this month. Instead it will be hosted on Feb 11. The theme is Winter/Valentines. To have your creation featured here, just email me the link to your post (simplysweethome@hotmail.com). Also, if you have a particular photo you want used, send that as well.

Also, I’d like your opinion: I’m considering adding a linky to the event for anyone who just happens to come by. I figure we’d start with one or two links and maybe eventually get a bunch. However, I don’t want a linky to dissuade people from emailing their item to me before the event b/c I still want to keep the usual format until a day when their may be too many entries to handle. On the other hand, a linky event might get more participation anyway. What do you guys think? I’d love to get your opinion!)

Sorry for the digression……enjoy the cookie recipe!

Recipe for Extraordinary Chocolate Chip Cookies:
Ingredients:
1 1/2 cups butter or margarine, softened
1 1/4 cups granulated sugar
1 1/4 cups packed brown sugar
1 tablespoon vanilla
2 eggs
4 cups all purpose flour
2 teapoons baking soda
1 teaspoon salt
1 bag (24 oz or 4 cups) semisweet chocolate chips
(Note: I only used 2 cups)

Directions: Heat oven 350 degrees. In large bowl mix butter, sugars, vanilla and eggs with spoon. Stir in flour baking soda and salt. Stir in chocolate chips. On ungreased cookie sheet, drop dough by rounded measuring tabespoonfuls about 2 inches apart. Bake 12 to 15 minutes or until golden brown. Cool slightly. Remove from cookie sheet to colling rack.

———————————–

I’m posting a link to this post on the following sites:
Tempt My Tummy Tuesday is hosted by
Blessed With Grace.
Homemaker Mondays is hosted by
11th Heaven’s Homemade Haven.
Tasty Tuesday is hosted by
Balancing Beauty & Bedlam.
Works for Me Wednesday is hosted by
We Are THAT Family
DIY Day at A Soft Place to Land

-Jerri


Shepherd’s Pie

There’s nothing like a little piping hot comfort food on a cold winter’s day! And since it’s been so cold this past week, it seemed like the perfect time to share my recipe for Shepherd’s Pie. I must admit, though I’d heard of this, I had never tried it until I got married. My husband told me that it was one of his favorite dishes and requested that I make it some time, so I gave it a shot. Boy, have I been missing out all these years! If you’re missing out too, you should really give it a try!
Recipe for Shepherd’s Pie:

Ingredients:
1 pound ground beef
1 can (10 3/4 ounces) Condensed Cream of Mushroom Soup
1 tablespoon Worcestershire sauce (Dale’s would also be great!)
1 bag (16 ounces) frozen vegetable combination, thawed (you can also use canned or frozen veggies)
2-3 cups mashed potatoes.
1/2 cup- 1 cup of shredded cheese.

Directions: Heat the oven to 400°F. Cook the beef in a 10-inch skillet over medium-high heat until well browned, stirring often. Pour off the grease. Meanwhile, make your potatoes. (I like to use homemade, but if you’re in a hurry, try instant potatoes.)
Stir the beef, soup, Worcestershire and vegetables together and pour into a 2-quart shallow baking dish. Spoon the potatoes over the beef mixture. Sprinkle shredded cheese over the top.
Bake for 20 minutes or until the potatoes are lightly browned.


-Jerri


———————————–

I’m posting a link to this post on the following sites: Tempt My Tummy Tuesday is hosted by Blessed With Grace.
Homemaker Mondays is hosted by
11th Heaven’s Homemade Haven.
Tasty Tuesday is hosted by
Balancing Beauty & Bedlam.
Works for Me Wednesday is hosted by
We Are THAT Family
DIY Day at A Soft Place to Land