Pittsburgh Steeler Cupcakes

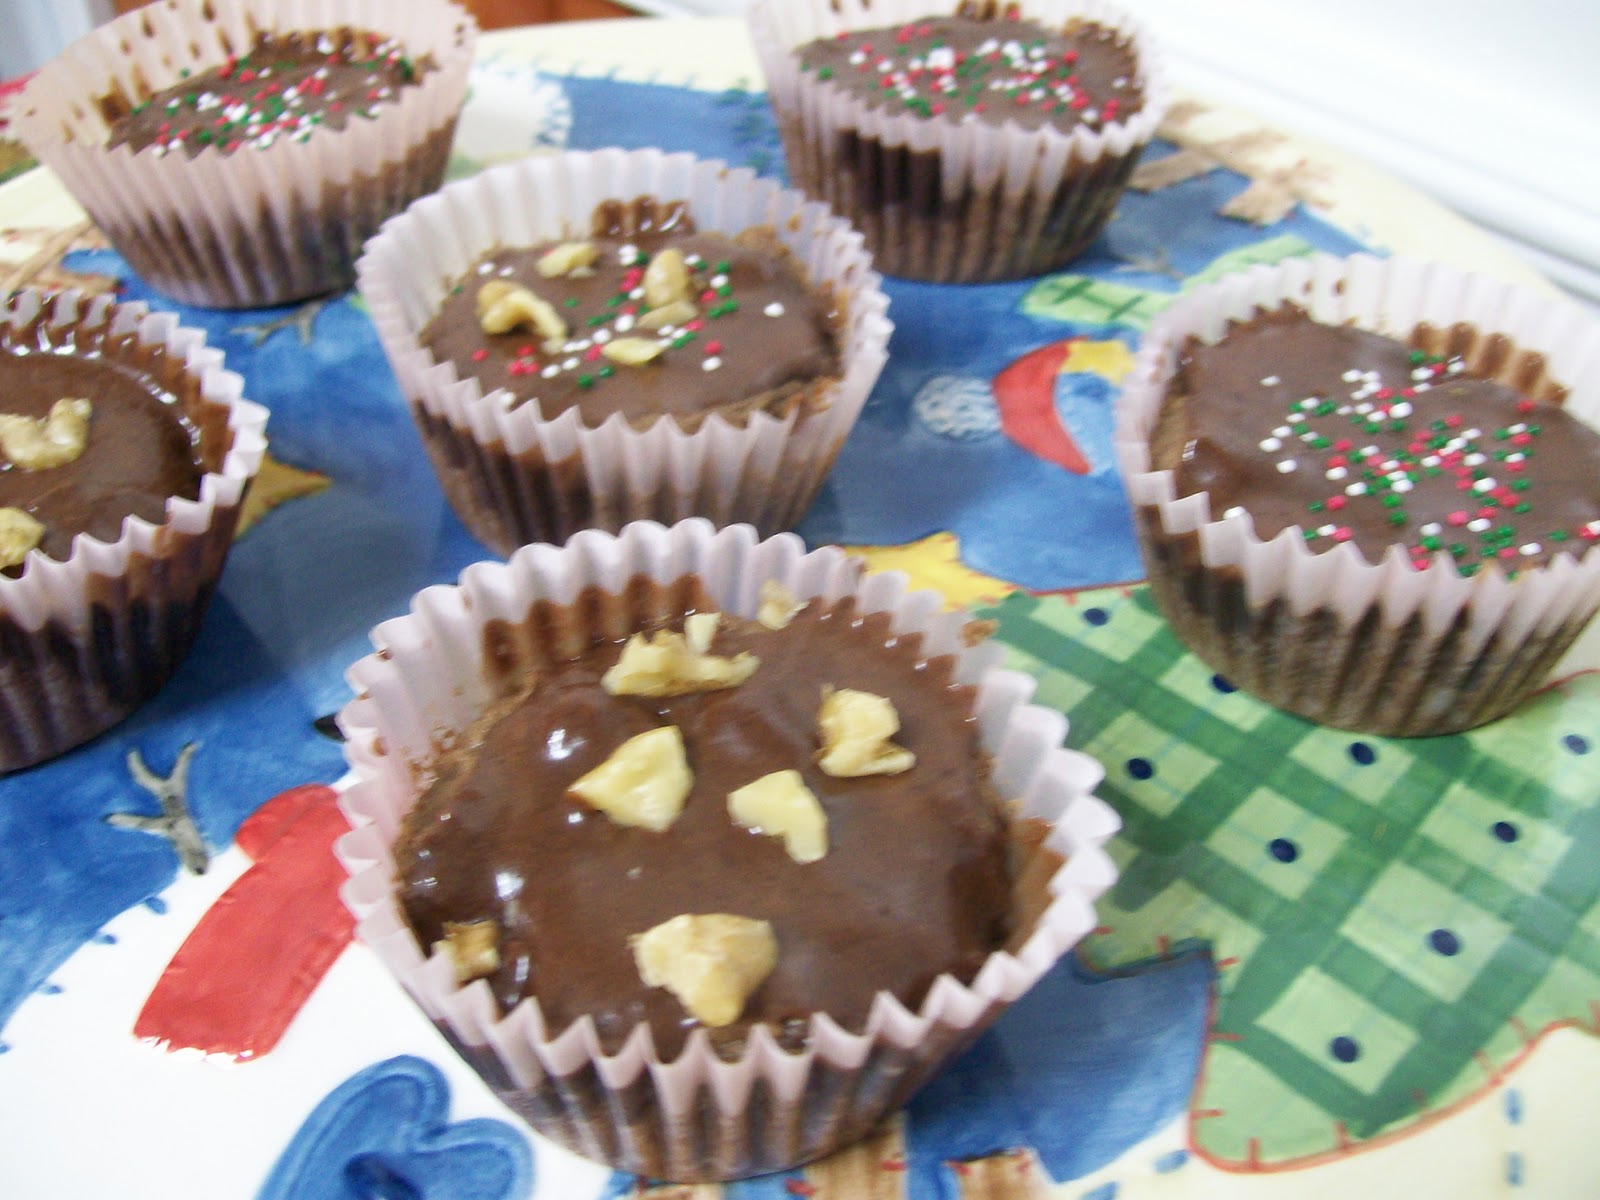
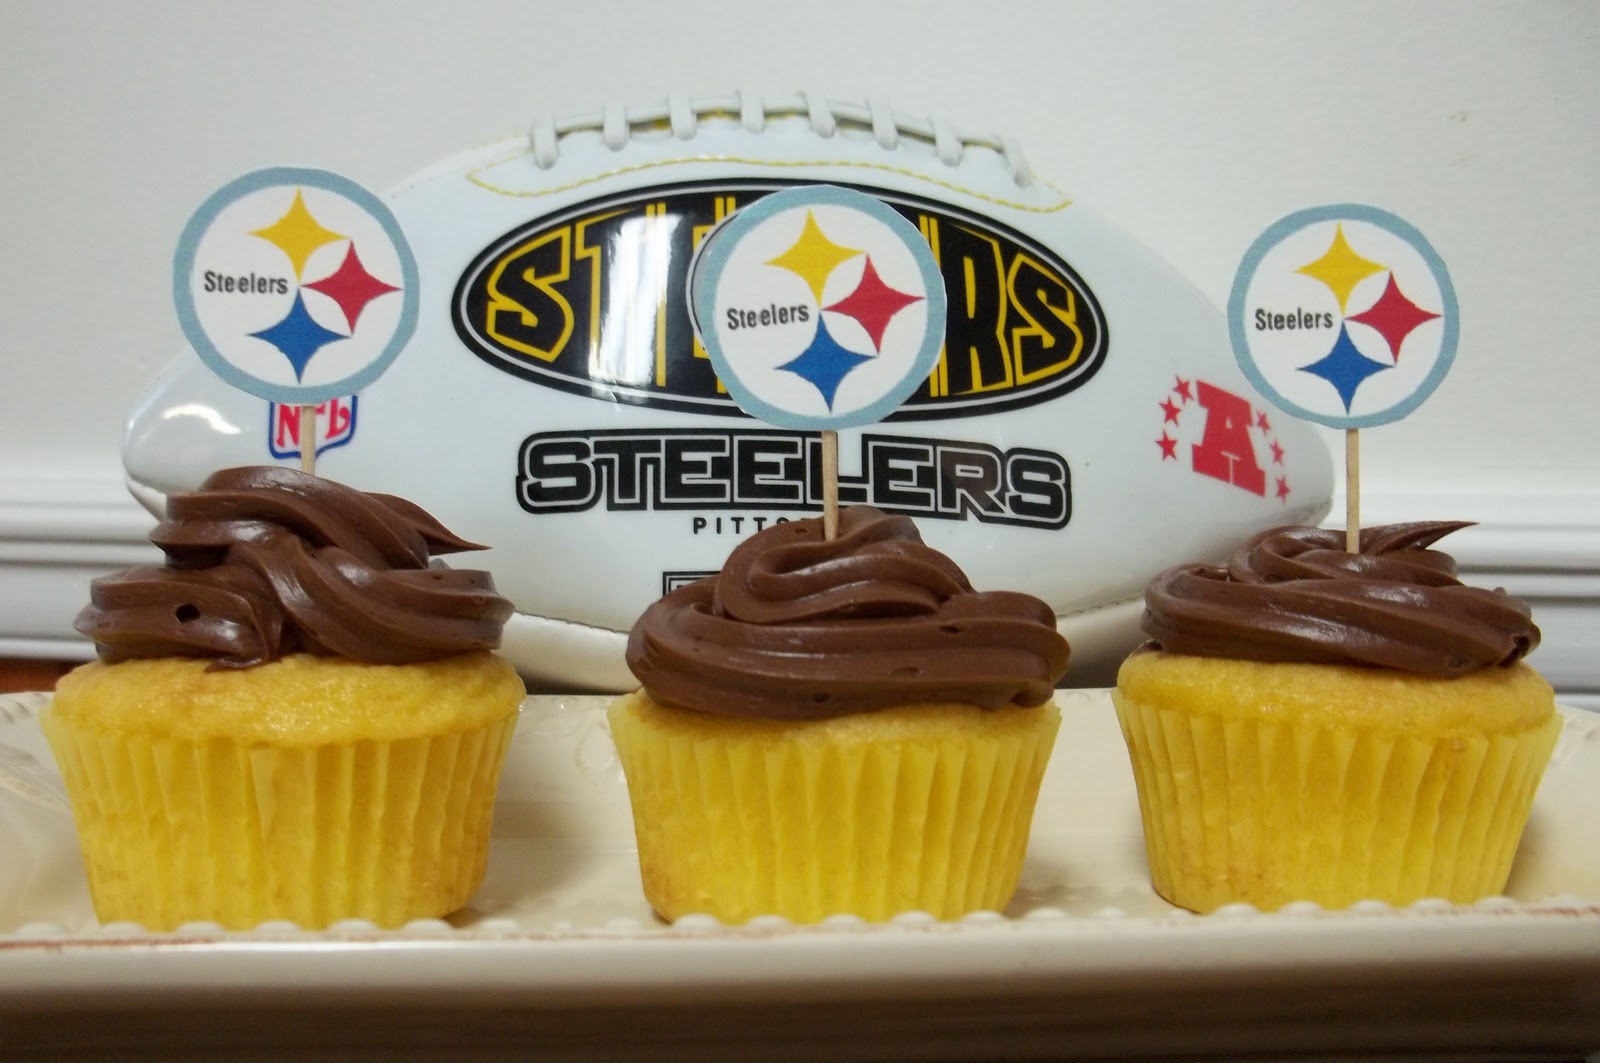
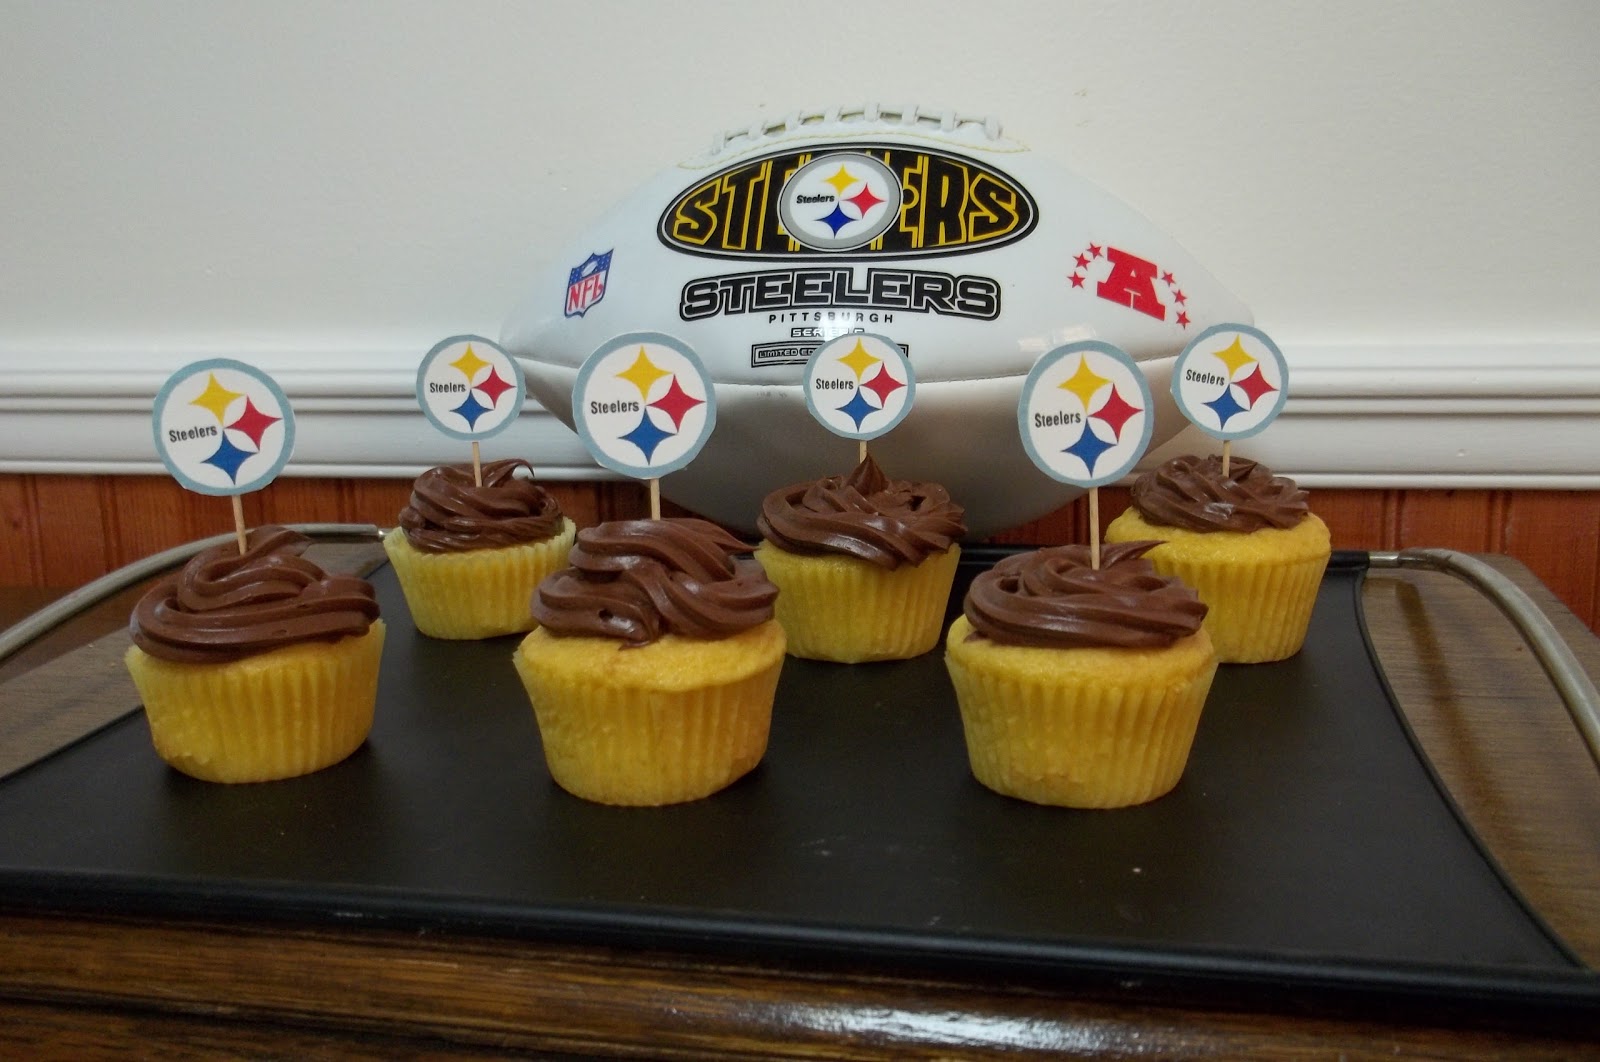
This week instead of sharing a recipe for my food post, I’m sharing these cupcakes that I made over the weekend.  My husband is a HUGE sports fanatic, and his favorite team is…you guessed it! The Pittsburgh Steelers! 
As soon as we found out that the Steelers would be playing in the AFC Championship Game, I knew I had to make something special for my hubby.  His favorite cake is yellow cake with chocolate icing, which just so happens to be a perfect tie in for the Black and Gold!

How to Make My Easy and Super Yummy Cupcakes
For the cupcakes, I just used a yellow cake mix and baked as directed. The only thing I added to the recipe was a tablespoon of almond flavoring and a tablespoon of vanilla. This really gives it a rich flavor! 
And then I just used a store bought frosting.  Normally I heat the canned frosting when using it for sheet cakes, but for this I just put it straight into the piping bag.  I had enough frosting in the can to frost 12 cupcakes, and then just enough left over to heat up and pour over a small 9 inch cake that I made to go alongside the cupcakes.  But if you plan on making 2 dozen cupcakes with canned frosting, I’d suggest you get an extra can. 
Cupcake Topper Tutorial
You will not believe how easy it was to make my cupcake toppers!  Before I get to the tutorial I should remind you that sports and other logos are copyrighted and files should be used for personal use only, unless you have permissions to use them otherwise.  I’m not sure what all the copyright rules are because in spite of this, I’ve seen a lot of items on etsy that use copyrighted logos and the like.  But I would just be careful, and only use logos like this for your own personal projects.
Here’s What You’ll Need:
Cardstock
Glue or tape
Toothpicks
Scissors or a Round Paper Punch
Computer w/ Printer.

Step 1: Go on the internet and search for the logo of your favorite sports team. (I just typed in “Pittsburgh Steelers Logo.”  Wikipedia is great source for this. (After finding the Steelers logo on here, I checked for some other teams, and Wikipedia appears to have a logo for every team out there.)  But if not, you should be able to find something on  just a straight internet search.
Step 2:  Right click on the logo and save it.  Next open up a Word document.  (You could use a photoshop program or other application as well, but Word is just fine with me.)  On a new document in Word, go to the Insert tab, and Insert a Picture.  Select your Picture (the logo), and it will appear on your screen.  Now highlight the image and copy it, and then just paste it on to the document as many times as you like.  (I was able to fit 16 logos onto my page.) Note: If you don’t know how to copy/paste, you can also choose to keep inserting the photo onto the page.
Step 3:  After you have your images ready, print them out on card stock.  Then use scissors or a paper punch to punch out your logos.
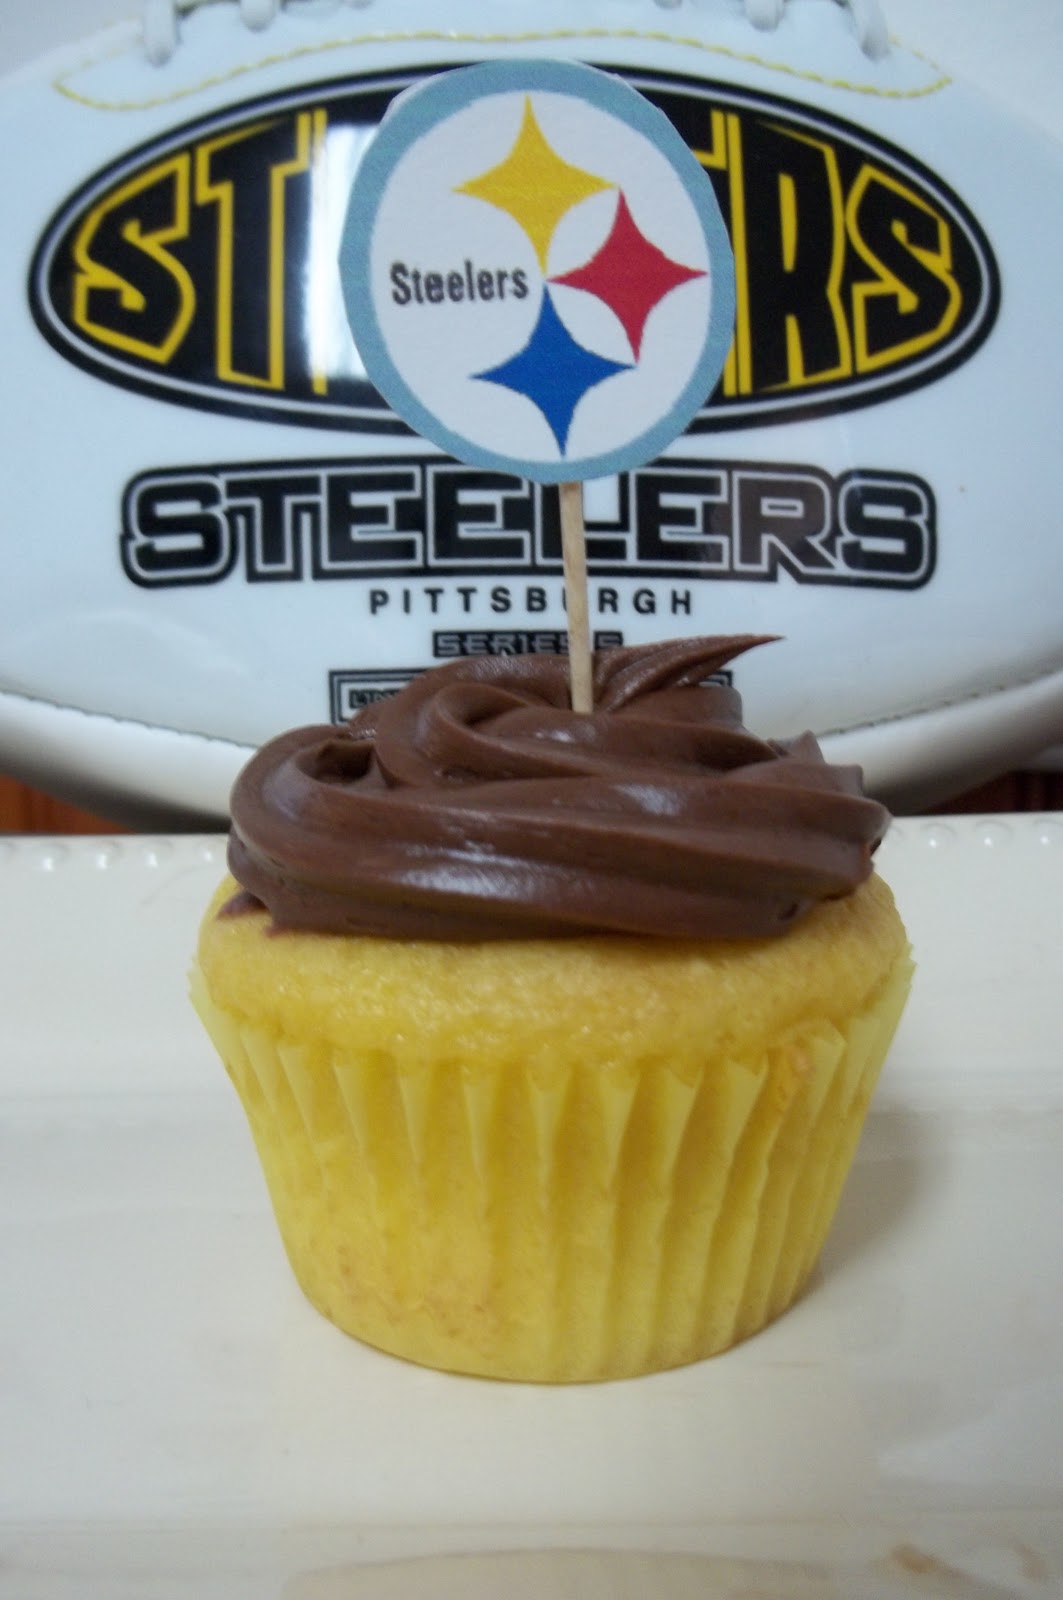
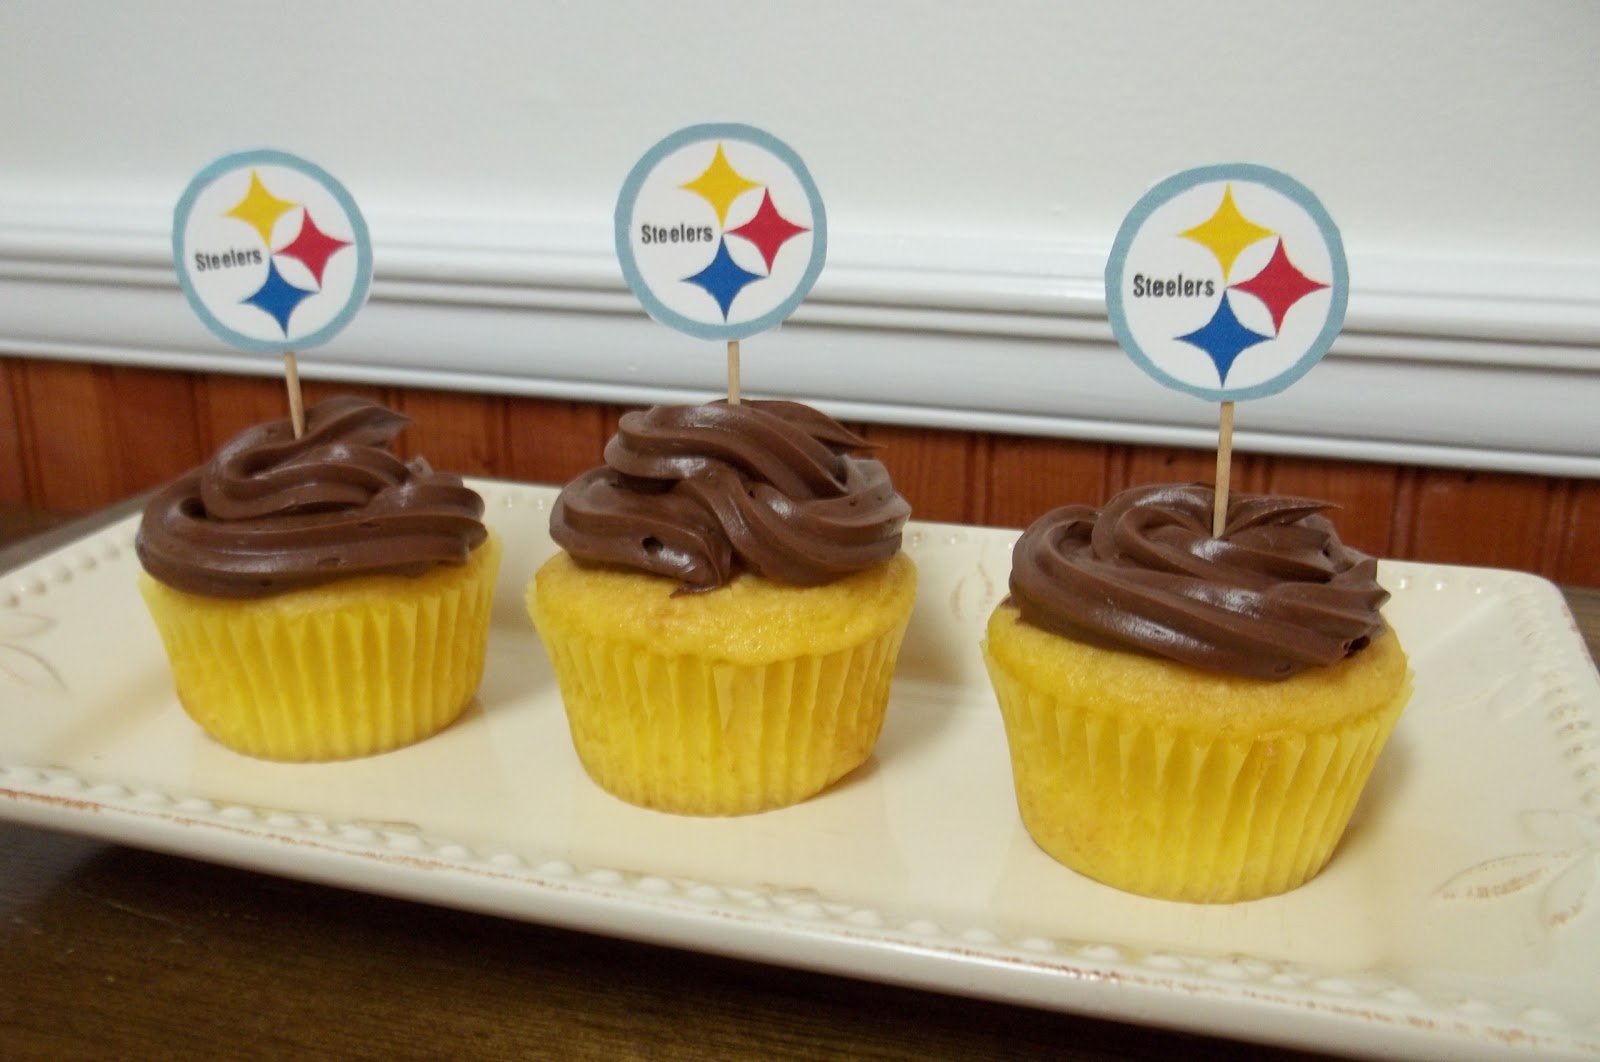
Step 4: Use glue or tape to attach your logos to the toothpicks.  For mine, I placed the toothpick about half way up the circle.
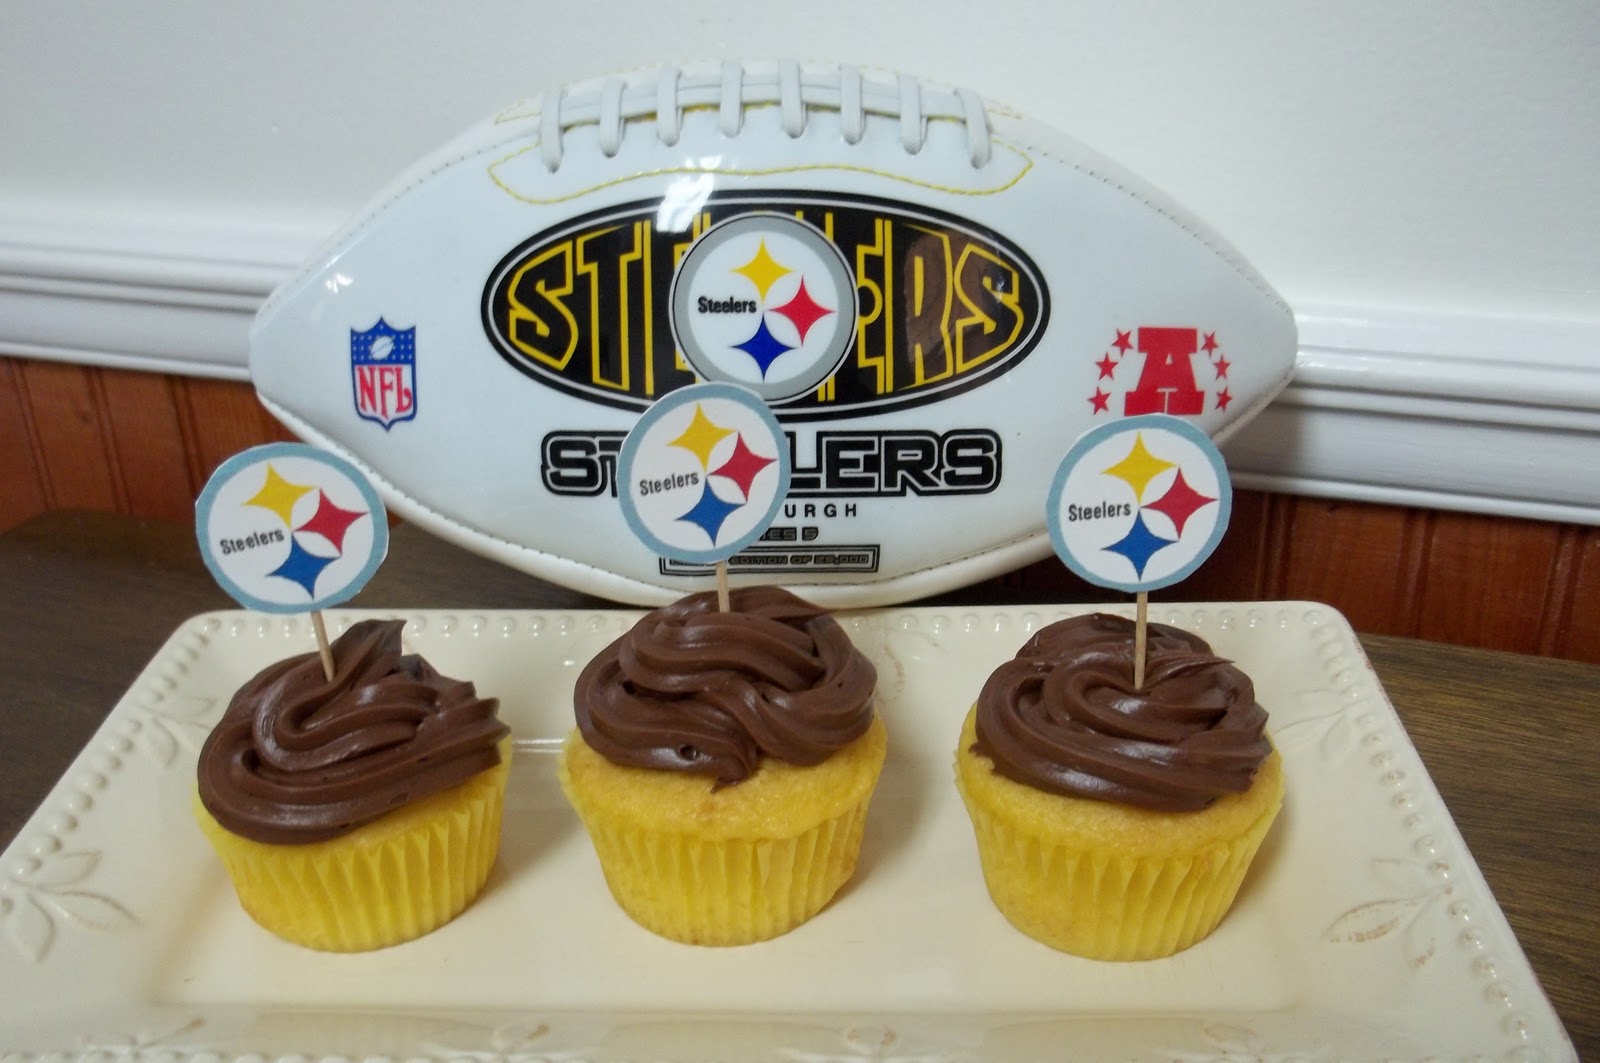
Step 5: Stick these in your iced cupcakes, and you’ve got a super cute, yet easy and inexpensive cupcake decoration!  And your party guests will love them!

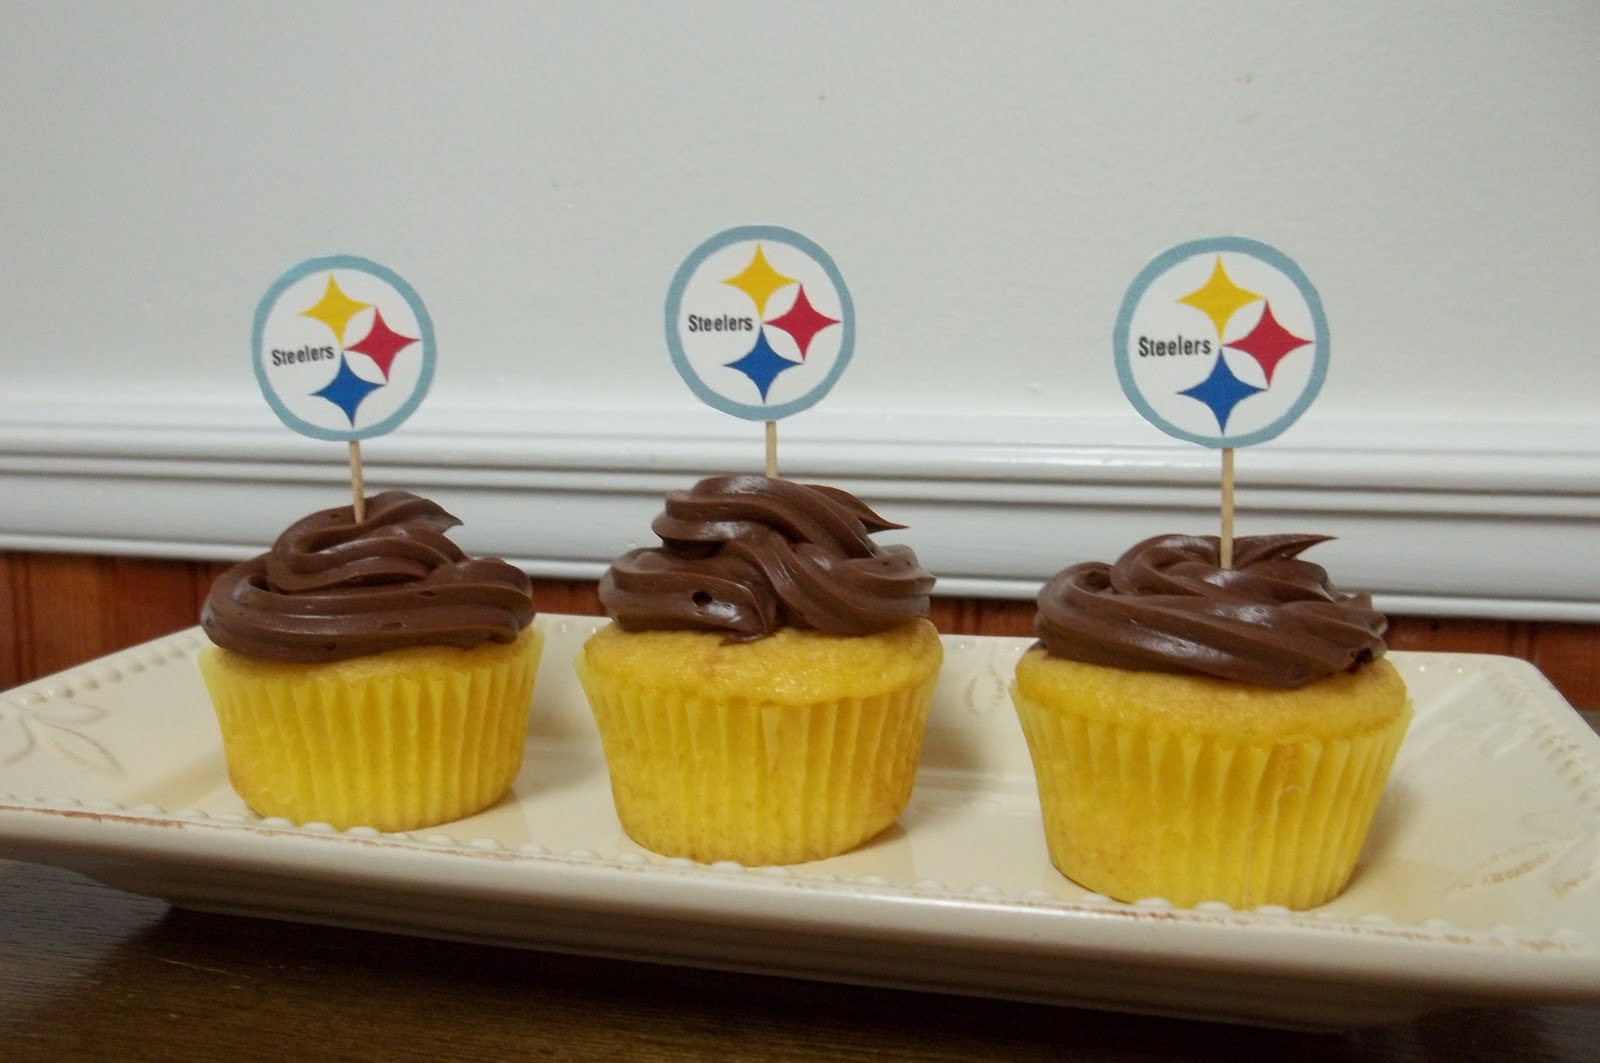
There you have it! Quick and easy cupcake toppers!
And my cupcakes must have been lucky, because now the Steelers are moving on to the Super Bowl!  So if you’re a fan you should definitely make some of these for your party on February 6!  And if you’re not a Steeler fan, you can even make some for “that other team.”  LOL.

I’m linking up at these fun linky parties.

Photobucket

Chicken Spaghetti

Today I’m sharing my *new favorite* recipe! My friend Cindy at Hun…What’s For Dinner shared this Chicken Spaghetti on her blog several weeks back.  She originally saw it over at The Pioneer Woman and decided to make a few changes to it.  I then looked over both recipes and made further changes. lol.
I have to tell you, I see so many recipes from week to week.  Many of them get bookmark and some of them eventually get made, but once in while, I see something that looks just good enough (and easy enough) for me to make it the same week.  This was one of those times, and it definitely did not disappoint. I’ve already made it twice since I found the recipe, and I know I’ll be making it a lot more in the future! Enjoy!


Recipe for Chicken Spaghetti
Ingredients:
2 cups chicken, cooked
3 cups dry spaghetti (broken)
1 can cream of chicken soup
1 can cream of mushroom soup
2 cups shredded cheddar cheese
2 cups chicken broth
1/4 cup onion, chopped
1/4 cup green onion, chopped (I didn’t have this so I used chopped carrot)
1 teaspoon Lawry’s Seasoning Salt (I think regular salt would work just as well too)
1/2 teaspoon pepper
1 cup shredded cheddar cheese (for topping)
Directions:
Cook chicken on stove top.  (I used 3 boneless, skinless chicken breasts, but the original recipe calls for a whole fryer chicken.) Remove chicken and cook spaghetti in the same water.  Shred your chicken into tiny pieces and place in large bowl.  Add soups, veggies, cheese, and broth.  Drain the water off your cooked spaghetti, and add noodles to the bowl.  Add seasonings and mix.  Pour into a 9×13 glass baking dish.  Pour an additional cup of cheese over the top.  Cover with foil and bake at 350 degrees for 30 minutes.


I’m sharing this recipe for this week’s blog parties.

Photobucket

Making Snow Cream

We were so excited and surprised to get a White Christmas a couple of weeks ago!  It got me to talking about the few times in my life when we actually got enough snow for my dad to make snow cream.  I was asking my husband if I should try to make some, and I soon found out he had no idea what I was talking about!
When I emphatically said, “You’ve never had snow cream!” he said, “I’m from Mobile. It doesn’t snow in Mobile.”  (Oh yeah! Duh!)  Then remembering that my husband lived in Colorado for a little while, I ask him, “Well, don’t they have it in Colorado?”
He just kinda looked at me.  I guess that was a dumb question. So either they don’t make snow cream in Colorado, or 20-something and 30-something year old men don’t make snow cream!  What do you think?
Either way, my dad always made great snow cream! It tasted just like homemade ice cream.  The stuff I made didn’t taste quite as great as his. (Alas!) But it was still pretty good. Today I’m sharing the recipe I used. 
So do you guys make snow cream where you live?

Recipe for Snow Cream:

Ingredients:

1 gallon snow
1 cup white sugar
1 tablespoon vanilla extract
2 cups milk

Directions: Take a bowl and collect some clean snow. Add sugar and vanilla, then stir in just enough milk for the desired consistency. Serve at once.

I’m linking up this week at these linky parties.

Photobucket

Ham & Cheese Pinwheels

Hope you all had a lovely and joyous Christmas!  Now it’s time to move on to 2011!  For New Year’s Eve, I’ve always enjoyed having appetizers to snack on throughout the evening.  So this week, I’m sharing what is, perhaps, the easiest appetizer ever!
These ham & cheese pinwheels are a quick fix, and they’ll look great next to your hot dips, hot wings, and veggie trays. Enjoy!
Recipe for Ham & Cheese Pinwheels
1 block cream cheese
several slices of ham
Directions: Place your cream cheese in the microwave for a few seconds to soften.  Spread onto ham slice with a knife.  (I use the thick slices that are rectangle shaped.)  Roll up the ham slice. Repeat until you’ve used all the cream cheese.  Chill in the refrigerator for about 20 minutes.  Then take a sharp knife and cut your ham rolls into pin wheels.  Place on a tray and you’re ready to serve!
Tips:
For larger (wider) pinwheels, spread the cream cheese on the ham.  Then stack 2 or 3 ham & cheese slices together before rolling.  Chill & then cut.
To add extra color and flavor to your pinwheels you may consider adding one or two of the following to your cream cheese spread:  shredded cheddar cheese, chives, pickle relish, red or green pepper, tomato, or even a colorful spice like basil or paprika.
Do you have an easy appetizer or snack that you like to make for the holidays? I’d love to hear about it in the comments!

Linking up this week to these parties.

Photobucket

Crisco’s Cookie Central, Frosted Brownie Cups, and a Giveaway!

Today I have a fun-filled and very exciting post for you! Last weekend I got the chance to do some holiday baking using some amazing new baking supplies and resources from our good friends at Crisco.
To support this season of bountiful baking, Crisco has launched a new online resource called  Cookie Central.  All it takes is a few clicks to solve any cookie-related woe.  Features, such as “Cookie of the Day,” can sustain a devoted baker throughout the holiday season and beyond, while novice bakers will quickly feel at ease after watching the site’s instructional videos.
The website also provides a simple homemade cookie recipe mix that can be used for more than a dozen different types of cookies.

At Cookie Central you can also download some printable Recipe Cards and Gift Tags!  These are perfect to use for holiday gift giving, whether you’re giving out cookies that are already baked, or handing out cute jars filled the ingredients so your friends can make their own.

Personally I was very impressed by the site.  It gives you a big variety of recipes to fit all tastes.  The videos and tips are perfect for people who need extra help.  And the printable cards and tags are super cute and convenient!

I was given a set of the printable recipe cards,which I used to make Crisco’s Homemade Cookie Mix.  And after much consideration, I used the mix to make some delicious Frosted Brownie Cups.  Mine were made kind of hastily, so their not as cute as they could be, but they are definitely delicious!

Recipe for Frosted Brownie Cups:

Ingredients:
2 1/4 cups Homemade Cookie Mix
2 tablespoons sugar
3 tablespoons unsweetened cocoa powder
1 tablespoon Crisco® Pure Vegetable Oil
OR 1 tablespoon Crisco® Light Olive Oil
1 large egg
1/3 cup milk
1/2 cup semi-sweet chocolate chips
1/2 cup chopped walnuts
1 (16 oz.) container Pillsbury® Chocolate Fudge Frosting
OR 1 (13.5 oz.) can Pillsbury® Easy Frost™ Decadent Chocolate Fudge No Fuss Frosting
Chocolate or other decorator sprinkles (optional)
Directions:  Heat oven to 375ºF. Line mini muffin pans with foil mini muffin baking cups. Combine Homemade Cookie Mix, sugar and cocoa in large mixing bowl until blended. Add oil, egg and milk. Beat with electric mixer on low until combined. Stir in chocolate chips and nuts. Drop by tablespoonfuls into prepared muffin cups.  Bake 10 minutes or until center is dry and puffed. Cool completely on wire rack. Frost brownie cups. Top with decorator sprinkles, if desired.

Win it! To help you with your holiday baking, Crisco is offering a prize pack filled with baking supplies to one Simply Sweet Home reader.
-Glass Jar filled with a dozen Cookie Cutters
-Baking Sheet
-Set of Measuring Spoons & Measuring Cups
-Spatula
-Cookie Dough Scoop
-Recipe Cards
-Sample of Crisco Baking Sticks
This is a very impressive prize pack with high quality items. I checked around on the internet, and if you ordered each of the items featured here, you’d pay around $100 for them!  Talk about a super prize!

Giveaway Closed.
I’m linking up to these parties.
Photobucket
Disclosure: Not a paid post. For hosting this giveaway, I received a prize pack like the one being given away here.

Easy Chocolate Truffles

If you like chocolate truffles, you are going to love this post!  As much as I love truffles, I don’t really love their price!  So a couple of weeks ago I got inspired to invent this great recipe.  I’m not going to say that they’re as good as Lindor’s, but they are tasty and cheap alternative!
This was just a trial run so as you can see they’re not as beautiful as I would like! (ie – I didn’t chill them long enough before dipping, and they started to melt on me.)  But the taste is incredible! So I just adjusted the freeze time for you, and voila!
The secret ingredients to this cheap alternative are brownie mix (one box will make about 3 batches or so!), and mayonnaise.  (Yes, you read that right! Mayonnaise!)  I started out adding water and oil to brownie mix, and it just didn’t taste right.  Then I remembered that a Wise Man, who I affectionately call My Dad, once told me that you could substitute mayonnaise in the place of egg (because the mayonnaise contains eggs).  So I tried this, and I was amazed at the change!  You can’t taste the mayonnaise itself, but it does give the brownie batter it’s proper taste and consistency that you usually get with eggs. And thus, it’s a big key to these semi-homemade truffles!   Hope you enjoy the recipe!

Recipe for Easy Chocolate Truffles:


Ingredients:
1 1/2 cups brownie mix (I used Betty Crocker Original Supreme)
2 tablespoons oil
2 tablespoons water
2 teaspoons mayonnaise
2 or 3 squares of almond bark (or chocolate chips)
candy sprinkles (optional)

Directions:  Measure out your brownie mix and place in a bowl.  Add water, oil, and mayo.  Mix well.  Batter should be extra stick, so that you can roll it into balls. (If it doesn’t appear thick enough, add extra batter.  If it’s too thick, add a very small amount of water.)  If the batter seems too sticky for rolling, you can place the batter in the refrigerator for a few minutes before rolling. 
This recipe should make 12 truffles, measuring 1 1/2 inches wide, or 18 truffles measuring a inch wide.  After you’ve rolled the batter into balls, place them on a plate lined with wax paper or parchment paper.  Chill in the freezer for a few hours or overnight.  (Note: If you don’t let them chill long enough they will start to lose their shape and melt when they are dipped in the chocolate.)
When you’re ready to dip the truffles, melt the your almond bark or chocolate chips.  To do this, just place the chocolate in a microwave safe bowl  and heat it for a minute or so.  Very Important: Check it every 15 seconds and stir to prevent scorching.  (Note: If the chocolate starts to harden during the dipping process, simply reheat again in 15 second increments.) 
To dip your balls, you can use a couple of different methods:  You may use a candy dipper to dip the balls.  Or you may also place them on a spoon if you don’t have a candy dipper.
My favorite dipping method is the toothpick method.  Before freezing your balls, just poke each one with a toothpick.  (Sticking them with the toothpicks before chilling will prevent the balls from falling off the toothpick once the balls are dipped.)  The only downside to this method is that there will be a hole when you take the toothpick, but you can get rid of this by simply spooning a tiny amount of melted chocolate over the balls.
To decorate the truffles, you may either place the sprinkles in the bowl and dip them or you can pour the sprinkles over the top of them.  Just make sure that you do the sprinkles immediately after the truffle has been dipped in the chocolate, because it will harden in seconds and the sprinkles won’t stick after that.
Place on a tray to serve to your party guests, or place in a cute candy bag or box to give as gifts.

I’m linking this up for this week’s parties and  The Holiday Recipe Exchange at Food, Fun and Fotos.

Photobucket

Orange Dream Pie

With Thanksgiving and Christmas I’m sharing one of our favorite holiday recipes.  My husband’s not really in to pies, but he loves—LOVES this one!  Anytime we have to bring a dish to any type of get together, this is what he requests. (And lucky for me this is one of the easiest recipes I have!)  If you like Dreamsicles in the summer time, you’ll love this pie!

Don’t forget I’m hosting Sweet Thursday this week.  Stop by and link up your holiday and family favorite recipes!

Recipe for Orange Dream Pie:

Ingredients:
1 graham cracker crust
2/3 cup boiling water
1 pkg. (3 oz.) orange gelatin
1 package (8 oz) Cream Cheese
1 tub (8 oz) Whipped Topping

Directions:  Heat water to boiling. Pour into a bowl.  Add gelatin mix. Stir 2 minutes until completely dissolved. Cool for 5 minutes.   Pour into blender. (You must use a blender.  A mixer will cause mixture to splatter.) Place softened cream cheese in blender, and blend well.  Pour into large bowl.  Slowly add whipped topping. Stir together well. Pour into pie crust.  Chill in the refrigerator until ready to serve.
Tip:  This is great with other flavors as well!  Below is a pic of the pie I made using strawberry gelatin.  In the future I’m going to try lemon and lime too, and I think cherry would also be a good choice!

I’m linking up this week at the Love the Pie Party  at Tidy Mom and these linky parties.

Photobucket

Peanut Butter Cereal Ball Candy

Is everyone ready for Holiday baking?  One treat that I always love to make this time of year is Special K Candy.  It’s very similar in taste to my absolute favorite, Peanut Butter Balls.  But these are a lot easier and faster to make.  And they are just scrumptious!
I’ve also changed the recipe up a bit, making it with a mixture of Corn Flakes and Rice Krispies, instead of the Special K.  In the future I may do a batch using just the Rice Krispies too because I really liked the consistency that the Rice Krispies brought to the mix.
Recipe for Peanut Butter Cereal Balls:

Ingredients:

1 cup Light Karo syrup
1 1/2 cups White sugar
1 1/2 cups Peanut butter
5 cups cereal (Original recipe calls for Special K cereal, but I used a combination of Rice Krispies and Corn Flakes.)
Directions: Bring Karo syrup and sugar to a boil.  Remove from heat and stir in peanut butter until dissolved.
Slowly mix in cereal.  Drop by rounded teaspoon onto waxed paper.  Then mold into balls.

Tip – You can also spoon the mixture into a 9×13 dish if you prefer to serve these as bars.

I’m link this post up for this week’s linky parties.

Photobucket

Taco Soup

I just love stews, soups, and chilis this time of year! This year, up until now it’s still been too warm around our house for hot comfort foods.  But today I actually turned the heat on, so now I’m starting to see some soup in our near future! In the last couple of years I’ve been turned on to Taco Soup.  If you like chili, you’ll love this!  It’s not too spicy, not too bland, full of flavor, and perfect for a cool fall day.
Come join SoupaPalooza at TidyMom and Dine and Dish sponsored byKitchenAidRed Star Yeast and Le Creuset

Recipe for Taco Soup:


Ingredients:
1 pkg. Taco seasoning
1 lb ground beef
1 large onion, chopped
1 can black beans
1  can pinto beans
1 can of chili (kidney) beans
1 can stewed tomatoes
1 can rotel tomatoes
1 can corn

Directions: Brown onion and meat.  Drain.  Place in large pot.  Add taco seasoning and mix well.  Add canned ingredients. Simmer for one hour.  Serve with chips, cheese, and sour cream.
Tip: Drain some or all of the cans, depending on how thick you’d like your soup to be.

I’m linking up at these linky parties.

Photobucket

Best Ever Corn

Over the summer we were driving through rural Tennesee for a funeral.  This was only just a little over an hour from home, but it was an area that was completely new to us, and I was just amazed by the all the corn fields.  They seemed to run for miles and miles.  As a kid I grew accustomed to seeing cotton fields like this (though sadly, they seem to have disappeared), but I ‘ve never seen corn fields like this or even knew they existed this close to our home.  I have a feeling that the people who live here, to their credit, have never seen a can of corn in their lives. lol.
Unfortunately we don’t all have fresh corn at our disposal, but we do have the next best thing.  My mom has always made the most delicious corn.  I usually call it fried corn, only because it’s cooked in a frying pan, but this is probably a misnomer, so for this post, I’m calling it, “Best Ever Corn.”  She makes it using frozen white shoepeg corn.  Yellow corn is okay, but I have to tell you, white shoepeg is the best!  She’s always used Jolly Green Giant, so that’s what I use too, and you can find it a small box, or in a bag if you need the family size.  I’m sure it would be great in other brands as long as it says, white shoepeg.  (And by the way, I was recently watching Dr. Oz, and they said frozen veggies were just as good as fresh but without the sodium of canned veggies.  So yay!)
And just to give you a quick testimonial story as to how good this corn tastes, one time several years ago, we were eating dinner.  It was either Thanksgiving or Christmas time, and my brother was talking about how great the corn was and then he asked my mom who she got it from.  And she gave a funny look and said that she got it frozen from the store, and he said, “Oh! So you cheated this time! It’s usually homemade!”  And my mom gave him another strange look and said, “No, it’s not. I always get the corn at the store.”  And then he said, “Well, than you’ve been tricking me all this time.”  And my mom explained to him that she never once told him that it was homemade; he just assumed.  The look on my brother’s face was so hiliarous; it was as if he somehow felt that he had been cheated because the corn he thought was homemade all these years had really been frozen.  The horror!

Recipe for Best Ever Corn:

Ingredients:
2-4 cupsWhite Shoepeg Corn (fresh or frozen)
1 tbsp butter (optional, I leave this out.)
Milk (just enough to cover the bottom of the skillet, 1/2 cup to 1 cup)
cooking spray
Directions:  Spray your skillet with nonstick cooking spray.  Pour your corn into the skillet. (If using frozen corn, there’s no need to thaw the corn beforehand.)  Add milk.  (I don’t measure it out, I just add enough to cover the bottom of the skillet.  For best measure, cook 2 cups or less in a smaller skillet, and cook 3 or more cups in a larger skillet.)  Add a tablespoon of butter/margarine.   Cook over medium heat, stirring often to prevent milk from sticking/scorching.  (Do not cover.)  Cook for 20-25 minutes or until heated throughout.

I’m linking up at these parties.

Photobucket