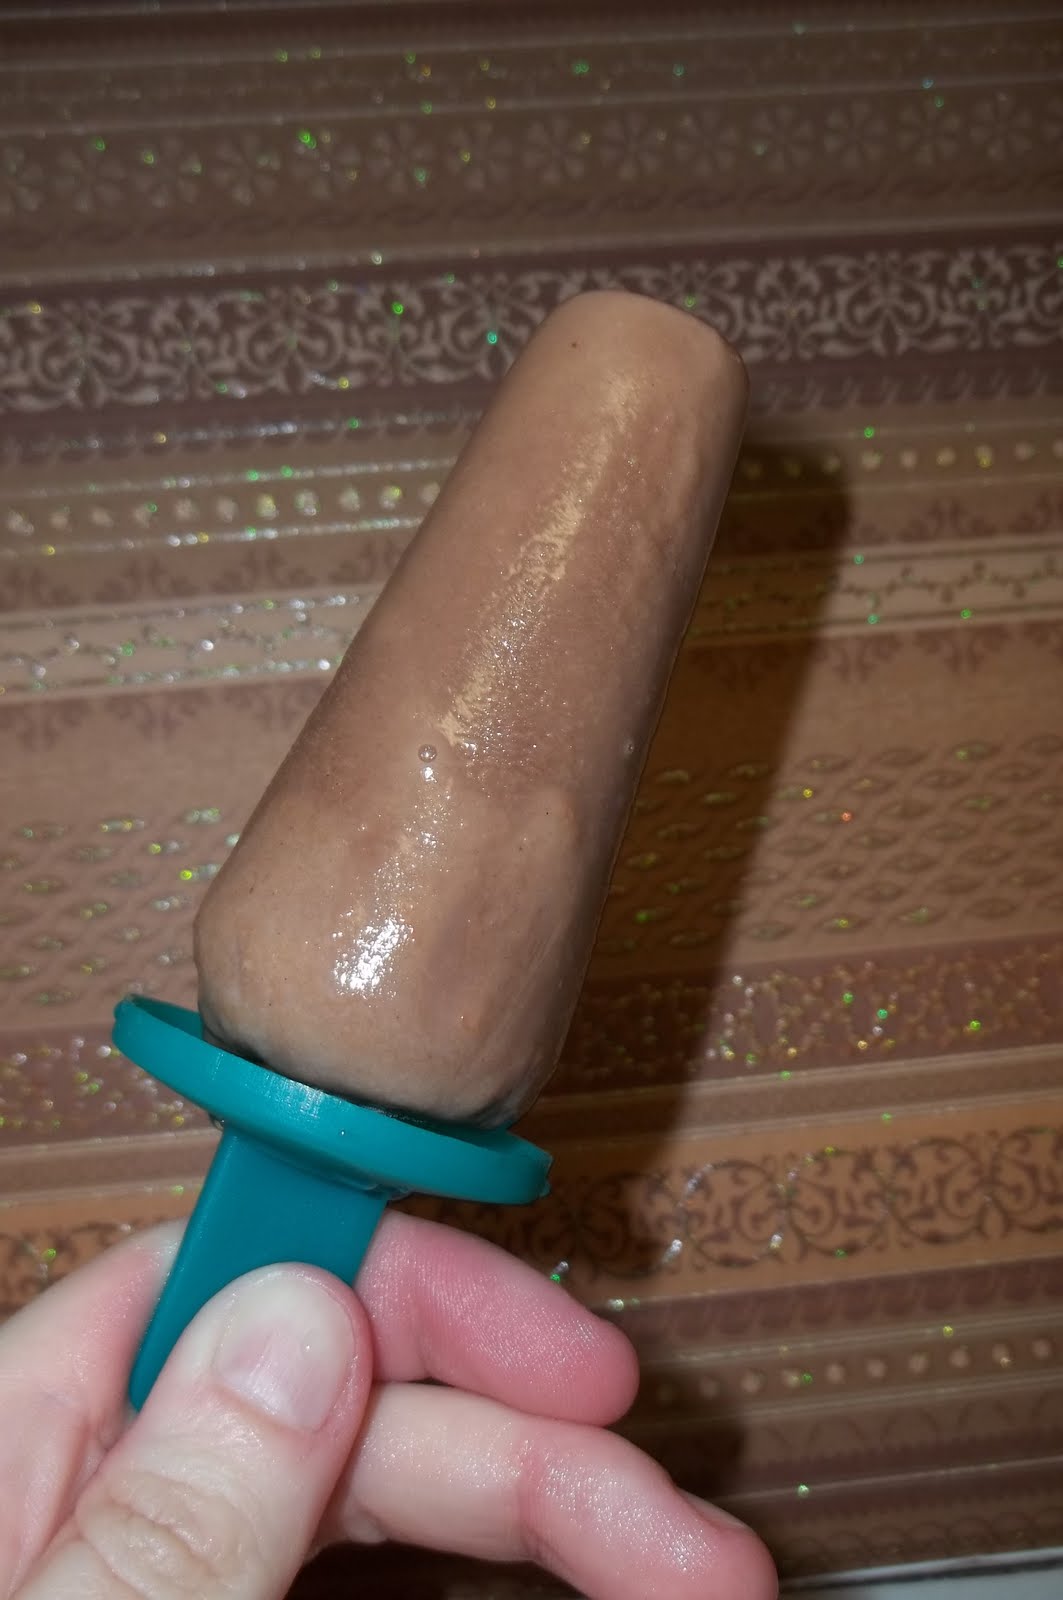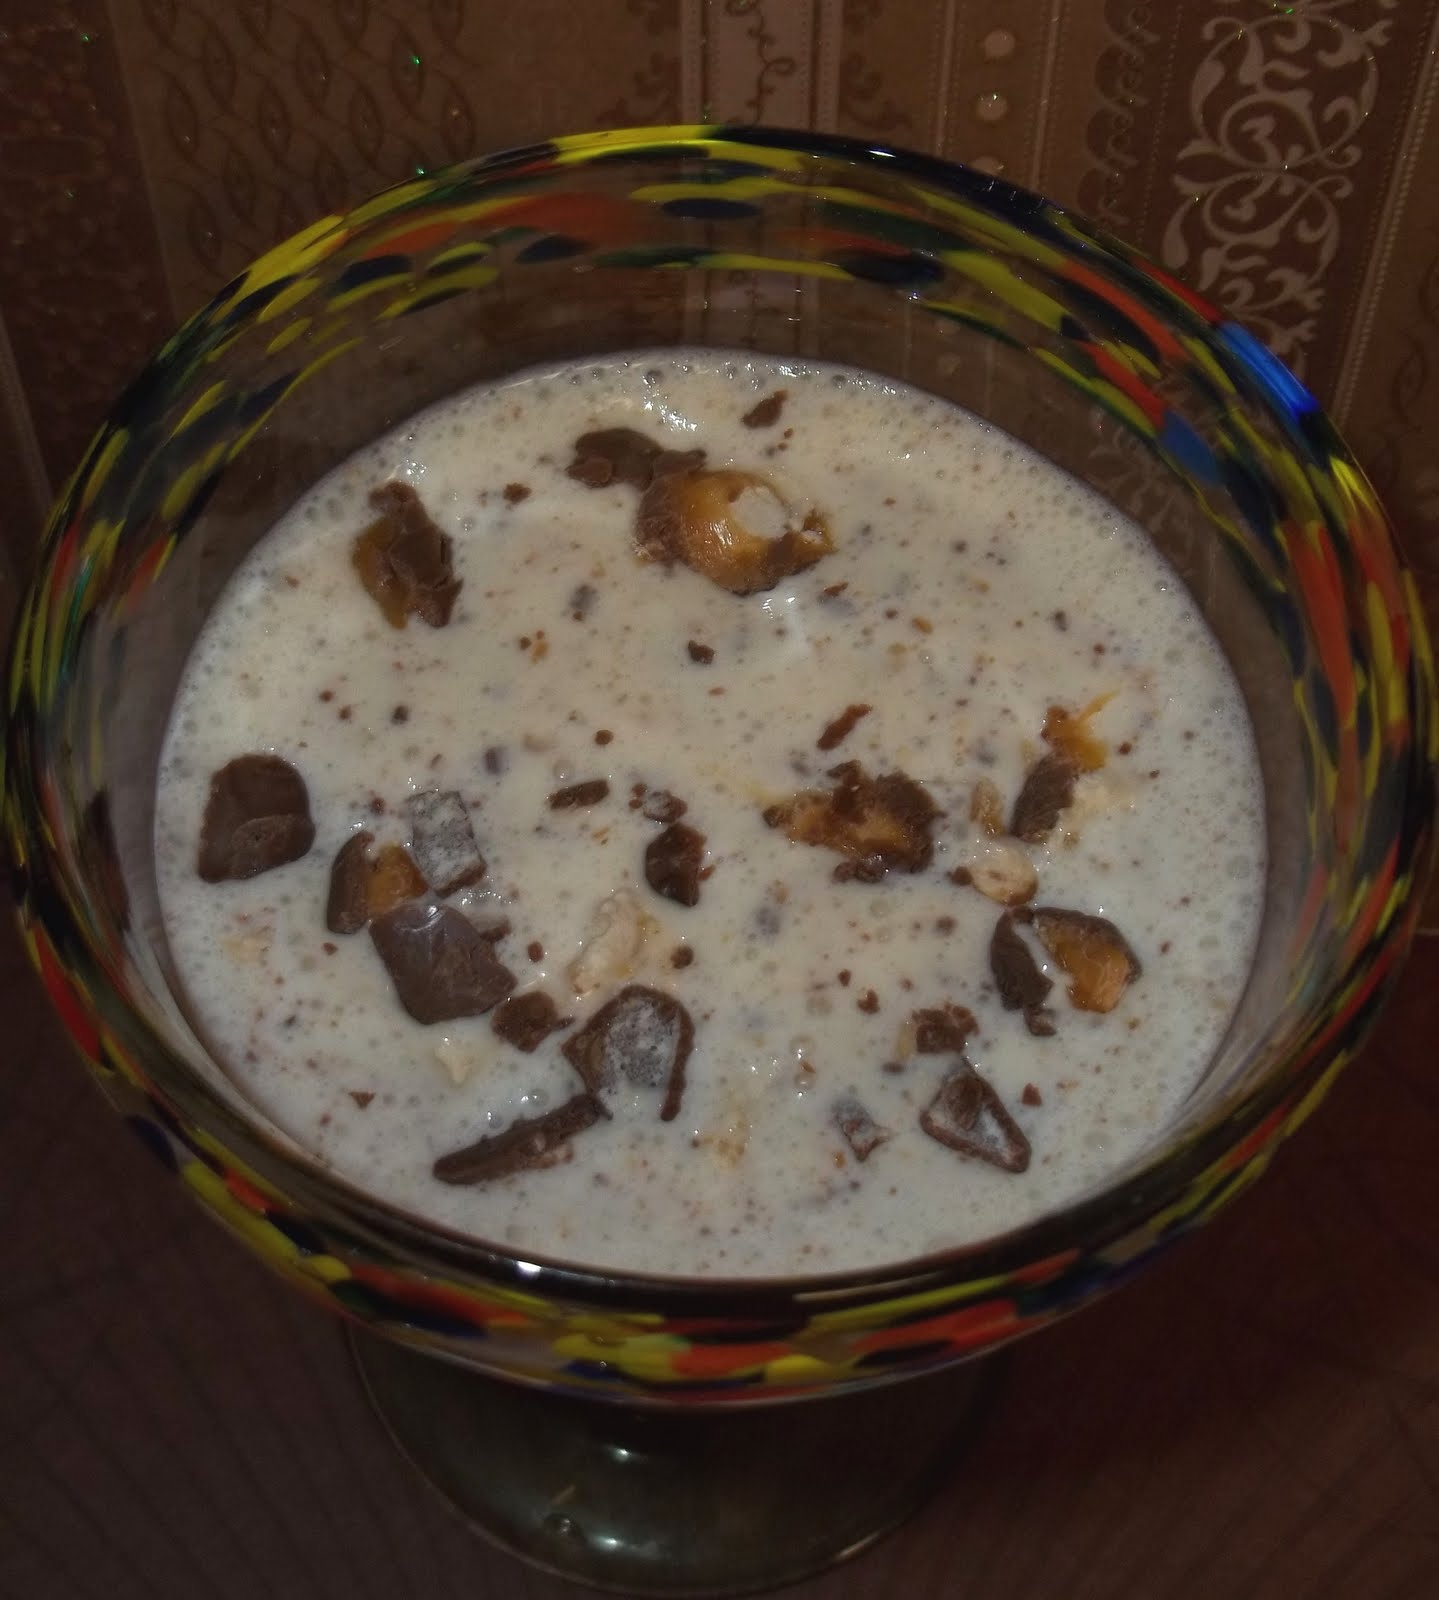
I was in the mood for a sweet treat the other day. Sadly there were no cakes and cookies on hand. (I hate it when that happens!) But we did have a little ice cream in the freezer, so this is what I decided to make. Hope you enjoy!
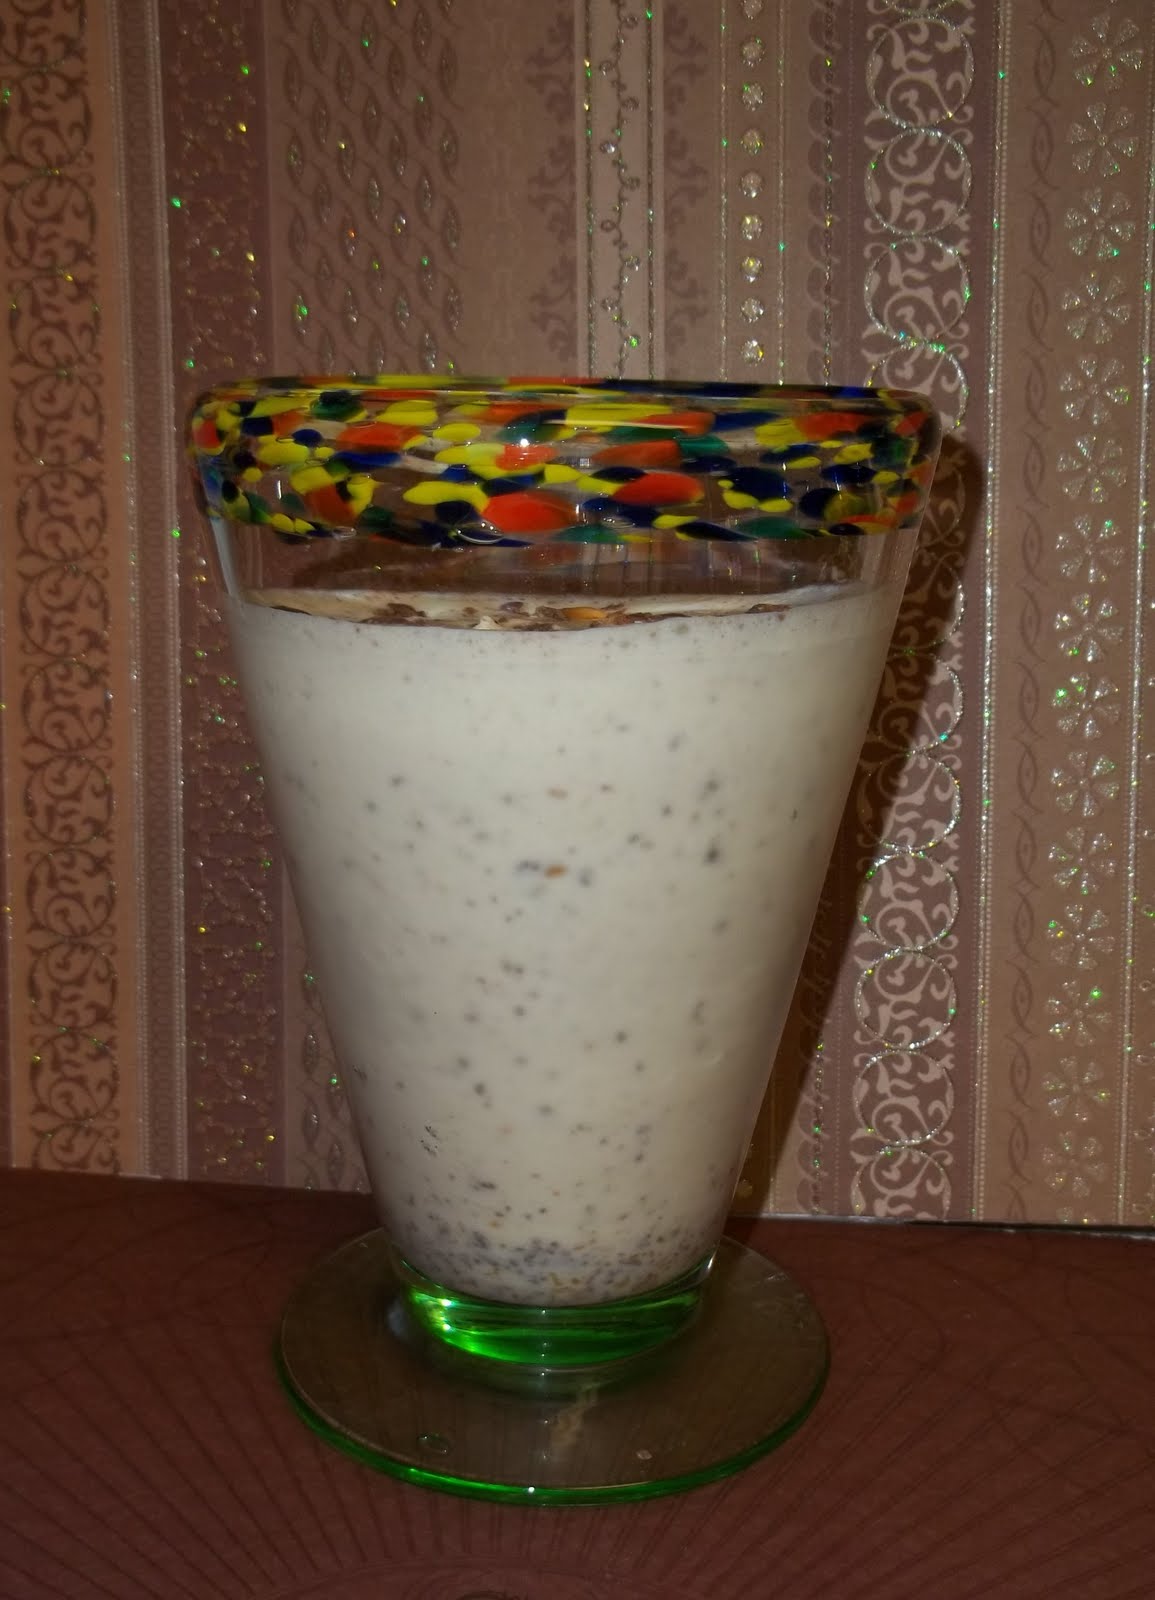
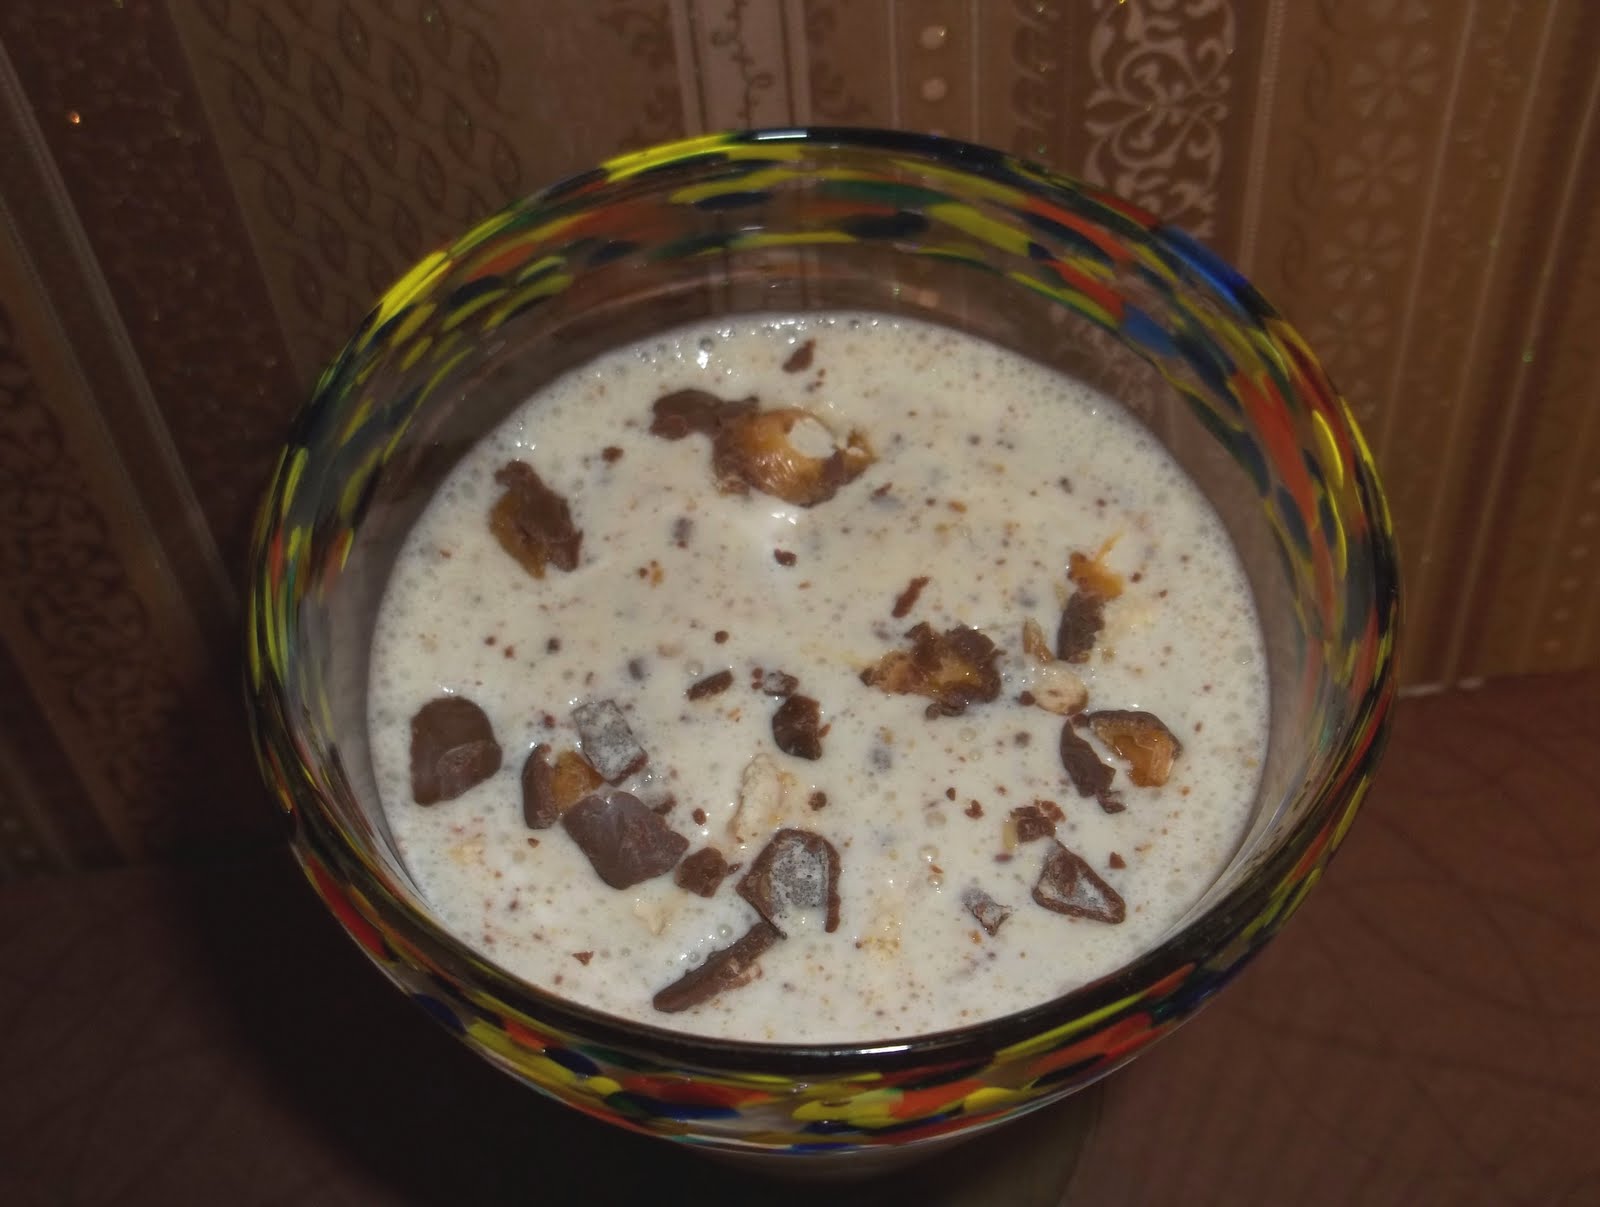
Recipe for Snickers Caramel Shake:
Ingredients:
2 1/2 cups vanilla ice cream
1 cup milk
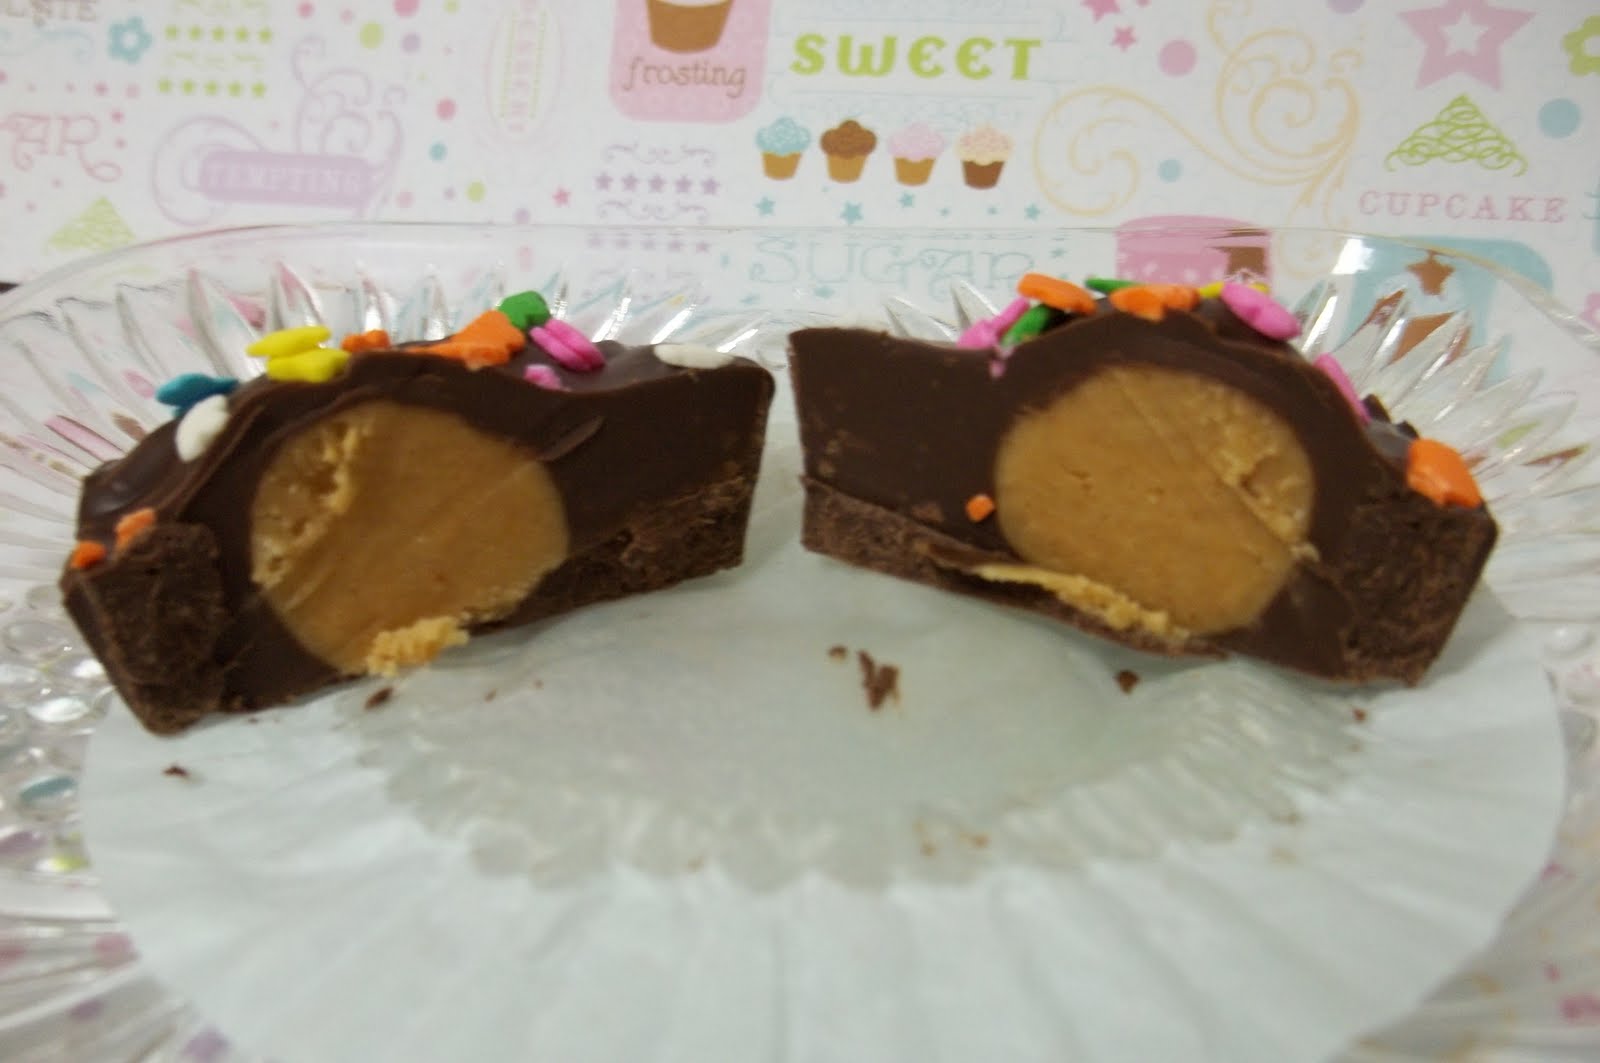
6 Fun Size Snickers
Caramel Syrup (I just poured some in.)
Directions: Place Snickers in blender and chop for a few seconds, until the candy bars are in tiny bits. Add icecream, milk, and caramel. Blend. Pour into glass and serve. Top with additional snickers bits if desired.