Wreath’s may very well be my favorite year round decor. Today I’m sharing this wreath that I put together a few days ago. This wreath has actually been seen here before in different forms. Originally my mom made the wreath with a bar theme for the restaurant where she worked, but when they downsized on their Christmas decor, she gave it to me, so I transformed it into a Mouse themed tree (because I collect mouse ornaments). But last year instead of the ornaments, I decided to just add some gold elements.
Then this year when I got the wreath out (with the gold stuff still attached), I just felt that it looked so plain, so I added some poinsettas that I just happened to have, and we now have a beautiful, new wreath, without me having to spend any additional money!
I could hardly believe my own eyes when I looked back at the old wreaths. Check out the tranformations:
The Bar Wreath:

Mouse Wreath – For 2008:

Gold Wreath – For 2009:

And finally Red & Gold Wreath – For 2010:

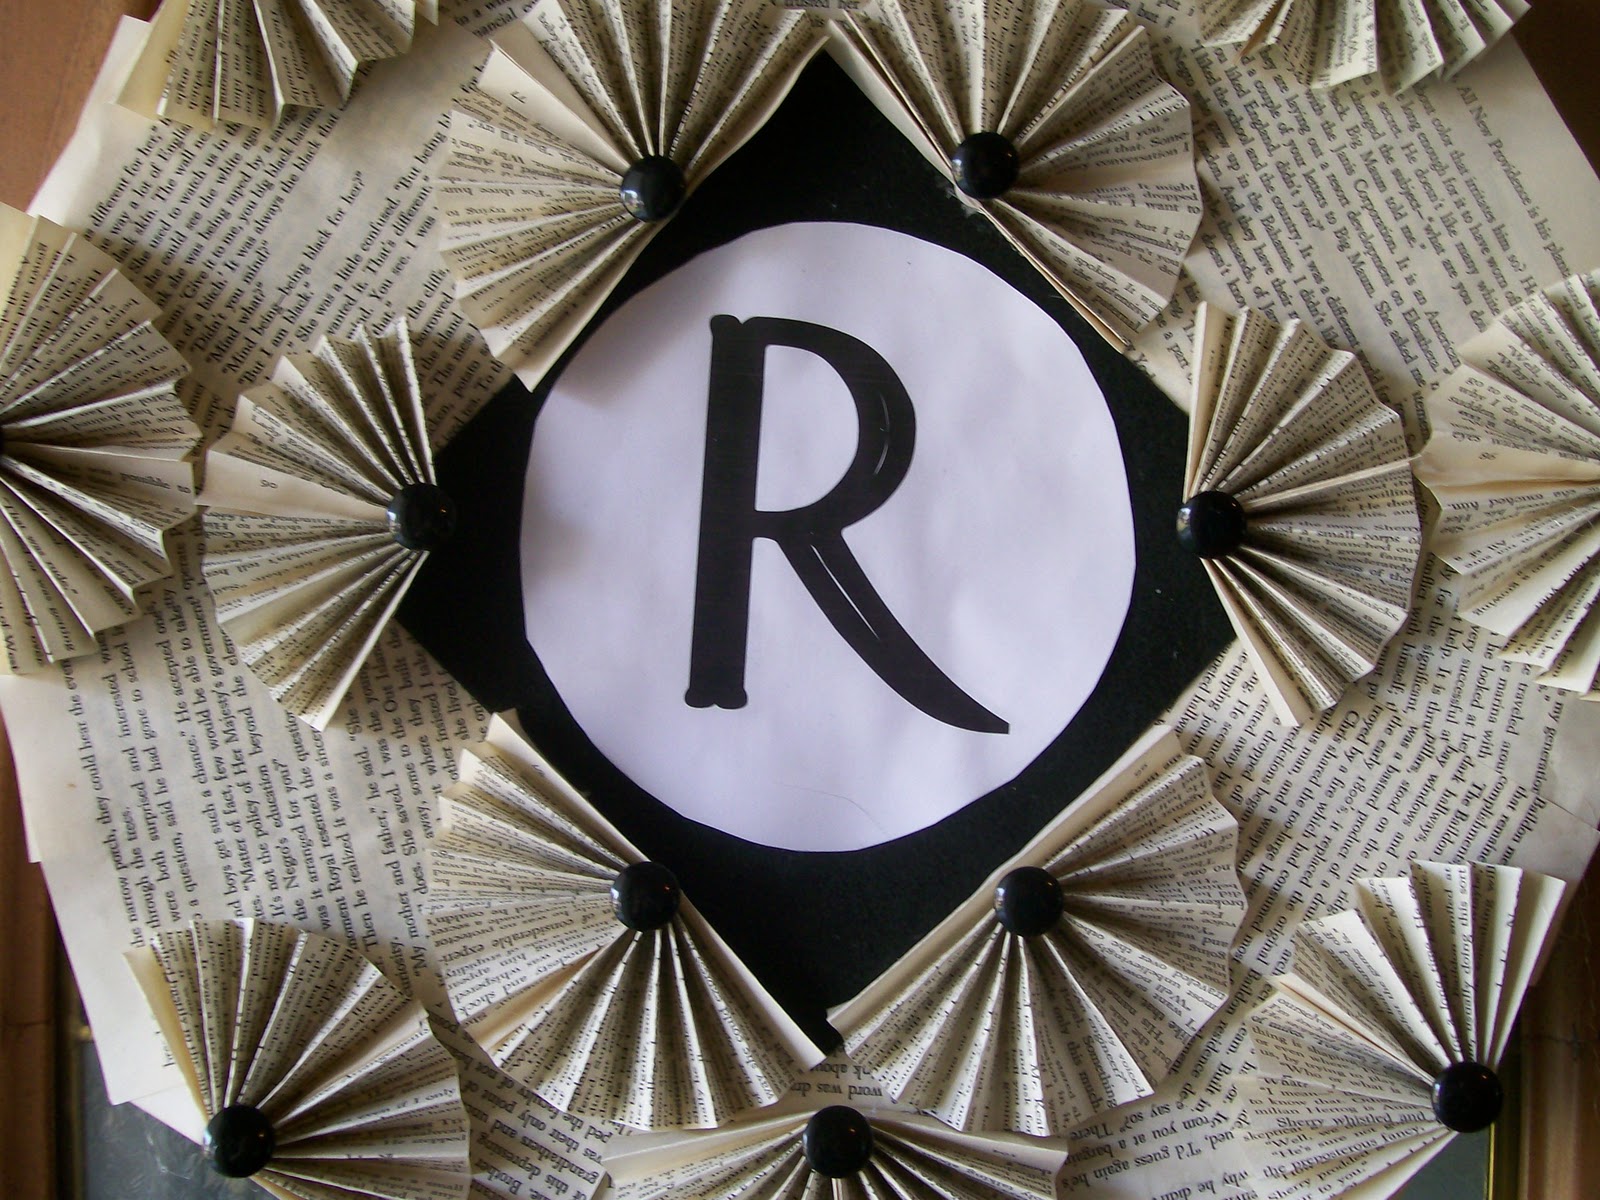
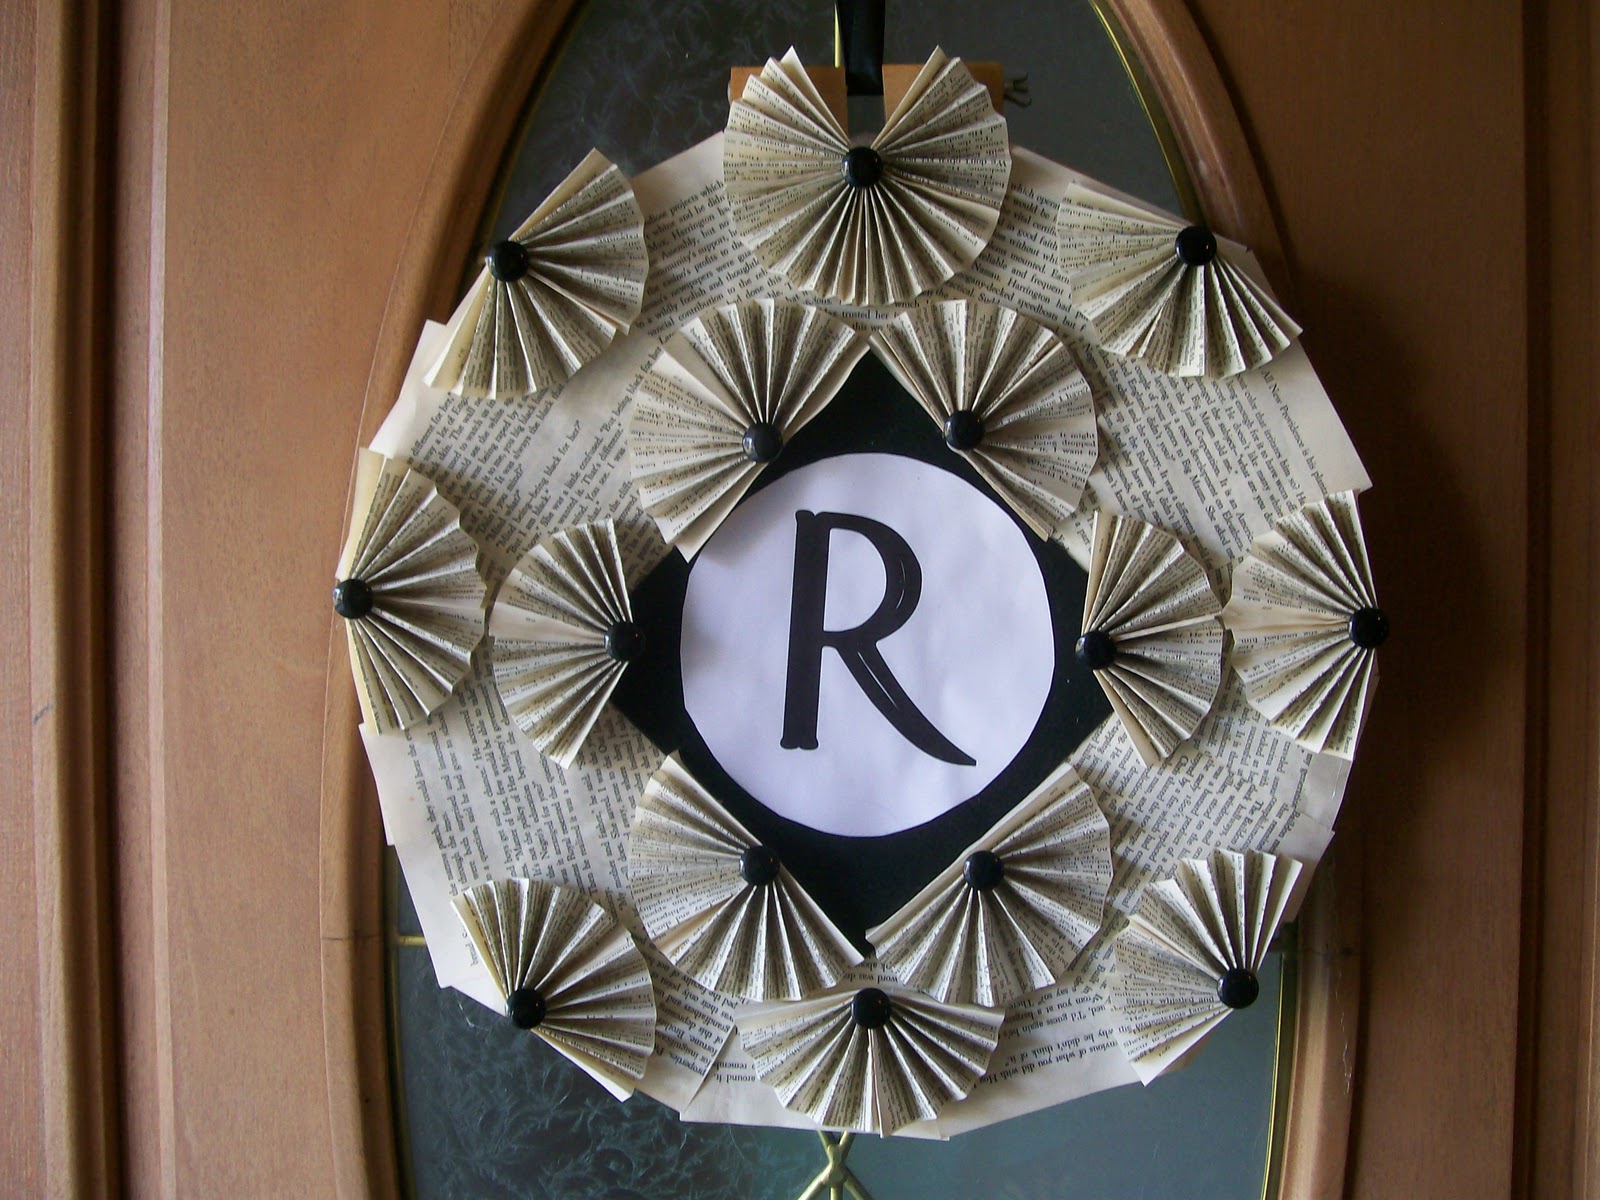
Wreath Tutorial
To make your own wreath like this, simple by some simple gold ornaments. The ones I used are gold balls, pine cones and leaves. I got these off of a predecorated tree that I bought at Walgreens a few years ago. But I’m sure you can find something simple like this at Hobby Lobby or even the dollar store.
To add the ornaments, use ornament hooks or bead wire, and loop it through the ornament. Twist the wire a few times to make sure the wire is secure on the ornament. Then weave the wires through the wreath, and twist the two ends of the wire together to secure the ornament in place.
For the flowers, I simply took two bunches of poinsettas that I got for 94 cents each at Walmart. Cut the flowers from the bunch and then just stick them through the wreath.
No glueing involved, so there’s no mess, and you can always change the wreath up later!


I’m linking up at this week’s parties.