Easy Chocolate Truffles

If you like chocolate truffles, you are going to love this post!  As much as I love truffles, I don’t really love their price!  So a couple of weeks ago I got inspired to invent this great recipe.  I’m not going to say that they’re as good as Lindor’s, but they are tasty and cheap alternative!
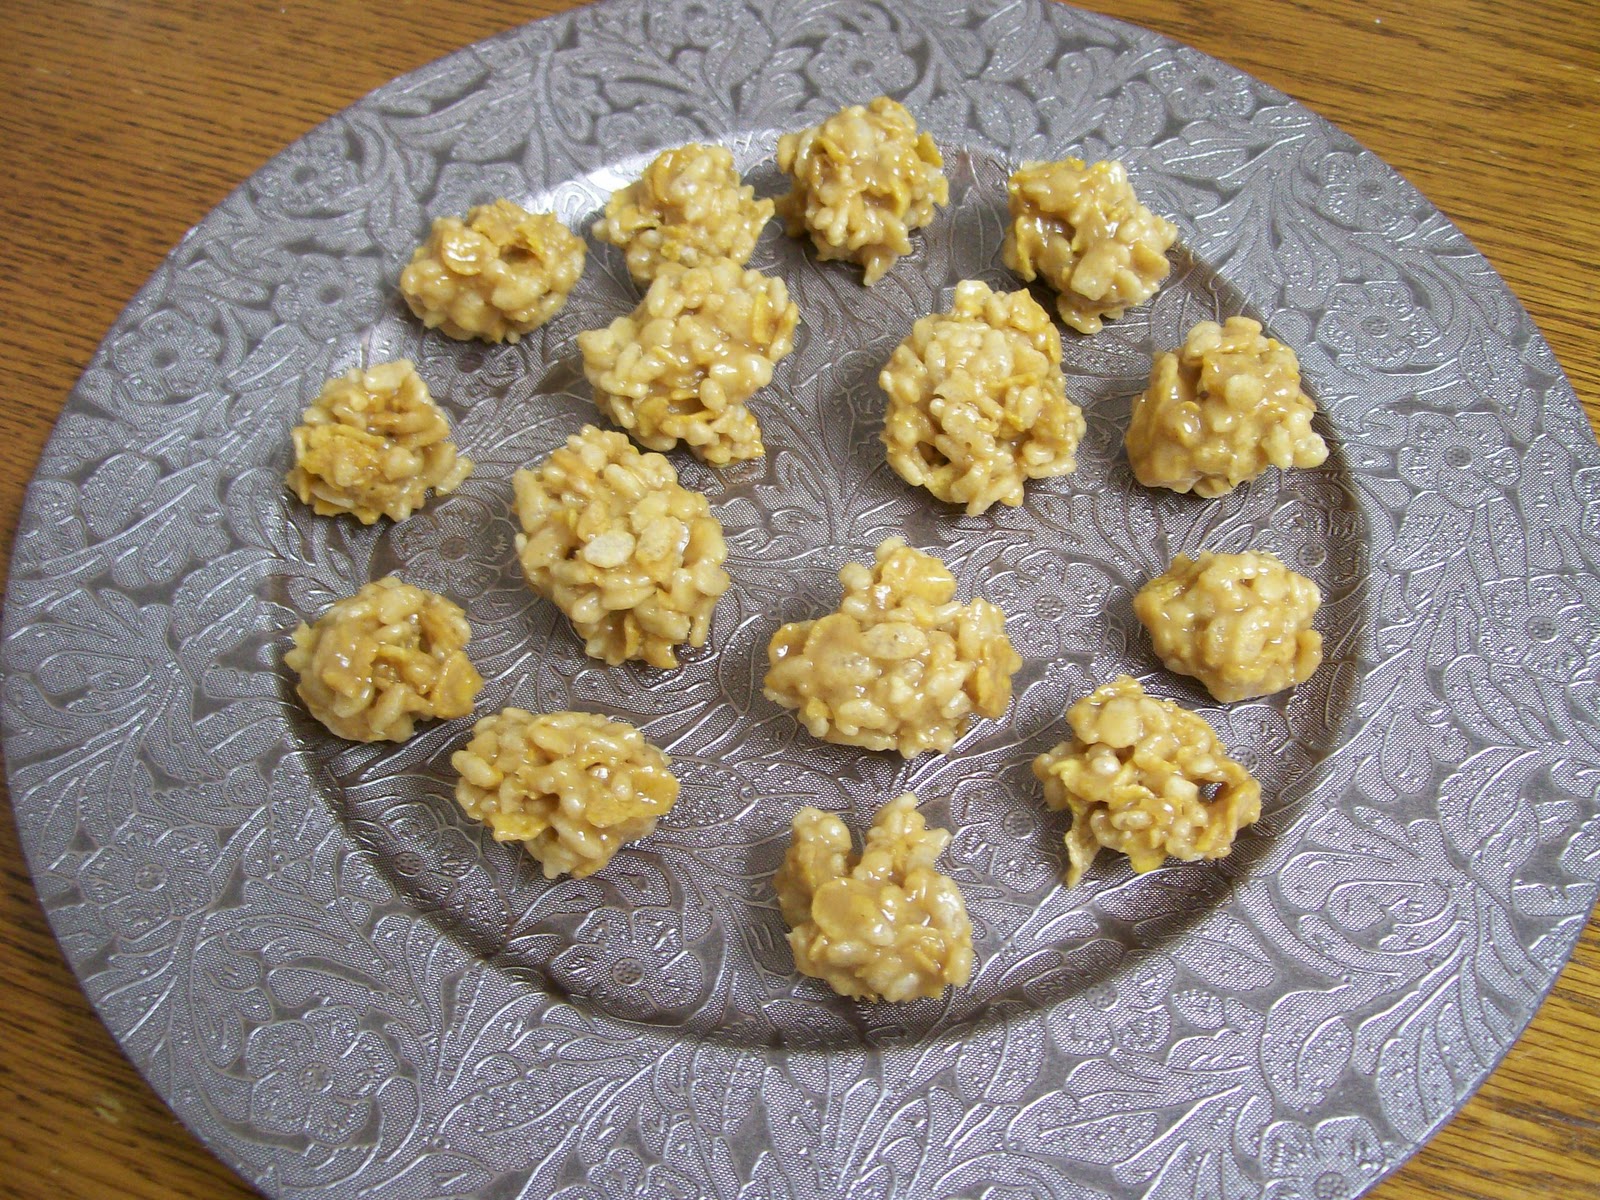
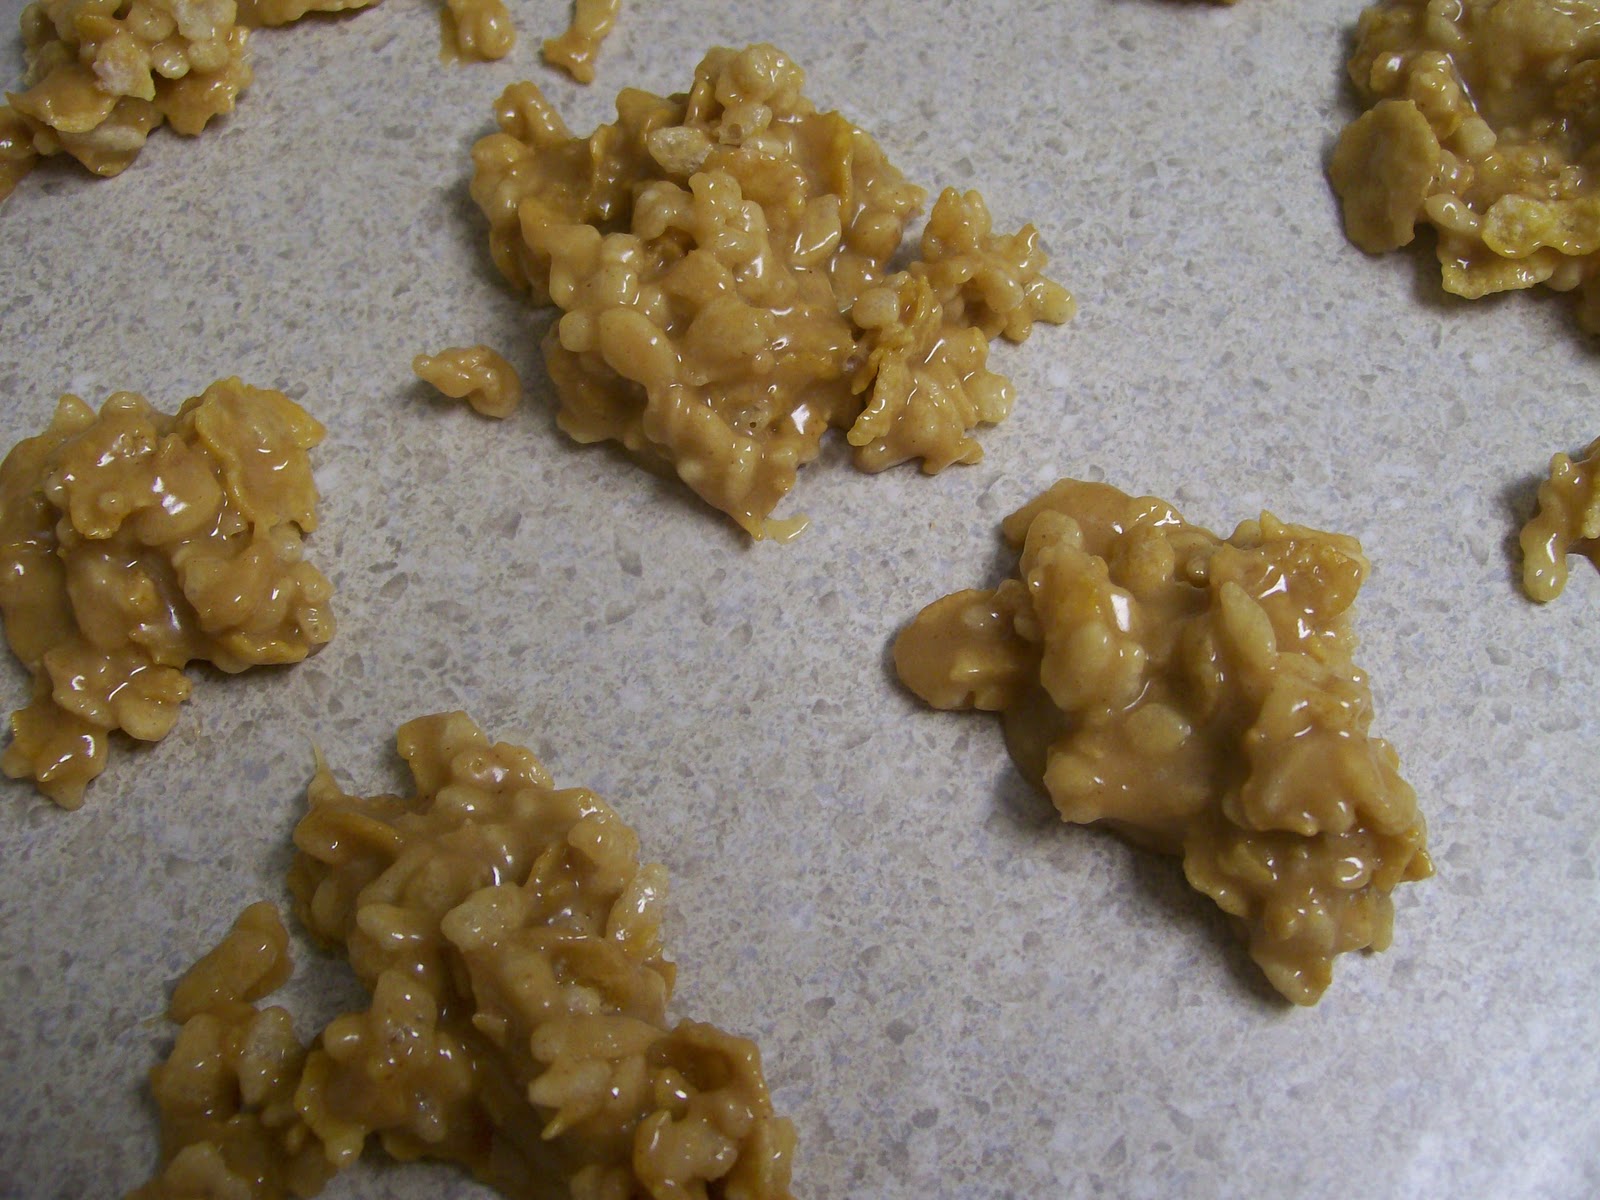
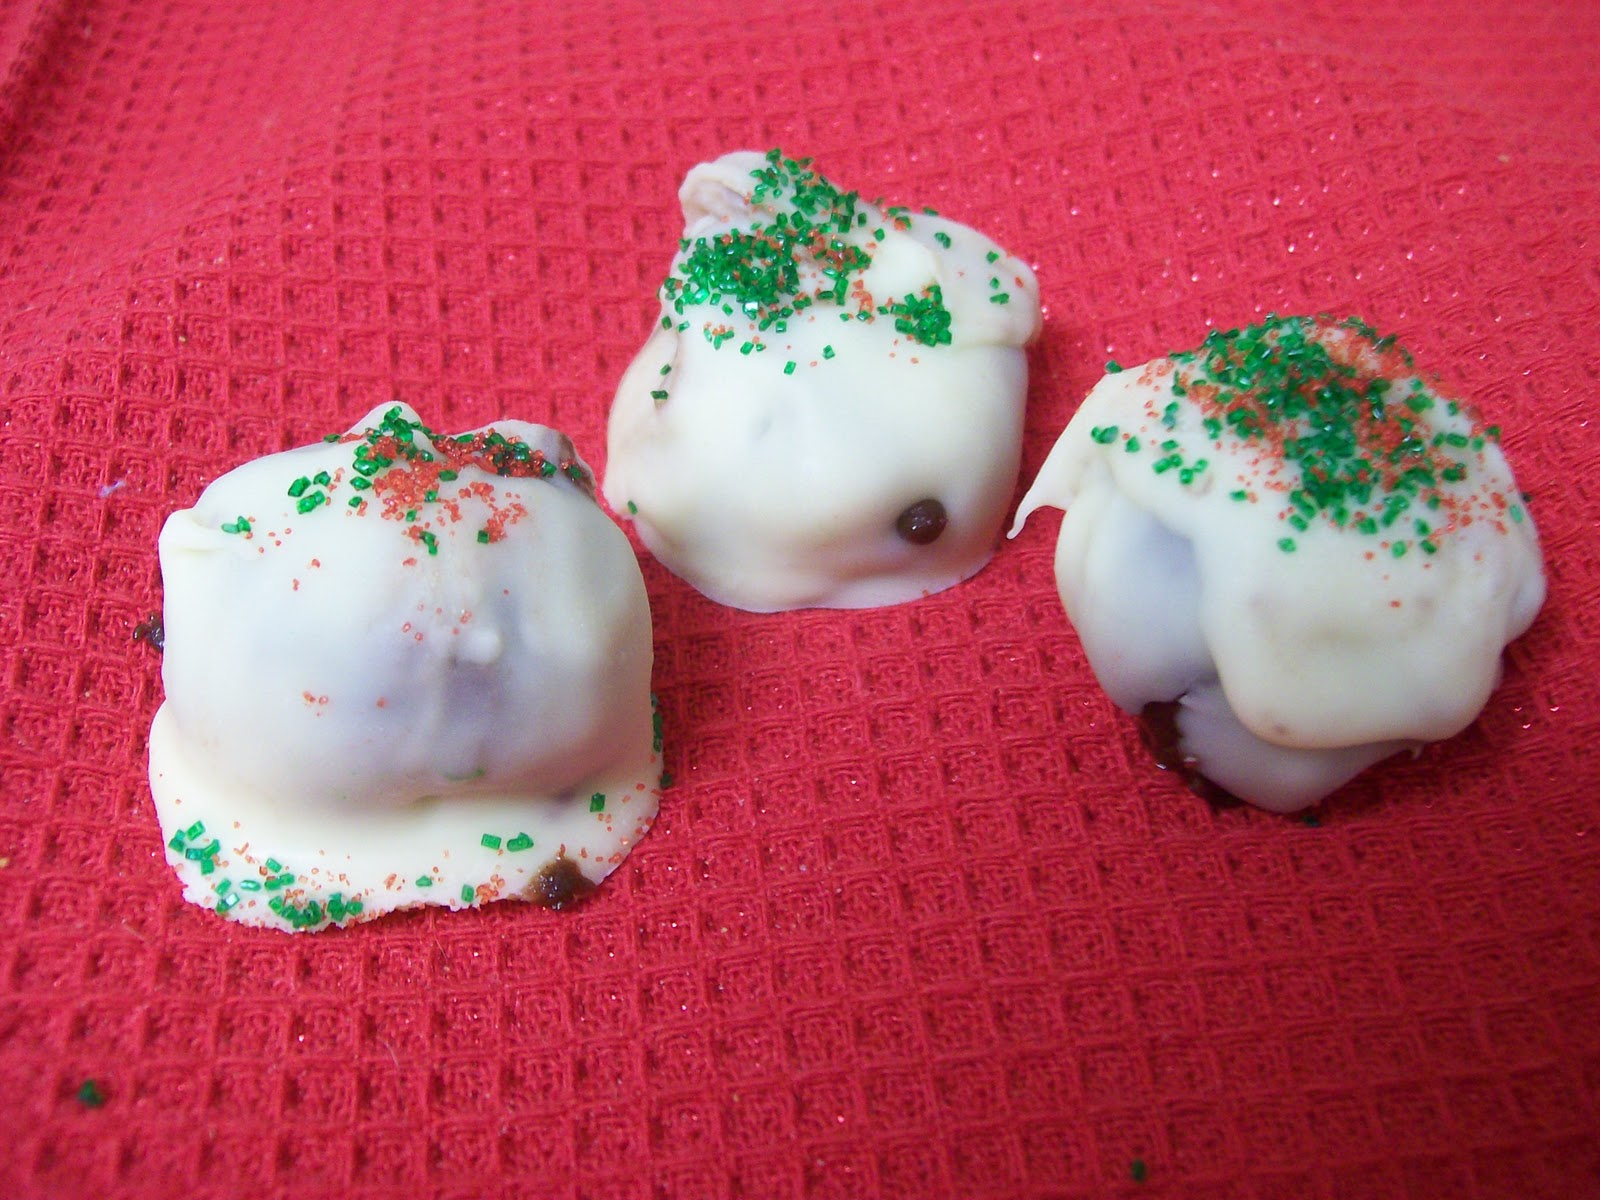
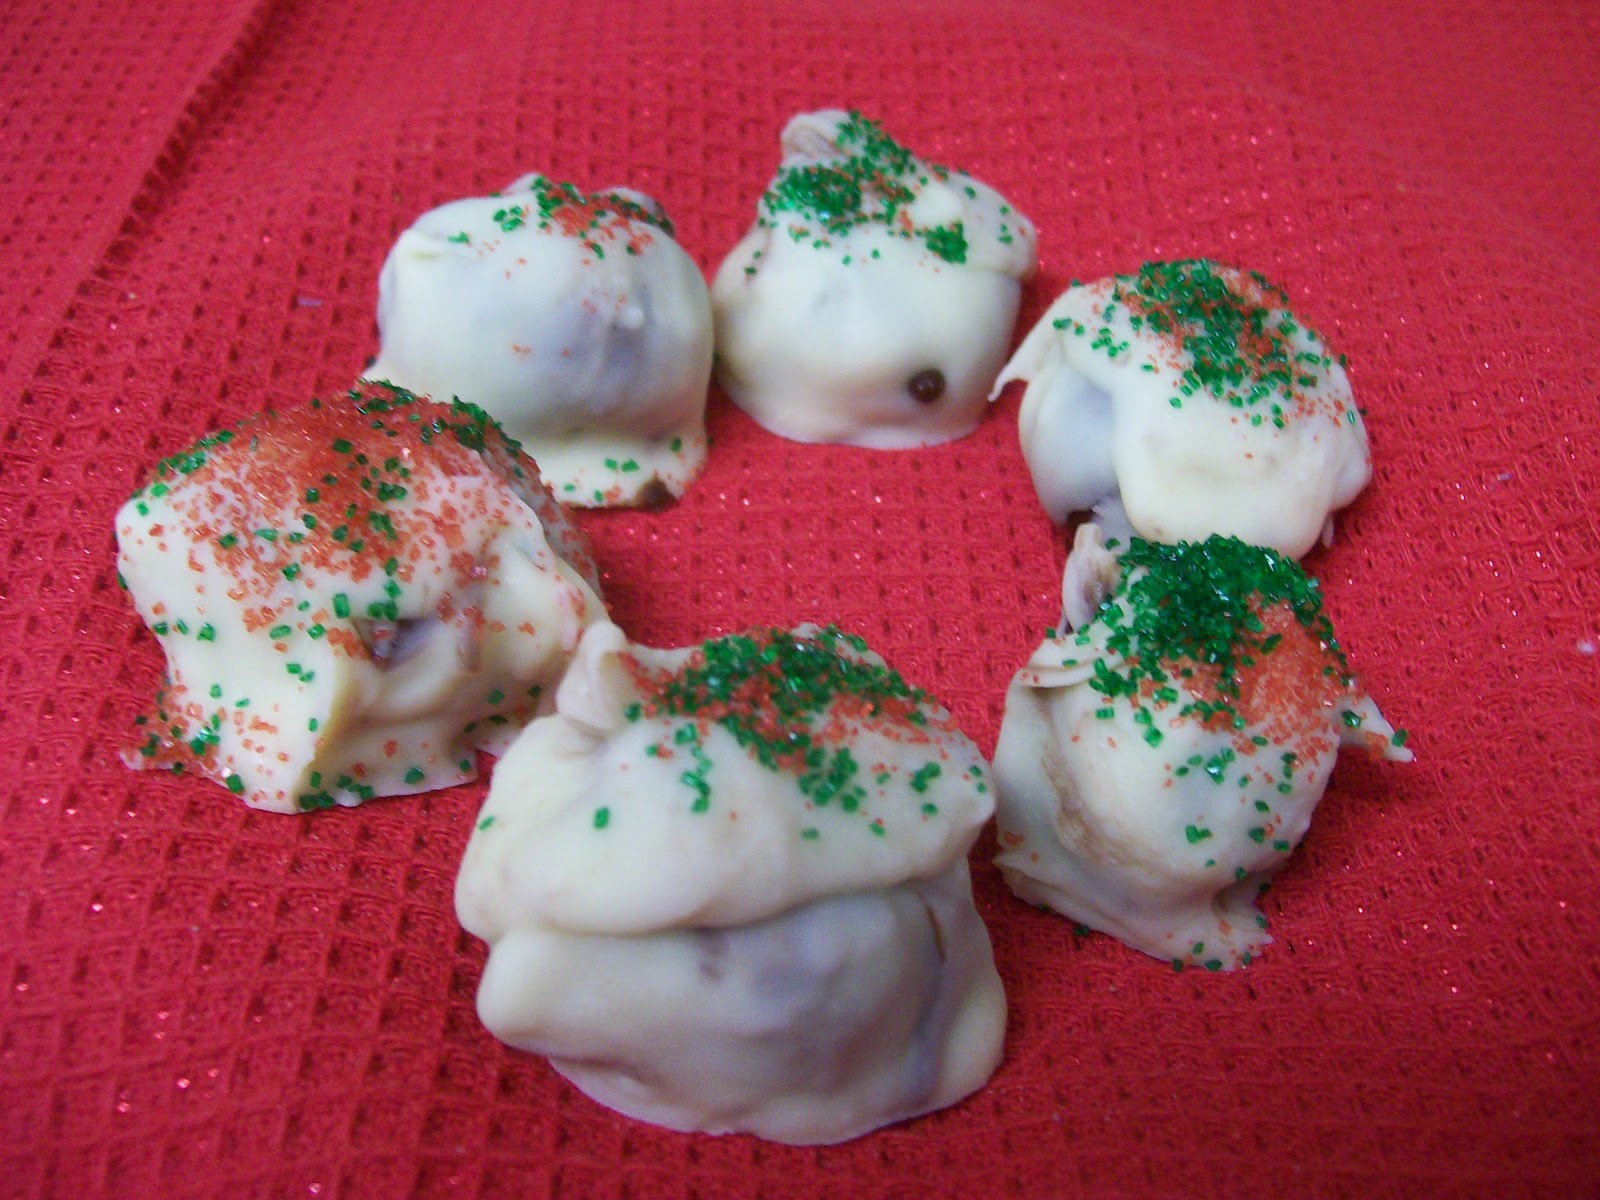
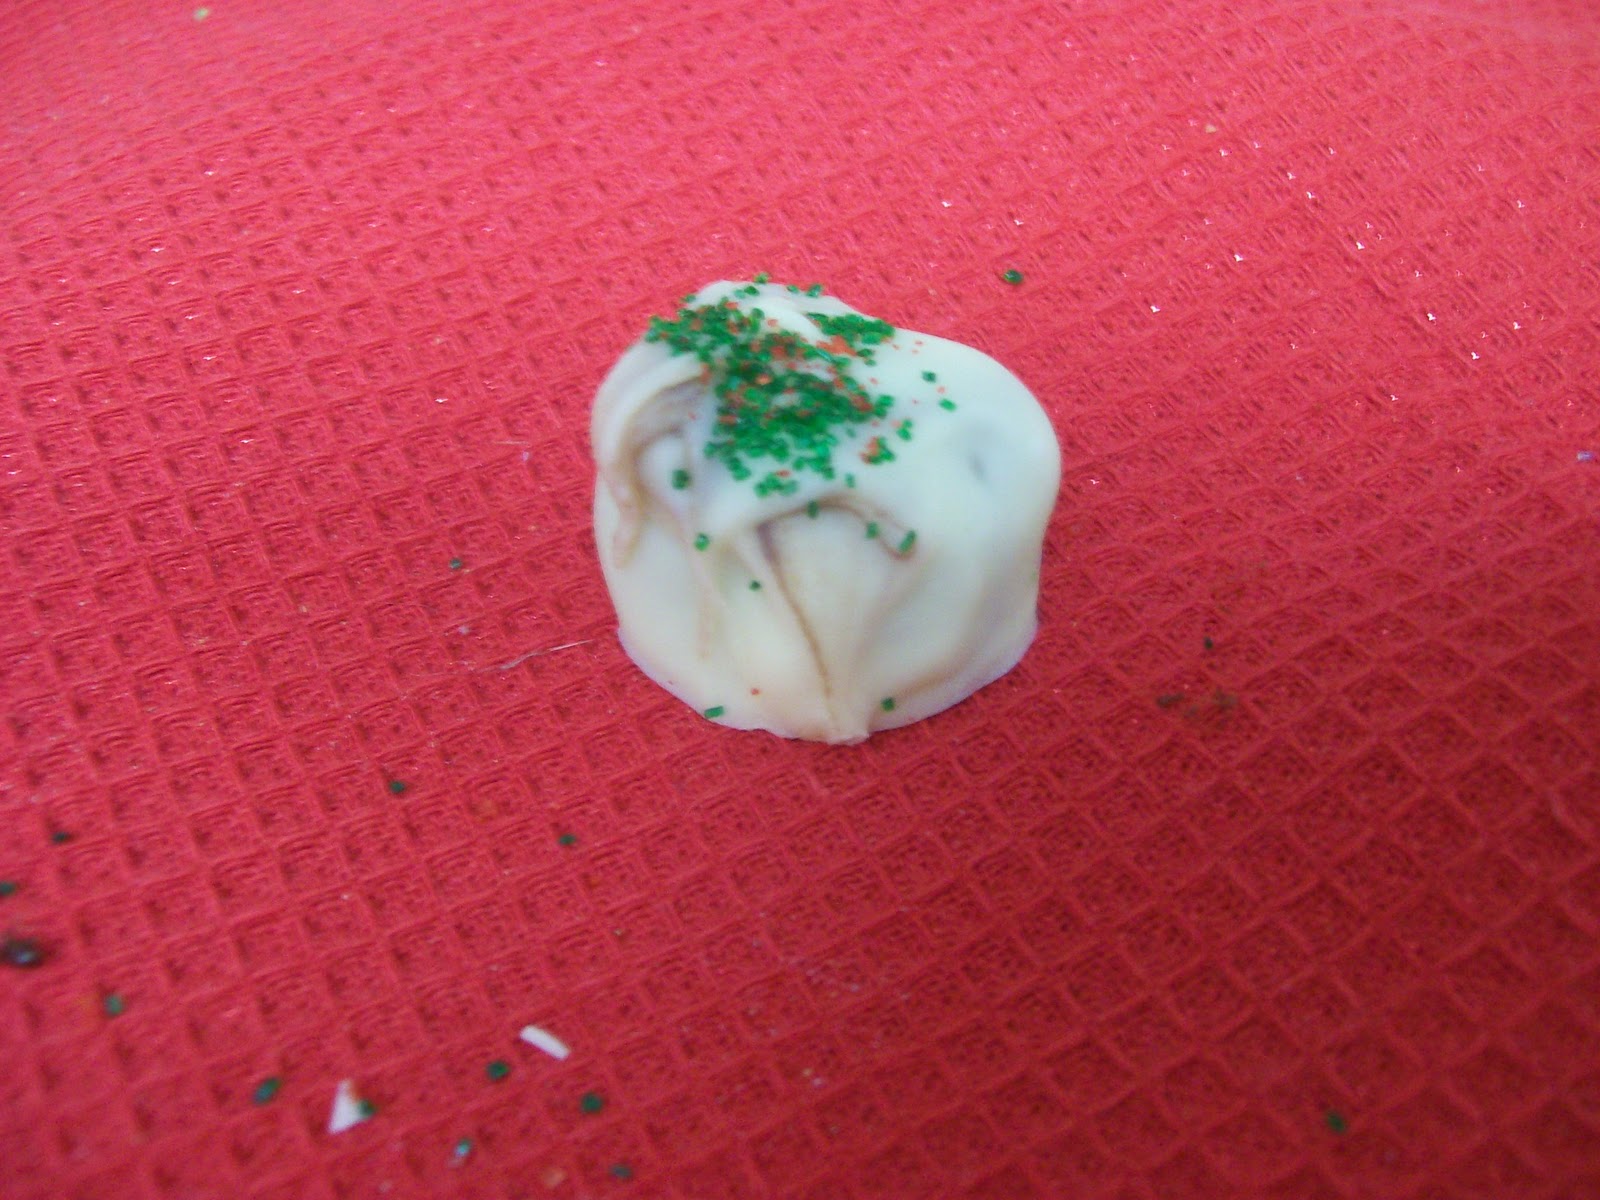
This was just a trial run so as you can see they’re not as beautiful as I would like! (ie – I didn’t chill them long enough before dipping, and they started to melt on me.)  But the taste is incredible! So I just adjusted the freeze time for you, and voila!
The secret ingredients to this cheap alternative are brownie mix (one box will make about 3 batches or so!), and mayonnaise.  (Yes, you read that right! Mayonnaise!)  I started out adding water and oil to brownie mix, and it just didn’t taste right.  Then I remembered that a Wise Man, who I affectionately call My Dad, once told me that you could substitute mayonnaise in the place of egg (because the mayonnaise contains eggs).  So I tried this, and I was amazed at the change!  You can’t taste the mayonnaise itself, but it does give the brownie batter it’s proper taste and consistency that you usually get with eggs. And thus, it’s a big key to these semi-homemade truffles!   Hope you enjoy the recipe!

Recipe for Easy Chocolate Truffles:


Ingredients:
1 1/2 cups brownie mix (I used Betty Crocker Original Supreme)
2 tablespoons oil
2 tablespoons water
2 teaspoons mayonnaise
2 or 3 squares of almond bark (or chocolate chips)
candy sprinkles (optional)

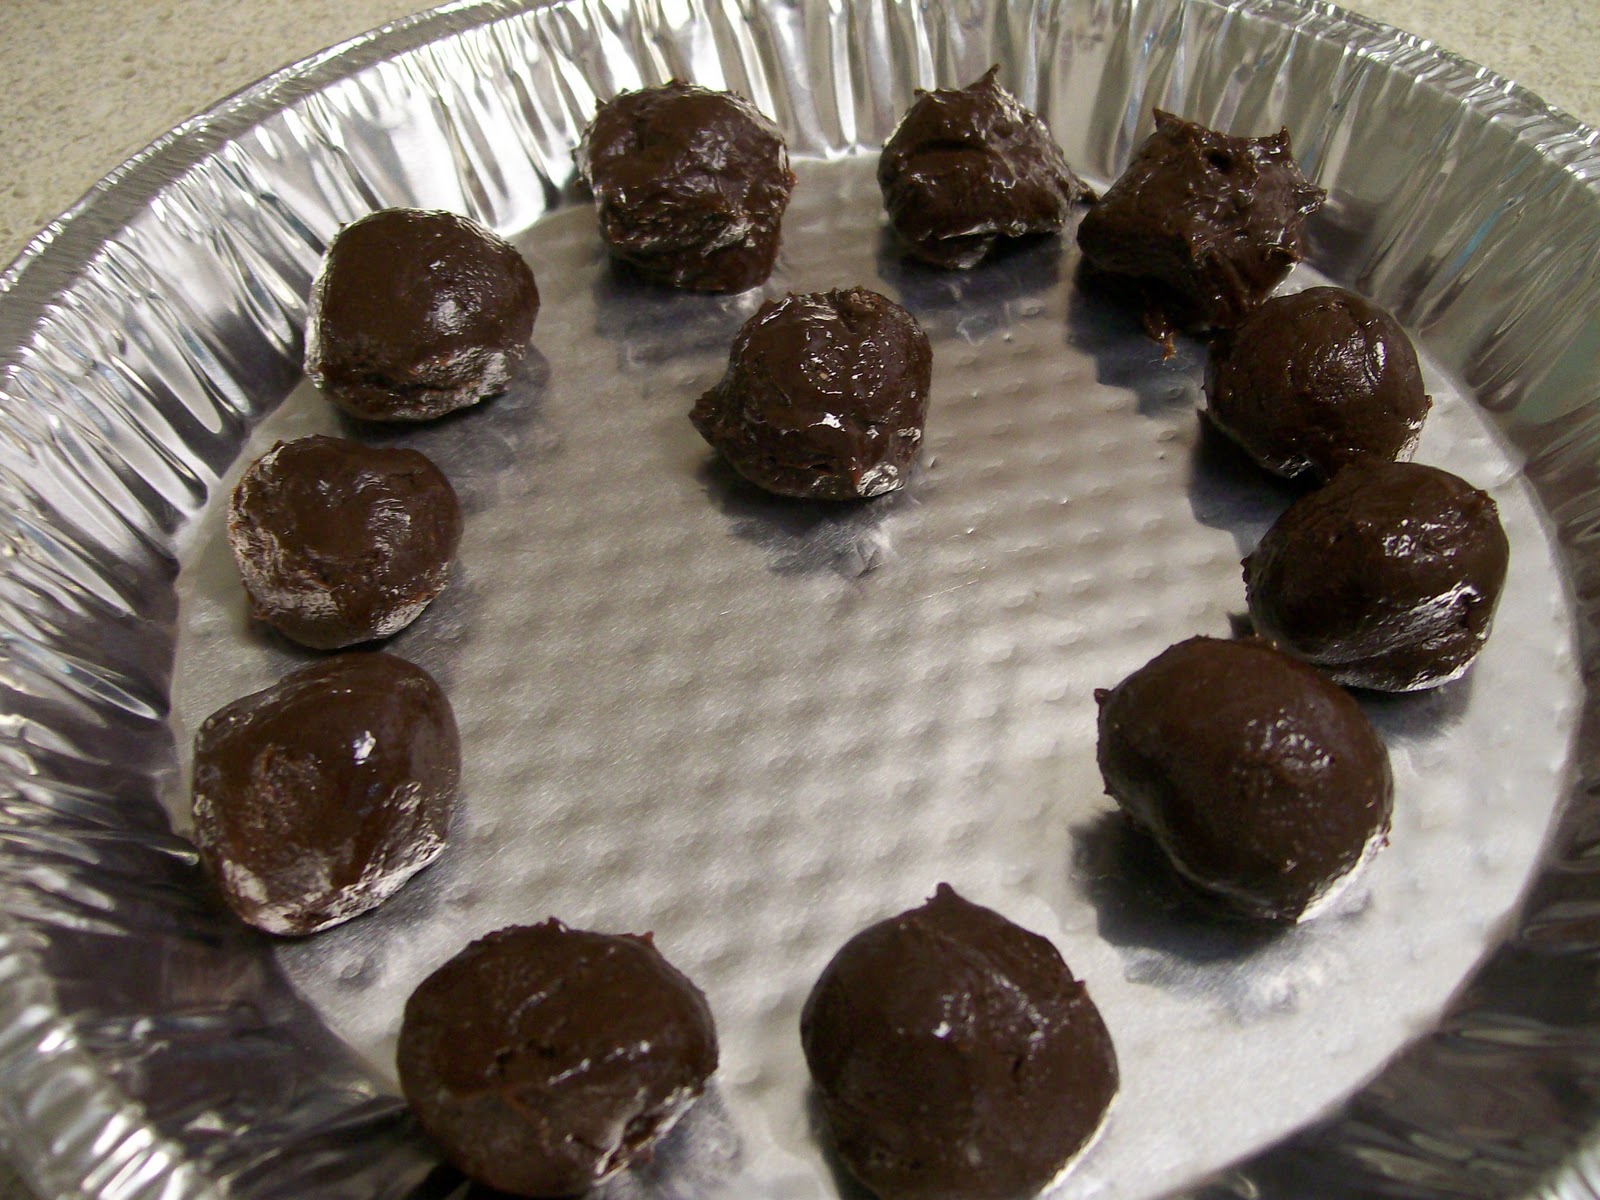
Directions:  Measure out your brownie mix and place in a bowl.  Add water, oil, and mayo.  Mix well.  Batter should be extra stick, so that you can roll it into balls. (If it doesn’t appear thick enough, add extra batter.  If it’s too thick, add a very small amount of water.)  If the batter seems too sticky for rolling, you can place the batter in the refrigerator for a few minutes before rolling. 
This recipe should make 12 truffles, measuring 1 1/2 inches wide, or 18 truffles measuring a inch wide.  After you’ve rolled the batter into balls, place them on a plate lined with wax paper or parchment paper.  Chill in the freezer for a few hours or overnight.  (Note: If you don’t let them chill long enough they will start to lose their shape and melt when they are dipped in the chocolate.)
When you’re ready to dip the truffles, melt the your almond bark or chocolate chips.  To do this, just place the chocolate in a microwave safe bowl  and heat it for a minute or so.  Very Important: Check it every 15 seconds and stir to prevent scorching.  (Note: If the chocolate starts to harden during the dipping process, simply reheat again in 15 second increments.) 
To dip your balls, you can use a couple of different methods:  You may use a candy dipper to dip the balls.  Or you may also place them on a spoon if you don’t have a candy dipper.
My favorite dipping method is the toothpick method.  Before freezing your balls, just poke each one with a toothpick.  (Sticking them with the toothpicks before chilling will prevent the balls from falling off the toothpick once the balls are dipped.)  The only downside to this method is that there will be a hole when you take the toothpick, but you can get rid of this by simply spooning a tiny amount of melted chocolate over the balls.
To decorate the truffles, you may either place the sprinkles in the bowl and dip them or you can pour the sprinkles over the top of them.  Just make sure that you do the sprinkles immediately after the truffle has been dipped in the chocolate, because it will harden in seconds and the sprinkles won’t stick after that.
Place on a tray to serve to your party guests, or place in a cute candy bag or box to give as gifts.

I’m linking this up for this week’s parties and  The Holiday Recipe Exchange at Food, Fun and Fotos.

Photobucket

Orange Dream Pie

With Thanksgiving and Christmas I’m sharing one of our favorite holiday recipes.  My husband’s not really in to pies, but he loves—LOVES this one!  Anytime we have to bring a dish to any type of get together, this is what he requests. (And lucky for me this is one of the easiest recipes I have!)  If you like Dreamsicles in the summer time, you’ll love this pie!

Don’t forget I’m hosting Sweet Thursday this week.  Stop by and link up your holiday and family favorite recipes!

Recipe for Orange Dream Pie:

Ingredients:
1 graham cracker crust
2/3 cup boiling water
1 pkg. (3 oz.) orange gelatin
1 package (8 oz) Cream Cheese
1 tub (8 oz) Whipped Topping

Directions:  Heat water to boiling. Pour into a bowl.  Add gelatin mix. Stir 2 minutes until completely dissolved. Cool for 5 minutes.   Pour into blender. (You must use a blender.  A mixer will cause mixture to splatter.) Place softened cream cheese in blender, and blend well.  Pour into large bowl.  Slowly add whipped topping. Stir together well. Pour into pie crust.  Chill in the refrigerator until ready to serve.
Tip:  This is great with other flavors as well!  Below is a pic of the pie I made using strawberry gelatin.  In the future I’m going to try lemon and lime too, and I think cherry would also be a good choice!

I’m linking up this week at the Love the Pie Party  at Tidy Mom and these linky parties.

Photobucket

Peanut Butter Cereal Ball Candy

Is everyone ready for Holiday baking?  One treat that I always love to make this time of year is Special K Candy.  It’s very similar in taste to my absolute favorite, Peanut Butter Balls.  But these are a lot easier and faster to make.  And they are just scrumptious!
I’ve also changed the recipe up a bit, making it with a mixture of Corn Flakes and Rice Krispies, instead of the Special K.  In the future I may do a batch using just the Rice Krispies too because I really liked the consistency that the Rice Krispies brought to the mix.
Recipe for Peanut Butter Cereal Balls:

Ingredients:

1 cup Light Karo syrup
1 1/2 cups White sugar
1 1/2 cups Peanut butter
5 cups cereal (Original recipe calls for Special K cereal, but I used a combination of Rice Krispies and Corn Flakes.)
Directions: Bring Karo syrup and sugar to a boil.  Remove from heat and stir in peanut butter until dissolved.
Slowly mix in cereal.  Drop by rounded teaspoon onto waxed paper.  Then mold into balls.

Tip – You can also spoon the mixture into a 9×13 dish if you prefer to serve these as bars.

I’m link this post up for this week’s linky parties.

Photobucket

Taco Soup

I just love stews, soups, and chilis this time of year! This year, up until now it’s still been too warm around our house for hot comfort foods.  But today I actually turned the heat on, so now I’m starting to see some soup in our near future! In the last couple of years I’ve been turned on to Taco Soup.  If you like chili, you’ll love this!  It’s not too spicy, not too bland, full of flavor, and perfect for a cool fall day.
Come join SoupaPalooza at TidyMom and Dine and Dish sponsored byKitchenAidRed Star Yeast and Le Creuset

Recipe for Taco Soup:


Ingredients:
1 pkg. Taco seasoning
1 lb ground beef
1 large onion, chopped
1 can black beans
1  can pinto beans
1 can of chili (kidney) beans
1 can stewed tomatoes
1 can rotel tomatoes
1 can corn

Directions: Brown onion and meat.  Drain.  Place in large pot.  Add taco seasoning and mix well.  Add canned ingredients. Simmer for one hour.  Serve with chips, cheese, and sour cream.
Tip: Drain some or all of the cans, depending on how thick you’d like your soup to be.

I’m linking up at these linky parties.

Photobucket

Best Ever Corn

Over the summer we were driving through rural Tennesee for a funeral.  This was only just a little over an hour from home, but it was an area that was completely new to us, and I was just amazed by the all the corn fields.  They seemed to run for miles and miles.  As a kid I grew accustomed to seeing cotton fields like this (though sadly, they seem to have disappeared), but I ‘ve never seen corn fields like this or even knew they existed this close to our home.  I have a feeling that the people who live here, to their credit, have never seen a can of corn in their lives. lol.
Unfortunately we don’t all have fresh corn at our disposal, but we do have the next best thing.  My mom has always made the most delicious corn.  I usually call it fried corn, only because it’s cooked in a frying pan, but this is probably a misnomer, so for this post, I’m calling it, “Best Ever Corn.”  She makes it using frozen white shoepeg corn.  Yellow corn is okay, but I have to tell you, white shoepeg is the best!  She’s always used Jolly Green Giant, so that’s what I use too, and you can find it a small box, or in a bag if you need the family size.  I’m sure it would be great in other brands as long as it says, white shoepeg.  (And by the way, I was recently watching Dr. Oz, and they said frozen veggies were just as good as fresh but without the sodium of canned veggies.  So yay!)
And just to give you a quick testimonial story as to how good this corn tastes, one time several years ago, we were eating dinner.  It was either Thanksgiving or Christmas time, and my brother was talking about how great the corn was and then he asked my mom who she got it from.  And she gave a funny look and said that she got it frozen from the store, and he said, “Oh! So you cheated this time! It’s usually homemade!”  And my mom gave him another strange look and said, “No, it’s not. I always get the corn at the store.”  And then he said, “Well, than you’ve been tricking me all this time.”  And my mom explained to him that she never once told him that it was homemade; he just assumed.  The look on my brother’s face was so hiliarous; it was as if he somehow felt that he had been cheated because the corn he thought was homemade all these years had really been frozen.  The horror!

Recipe for Best Ever Corn:

Ingredients:
2-4 cupsWhite Shoepeg Corn (fresh or frozen)
1 tbsp butter (optional, I leave this out.)
Milk (just enough to cover the bottom of the skillet, 1/2 cup to 1 cup)
cooking spray
Directions:  Spray your skillet with nonstick cooking spray.  Pour your corn into the skillet. (If using frozen corn, there’s no need to thaw the corn beforehand.)  Add milk.  (I don’t measure it out, I just add enough to cover the bottom of the skillet.  For best measure, cook 2 cups or less in a smaller skillet, and cook 3 or more cups in a larger skillet.)  Add a tablespoon of butter/margarine.   Cook over medium heat, stirring often to prevent milk from sticking/scorching.  (Do not cover.)  Cook for 20-25 minutes or until heated throughout.

I’m linking up at these parties.

Photobucket

Creamy Swiss Chicken Bake

We eat a lot of chicken at our house, so I’m always looking for ways to change it up with different flavors.   This recipe brings a lot of great flavors together using only a few ingredients.  And it proves once again, what an amazing invention stuffing mix is!  It’s also hot and creamy, which makes it the perfect comfort food for a cool fall evening.

Don’t forget to come by tomorrow and enter my 3-yr blogiversary giveaway!

Recipe for Creamy Swiss Chicken Bake:
Ingredients:
4 boneless skinless chicken breasts
8 Swiss cheese slices
1 (10.5 oz) can condensed cream of chicken soup
1/4 cup white wine or apple juice
1/4 cup butter or margarine, melted
1 cup herb seasoned stuffing mix, crushed
cheddar cheese (this wasn’t in the original recipe but I added it on top)
Directions: Spray a 13×9-inch baking dish with cooking spray. Place chicken breasts in bottom of prepared pan. Cover with cheese slices. In a small bowl, combine the soup and white wine or apple juice; mix well. Pour or spoon mixture over chicken. In a separate small bowl, combine the melted butter and stuffing mix; sprinkle over soup mixture. Bake at 325 degrees F for 35 to 40 minutes or until meat is no longer pink. Makes 4 servings.

Linking up this week at these fabulous parties.

Photobucket

Applelicious Apple Dishes


(Photo Credit – Paula Deen)


Among my collection of “Recipes to Make” is this really yummy Apple Cake.  I had planned on making it this week, but then my husband practically begged….. err– requested his favorite yellow cake with chocolate icing. (If you read my blog enough, you may notice that this is a recurring theme at our house.)
So for this week, I decided to put together a collection of Apple Recipes for you instead.  Enjoy!
Here’s an oh-so-easy recipe for Apple Pinwheels from Taste of Home.


In case you didn’t see the Caramel Apple Cake at Friday Favorites the other day, here’s another one I found over at A Whisk and a Prayer.
Lots of great flavors in this Hot Apple Dip from Kraft.  Wouldn’t this be perfect for your next party?  Or ya know….just a night at home?


Usually I head over to Hoosier Homemade to see her latest cupcake masterpieces, but a couple of weeks ago I was really intrigued by these Caramel Apple S’mores.
I just love breakfast foods! This yummy looking Apple-Cheddar Strata was over Pillsbury.
And last but certainly not least, no recipe round-up can possibly be complete without a cookie recipe!  These scrumptious Apple Raisin Cookies were featured over at Martha Stewart.
I’m linking up this week to my usual parties, plus over Taste and Tell for the Celebrating Autumn recipe party on Tuesday.

Photobucket

It’s An Ice Cream Social!

Don’t you just love the blogosphere? One minute you’re at a recipe party, and the next minute your at a craft party! And this weekend we can all go to an Ice Cream Social over at Kitchen Bouquet! With my husband on a no-dessert diet, and me busy with projects in the house this week, I didn’t get a chance to make anything, so I’ll be highlighting a few things that I found on some of my favorite sites instead!  Hope you enjoy!
Also, don’t forget we’ll be having Sweet Thursday here next week! Email your desserts to me by Tuesday if you’d like to be featured, or link up here on Thursday! Have a great weekend!

Coconut Ice Cream from Taste of Home
Easy Celebration Ice Cream Cake from Kraft
Berry Chocolae Ice Cream Loaf from Eagle Brand
S’mores Ice Cream Pie from Hershey’s
French Silk Ice Cream Roll from Betty Crocker
-Jerri

Friday Favorites – Week 5

Photobucket

I can’t believe it’s already week 5 of Friday Favorites!  Thanks everyone for your participation! Don’t forget if you link up this week, you’re eligible for an extra entry in my Survival Seed giveaway!
Also, just a quick reminder, if you are a baker/food blogger, we’re having Sweet Thursday next week.  The theme is Spring Desserts.  If you’d like to be featured in the post, you can email me a link to your post by Wednesday of next week or you can participate via Mcklinky on the day of the event. Hope to see you there!
Now for this week’s features. Please grab my “featured” button if your post is here! Thanks!

This recipe looks right up my alley: Grilled Chicken Rio Grande from Nancy’s Daily Dish. Delicious! 

I just love birds! And monkey themed paper too? Excellent! This Little Birdy Craft comes from No Money Mama
More birds on this cute easter tree from Bird Crafts
I really want to make these: Artsy Clothes Pins from Monkey See Monkey Do
And I love this handbag from my newest sponsor Nancy’s Bags Etc
Let the party begin! Link up your favorite posts below! Don’t forget to post my link or button so that others can come by and join the fun!
-Jerri

Red Beans & Rice

No recipe this week. Instead I’m sharing a short-cut (quick) meal.  About once a month or once every two months we like to have red beans & rice.  I’ve seen some recipes online for it, but I’m perfectly happy buying it in a box.   I don’t know about you guys, but my husband makes his own hours, and I never know when he may come in at 3:30 or 4 and say, “I’m ready to eat. What can we have that’s quick?”
This is one of my answers!  I do most of my grocery shopping at Aldi and usually buy their store brand.  Otherwise I shop at Wal-mart and get Zatarain’s.
Here’s why I like it:
1. Very flavorful.
2. Cheap. (just .99 at Aldi)
3. Vertsatile (serve plain or with your choice of meats)
4. Quick (cooks up in 20-25 minutes)
Usually we eat ours with smoked sausages cooked in it. I recently found a pack of these at Aldi for just $3.95 that included 16 sausage dogs.  I cut up 4 of them to put in the red beans & rice and put the rest in the freezer for later.  What a deal!
But occasionally we eat it plain and a few times (as in these pictures) I’ve put chicken in it.  If you haven’t tried it with chicken, I totally recommend it!
I also recommend the low sodium variety.  A lot of times I’m uncertain if I want to try out the low fat or low sodium stuff, because you never know what you’re going to get, but I have tried the Reduced Sodium Red Beans and Rice as well as the Jambalya from Zatarain’s, and it was a delicious.  I couldn’t taste a difference at all!

Do you have any convenience foods or quick meals that you like to make?  I’d love to hear your recommendations!

-Jerri

———————————–

I’m posting a link to this post on the following sites:
Tempt My Tummy Tuesday is hosted by Blessed With Grace.
Homemaker Mondays is hosted by 11th Heaven’s Homemade Haven.
Tasty Tuesday is hosted by Balancing Beauty & Bedlam.
Works for Me Wednesday is hosted by We Are THAT Family
Tip Me Tuesday is hosted by Tip Junkie
Tackle it Tuesday is hosted by 5 Minutes for Mom