Apple Chai Recipe and Mini Pies Book Review and Giveaway

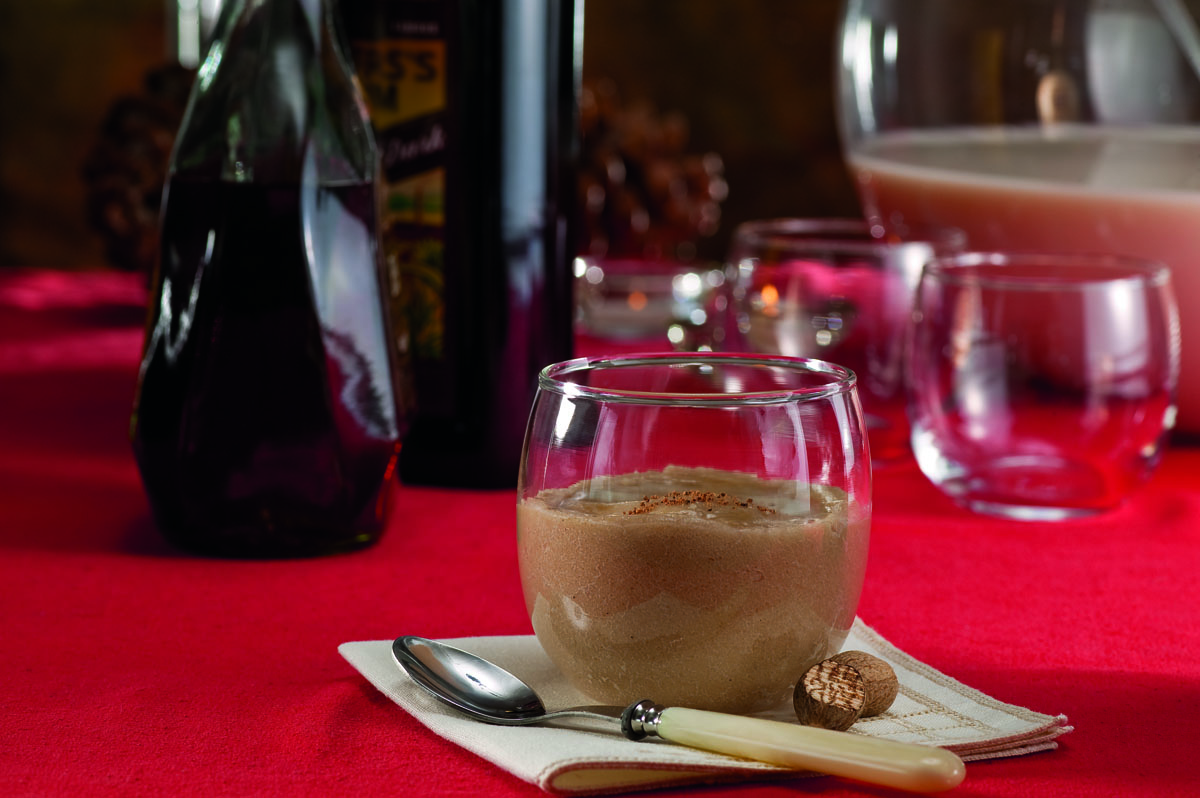
Photo: Spiced Cranberry Pear

The fall and holiday seasons are such great times for baking!  And there’s nothing like freshly baked pies to satisfy your guests’ sweet tooth (err…teeth) and make them feel right at home.
By the way, come join Love the Pie with TidyMom sponsored by Cherokee USALe CreusetWiltonBags by Bloom and  Harvard Common Press.

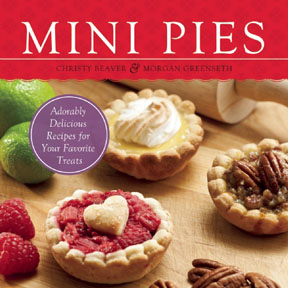
New from Ulysses Press, Mini Pies is a cute full-color guide to creating America’s hottest new dessert—cupcake-sized mini pies
Offering step-by-step recipes along with tips, tricks, and techniques for mini pie success, this book teaches how to make flaky crusts and luscious fillings that will combine into mouth-watering petite pies. Readers learn how to capture all the delicious flavor of a traditional pie while gaining the adorable look and eat-out-of-your-hand convenience of a cupcake. From beloved favorites like pumpkin, apple, and pecan, to more creative flavors such as Raspberry Rhubarb Whiskey, Chocolate Chipotle, and Cranberry Almond Pistachio, Mini Pies presents recipes to please any palate. Also included are savory recipes for quick snacks and appetizers like mini veggie pot pies, plus vegan and gluten-free recipes to ensure that everyone can enjoy these delightful delicacies.
My Review:  I think this is an excellent book! I love pies and I love cupcakes, so the idea of a mini, cupcake-sized pie is right up my alley.  And I was impressed by the variety of recipes included.  The book has everything from my favorite Chocolate Cream to my dad’s favorite Custard, and my mom’s favorite Lemon Meringue!
It also has the classic holiday favorites that everyone loves: apple, pecan, pumpkin, and cherry!
And along with the pies themselves, you’ll also find great recipes for pie crusts and pie toppings, as well as a great tutorial for making Pies in Jars!

And all the color photos are so beautiful and inspiring!  They will definitely make you crave the pies!

Before we get to the giveaway, I’ve got a sneak peak at one of the recipes from the book!  It’s Apple Chai! Hope you enjoy!


Recipe for Apple Chai

“An apple chai a day keeps the doctor away.” 
Ingredients:
2 apples peeled, cored, and diced into ¼-inch pieces (we like Granny Smith for this pie) 
¼ cup brown sugar 
¼ cup granulated sugar, plus extra for sprinkling 
½ teaspoon ground cinnamon 
⅛ teaspoon ground cardamom 
¼ teaspoon ground allspice 
1 teaspoon vanilla extract 
1 tablespoon lemon juice 
Perfect Pie Crust (recipe in book)
 ¼ cup soy milk 
Directions:
1. Preheat the oven to 350°F. Generously grease a 12-cup muffin tin with butter or cooking spray. 
2. Combine the apples, brown sugar, granulated sugar, cinnamon, cardamom, allspice, vanilla, and lemon juice in a large bowl. Let sit for 10 minutes to allow the flavors to blend. 
3. On a thoroughly floured surface, roll out the pie crust to a thickness of 3∕16 inch. Using a 4-inchdiameter round cutter, cut 12 crusts. Re-form and re-roll the dough as necessary, keeping plenty of flour on your work surface. 
4. Using the mini cookie cutter of your choice and leftover pie crust, cut out 12 shapes to use as pie toppers. (We like stars for Apple Chai pies.) 
5. Carefully shape the crusts into the wells of the muffin tin, crimping the edges with your fingers. 
6. Fill each mini pie with 1½ tablespoons of the apple mixture. The filling will settle while baking, so it’s best to fill the pies higher than the top of the muffin tin. Top each mini pie with a pie topper. 
7. With a pastry brush, lightly brush the pie crusts with soy milk, then sprinkle with sugar. 
8. Bake for 20 to 25 minutes, until the crusts are golden brown. Allow to cool for a few minutes in the muffin tin, then carefully remove the pies from the tin and place on a wire rack to finish cooling. To remove, first try to spin the pies in the muffin wells. If they need a little extra help, run a butter knife along the edge of the crusts to pop them out of the tin. 
9. Serve, or store in an airtight container at room temperature for up to 2 days.Sweet tips : Be sure to dice the apples to a fine ¼-inch dice to minimize settling during baking.
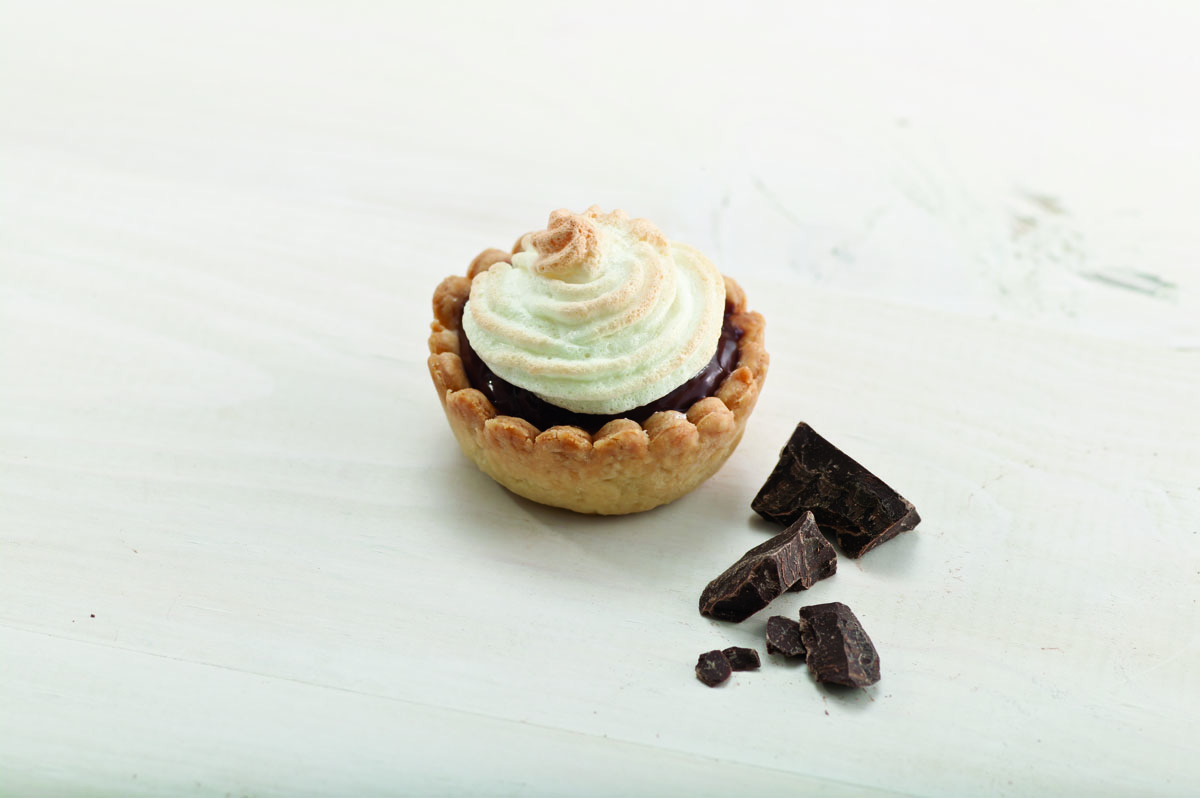
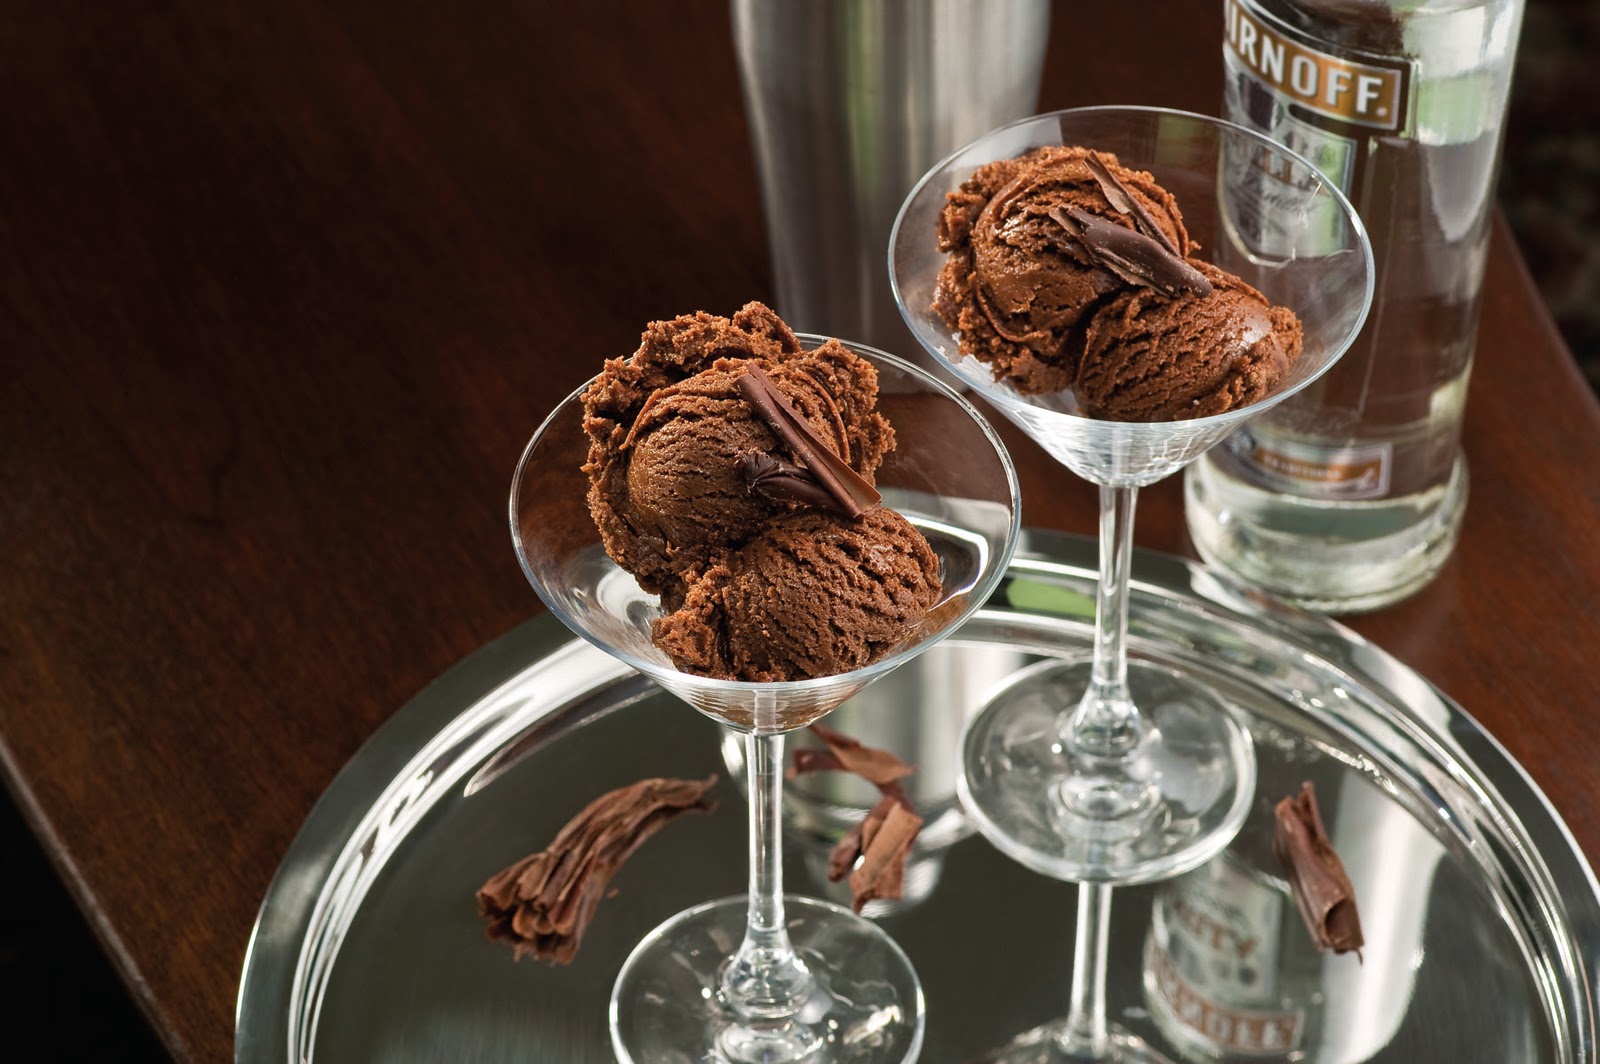
Photo:  Aunt Jimma’s Chocolate Cream 

Buy it! Check out Ulysses Press to find out how to order the book online.
Win it! One Simply Sweet Home reader will win a copy of Mini Pies.

To enter, just use the Rafflecopter form below. Giveaway will be open through Nov 27.


Photobucket 

 Photobucket

I’m linking up at the Love the Pie Party at Tidy Mom and these  parties.

Disclosure: I received a copy of Mini Pies for review.  The opinions are my own.

Berricle Snowflake Pendant Review

Jewelry is an excellent Christmas gift for one and all! This season check out Berricle, an online retailer specializing in beautiful silver and cubic zirconia jewelry.

Berricle.com was born in 2006 out of a vision to create the most customer friendly online jewelry store specializing in the most exquisite Silver Jewelry and Cubic Zirconia Jewelry in the US. We started out with a handful of carefully selected pieces but we presently boast over 1,500 enchanting designs selected for their quality as well as the aesthetic satisfaction they give.

I received one of Berricle’s Snowflake Pendant Necklaces.  The beautiful snowflake design pendant necklace is made of fine sterling silver, plated with rhodium, and stamped with 925 quality mark. It is set with 20 dazzling bezel set, princess cut, AAA grade cubic zirconia stones that weigh 1.8 carat in total and accented with 24 glittering pave set, round, cubic zirconia stones that weigh 0.36 carat in total. The pendant measures 1 1/2 inch L X 1 1/4 inch W. Chain length is 18 inch. Spring ring clasp. Chain can be removable from pendant.
This is a lovely piece of jewelry. It has a simple, yet elegant style, which I love!  The pendant has exquisite detail and is also an excellent size that should make anyone happy whether you like large or small jewelry.
The combination of the silver and cubic zirconia, along with the overall design also makes this a perfect piece of jewelry to where with any outfit this winter.  It’s nice enough to wear with a formal gown, yet simple enough to wear with business casual attire or just a sweater and jeans.

Check out Berricle this holiday season!


Connect with Berricle: Get updates on new products and promotions by liking Berricle on Facebook and following on Twitter.  Also, check out the  Berricle Blog and subscribe to the Berricle Newsletter.

Photobucket

Photobucket

Disclosure: I received jewelry from Berricle for review purposes. The opinions are my own.

World’s Best Cat Litter Review and Giveaway

As you do a little fall cleaning for the upcoming holidays, consider freshening up your cat’s litter box with World’s Best Cat Litter.

As many of you know, the resident cats of Simply Sweet Home love trying out new products, and I knew this was one that they would really “dig.”
World’s Best Cat Litter comes in three varieties: Clumping Formula, Multiple Cat Clumping Formula, and Scented Multiple Cat Formula.
World’s Best Cat Litter is the only litter made from whole-kernel corn. That means it has a naturally microporous structure that keeps nasty odors and smells inside the litter. It traps the liquid and limits the wetness from seeping, sinking to the bottom or sticking to the sides of the box.
With its patented formula and quick-clumping abilities, World’s Best Cat Litter is easy to scoop. And cleanup is a breeze! Quick clumping keeps the rest of the litter dry. As a result, one 7-lb. bag of World’s Best Cat Litter™ may last one cat more than 30 days. That saves you time and money!
And because World’s Best Cat Litter™ is made from all-natural ingredients—with no added chemicals—it’s safe for cats. And unlike clay litters, there’s no silica dust for you or your cat to breathe.

My Thoughts: We tried the Multiple Cat Clumping Formula.  I liked that I could pour the litter in the pan without a lot of dust flying up.  And I also liked the fine consistency of this litter.  The cats quickly accepted the change of litter after a little sniff or two.

And this litter did a good job of covering up odors. The litter clumped up very well for easy scooping. Plus, with this litter, I didn’t have to deal with that ammonia smell that can sometimes take your breath away when scooping.

All in all, I’d say this is a good product.  And if you’re interested in trying a litter that’s a litter more environmentally friendly and lacks chemicals that can be harmful to your and your cat children, you should give World’s Best Cat Litter a try!

Buy it! World’s Best Cat Litter is sold at a number of local and online retailers including Petco, Pet Smart, and Amazon. Check here for a full list of retailers.

Win it! Three Simply Sweet Home readers will win a bag of World’s Best Cat Litter.
How to enter: Use the Rafflecopter form below. Giveaway will be open through Nov 22.


Photobucket

I’m linking up at Tidy Mom and these parties.

Ice Cream Happy Hour Review, Giveaway, and a Recipe

Eggnog with Brandy and Rum

The holiday entertainment season is upon us, which means lots of excuses for drinking and desserts. What better way to impress your guests at the end of a dinner party or holiday festivity than with boozy ice cream.

“Ice Cream Happy Hour” is the first book of its kind, with 50-plus ice cream recipes based on your favorite classic shots, cocktails and blended beverages – Coffee with Kahlúa, Chocolate Martini, and Strawberry Daiquiri. These 21-and-over homemade frozen delights not only taste amazing, they also serve up a surprising kick – there’s a shot of alcohol in each cup!

I had the opportunity to review this book, and I think it will make an excellent addition to your library of cookbooks!  It has a variety of Ice Creams, Sherbets, Sundaes, Floats, and more to add flavor and fun to your holiday parties.

You’ll find everything from the ever popular Pina Colada to Margarita Ice Cream, as well as Irish Coffee, Mint Chip with Creme de Menthe, Mudslide Sundaes, and even Bar Brawl Ice Cream Sandwiches!

And if the names of the recipes don’t tempt you, the photos will!  Just take a look at this Chocolate Martini, and you’ll see what I mean!


Today along with a giveaway of this book, I’m pleased to bring you an exclusive recipe from the book!  The Recipe is for Butter Pecan with Brandy!  Whenever I think of fall and the Thanksgiving holiday, I always think of Pecan Pie and other Pecan Recipes, so this ice cream seemed like the perfect one to share this week!


Recipe for Butter Pecan with Brandy:
This recipe calls for candied pecans; however, toasted pecan halves can be substituted if you don’t have the time. We recommend going the extra mile though. It gives the pecans a great texture along with the flavor.
Ingredients:
1 cup milk
2 cups heavy cream
½ vanilla bean
4 egg yolks
⅔ cup brown sugar
2 teaspoons cornstarch
1 packet (1 tablespoon) gelatin
⅓ cup cold water
¼ cup cold (refrigerated) brandy
2 cups Candied Pecans (recipe follows)
Makes about 1½ quarts
Directions:
1. Mix the milk and heavy cream in a medium saucepan over medium-low heat. While the milk mixture is heating, split the vanilla bean down the center lengthwise and scrape out the seeds. Whisk the seeds into the milk mixture, then add the empty pod to the pan.
2. Steep the milk mixture and vanilla. Once the milk mixture is scalding, remove the pan from the heat and cover it. After about 15 minutes, remove the vanilla bean pod.
3. Reheat the milk mixture back up to scalding.
4. While the milk mixture heats to scalding, whisk together the egg yolks with the brown sugar and cornstarch in a medium bowl until slightly fluffy. Gently stream about one-third of the hot milk mixture into the eggs while whisking continuously. This is called tempering. It’s important to whisk while streaming the hot milk. If you just pour in the hot milk and then whisk, you may get scrambled eggs.
5. Thicken the custard over low heat. The custard should thicken rather quickly because of the cornstarch. Pour the egg and milk mixture into the rest of the milk mixture in the sauce pan and stir continuously on low heat with a heatproof spatula. Make sure you scrape the bottom evenly while you continuously stir. The custard is thick enough when you can draw a line on the back of the spoon with your finger and the line retains its shape. 
6. Strain, cover, and chill the custard for at least 8 hours. Strain the custard through a fine-meshstrainer into a heatproof container. Cover with plastic wrap so that it’s directly touching the entire surface of the custard and none of it is exposed to air. This prevents a skin from developing. Transfer the container to an ice bath and let it cool for about 30 minutes to stop the cooking process. Transfer the container to the refrigerator. Chill until the custard is completely cold, at least 8 hours.Once the custard is completely cold…
7. Dissolve the gelatin in the cold water. Pour the water into a small saucepan or microwave-safe container and evenly sprinkle the gelatin on top. Allow to sit until the gelatin appears to have absorbed as much water as it can, about 2 minutes. This is called blooming. Gently warm over low heat and stir until the gelatin is completely dissolved into the liquid, about 3 minutes.
8. Spike the custard with the cold brandy and gelatin mixture. Refrigerate the alcohol until completely cold. Do not speed up the process by putting it in the freezer, which may make the gelatin set up too much before it is added to the custard. Pour the gelatin into a medium bowl and whisk in the cold alcohol until combined. Do not attempt to skip this step by pouring the alcohol directly into the saucepan or microwave-safe container with the gelatin. There might be enough residual heat to heat up the custard and prevent it from thickening in the ice cream maker. Pour the cold custard into a large bowl. Stream the alcohol and gelatin mixture through a fine-mesh strainer into the custard and whisk until thoroughly blended.
9. Churn the ice cream for at least 20 minutes. Pour the cold custard immediately into the ice cream maker and churn for at least 20 minutes, or as directed. Due to the alcohol content, you may wish to churn it longer to get the desired thickness. If you don’t want to serve the ice cream immediately or you want a firmer texture, transfer it to a freezer proof container and freeze for several hours before serving.
10. Add the candied pecans. Scoop about one-third of the ice cream into a freezer-proof container and sprinkle about one-third of the candied pecans on top. Repeat the layers twice more with the remaining ice cream and pecans, then gently fold it all together. Be sure to work quickly—if the ice cream melts too much, it will just get icy once it’s in the freezer.

Buy It! Check out Ulysses Press to find out how to order your copy of Ice Cream Happy Hour.
Win it!  One Simply Sweet Home reader will win a copy of Ice Cream Happy Hour.
How to Enter: Please use the Rafflecopter form below. Giveaway will be open through Nov 19.

Photobucket

Photobucket

I’m linking up at Tidy Mom and these parties.

Blogiversary Giveaway #2: Ramen to the Rescue Cookbook (with Review)

I’ve always loved Ramen noodles.  I can’t tell you how many packages I’ve eaten of these over the years. Let’s just say, it’s a lot!  Today I’m sharing a new book that shows you new, creative recipes that you can make with Ramen.  It’s called Ramen to the Rescue.

Ramen to the Rescue, written by Jessica Harlan, contains 120 recipes.  Here’s a little information on the book:
“Ramen to the Rescue Cookbook shows those millions of noodle slurpers innovative new ways to enjoy beef, chicken, pork and shrimp ramen-flavored dishes that are so much more than soup. The ultimate collection of comfort-food-noodle recipes, Ramen to the Rescue includes a wide array of mouth-watering treats from Pesto Ramen with Chicken and Hamburger-Noodle Bake to more exotic Asian-inspired dishes like Spicy Basil Ramen Stir-Fry and Soy Sauce Ramen Cabbage Salad. Packed with step-by-step instructions, time-saving tips, and fun illustrations, this book will amaze readers as it demonstrates in a beguiling number of ways how to start with a 10-cent pack of noodles and end with a meal packing a million dollars in scrumptiousness.”
My Thoughts:  I love Ramen because it’s super inexpensive; it’s very easy to make, and it’s so flavorful. But this cookbook takes Ramen to a whole new level.  There’s some great sections in the book, including every course from Snacks and Starters to Desserts and Sweets.  And no matter what your tastes and cooking style, you’re sure to find something that your family will love, whether you enjoy home-style comfort food, meatless means, or Asian-Inspired Classics.
Some recipes that I’d most like to try include: Ramen-N-Cheese, Ramen Alfredo, and Chicken Pot Pie.
I’m also intrigued by some of the breakfast options like the Bacon, Egg, and Noodle Scramble and the Crispy Potato Pancake.
And I can’t talk about the book without mentioning the dessert section. The recipes include Ramen-Mallow Treats, Ramen Noodle Pudding, and even Pineapple Upside Down Cake with Candied Noodles.
I think this would be a great book for students and newlyweds, as well as experienced cooks, looking for creative and economical recipes.
Buy it! You can buy the book online at any of these sites: AmazonAmazon KindleBarnes and Noble, and Barnes and Noble – Nook.
Win it!  Five (5) Simply Sweet Home Readers will win a copy of Ramen to the Rescue.
How to Enter: Please use the Rafflecopter form below. Giveaway will be open through Oct 21.


Photobucket

Disclosure: I received a copy of Ramen to the Rescue for review purposes. I was not otherwise compensated. The opinions are my own.

I’m linking up at Tidy Mom and these parties.

Pillsbury Grands! Biscuit and Egg Scrambles Review and Giveaway

Mornings can be quite hectic: getting yourself ready, getting your kids ready, and getting breakfast ready!
When your in a hurry, it helps to have to some fast breakfast options on hand, and cereal doesn’t always cut it.  Luckily Pillsbury has just come out with a new product that can help you serve a delicious, weekend-worthy breakfast any day of the week!

Available in your grocer´s freezer, Pillsbury Grands! Biscuit Sandwiches and Pillsbury Egg Scrambles heat up in minutes in the microwave.
Made with quality ingredients like fluffy real egg, tasty meat, cheese, Grands! Biscuits and Green Giant® vegetables, the new line of quick and delicious frozen breakfast dishes comes in six flavorful choices:
  • Sausage & Cheese Biscuit Sandwich
  • Bacon & Cheese Biscuit Sandwich
  • Ham & Veggies Biscuit Sandwich
  • Bacon & Veggies Egg Scrambles
  • Sausage Egg Scrambles
  • Sausage & Veggies Egg Scrambles
I was very excited to learn about this new product.  I’m always looking for fast breakfast options, and I love that these goes from the freezer to your table in a couple of minutes (way less time than it would take for me to bake biscuits in the oven, scramble the eggs, and cook the meat).
I chose to try the biscuit sandwiches because I love biscuits, and I love breakfast items that are easily portable.  My husband doesn’t really have time to eat a big breakfast before work, so he often carries a piece of fruit or a snack bar in the mornings. But with these new sandwiches, I can easily make a quick breakfast while he’s in the shower and wrap it up for him to take with him.
I purchased each of the varieties of breakfast sandwiches.  I was very pleased by the taste of these, and I was very surprised by how fresh they tasted.  Our favorite was the Bacon & Cheese Sandwich, but they were all rather good. I would definitely recommend this product to anyone looking for a hot and fast breakfast option.


Win it! One Simply Sweet Home Reader will win a Pillsbury Prize Pack, which includes: 3 Full Value Coupons for Pillsbury Grands! Biscuit and Egg Scrambles, a Pillsbury key chain, and a Pillsbury Beanie Doll.

How to Enter: Please use the Rafflecopter form below. Giveaway will be open through Oct 11.


Photobucket

I’m linking up at Tidy Mom and these parties.

Disclosure: The VIP coupons, prize pack, information, and giveaway have been provided by Pillsbury through MyBlogSpark.

First Response Fertility Test Review

We’ve been talking about having a baby for a while, but as many of you know, my husband’s business was a victim of the bad economy, and since then the jobs he’s taken haven’t had benefits, which has made it a lot harder to think about having a baby.
But the good news is that my husband took a temporary job earlier in the year and just got word that he’ll be hired in a couple of weeks, and the job has great benefits, so it looks like our dream of having a family may soon be realized!

My husband talks like getting pregnant will be a piece of cake because I’m young, etc. But as you can imagine, I’m a little more “anxious” about the whole thing.  I see no reason why we would have any problems conceiving, but at the same time, I know quite a few people who have had problems with conception and even miscarriages, and so it seems natural for me to have concerns.
I recently had the chance to try out the First Response Fertility Test, and I was happy to find that my FSH levels are normal, which means that my ovarian reserve is normal, and I should have no problems conceiving.


How it Works:  Unlike an ovulation test, which tells you the days you are most likely to be able to conceive, The First Response Fertility Test  measures your levels of Follicle Stimulating Hormone (FSH) to gauge your ovarian reserve, and your chances of becoming pregnant.
“Every woman is born with millions of immature eggs. Over the course of her life the quantity and the quality of her eggs — known as her ovarian reserve — decreases.
Follicle Stimulating Hormone (FSH) is released at the beginning of every menstrual cycle to cause an egg to mature in the ovary. If a woman’s ovarian reserve (eggs) is low, she will produce higher than normal FSH levels to attempt to stimulate her ovary to produce mature eggs.
Testing FSH levels on Day 3 of the menstrual cycle gauges a woman’s pregnancy potential. The First Response Fertility Test for Women is an early detection screening tool that assesses Day 3 FSH levels to begin answering the question ‘Am I able to get pregnant?’
Early detection of FSH levels — and by extension Ovarian reserve levels with First Response empowers women to know sooner, consult with a physician sooner and ultimately get pregnant sooner.”
My Reaction: This is really great test for someone who’s trying or planning on trying to conceive.  The test is very easy to take. You just have to pee on the stick (or pee in a cup) on the third day of your menstrual cycle. Then it just takes 30 minutes for you to get the results.
Since I’m new at all of this I was especially happy to find that the instructions were very exact and easy to understand, and the results were very easy to read as well.
After taking the test, I feel a little less anxious and very happy to find that my ovarian reserve is normal.
I think this test will be a great first step for someone to take who’s thinking of having a baby.  And I think in the long run, this test will help a lot of people who may have a problem to seek help from a doctor sooner than later, which is a really great thing!
Buy it!  You can purchase the First Response Fertility Test at these online and local retailers. And you can save $2 with this printable coupon.  Or order online and save $5.
If you’re looking for the best fertility clinic, Fertility Plus are one of the bast out there.

Disclosure: I was selected for the post by the Clever Girls Collective #CleverTTC #spon, which endorses Blog With Integrity, as I do.

Stuff to Scrap Review


Having just started working with digital scrapbook kits over the summer, I was very excited when I got the opportunity to try out a kit from Stuff to Scrap.

Stuff To Scrap offers digital scrapbook papers, elements, premade templates, and kits, which can be used for a variety of projects. All products are delivered to you via computer download and they are in the highest quality and resolutions, all 300dpi. Papers are 12 inches x 12 inches and in .jpg format, elements are in .png format, and templates are in .png, .tiff, and .psd formats.

What I love about these kits is that you can use them in so many projects! A lot of people think the kits are just for digital scrapbooking and photo books. But you can actually use these in a number of digital and printable projects, including greeting cards, invitations, party supplies (banners, cupcake toppers, etc), gift tags, and basically anything else you can think of.

The kit I chose was the Berry Delight Kit:

This kit is one of Stuff to Scrap’s Mega Collaborations, and it contains a whopping 112 papers, 145 embellishments, and 2 sets of alphabet letters. Wow!  The main colors are a berry color (surprise) and a teal/green color.  The papers come in just about every pattern, style, and texture that you can imagine.
And the embellishments are amazing!  They include all kinds of berries, other fruits, ice cream, ribbons, bows, hearts, tags, and flowers!
With the kit, I created this page, using some photos from my recent high school reunion.

And then I also created this graphic for my upcoming blogiversary:

Check out Stuff To Scrap and pick up some kits for your own projects!
Photobucket


My Memories Suite Review & Giveaway

I’ve got a fantastic review and giveaway to share with you this week! I recently received My Memories Suite, a digital scrapbook software package.
This software is an amazing value because it can be used to create tons of projects!  Apart from digital and printable scrapbook pages and photo books, you can also use the software to create videos, as well as calendars, photo cards, gift tags, business cards, printable crafts and even homemade party supplies. (I’m thinking cupcake toppers!)

The software is also very user friendly! I’m new to digital scrapbooking and graphic design, but I found it very easy to get started using the program.  The software comes quickpage layouts, where all you have to do is add your photos, and then it also comes with a lot of papers and embellishments to help you create your own pages from start to finish.
There’s also some amazing kits on the My Memories website that you can download and add to your software.  Or you can use kits and graphics that you already have on your own computer.

Just to show you how easy it is to use the software, I created two projects to share with you. For both of these I started with a blank screen and built my own layout using elements that came included with the software. The first project I did was a basic scrapbook page (above) featuring a couple of photos of my nephew.
And then, to show you that the software isn’t just for scrapbooking, I made this desktop/printable calendar for September:

september2011cal

These were very easy to make!  And again, I was able to make these using elements that were already included with the software.  The only thing not included was the chalk board on my calendar. I made this using the basic “shape drawing” tool in the program, and then I just added words to it, drew a white line for the chalk, and added the apple.  What do you think?
Here’s a video to show you how easy it is to get started using the software:


Welcome to the Family! from Lisa Jurrens on Vimeo.

Discount! Purchase My Memories Suite 2.0 today, and get $10 off! Just enter the coupon code: STMMMS63042 at check out!


Connect: Follow the My Memories Blog or follow on Facebook and Twitter


Win it! One Simply Sweet Home reader will win My Memories Suite 2.0 (worth $39.97).
How to Enter: Please use the Rafflecopter form below to enter.  You must be a follower and then in the form tell us a Digital Kit that you like at My Memories. After you’ve completed the mandatory entry, the optional entries will be enabled.


Photobucket
I’m linking up at Tidy Mom and these parties.


Disclosure: I received My Memories Suite 2.0 to review and am now a My Memories affiliate. The opinions are my own.

Aurora Softy Soakers Review and Giveaway

Summer time may be drawing to a close, but that doesn’t mean the fun has to end.  You can transition from fun in the sun to a great time indoors with Aurora’s new line: Softy Soakers!

These little guys offer the same high quality and cuteness you find in other Aurora products, expect they come with a little surprise.  They expand when placed in water!

Aurora, celebrating its 30th Anniversary this year, is releasing a plush collection that loves diving into water in the summer as much as kids do. Simply place Softy Soakers in water and the plush expands from practically nothing into a full size, eight-inch plush animal. The initial collection includes the “Fanta-Sea” plush assortment, and based on the response from buyers at this year’s winter shows, Aurora sees a huge hit in the making.

“Everyone who came to our booths or showrooms earlier this year inquired about these H20-friendly toys,” says Michael Kessler, SVP of sales and marketing. “With Softy Soakers, kids have a new way to experience their plush animals and don’t have to wait long for the toy to ‘grow up’,” Kessler says. “Softy Soakers are good to go in about 40 seconds. They don’t take 72 hours to become full size, like some other products on the market.”

The Fanta-Sea assortment includes a sea horse, octopus, hammerhead shark, dolphin, sea turtle and alligator, and each plus sells for just $10.  I received the seahorse.  Like other Aurora toys I’ve reviewed, this one is a very soft plush toy, except this one has a kind of “cushy/squishy” feel.  And like other Aurora toys, this one comes in some bright, super fun colors.  And to bring a little more fun to the table, they grow in water. What kid won’t love that?

And I love the selections that are available.  I think it’s great that they’ve used aquatic animals for this line, and I can’t wait to see what other animals might get added to the line (maybe a frog, a jelly fish, even a seagull…just some ideas).

Buy it! Purchase Softy Soakers and other great toys online at Aurora World.  Or find them at a wide variety of retailers including major zoos, high-end toy stores such as Learning Express, top gift chains such as Hallmark and Claire’s as well as hospital gift shops, fine florists, candy stores and gift/stationery stores worldwide.

Connect: Like Aurora World on Facebook for updates and other fun stuff.

Win it! One Simply Sweet Home reader will win a Softy Soaker toy.

How to Enter:  To win, please use the Rafflecopter form below.  You must complete the mandatory entry first, and then the optional entries will be open for you.


Photobucket

I’m linking up at Tidy Mom and these parties.

Disclosure:  I received a Softy Soaker for review purposes but was no otherwise compensated. The opinions are my own.