Peanut Butter Cracker Balls

I just love peanut butter candy! Last year around Easter I shared a recipe for Homemade Peanut Butter Cups.  And this Easter I’ve got another peanut butter treat!
This is one that I just threw together as an experiment one night.  It’s based on this traditional peanut butter cookie/candy recipe that I shared back in January. And I think you’ll find it’s the perfect sweet and salty combo candy!
Photobucket
Recipe for Crunchy Peanut Butter Balls:
Ingredients:
1 cup Ritz or Townhouse crackers, crushed
2/3 cup peanut butter
3-4 blocks almond bark
a few drops food coloring (optional)
sprinkles (optional)
Directions:  Place crackers inside a zipper bag and crush using a rolling pin, meat tenderizer, your hands, or anything else you want to use. (Sorry I can’t remember how many crackers I used. I just counted out a few and poured the crumbs into a measuring cup.)
Next place 2/3 cup peanut butter inside a bowl.  Add cracker crumbs and mix until well combined.  Chill in the refrigerator or freezer for 15 minutes.  This will help to keep the peanut butter from sticking to your hands as much, though you may want to put some flour powdered sugar on your hands before rolling.
After rolling back into balls, place back into freezer for another 15-20 minutes.
Next prepare your almond bark according to package directions. I use the microwave, stopping in 15-30 seconds increments to stir.  Once the chocolate is melted, add food coloring 2-3 drops at a time, stirring, and then adding drops again until you get your desired color.
Finally dip your balls in the almond bark using a spoon or candy dipper and immediately add sprinkles after dipping.
Place balls on parchment paper and let dry.  Makes 24 balls.
Photobucket
Photobucket

I’m linking up at Tidy Mom and these parties.

Rice Krispie Treat Nests with Easter Peeps

Rice Krispie Treat Nests with Easter Peeps
Today I’ve got an amazingly simple and fun treat! It’s a great take on a classic favorite, The Rice Krispie Treat, with some fun Easter ingredients added in to create a festive and fun edible party favor that everyone will enjoy!
Photobucket
So I was thinking, what could be more fun for Easter than a marshmallow peep? How about marshmallow peeps perched upon their very own Rice Krispie Treat Nest?  I made a batch of these the other day for my husband to carry to work, and they went over very well! (I only wish the photos were a little better, but I was totally rushed!)
Photobucket

 
Rice Krispy Treat Nests with Easter Peeps
 

What You’ll Need: 

6 Cups Rice Krispies
1 Bag Marshmallows
3 Tablespoon stick butter, sliced.
15 Marshmallow Peeps
1 Bag Jelly Beans
Muffin Tin
Directions: Melt together marshmallow and butter in the microwave or on the stove top on low heat. Add Rice Krispies and stir together.  Spoon treat mixture into individual muffin cups. You should have enough to fill about 15 cups. Top each nest with 3 to 5 Jelly Beans. Next top each nest with a peep. You may need to press the peep down to get it to stay atop the next.  Chill in the refrigerator or freezer for a few minutes. Then using a spoon or spatula carefully remove the nests from the muffin tins.
Place on a fun serving tray or place in treat bags for a fun party treat!
Photobucket
Tip:  Don’t like Peeps?  Serve just the nest with a few eggs on top as shown below.
 
Photobucket
Tip: I found these adorable treat bags at Wal-mart. They were $1.47 for 20 bags, and the treats fit perfectly inside.  They also looked super cute, and it made them very portable!
Photobucket
Photobucket

I’m linking up at Tidy Mom and these parties.

Lemon Buttercream Cupcakes

Photobucket
Before I get to this week’s recipe, I have to share this story with you. Tonight we were at a local food tasting event, and Gigi’s Cupcakes was one of the vendors.  As I approached the booth, all wide eyed and smiling (as I always tend to be in the presence of a Gigi’s Cupcake), I told my husband, “I have to decide which ones I want to try.”  And the girl behind the table said, “Take as many as you want.”  And I said, “Oh no! Don’t say that, cause I’ll take them all!”  
We laughed. And then I took 3 mini cupcakes. (3 Mini Cupcakes equals 1 Whole Cupcake. Right??) Then as we walked off I said to my husband, “That girl doesn’t know who she’s dealing with. I’ll be back later to get try the other 3 flavors they’ve got.” (And yes, Miss Piggy did make it back to try the other three.) 
And my mom and stepdad were volunteering at the event, and were also able to hook me up with some cupcakes to carry home, so tonight we’re in cupcake heaven!
Well, the cupcakes I’m sharing today aren’t from Gigi’s, but I expect they’ll be a crowd please just the same!
Photobucket


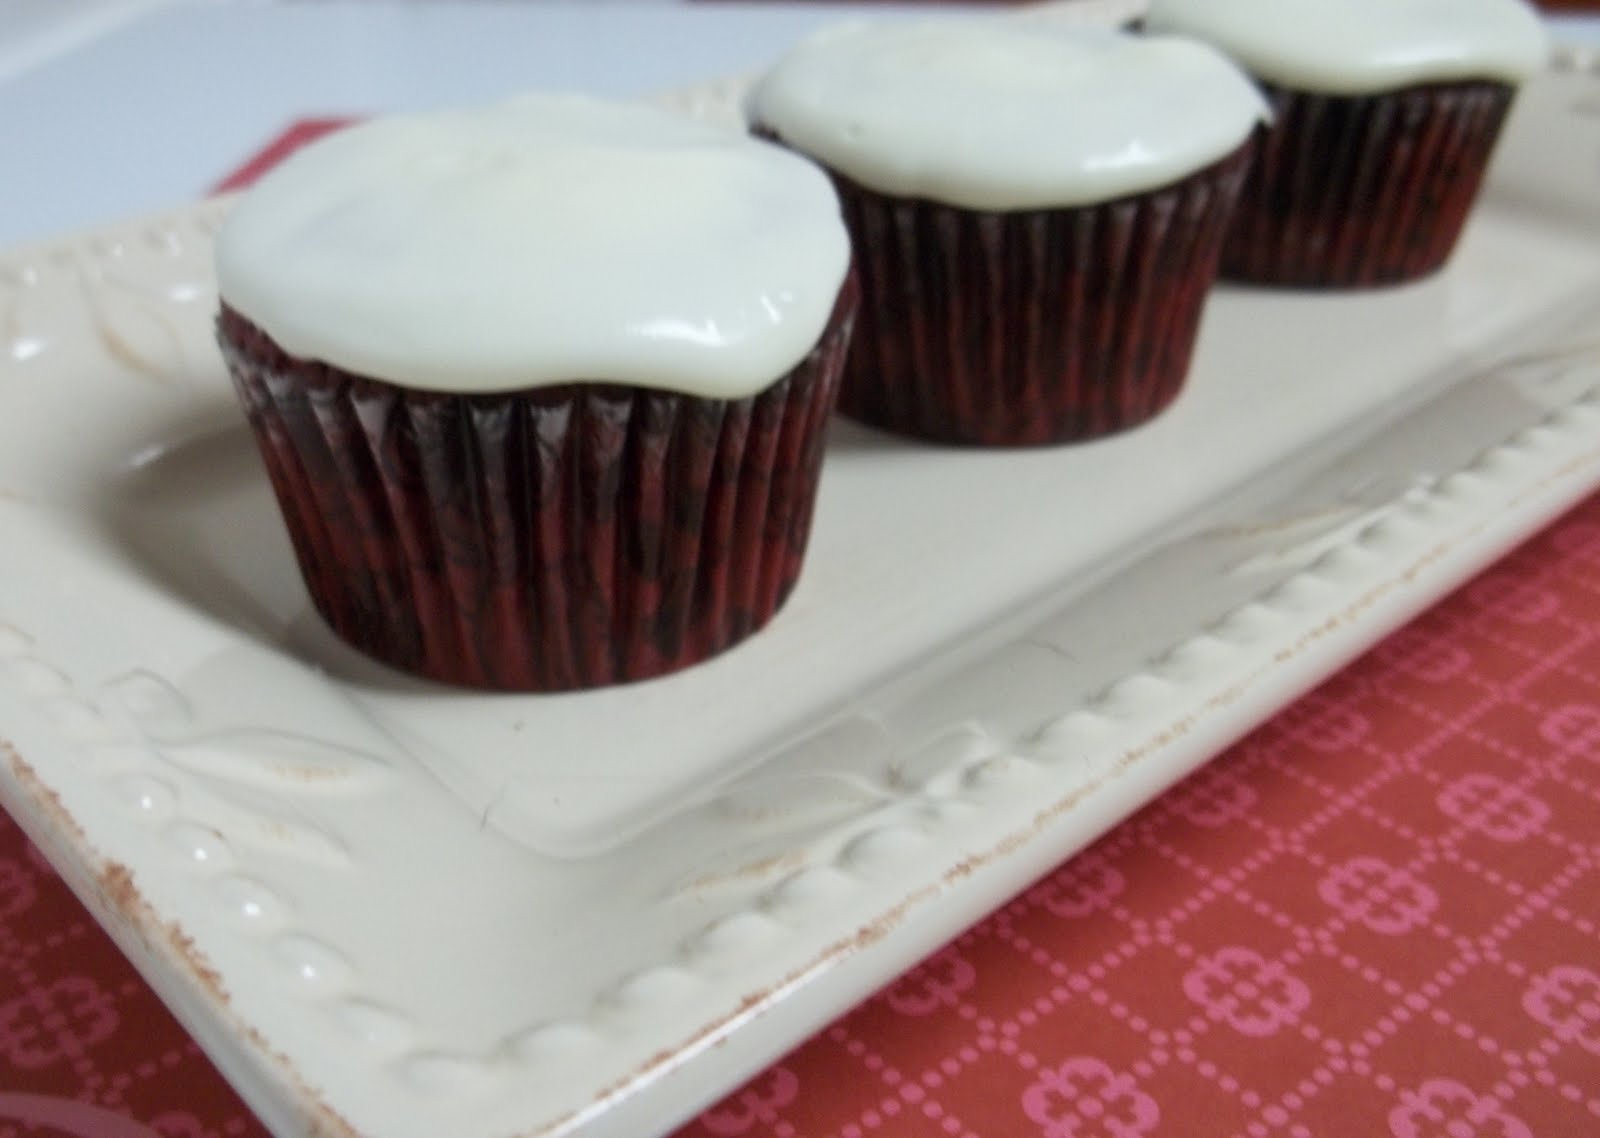
Recipe for Lemon Buttercream Cupcakes:

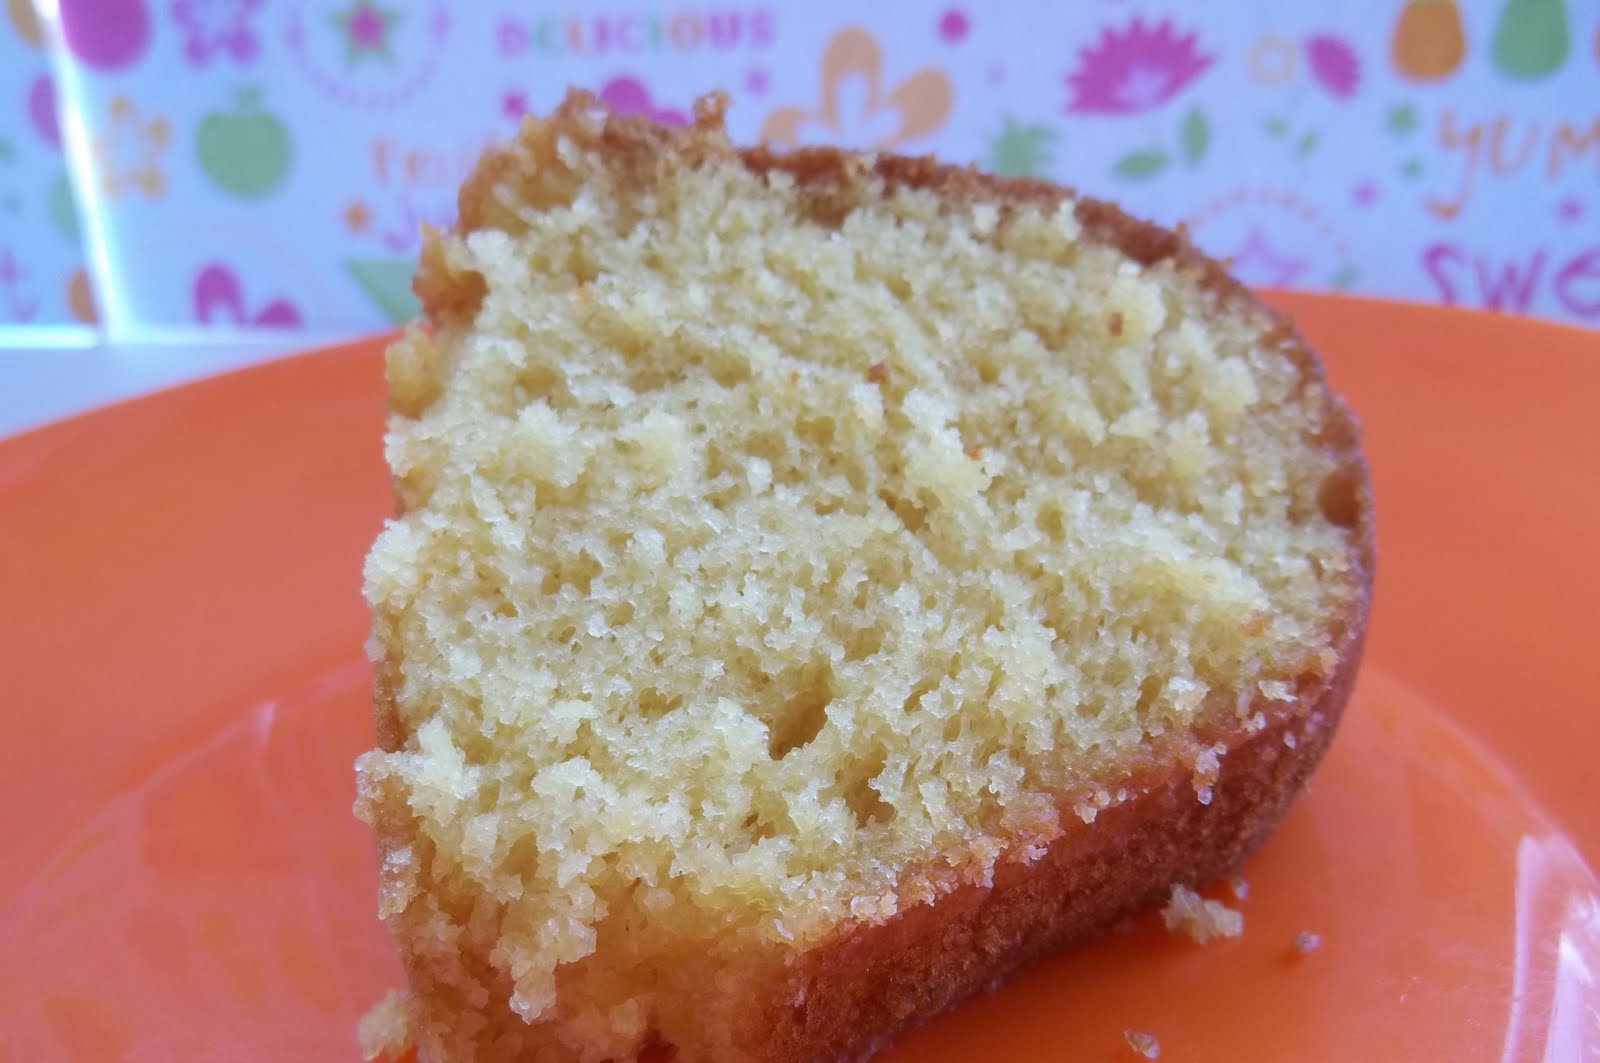
For the cupcakes, just use a yellow cake mix or yellow supreme.  Or you could try this Lemon Pound Cake recipe (my favorite!) and just adjust the baking time.

Frosting Ingredients:
4 cups powdered sugar
1/2 cup butter, softened
1/2 cup shortening
1 teaspoon fresh lemon juice
1/2 teaspoon vanilla extract
4-6 tbsp milkDirections: Cream together butter and shortening.  Add lemon juice and vanilla extract and mix well.  Slowly add powdered sugar. Then add a little milk and continue to alternate between the two, until all ingredients are added and you reach desired consistency. (You might need to add extra milk or sugar if the consistency isn’t right.)

Photobucket
  Photobucket

I’m linking up at Tidy Mom and these parties.

Easiest Peanut Butter Cookies

Photobucket

Today I’ve got one of my easiest desserts recipes to share with you!  I first learned to make these in the sixth grade when I was in the Future Homemakers Club (now known as Family Career and Community Leaders of America or FCCLA)

It became an instant favorite of mine, and I immediate went home and shared it with my family.  And it’s been fave easy-fix recipe of mine ever since! Ordinarily I make these around Christmas, but today with the red sprinkles on white chocolate they are a Valentine’s treat!


Photobucket

Recipe for Easiest Peanut Butter Cookies:

Ingredients:

1 package of crackers (Ritz or Town House)
1 package almond bark
peanut butter
spinkles (optional)

Directions: Spread peanut butter on to crackers and top with another cracker to make a sandwich.    Amount of peanut butter depends on your preference. I like a thick sandwich, so I’ll put a “glob” of peanut butter (or if you’d like a more technical term, I’d say a tablespoon full…more or less).

After you’ve made all your sandwiches, place almond bark in a microwave bowl and microwave in 15 second increments, stirring in between to prevent sticking. Then dip your sandwich cookies one at time. Retrieve them with a spoon, fork, or candy dipper if you have one.

Add the sprinkles immediately after dipping, as the almond bark will harden very quickly.

If you’re almond bark starts to harden in the bowl before you finished dipping the cookies, heat in in the microwave for an additional 15 seconds.

Place in a container on the counter. You can also store these in the refrigerator if you prefer or freeze them for later.

Photobucket

Photobucket

Photobucket

I’m linking up at Tidy Mom and these parties.

Sweets on a Stick Giveaway

Photobucket

Today I’m celebrating a thousand Facebook followers with a fun book review and giveaway! If you’re in to the food pop craze, you’ll love this! The book is Sweets on a Stick: More Than 150 Kid-Friendly Recipes for Cakes, Candies,Cookies, and Pies on the Go!

This new book by Linda Vandermeer features all kinds of sweets on sticks from cake pops to cookie pops, pie pops, candy pops, and even fruit pops! It has something to satisfy everyone’s sweet tooth such as:Mini Boston Cream Pies, Fudge Blasted Brownie Bites, Gooey Caramel Candy Apples, Deep Freeze Chocolate Bananas, and more!
And another great thing about the book is that they it gives you some great ideas for all sorts of holidays and occasions.  I picked out a few things from the book that I thought would be great for this time of year.
I think the Sweet Stampin’ Love Pops (pictured above) are the obvious choice for Valentine’s Day, but I also think these Triple Chocolate Fudge Pie Pops would make a fine Valentine’s treat!

Photobucket

And I just adore these Sweet Tweet Bird Pops!  Too cute!

Photobucket

And of course, we have to include something for the football playoffs! I think these Touchdown Cookie Pops would make a great addition to any football party menu. Don’t you?

Photobucket

Buy it! Order your copy of Sweets on a Stick.

Connect: If you like what you see here, follow Linda Vandermeer’s blog  Bubble and Sweet. Also, like Bubble and Sweet on on Facebook.


Photobucket

Win it! One Simply Sweet Home reader will win a copy of Sweets on a Stick!

Enter: Please use the Rafflecopter form below to enter.

a Rafflecopter giveawayPhotobucket

I’m linking up at Tidy Mom and these parties.

Favorite Foods of 2011

Looking back over 2011, we had many noteworthy (perhaps even pin-worthy) food posts. Oddly enough, one of my most viewed recipes was my alfredo. It was actually posted in 2010, but since it’s obviously popular, so today I’m featuring it, as I take a look back at some of my favorite food posts from last year!
Hope you enjoy my picks!  Happy New Year! And I hope you’ll join me as we discover more delicious recipes in 2012!


Chocolate Covered Caramel Popcorn – 2 Ways


When I was kid we used to get those giant popcorn tins every Christmas! Those are still around today, but now we also have a whole host of gourmet popcorns to choose from for holiday parties and gift giving.
Today I’m going to show you  how easy it is to make your own gourmet popcorn at home using 2 different methods!  Not only will it make a fabulous homemade gift, but it’s also a lot cheaper than a lot of the gourmet gifts on the market!

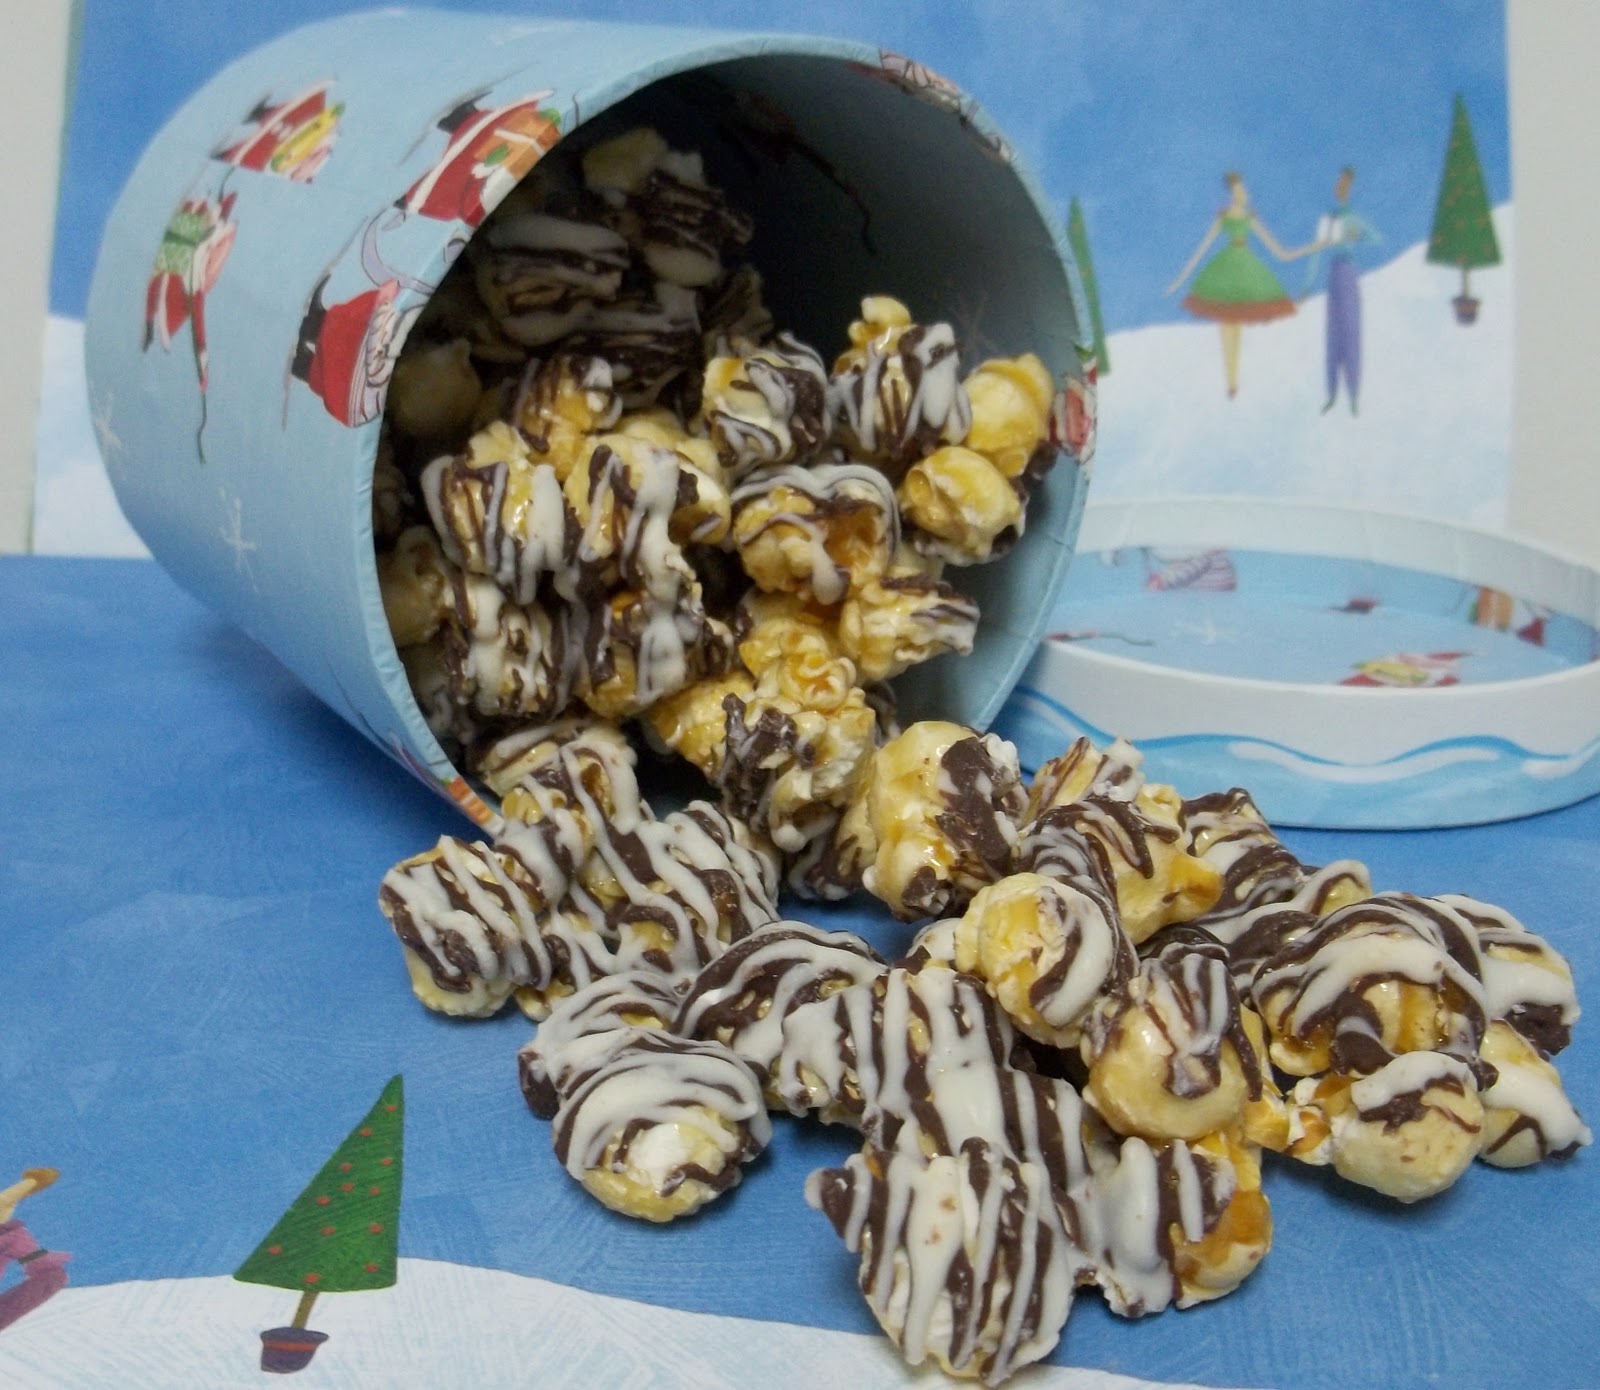
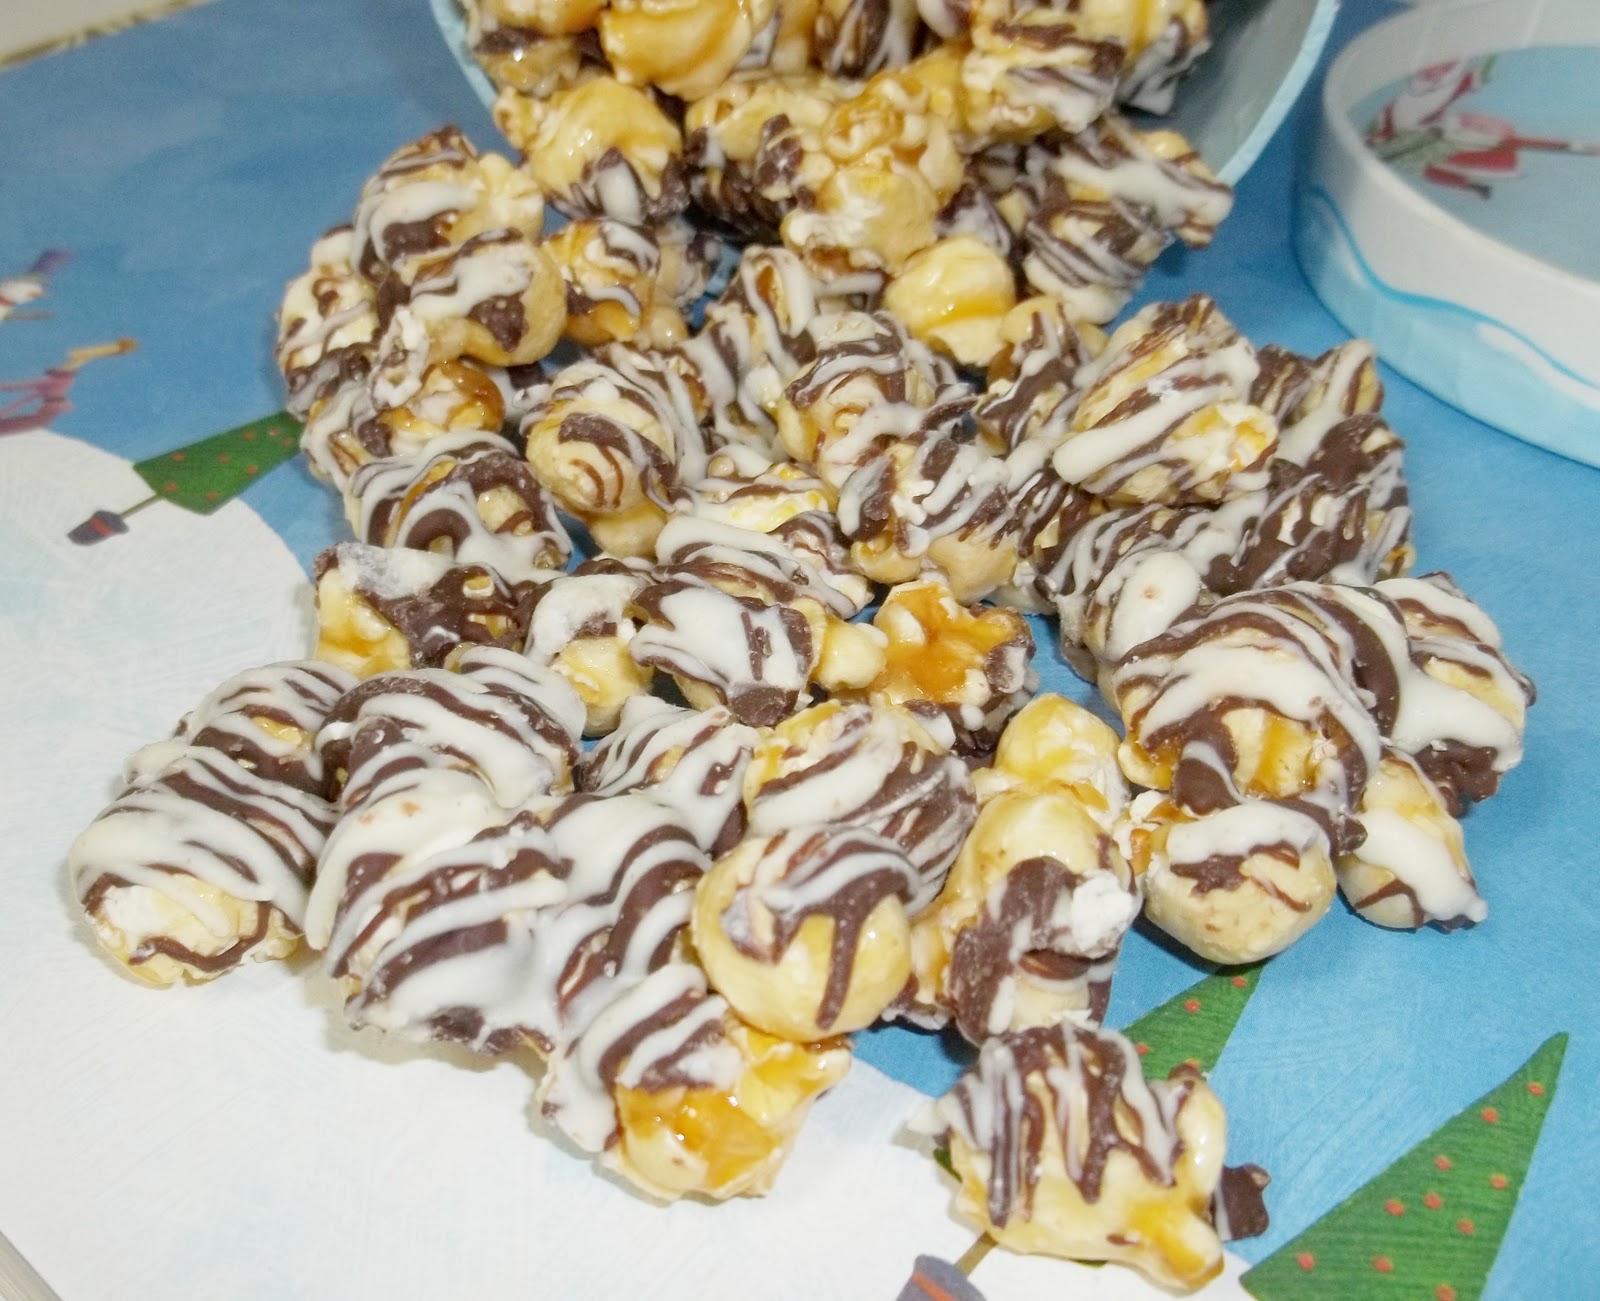
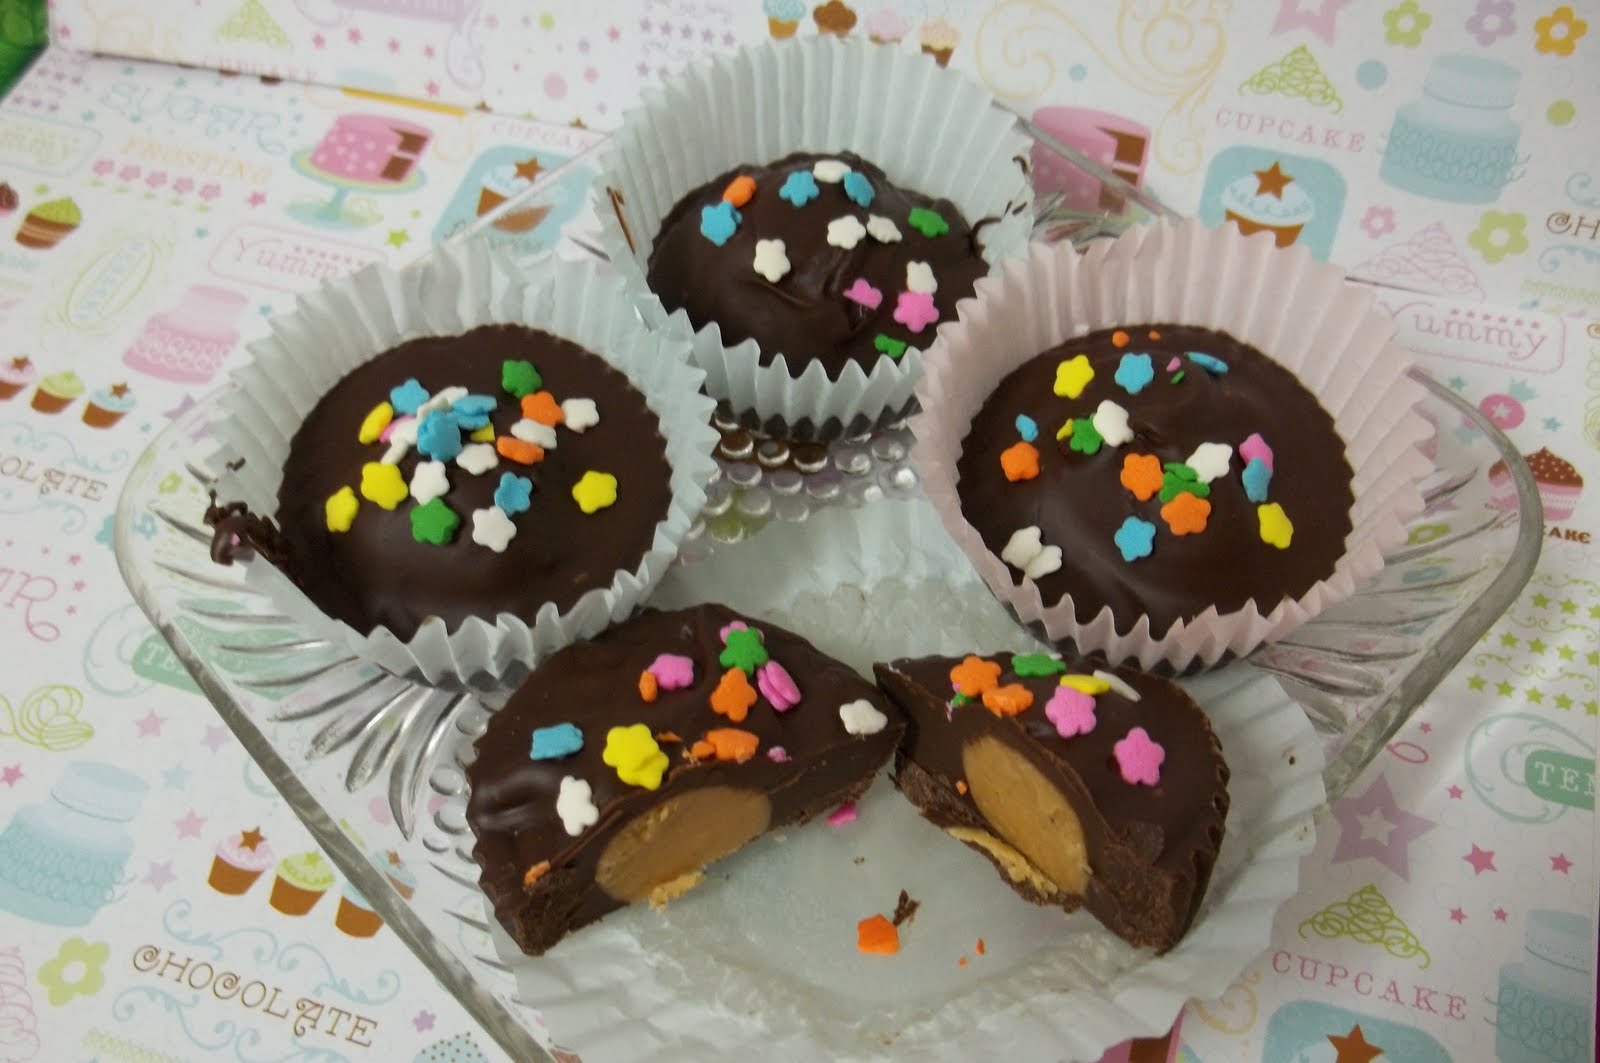
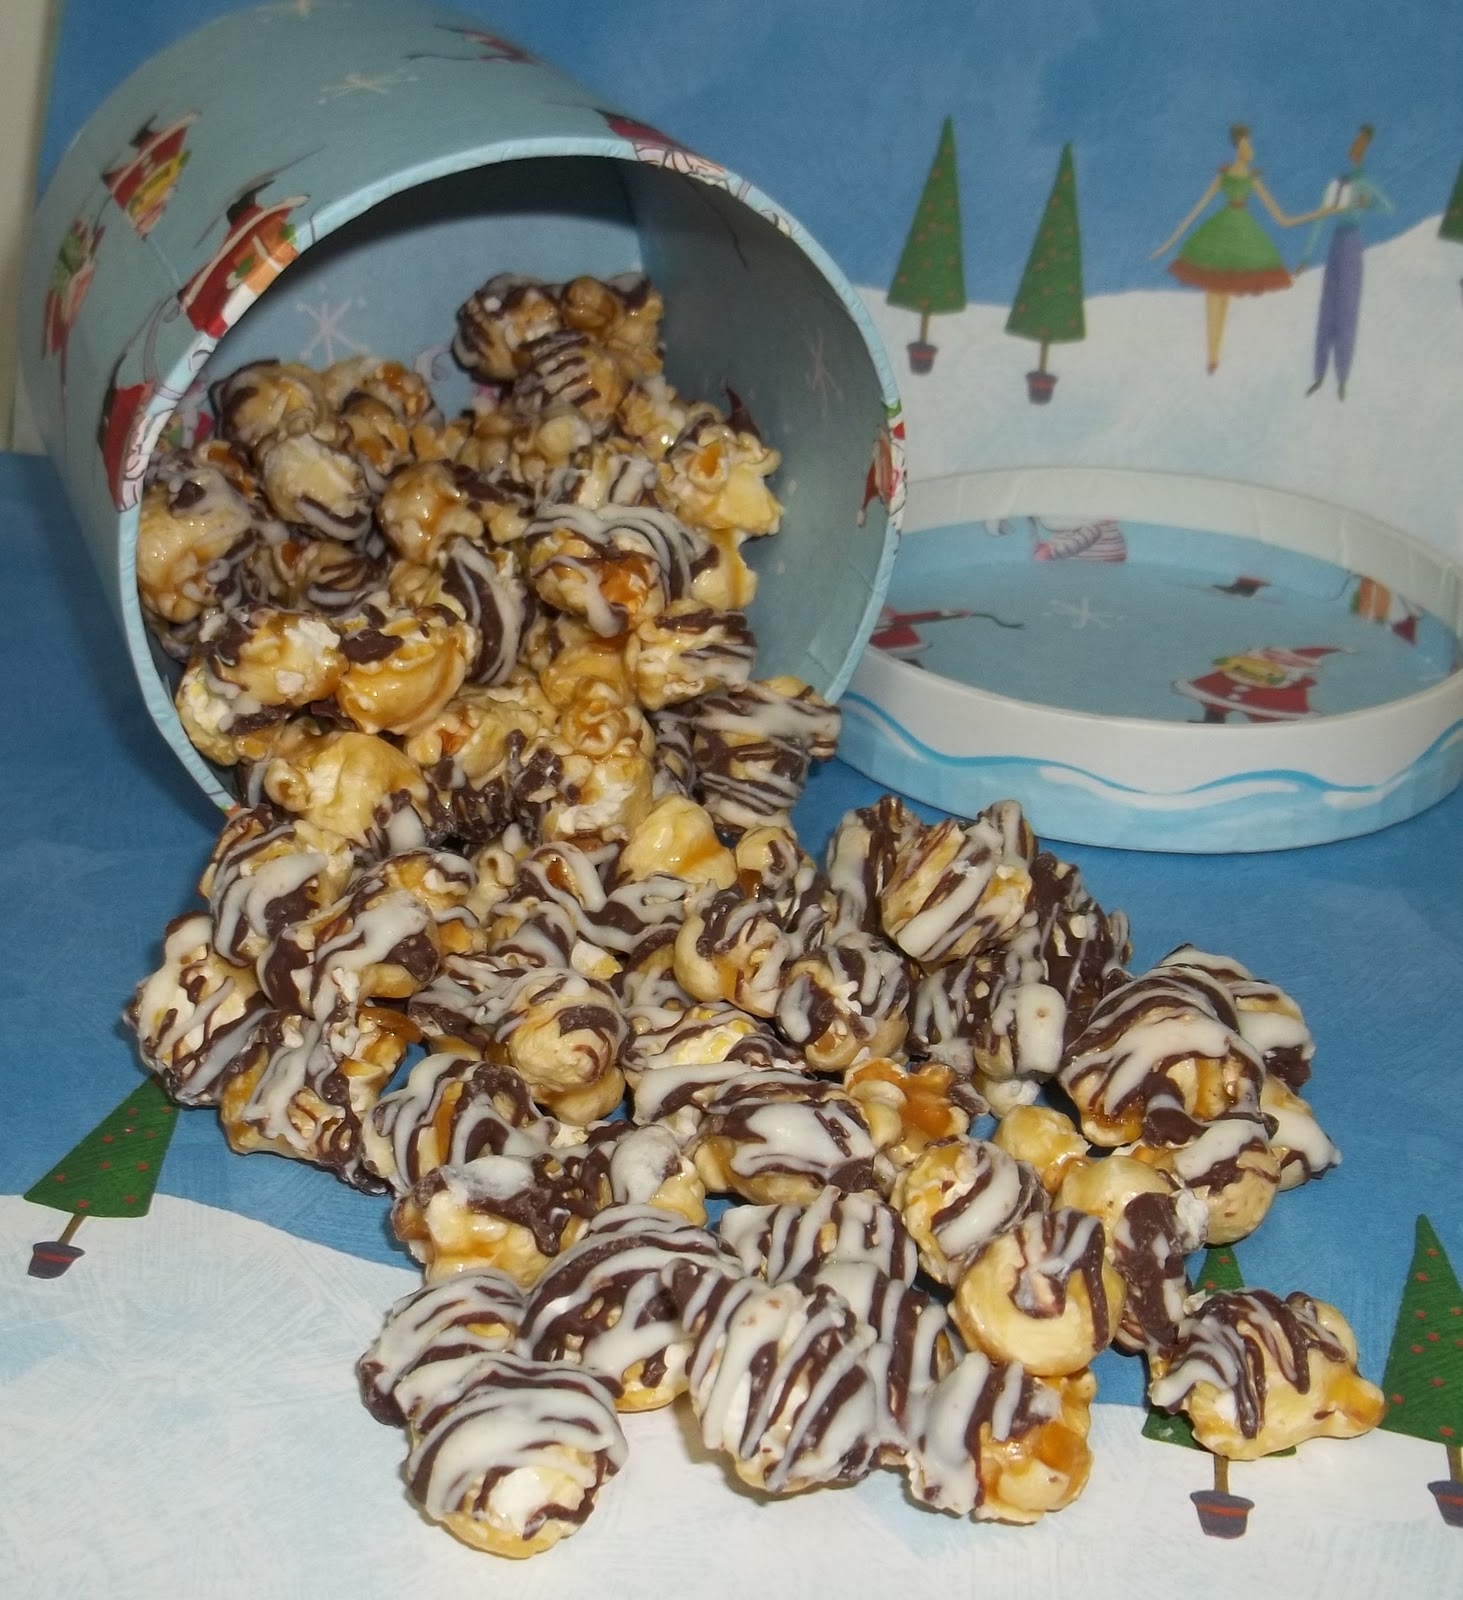
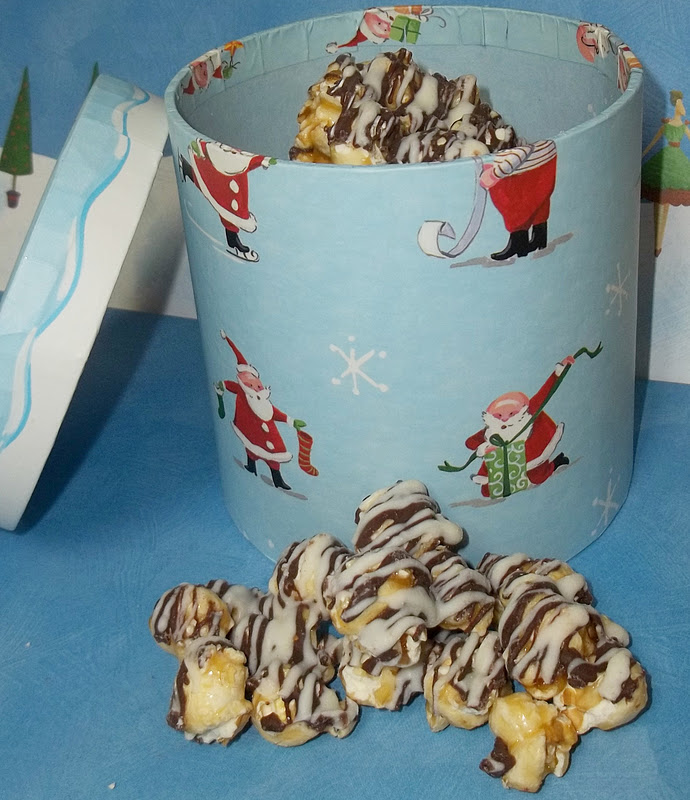
Recipe for Chocolate Covered Caramel Popcorn – Method 1

Ingredients:
3 quarts lightly salted popped popcorn
1 cup light brown sugar, firmly packed
1/2 cup sweet unsalted butter (USE REAL BUTTER)
1/4 cup light corn syrup
1/2 cup peanuts (optional)
1/2 teaspoon baking soda
1 lb dipping chocolate or 1 bag of chocolate chips

(If using two kinds of chocolate like I did here, use half a pound of each, or 2 – 1/2 bags of chocolate chips.  Be sure to have extra chocolate on hand in case you need more.)

Directions: Preheat oven to 200 degrees.  Place the popped corn in two 9×13 baking pans. (Must be deep enough to stir popcorn)
To make caramel, melt butter in a very large saucepan.  Add brown sugar and corn syrup. Stir CONSTANTLY to prevent sticking and scorching. Bring to a boil and boil for 5 minutes.  Add peanuts (if desired).  Add soda (will foam up, so be sure to keep stirring).
Pour caramel over popcorn and mix well.
Bake popcorn one hour, stirring every 10-15 minutes.Remove from oven and cool completely.
You’ll have to stir it every once in a while so it doesn’t stick together.Next line some cookie sheets with parchment paper. Pour popcorn out onto the cookie sheets.
Meltchocolate per package directions.  I always use the microwave, stirring every 15-20 seconds to prevent scorching.  (Again, you may want to melt more chocolate than the recipe calls for to make sure you have enough.)
Once the chocolate is melted, drizzle over the popcorn.  Store at room temperature or refrigerate.
Recipe for Chocolate Covered Caramel Popcorn – Method 2

Ingredients:
3-4 boxes of Crunch N’ Munch
1 lb dipping chocolate or 1 bag of chocolate chips

(Again, if using two kinds of chocolate like I did here, use half a pound of each, or 2 – 1/2 bags of chocolate chips.  Be sure to have extra chocolate on hand in case you need more.)

Directions: Pour the Crunch N’ Munch out on to cookie sheets lined with parchment paper. 

Melt chocolate according to package instructions.  (I use the microwave, stirring every 15-20 seconds to prevent scorching.)
Drizzle chocolate on to popcorn.


Photobucket

I’m linking up at Tidy Mom and these parties.

Bauble Pops Recipe and Crazy for Cake Pops Review and Giveaway

Photo: Present Pops

If you’re in to the cake pop craze, you are going to love today’s review and giveaway!  It’s for the brand new book Crazy for Cake Pops!  And I’ve also got a super fun Christmas recipe for Bauble Pops! 

Cake pops are the hottest trend in baking and it’s easy to see why. With creative shapes and delightful flavors, they’re as fun to make as they are to eat. Crazy for Cake Pops teaches you the secrets for creating these mouthwatering mini treats like a professional baker. Packed with over 75 color photos, Crazy for Cake Pops leaves nothing to chance as it guides you step by step through each part of the process including baking, crumbling, shaping, frosting, and decorating.
My Thoughts: This is an awesome book!  There are so many fun ideas! It features cake pops for any and all occasions for the entire year: Christmas, Thanksgiving, Valentine’s Day, Easter, and Halloween!
There’s also a bunch of ideas for birthdays, baby showers, and other parties.
It’s also the perfect book regardless of your skill level. The book explains all the different equipment and ingredients you’ll need to create these fabulous creations.  Then it includes recipes for the different cake and frosting flavors featured in the book,  followed by step by step tutorials or each design.
And you’ll be so inspired by all the fun colored photos, you’ll want to get started right away creating your own cake pop creations!

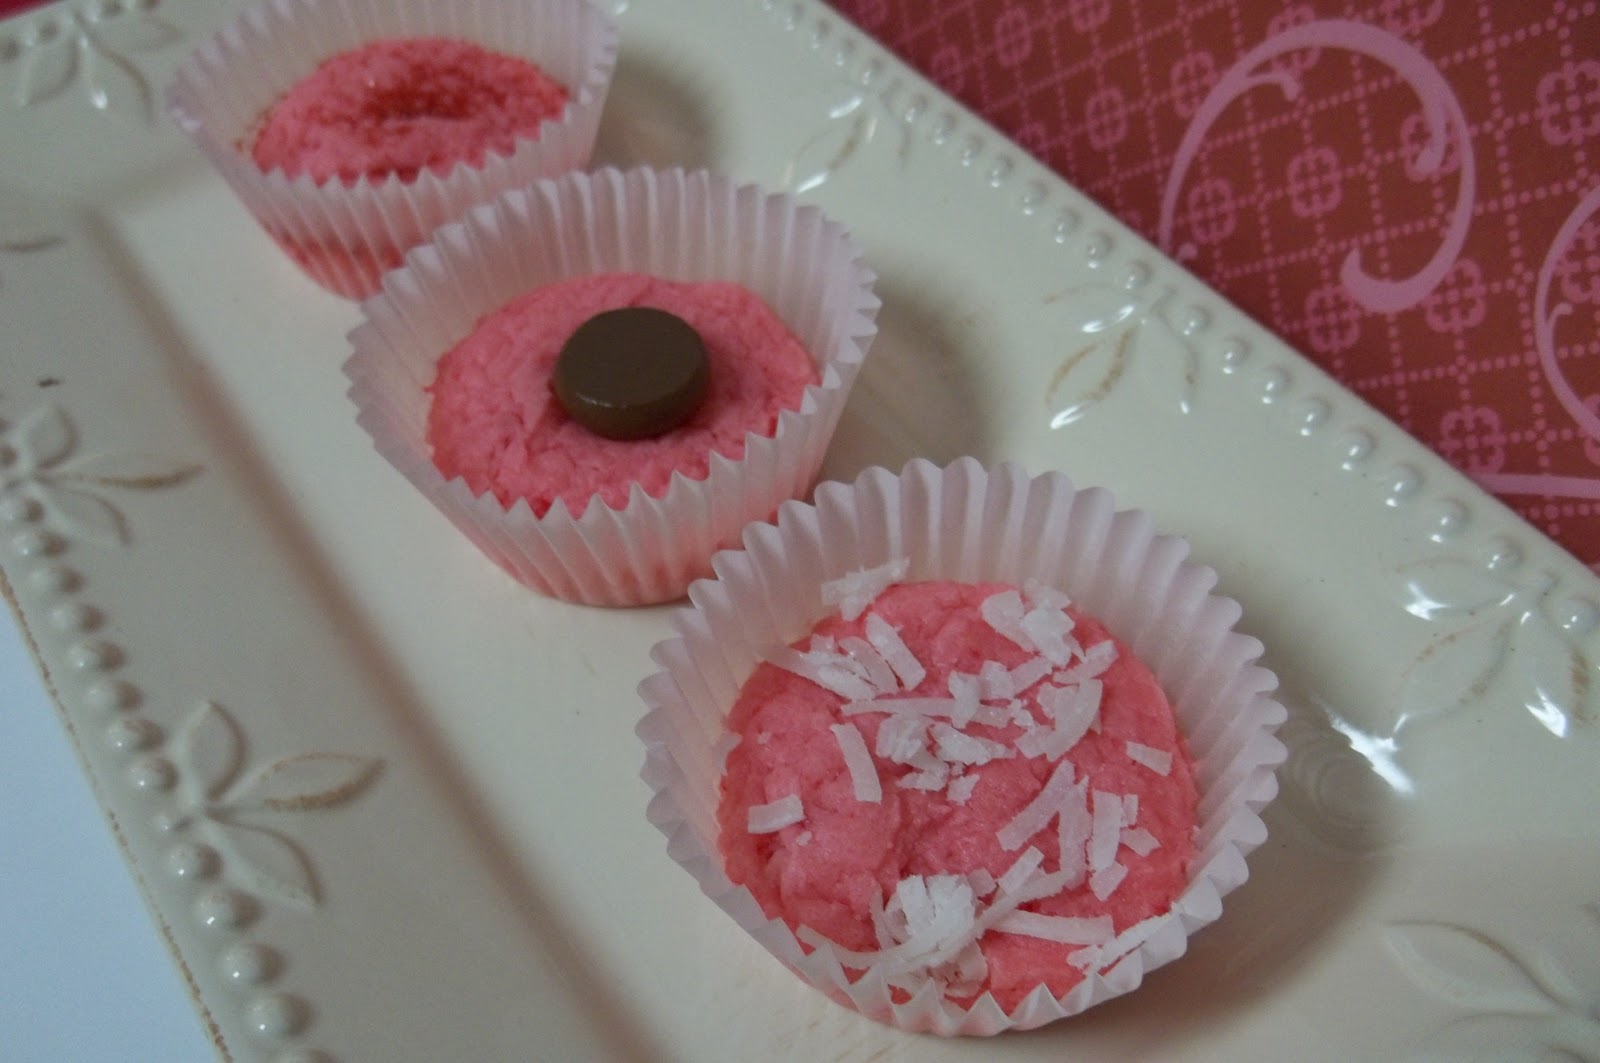
Recipe for Bauble Pops: 

Baubles are beautiful party decorations for any time of year. Make them sparkle with a little edible luster spray.

 Makes 20 pops

Ingredients 
20 medium cake balls, chilled
¼ (14-ounce) bag each green, blue, pink and yellow candy melts
40 grams (2½ tablespoons) white fondant, kneaded
1 can edible silver luster spray

Equipment 
4 disposable piping bags

Directions: 

Make tops of baubles in advance: Split the fondant into 20 pieces and roll into balls with your hands. Flatten the balls slightly and make a hole through the middle of each one using the end of a lollipop stick. Leave to harden for a few hours. 
Once hardened, spray with the silver luster spray. Leave to set overnight. 
Melt each color of candy separately. Working with 5 cake balls per color, dip the end of each lollipop stick ¾ inch deep into the candy and insert a stick into each cake ball. Leave to set. 
Dip each cake ball fully into the candy, shake off any excess and, while the candy is still wet, slide a bauble top down over the stick. Make sure the bauble top sticks firmly to the candy on the ball. Place on a sheet of parchment paper with the stick facing up. 
Working with 1 color of candy at a time, pour each color into a separate piping bag. Cut a small piece off the tip of each bag and pipe designs onto the cake pops. 
 Once the candy has set, spray the cake pops lightly with the silver luster spray.

Photo: Snowman Pops
Buy it! Check out Ulysses Press to find out how to order the book online.
Win it! One Simply Sweet Home reader will win a copy of Crazy for Cake Pops.

To enter, just use the Rafflecopter form below. Giveaway will be open through Dec 5.

Photobucket

Photobucket

I’m linking up at Tidy Mom and these parties.

Southern Brownie Pie

Come join Love the Pie with TidyMom  sponsored by Whirlpool and enter to win a new Whirlpool Range
With Thanksgiving right around the corner, it seemed like the perfect time to share this classic, Southern recipe.  This Southern Brownie Pie is yummy served warm or cold, and it’s sure to please everyone at your table.  My husband isn’t really a chocolate fan, and he doesn’t like pies at all, but he couldn’t get enough of this one!
By the way, come join Love the Pie with TidyMom sponsored by Cherokee USALe CreusetWiltonBags by Bloom and  Harvard Common Press.

Recipe for Southern Brownie Pie:

Ingredients:
1 14 oz. can of sweetened condensed milk
1/4 cup butter
1/2 cup unsweetened baking cocoa
3 eggs (beat lightly)
3 TBS plain flour
1 tsp vanilla flavoring
3/4 to 1 cup chopped nuts (optional)
1 pie crust (I used store bought)
Directions:First, make the pie crust. If you are not a good crust maker, you can use the frozen kind or the roll out kind. If using a frozen crust, let it thaw completely.
Get a medium sauce pan. Put the milk, butter, margarine, and cocoa in the pan. Turn the heat to low and slowly warm until everything is melted and mixed together. Stir occasionally so the mixture does not stick to the pan and scorch.Take the chocolate mixture off the heat.
Put a spoon of the chocolate mixture in with the eggs beaten in a small bowl. This helps adjust the temperature and keeps the eggs from curdling. Next, stir in the eggs, flour, vanilla.  Fold in nuts. (Chopped pecans or walnuts are good in pies; however, I left these out.)
Pour into pie shell. Bake at 350 degrees for 40 minutes in a 9 inch pie pan (50 minutes in smaller pan). The pie is done when the center is set.
Tips for Serving:  This is really good when it’s hot, but it’s also good served cold or at room temperature. After it cools down, to serve it hot again, place in the microwave for 15-20 seconds.  Top with ice cream or whipped topping and chocolate syrup for an extra sweet treat!

Photobucket

I’m linking up at Tidy Mom and these parties.

Apple Chai Recipe and Mini Pies Book Review and Giveaway

Photo: Spiced Cranberry Pear

The fall and holiday seasons are such great times for baking!  And there’s nothing like freshly baked pies to satisfy your guests’ sweet tooth (err…teeth) and make them feel right at home.
By the way, come join Love the Pie with TidyMom sponsored by Cherokee USALe CreusetWiltonBags by Bloom and  Harvard Common Press.

New from Ulysses Press, Mini Pies is a cute full-color guide to creating America’s hottest new dessert—cupcake-sized mini pies
Offering step-by-step recipes along with tips, tricks, and techniques for mini pie success, this book teaches how to make flaky crusts and luscious fillings that will combine into mouth-watering petite pies. Readers learn how to capture all the delicious flavor of a traditional pie while gaining the adorable look and eat-out-of-your-hand convenience of a cupcake. From beloved favorites like pumpkin, apple, and pecan, to more creative flavors such as Raspberry Rhubarb Whiskey, Chocolate Chipotle, and Cranberry Almond Pistachio, Mini Pies presents recipes to please any palate. Also included are savory recipes for quick snacks and appetizers like mini veggie pot pies, plus vegan and gluten-free recipes to ensure that everyone can enjoy these delightful delicacies.
My Review:  I think this is an excellent book! I love pies and I love cupcakes, so the idea of a mini, cupcake-sized pie is right up my alley.  And I was impressed by the variety of recipes included.  The book has everything from my favorite Chocolate Cream to my dad’s favorite Custard, and my mom’s favorite Lemon Meringue!
It also has the classic holiday favorites that everyone loves: apple, pecan, pumpkin, and cherry!
And along with the pies themselves, you’ll also find great recipes for pie crusts and pie toppings, as well as a great tutorial for making Pies in Jars!

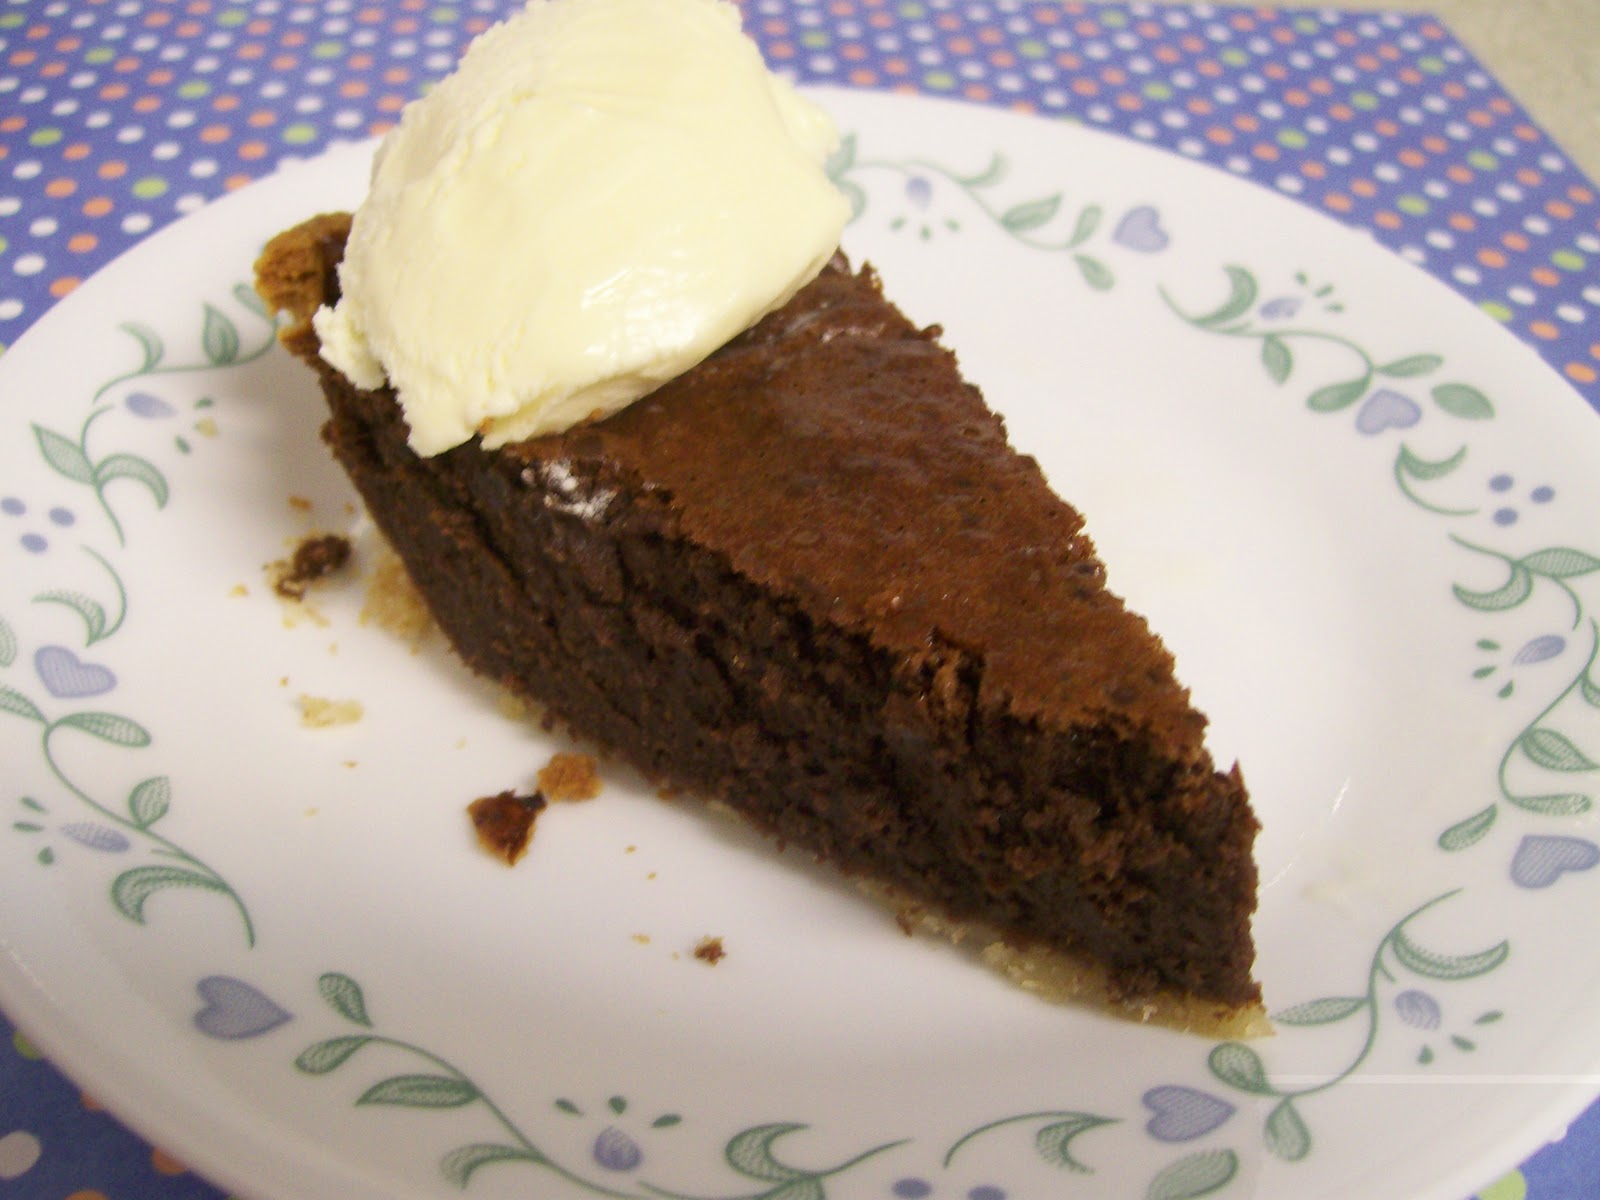
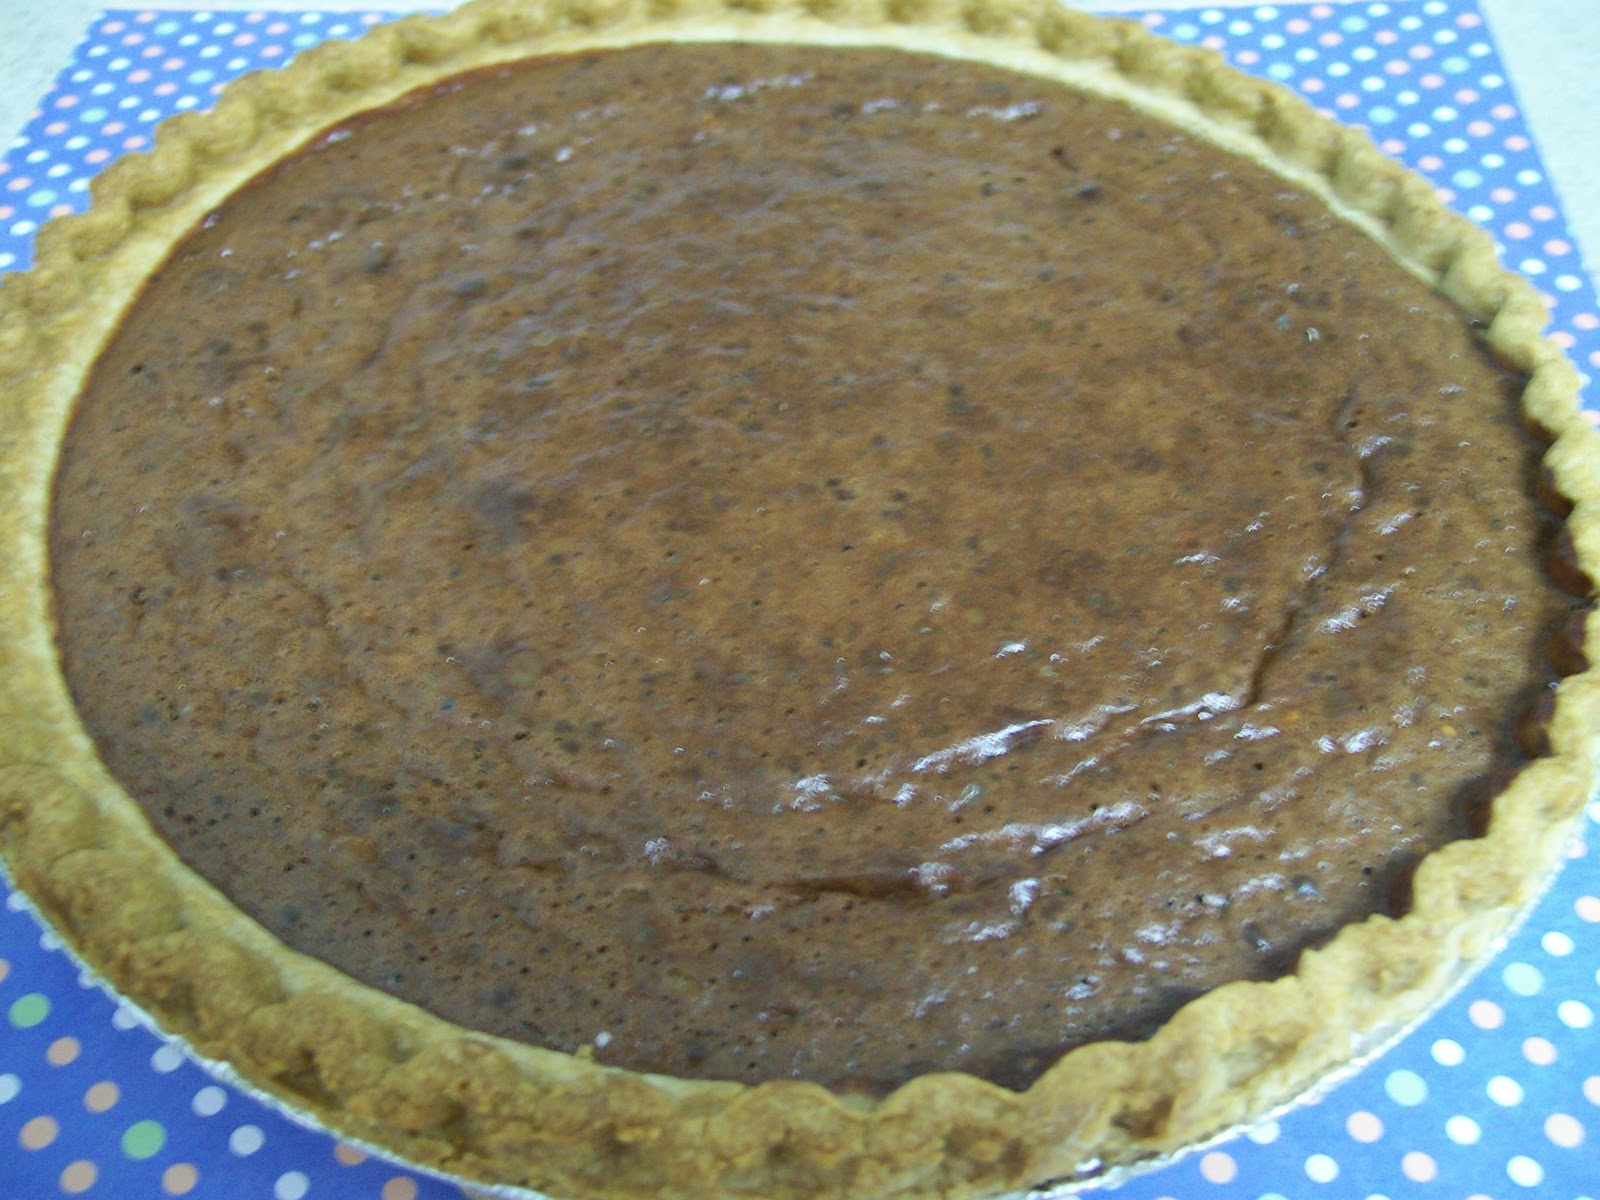
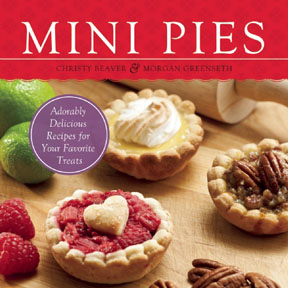
And all the color photos are so beautiful and inspiring!  They will definitely make you crave the pies!

Before we get to the giveaway, I’ve got a sneak peak at one of the recipes from the book!  It’s Apple Chai! Hope you enjoy!


Recipe for Apple Chai

“An apple chai a day keeps the doctor away.” 
Ingredients:
2 apples peeled, cored, and diced into ¼-inch pieces (we like Granny Smith for this pie) 
¼ cup brown sugar 
¼ cup granulated sugar, plus extra for sprinkling 
½ teaspoon ground cinnamon 
⅛ teaspoon ground cardamom 
¼ teaspoon ground allspice 
1 teaspoon vanilla extract 
1 tablespoon lemon juice 
Perfect Pie Crust (recipe in book)
 ¼ cup soy milk 
Directions:
1. Preheat the oven to 350°F. Generously grease a 12-cup muffin tin with butter or cooking spray. 
2. Combine the apples, brown sugar, granulated sugar, cinnamon, cardamom, allspice, vanilla, and lemon juice in a large bowl. Let sit for 10 minutes to allow the flavors to blend. 
3. On a thoroughly floured surface, roll out the pie crust to a thickness of 3∕16 inch. Using a 4-inchdiameter round cutter, cut 12 crusts. Re-form and re-roll the dough as necessary, keeping plenty of flour on your work surface. 
4. Using the mini cookie cutter of your choice and leftover pie crust, cut out 12 shapes to use as pie toppers. (We like stars for Apple Chai pies.) 
5. Carefully shape the crusts into the wells of the muffin tin, crimping the edges with your fingers. 
6. Fill each mini pie with 1½ tablespoons of the apple mixture. The filling will settle while baking, so it’s best to fill the pies higher than the top of the muffin tin. Top each mini pie with a pie topper. 
7. With a pastry brush, lightly brush the pie crusts with soy milk, then sprinkle with sugar. 
8. Bake for 20 to 25 minutes, until the crusts are golden brown. Allow to cool for a few minutes in the muffin tin, then carefully remove the pies from the tin and place on a wire rack to finish cooling. To remove, first try to spin the pies in the muffin wells. If they need a little extra help, run a butter knife along the edge of the crusts to pop them out of the tin. 
9. Serve, or store in an airtight container at room temperature for up to 2 days.Sweet tips : Be sure to dice the apples to a fine ¼-inch dice to minimize settling during baking.
Photo:  Aunt Jimma’s Chocolate Cream 

Buy it! Check out Ulysses Press to find out how to order the book online.
Win it! One Simply Sweet Home reader will win a copy of Mini Pies.

To enter, just use the Rafflecopter form below. Giveaway will be open through Nov 27.


Photobucket 

 Photobucket

I’m linking up at the Love the Pie Party at Tidy Mom and these  parties.

Disclosure: I received a copy of Mini Pies for review.  The opinions are my own.