Summer Pinwheel and Burlap Wreath

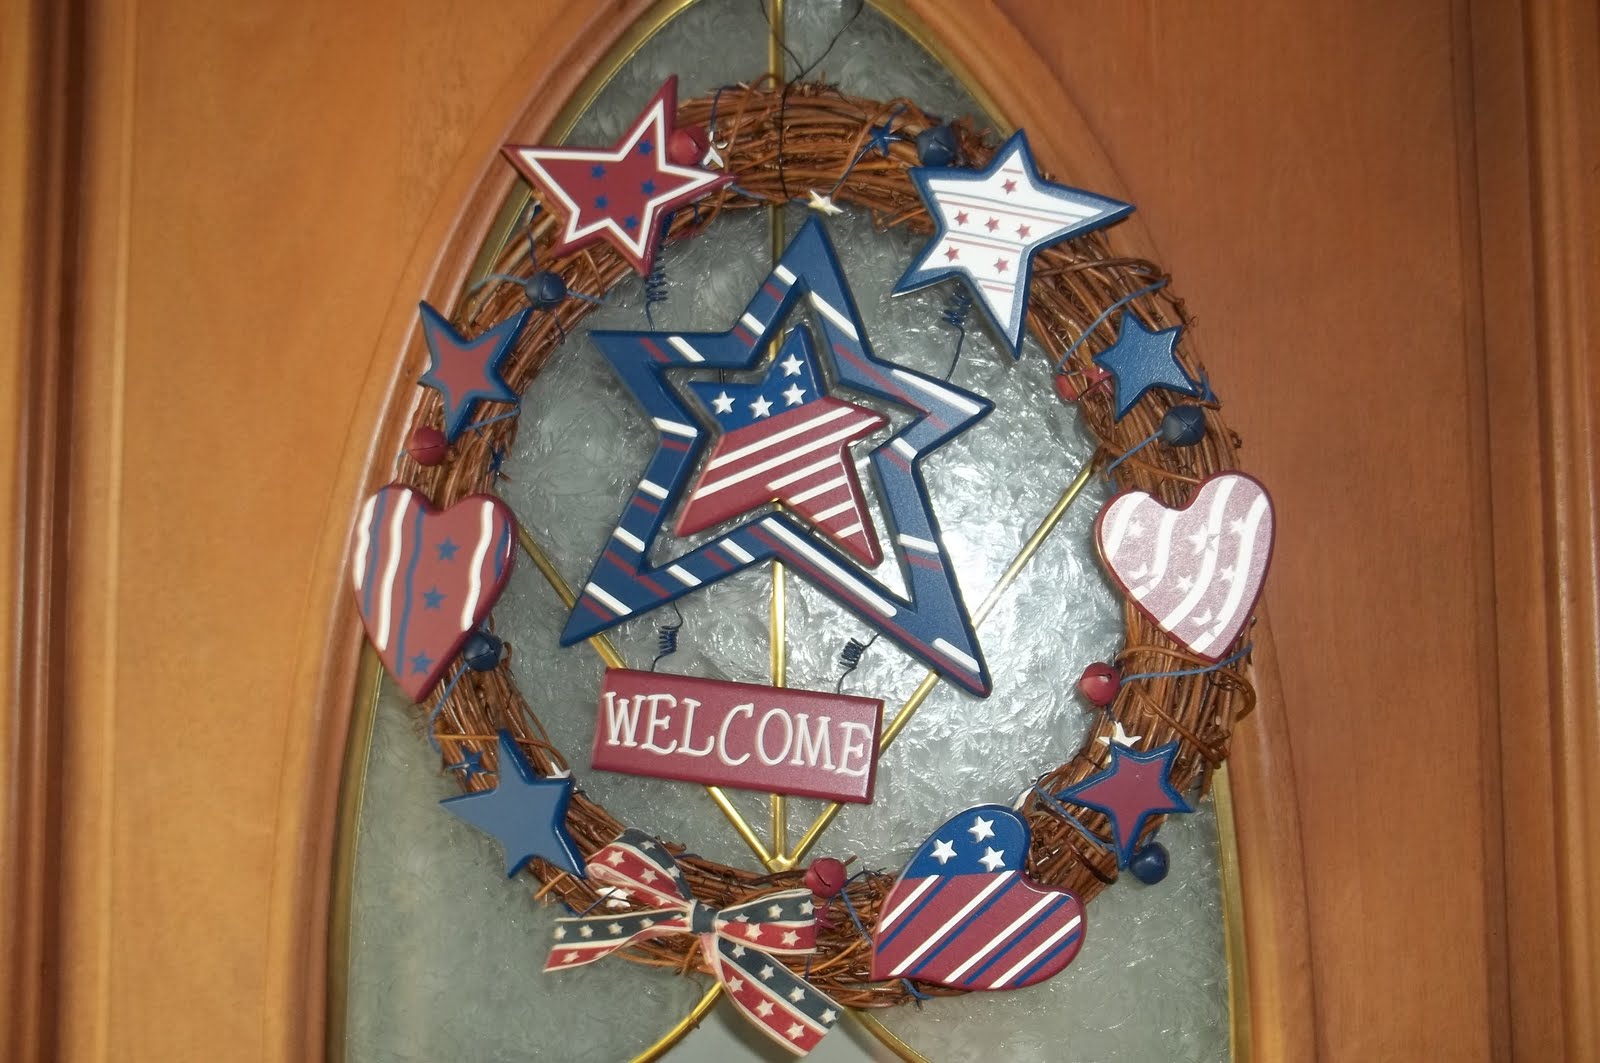
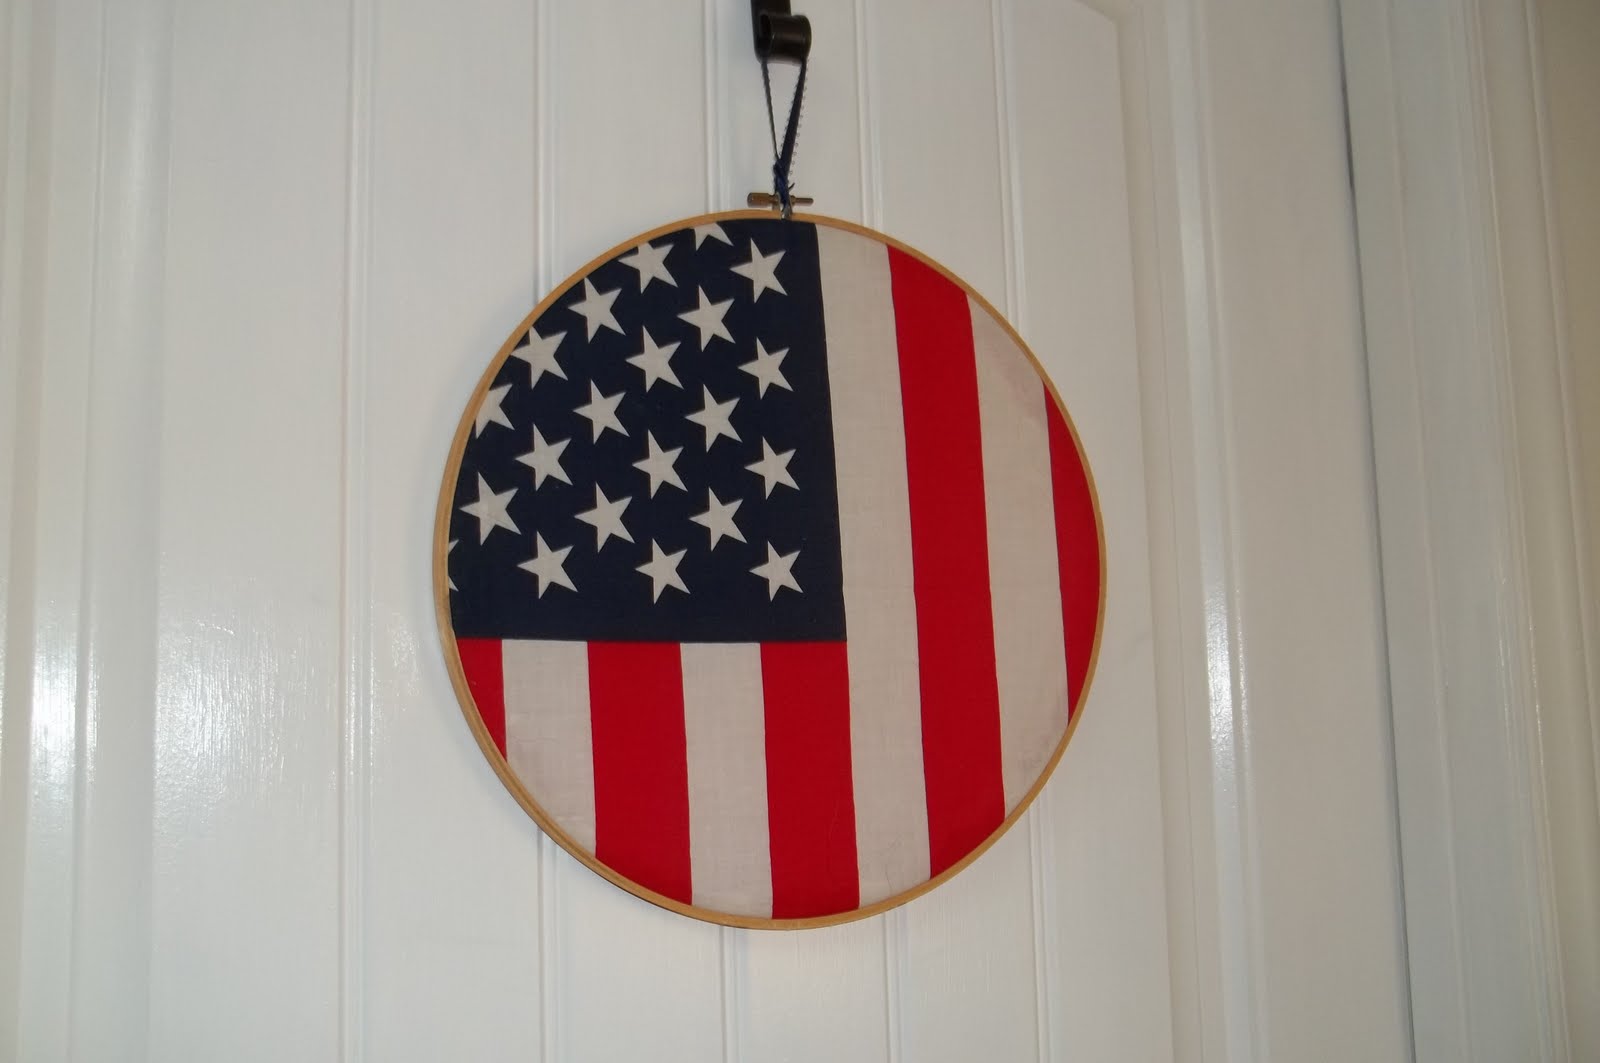
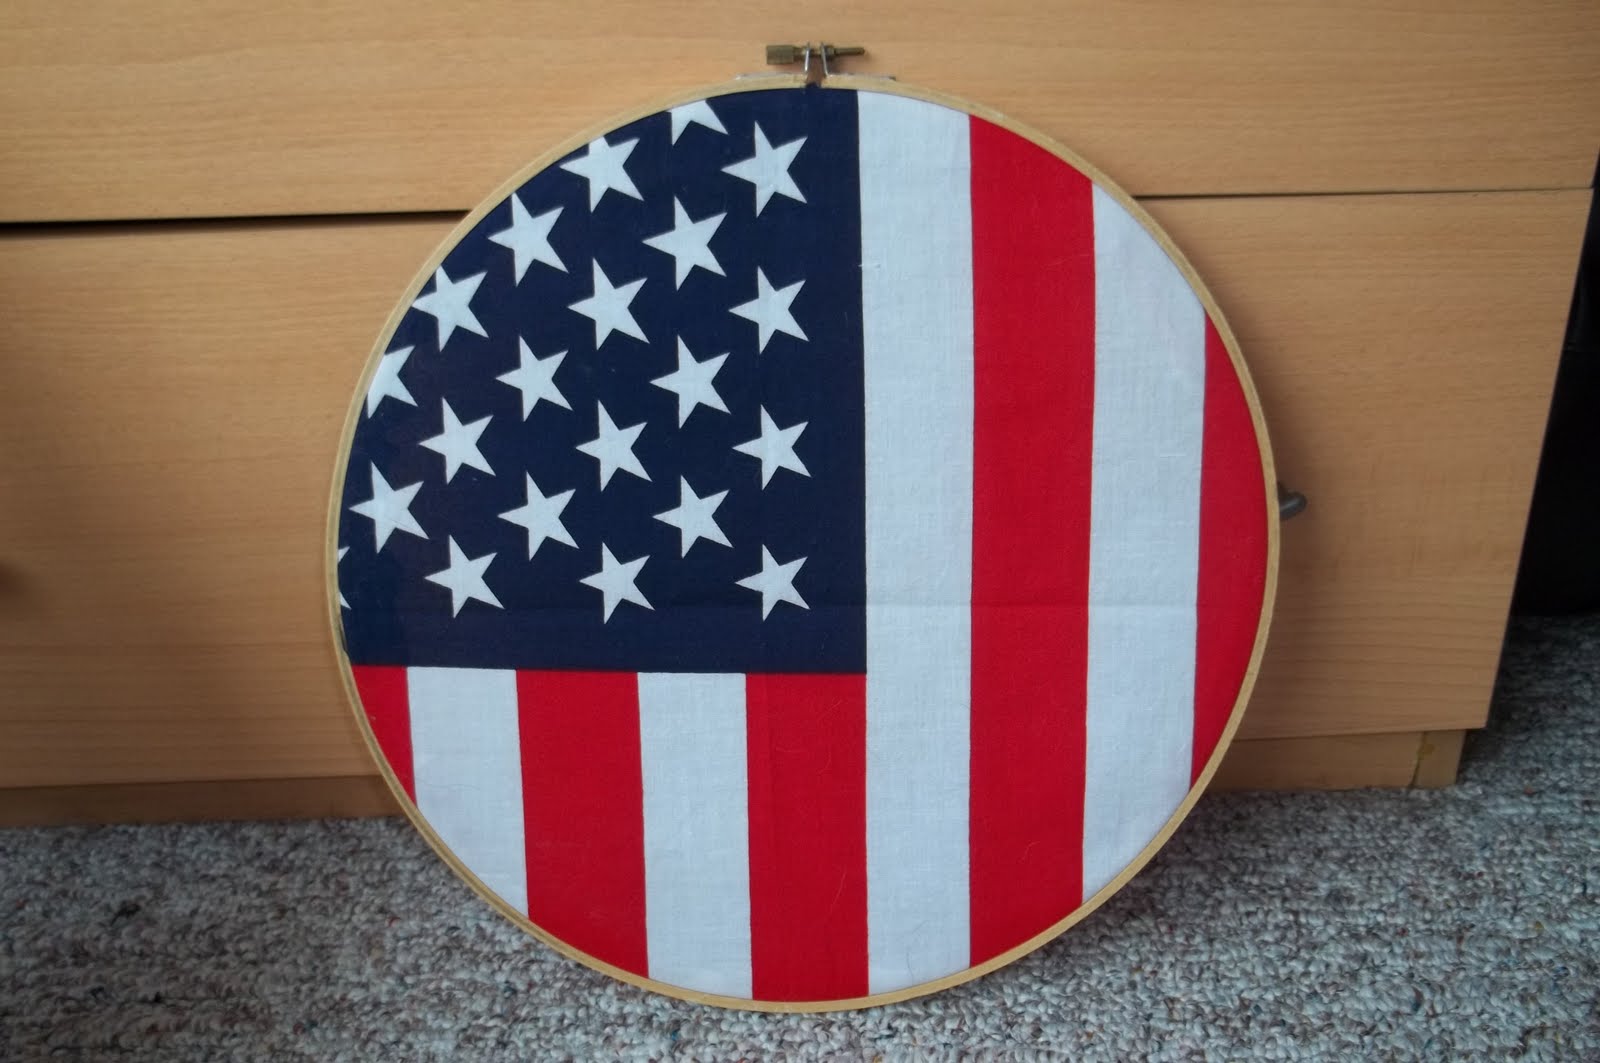
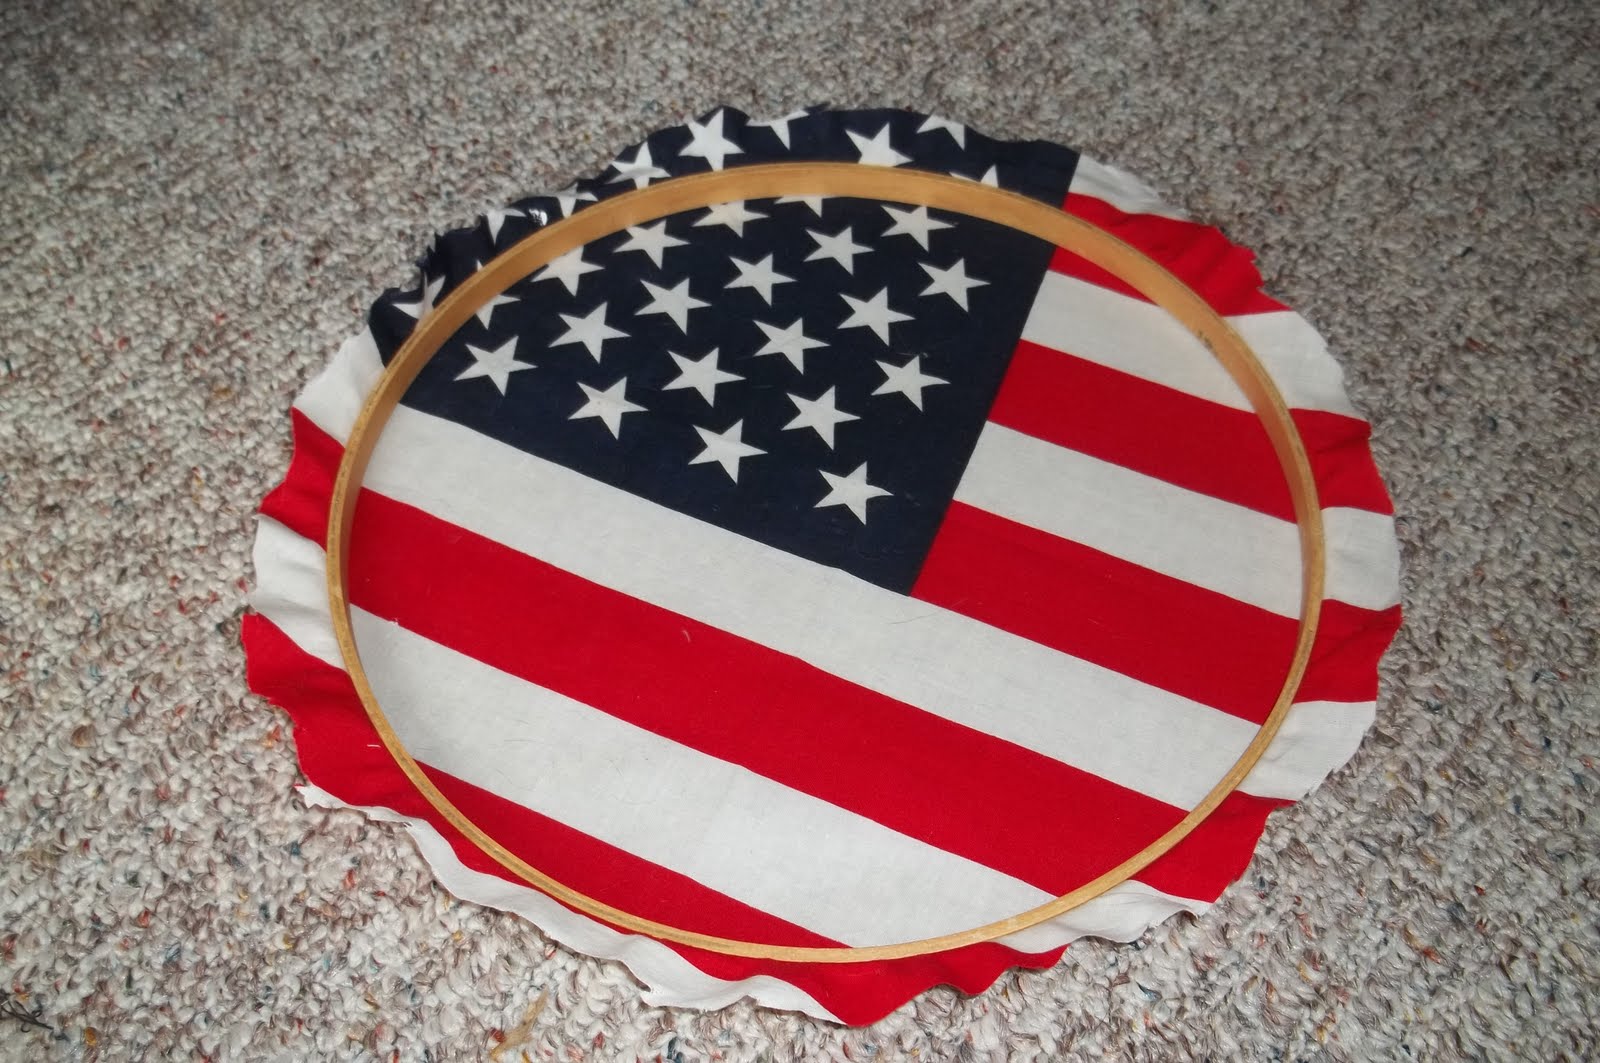
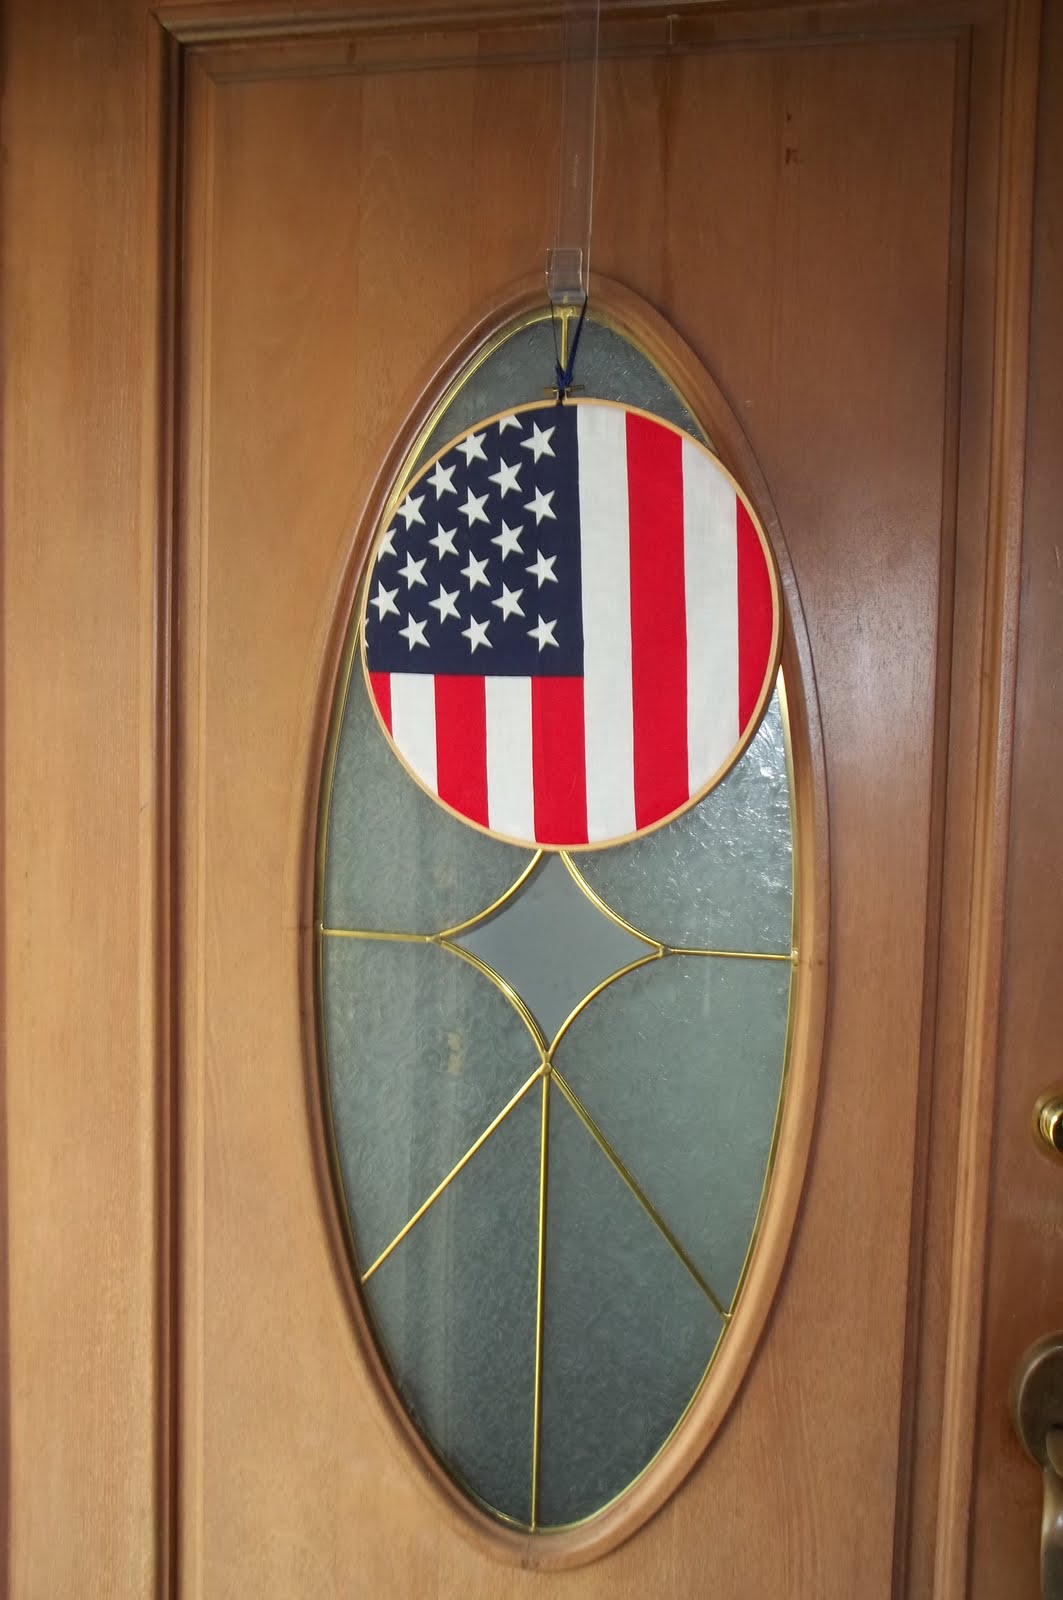
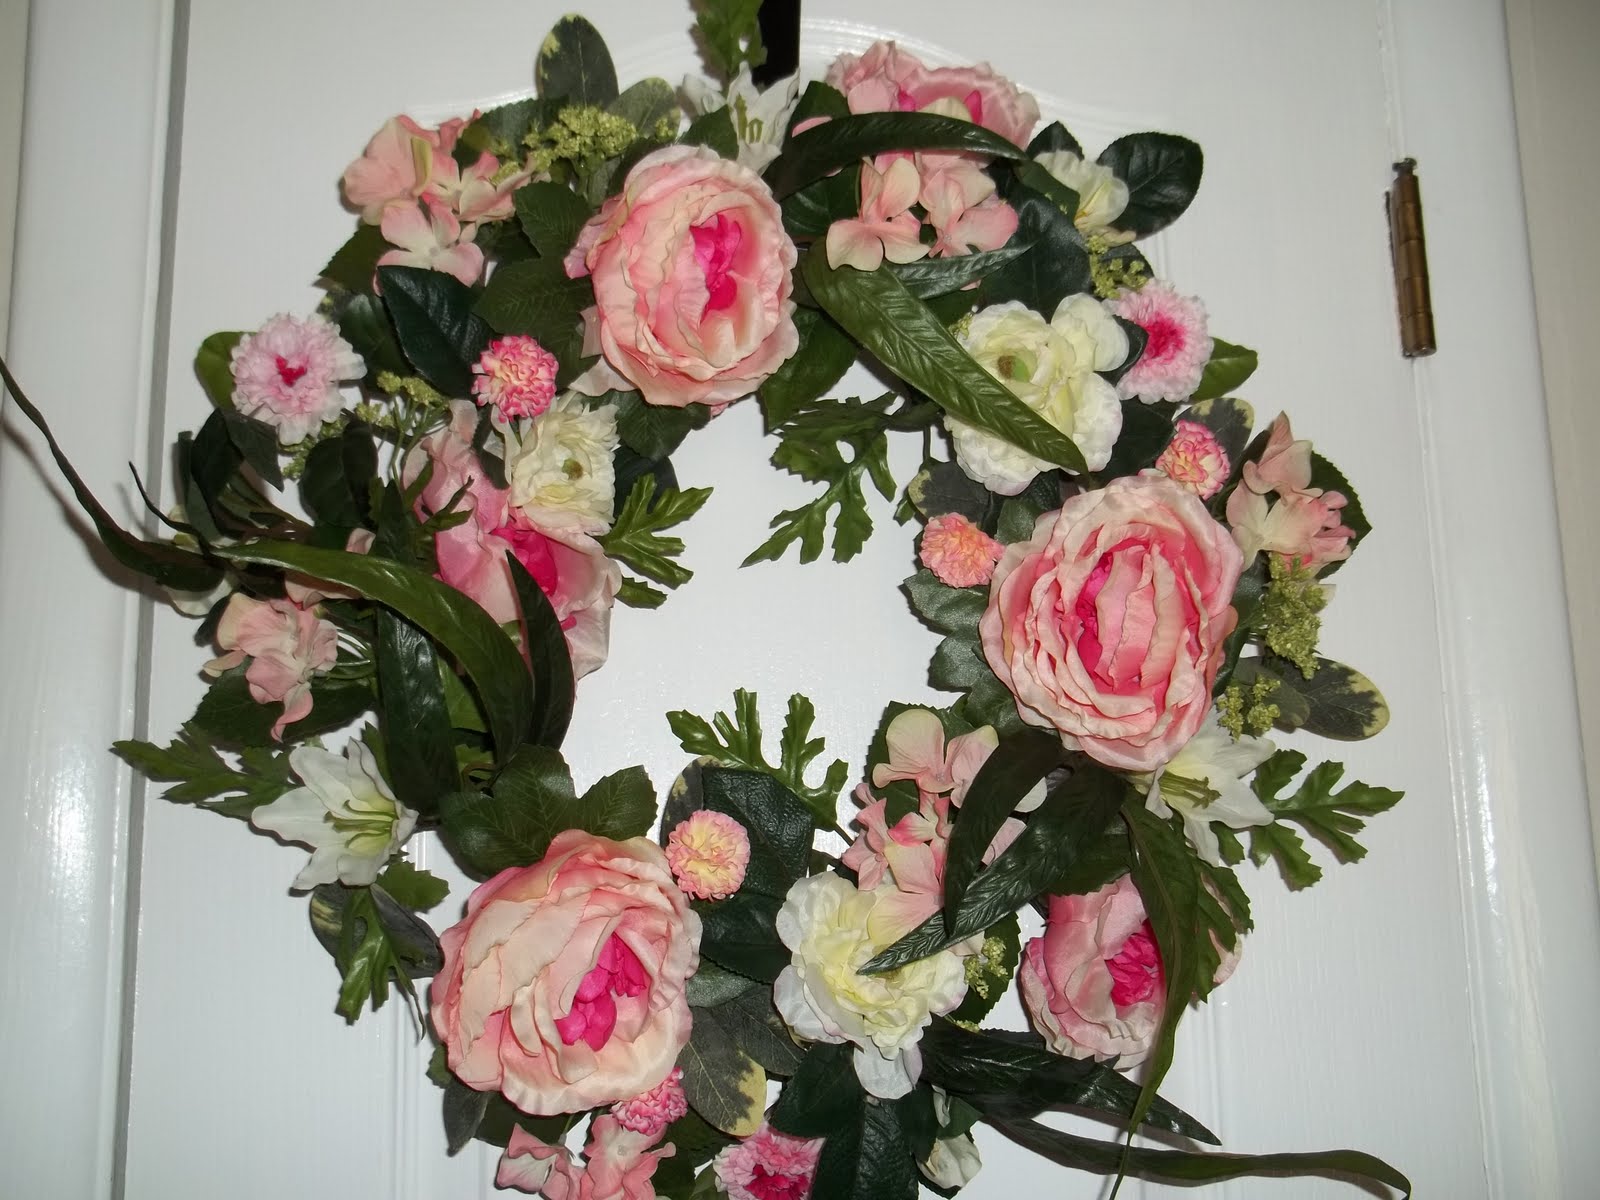
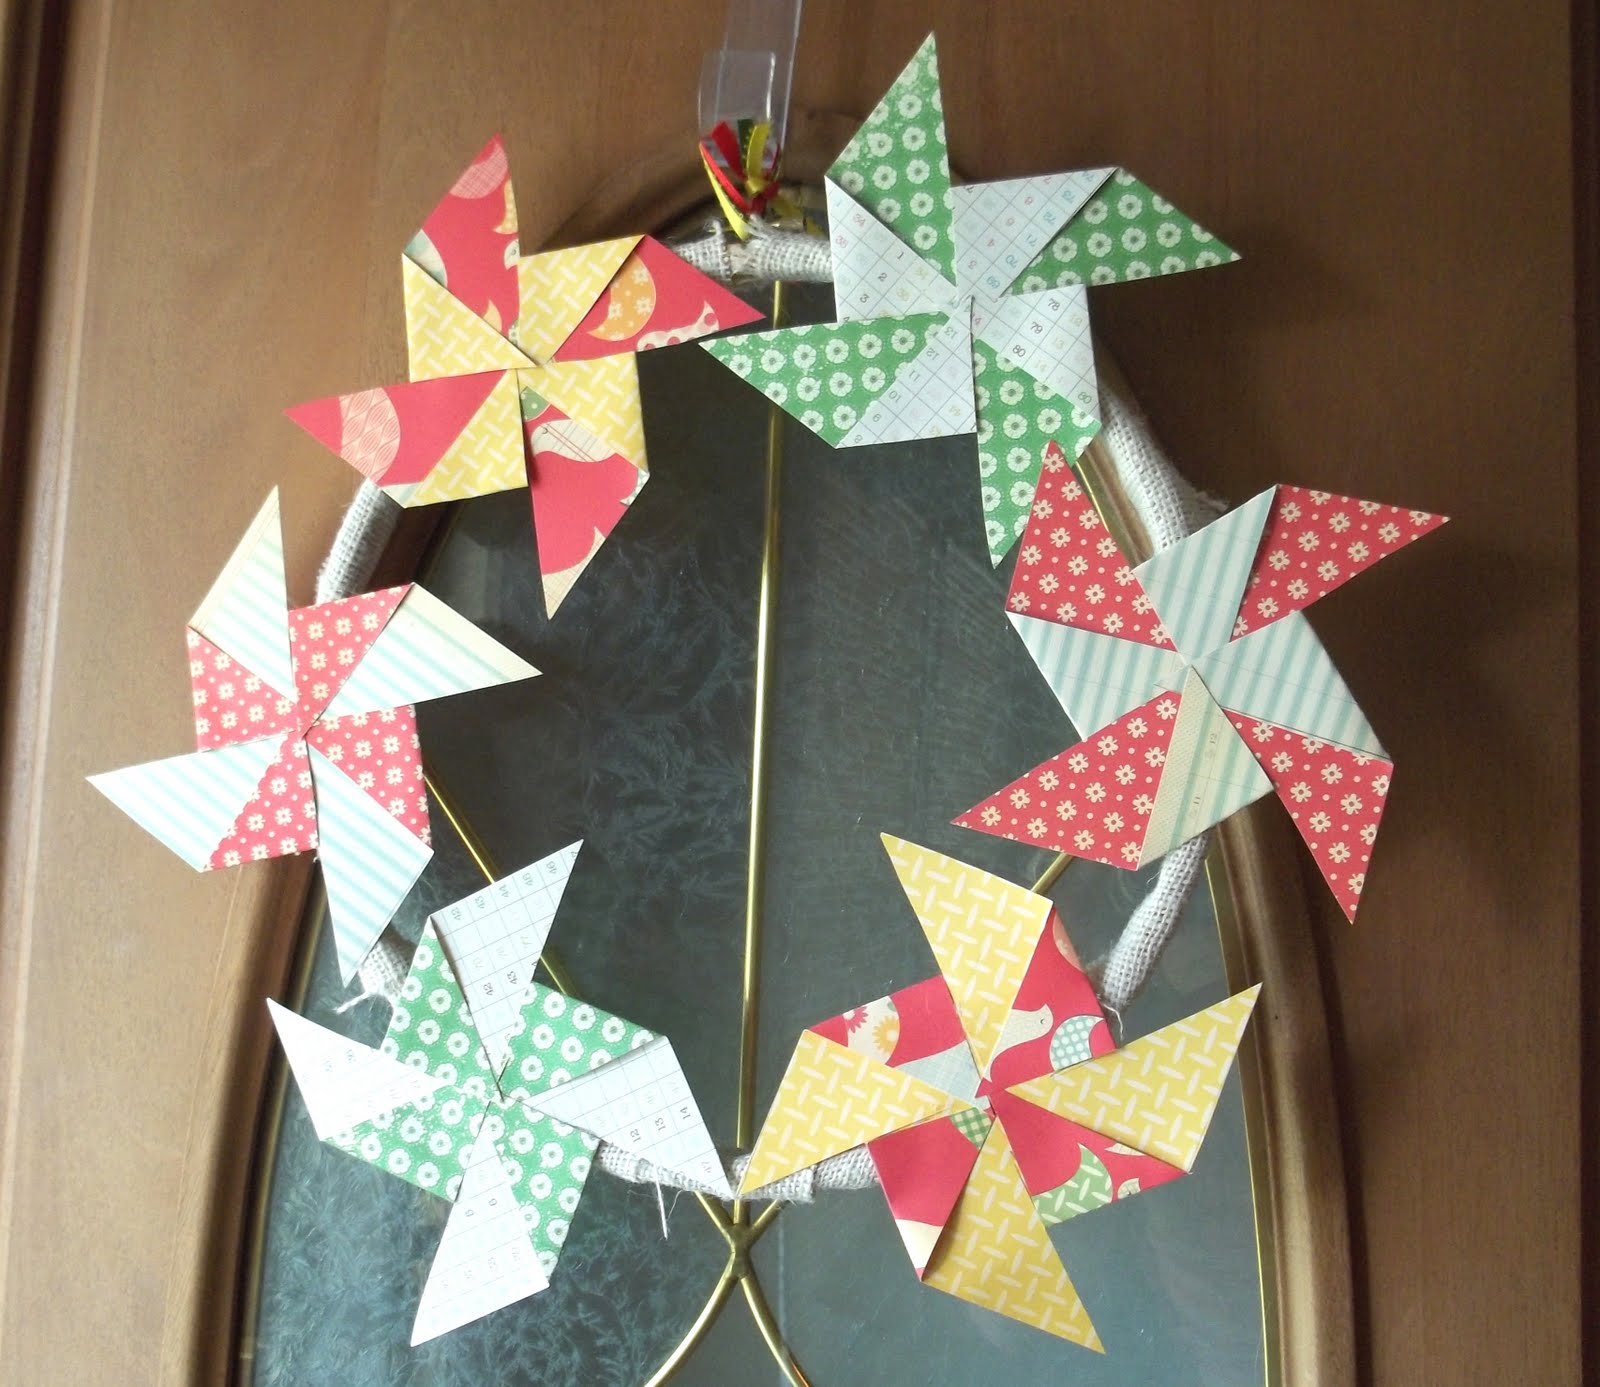
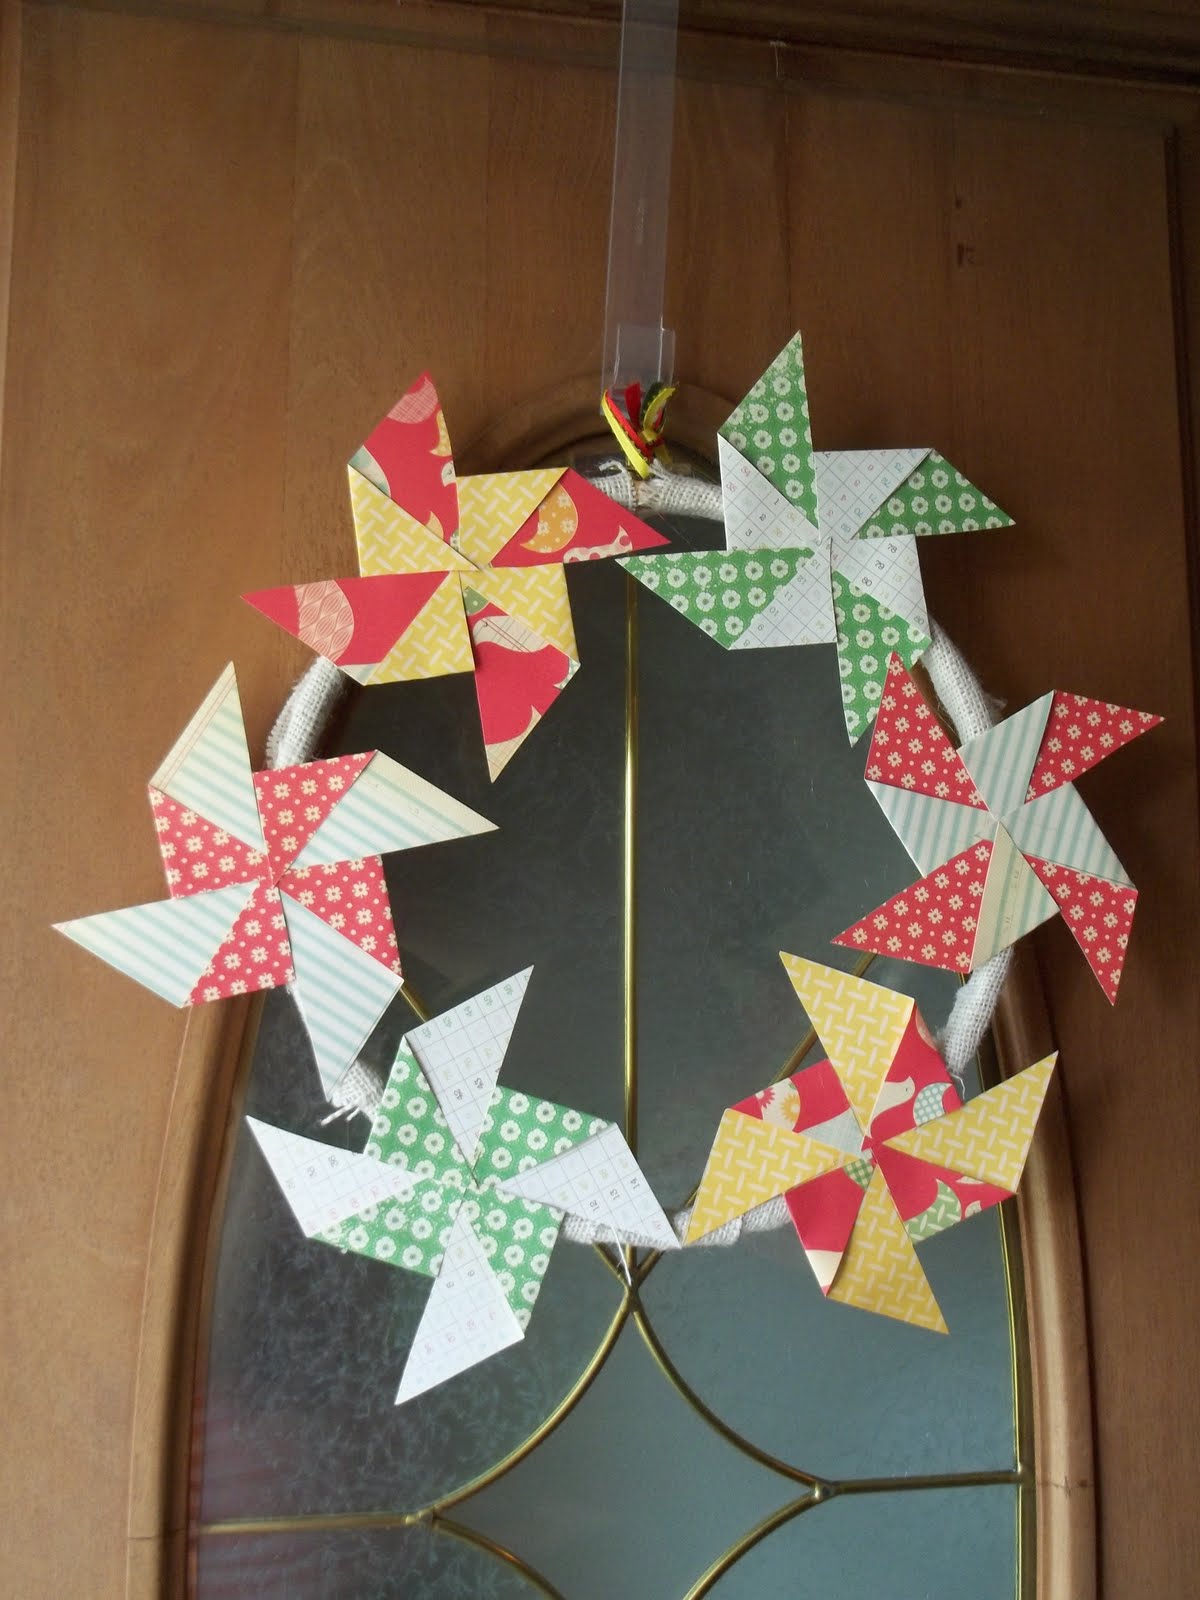
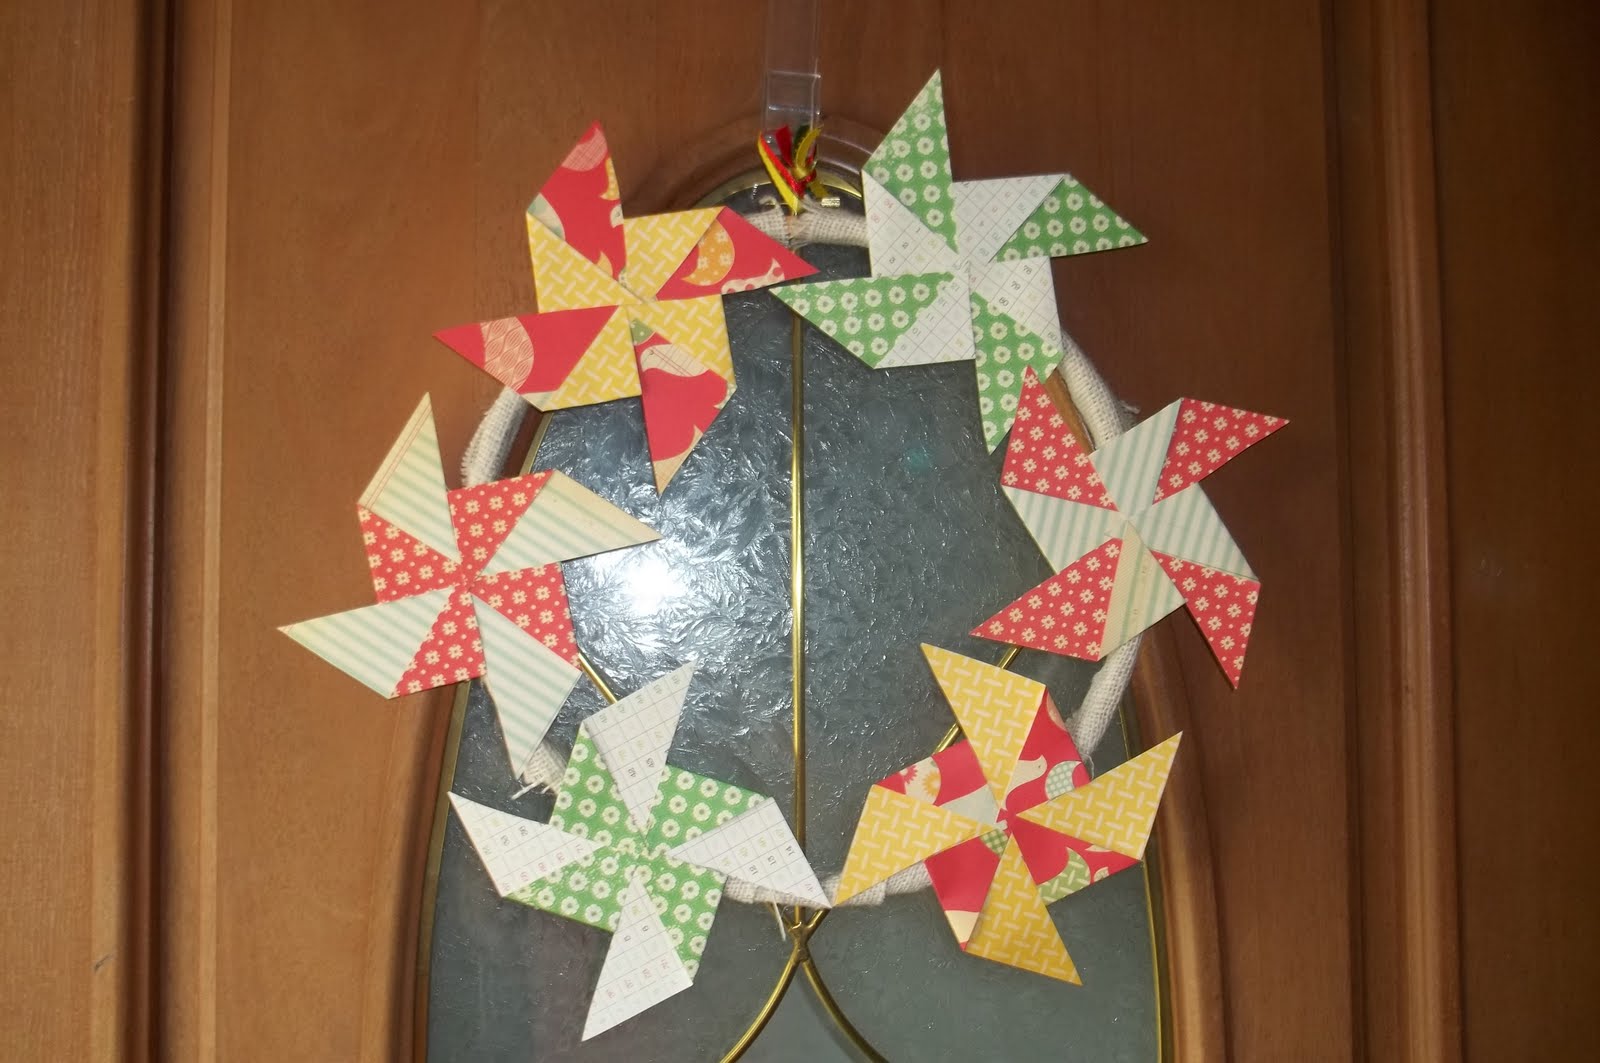
I think pinwheels are so cute and fun for the summer!  Several weeks ago while making my flag wreath, I also put this little pinwheel wreath together.
Since it’s made using the scrapbook paper of your choice, it’s a very versatile project.  And I made fairly easy by using “flat pinwheels.”  Hope you enjoy this tutorial.

What You Need:
1 Embroidery Hoop (mine is 12 inches)
Scrapbook Paper
Burlap (or your choice of material)
Hot Glue Gun
Glue stick
Ribbon

Tutorial:
1.  Choose some coordinating scrapbook papers (preferably with designs on both sides).  I used 3 different sheets for mine, but you could use more or less.  Cut your paper into 5 inch squares.  You’ll need about six for a 12 inch wreath.  (By the way, the paper that I used came out of a kit from Scrapbook Circle which I actually won last year through a blog giveaway. Yay!)
2.  Using scissors, cut your paper starting and the corner, and cutting toward the center, stopping about 1/2 an inch from the center.  Do this at each corner.  Next you need to fold one of the corners over, folding flat toward the center, and repeat with the remaining corners. Use glue stick so that pinwheel shape stays in place. (Or if you don’t want flat pinwheels, you can fold them over without folding flat and secure the pinwheel with a brad.)
3.  Next cover your embroidery hoop with burlap or your choice of fabric.  Use the hot glue gun to secure your fabric to the hoop.
4.  Now use your glue stick to attach the pinwheels to the wreath.
5.  Finally add some ribbon for hanging, and you’re done!

This post is sponsored by Cutie Patootie Creations. Why settle for the same “cookie cutter” party invites, when you can have something custom created for you?  Cutie Patooties has unique invitations in a variety of fun styles and themes.  And they have all the matching decorations and supplies you need to get your party on! Check out Cutie Patootie Creations today, and get started planning your perfect party!

I’m linking up at these crafty parties and Tidy Mom.

Photobucket

Ornament Shop Review

I got another mouse ornament to add to my collection! This cute ornament came from OrnamentShop.com. They offer ornaments in a variety of styles and themes, including Graduate Christmas Ornaments, Teacher Ornament, Graduate Christmas Ornaments,and Engagement Ornaments.  And if you’re celebrating Christmas in July on your blog, check out their blog for some great Christmas Ideas.
The ornament I received from OrnamentShop.com features an adorable mouse couple, sitting atop a candy cane.  It is made of polymer clay, which gives it a really whimsical look.
And it’s personalized! One each side of the mouse couple is a snowflake which I had our first names put on, and then hanging beneath the candy cane is a little holly berry adorned sign which I got our last name put on.  Very cute!
And here’s a few more personalized items that I really like at this site:
Meow Cat Ornament
Snowman Baby Girl Ornament
Snowman Couple Ornament
Gingerbread Family Ornament
Frog Family Ornament

Check out Ornamentshop.com for these and more adorable ornaments!

Photobucket

Disclosure:  I received a free ornament for review purposes.  I was in no other way compensated for this post. The opinions are my own.

Country Style, Shabby Chic 4th of July Wreath

My mom gave me this wreath. Isn’t it cute?  I have this on my door right now for 4th of July, but I really love decor like this year round because I adore the country style!

To make this wreath, you start with a vine wreath.  Next a string of garland featuring small metal stars was added.  Also strung on this garland are some small bells, which are painted red or blue.  I’ve seen similar garlands sold at decor retailers (perhaps Pottery Barn or Current), so I’m sure you could find something similar with a simple internet search.  Or you could go the less expensive route and buy some wire/foil type garland from Wal-mart or the dollar store.
Next wooden hearts and stars were painted and added to the wreath using hot glue.  The ribbon at the bottom can be tied and then added also using hot glue, or you can loop the ribbon through the vine and then tie it in lieu of glue.

Finally the star and welcome sign are suspended down the middle using a simple wire wrapping technique.  And another wire is wrapped around the top for easy hanging.

I’m linking up at these parties.

Photobucket

Easy Flag Wreath and Wall Art Tutorial

I love 4th of July! I don’t usually do any decorating for it, but I had this flag handkerchief with a couple of paint spots on it, and because I hate to throw things away, I decided to upcycle it into a nice wall hanging.
This is such an easy and affordable project, I just had to share it with you!

What You Need:
embroidery hoop (mine was 12 inches)
flag (mine was about 15 inches wide)
scissors
hot glue gun
ribbon

First you need to position the flag inside the embroidery.  Make sure that the area inside the hoop is the exact area you want display, and then tight the hoop.  (For mine, I did the “up and down” hanging flag as seen in the Olympics, but as you can see in the picture below, it looks great horizontal as well.)

Next take your scissors and cut out the excess fabric, leaving about 1/2 an inch to an inch all the way around.  Your cut doesn’t have to be perfect because you won’t see any of the excess after you’re done.

After you’re done cutting, take your glue gun and glue your excess fabric to the inside of your embroidery hoop.  Finally take a piece of ribbon (about 8 inches long).  Loop the ribbon through the hoop.  Tie the ribbon in a knot.  Hang on your wall or door and enjoy!
I’m linking up at these linky parties.

Photobucket

Big Spring Flower Wreath

I love the colors of spring!  This spring I’m welcoming people in to my home with the colors of this wreath on my front door! Isn’t it pretty?  
And before I go further, you’re right the door in the picture actually isn’t the front door. Actually I put it up this up in the living room last month, but I moved it to the front door a couple of weeks ago for the Easter and Mother’s Day holidays.  But I think, this time next month, I’m going to put it back up in the living room, as it goes with some other rose themed decor that I have.
There’s no tutorial today because I didn’t make this, although I wish I had!
But I do have a tip!  They have a lot of wreaths at Walmart that are similar to this.  You can find them in the craft section with the flowers  They start as low as $20 (perhaps even cheaper for something smaller), and then they go up in price from there.  That’s just about the best price you can find for something new. And for a wreath of this size and fullness, you can’t really beat it!
Even if you made your own, you’d spend about that much in materials for a wreath of this size  The only catch is that the back of it is a plastic frame as opposed to a metal frame, but you can’t see the frame anyway, so it’s pefectly good to me!

Linking up to these parties.

Photobucket

My Easter Vignettes

I’ve been meaning to share my Easter Decor for weeks, but I guess the week before the holiday is better late than never, right?  I had the hardest time deciding how to decorate!  For one thing, some of my cutest pieces are packed up in storage, and I decided against getting them out, and then I also have some really cute glass eggs in my “treasure cabinet” that I’ve collected in the past few years, and oddly enough, I didn’t use those either!
So at first I was working with just a few different things that didn’t seem to go to together in one display, but I managed to throw some more things into the mix to make it work and actually made 3 displays. 

This is on top of the fridge.  I used a pink runner, and then in the center, there is a flower adorned wishing well with a glittery Easter sign.

My mom gave me this glass Easter basket either last year or the year before.  It was probably a Hallmark or Cracker Barrel find, as those are two of her favorite places!  And it is just super cute in person!
And I just threw this bird house up there because it’s springy and went with the color scheme.
Growing up, we always had a bunch of “country rabbits” like these.  I’ve been thinking of getting rid of them because I don’t have a place for them, but I figured I could at least use them for Easter! 
And that’s a Beatrix Potter tin in the center! My mom and dad collected tins when I was kid, and this one’s from their collection. It’s dated 1992.
And if you checked about my Easter Egg Banner last week, you probably noticed all the stuff on top of my treasure cabinet.

I actually keep this “runner” (it’s not actually a runner) on top of the cabinet all year round, except at Christmas.  It was on the end of my bed when it was a kid, and I’ve always loved it.

Actually come to think of it, I’ve had most of this stuff since I was little, except for all the egg pictures.  But I think they all came together quite nicely! What do you think?

I’m linking up here.

This post is sponsored by Petite Rouge. Are you looking for the perfect finishing touch? Petite Rouge has it. Simple, elegant blossoms to brighten up any outfit. Dainty enough for your smallest princess. Sophisticated enough for your growing girls. Clip on a headband or wear alone. 

Photobucket

Easy Easter Egg Banner

I was decorating for Easter a few weeks ago, and I had all these foam eggs.  At first I was going to hang them in various places in the kitchen, but then I got this fun idea to turn the eggs into a banner.
This is a very easy and inexpensive project, and I was really pleased with how it turned out.  And it just happened to go great with this “Happy Easter” banner I already had.
What you need:
Foam Egg Sheets
Ribbon
You should be able to find the foam egg sheets at Wal-Mart, a craft store, or possibly a dollar store.  The holes were already punched in these, but you can always use a punch that works with foam if you can’t find any sheets like these.
Cut your ribbon in to 6-8 inch pieces.  You could actually go shorter with the ribbon, but I like the look of the longer ribbon.  Loop the ribbon  through the holes of two foam sheets. Tie the ribbon into a knot.  Keep adding eggs in the same way until you have the desired length.  On each end of the banner, take a piece of ribbon and loop it through a hole; tie a knot.  (These ribbons on the end will be used for hanging.)   To give the ends a more cute and “finished” look, take a second ribbon and loop it through the hole, but this time tie the ribbon in to a bow.
Another thing to consider is adding additional ribbons.  I thought about tying additional ribbons through the bottom wholes or tying ribbons through the middle of the eggs, but in the end I just decided to keep it simple.
This post is sponsored by Petite Rouge. Are you looking for the perfect finishing touch? Petite Rouge has it. Simple, elegant blossoms to brighten up any outfit. Dainty enough for your smallest princess. Sophisticated enough for your growing girls. Clip on a headband or wear alone.
I’m linking up at the Decor to Adore Spring Craft Party and these weekly parties.

Photobucket
If you’d like to sponsor some posts on my blog, email me for details.

The Sweetest Easter Tablescapes

I think I’ve got Easter Fever!  I had so much fun sharing all the great Easter wreaths last week, that I couldn’t wait to share some Easter tables that I found!  These photos are so cheery!  And everything is so cute!  It really makes me wish I was going to an Easter party!

See what I mean?  Don’t you want to go to this party? I Do!  Evertything is so cute—even the carrot centerpeice! Just adorable!  This is fromWants and Wishes.
Loved this!  It’s so whimsical and pretty! I love the soft pastels, and I love both of these egg trees.  You can see the tutorial at Torie Jayne.

Okay! Believe it or not, this isn’t a real tablescape! Surpise!  It’s actually dollhouse size!  But it was so cute I had to include it, and I think it would be great inspiration for a life size table. Check it out at Hummingbird Miniatures.

So many beautiful things here!  It’s Always a Party at the Parkers is a site that I found long time ago and forgot about.  I don’t know how I forgot because they sell some totally unforgettable party supplies!  And after you check out the party table, you can pick some free printables.

This one’s actually an Easter Brunch Table.  Isn’t that a cute concept?  Check out The Party Dress to see what is being served up.

I love the simplicity of this, and the tree with the birds is gorgeous.  I’m not sure of the original source, but this and other tablescapes are being featured at 79 Ideas.

For more cute Easter ideas, check out my Easter board.

This post is sponsored by Petite Rouge. Are you looking for the perfect finishing touch? Petite Rouge has it. Simple, elegant blossoms to brighten up any outfit. Dainty enough for your smallest princess. Sophisticated enough for your growing girls. Clip on a headband or wear alone. 
Photobucket

I Love Easter Wreaths

Photo Credit: UpTown Originals
Here lately I’ve been all about wreaths!  Last month I created an etsy treasury of St. Patty’s Day Wreaths as well as a Celebrate St. Patty’s Day treasury, and so this month I followed these up with a treasuy of Easter Wreaths and another called Celebrate Easter.
Also, this month (actually last week) I joined Pinterest. It’s a new bookmarking and social network site.   I’ve pinned some lovely things for Easter on there as well.  So today I’ll be sharing some wreaths from my Etsy Treasury and my Pinterest Page. (By the way, if you’re already a Pinterest member or you’re going to sign up, please visit my page and follow me, and I will follow you back!)

I hope you enjoy these finds!

Springtime Easter Egg Wreath from A Work of Heart
Easter Wreath from CraftyArtist

Bright and Colorful Easter Egg Wreath from Always Present

Feather Easter Egg Wreath from Every Crafty Endeavor

Spring/Easter Wreath from Loving Every Second
Easter Egg Wreath from Crocheted Creations

Easter Wreath Topiary from Cozy Home Scenes

For more Easter Wreaths, please check out my treasury.

Photobucket

St. Patrick’s Day Wreath

I had planned for the first Wednesday of each month to be for my jewelry showcase, but I’m doing some rearranging this month because  I wanted to make sure that I shared this wreath in time for others to  be able to make their own for the holiday.  This is a very easy wreath to make.  No crafting tools or skills needed!
What you need:
plain wreath
clover garland (found at Wal-mart or Hobby Lobby)
ribbon (for hanging)
Directions:  Simply take your garland and wrap it around the wreath.  This particular kind of garland has a wire at it’s base, so it easily wraps around and through the vine wreath to stay in place.  But if you’re using another type of garland, you may need to use some hot glue to make sure it doesn’t come unwrapped.  Then simply tie a ribbon to the top for hanging. And you’re done!

In honor of the St. Patrick’s holiday, I’ve added this really cute clover cloth to the sewing machine in the dining room.  Here’s Dixie posing with a few of her clover-adorned friends!

I’m linking up this week to these parties.

Photobucket