Scrappy Gifts

Scrappy Gifts

I’m happy to introduce you to my newest sponsor Scrappy Gifts.  This site is owned by Maryanne Nelson, a stay at home mom of one little boy and an avid scrapbooker.  Maryanne sells a variety of handmade items, featuring—you guessed it—scrapbook paper!   But apart from this, she also hosts monthly Online Crops at her Blog Frog Community.

What’s an Online Scrap Crop?  It’s basically a scrapbooking get-together.  You can do it alone or get some of your friends together and scrap. Work on any scrapbooking, paper crafting, or cardmaking related projects anytime during the crop. Then take pictures and share them on Maryanne’s Blog Frog Forum (http://theblogfrog.com/935825/forum). You can also discuss anything from scrapbooking tips, to latest tv shows, to your kids. 

Challenges, Games, and Prizes are involved!  And if you invite a friend and they participate, you automatically will get a prize! Your friend just has to leave a comment saying that you invited them. (You can also contact Maryane if you’d  like to participate or offer prizes.) And everything is online, so you can be in the comfort of your own home.
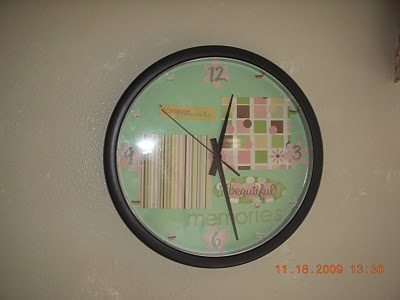
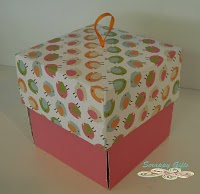
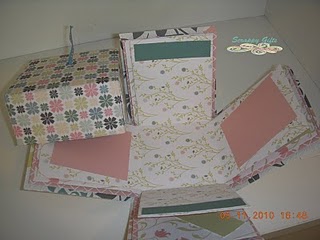
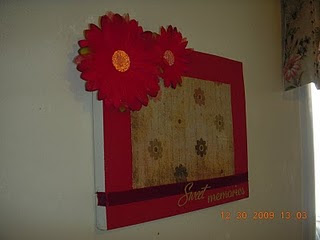
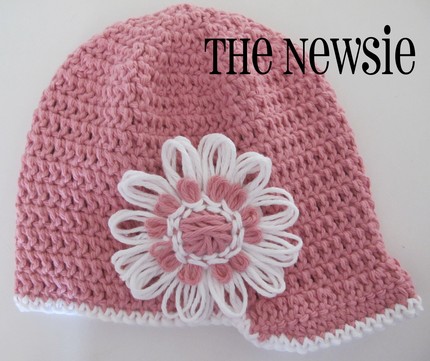
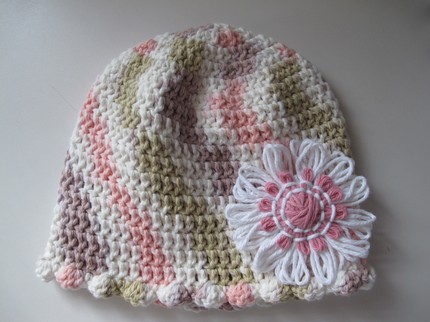
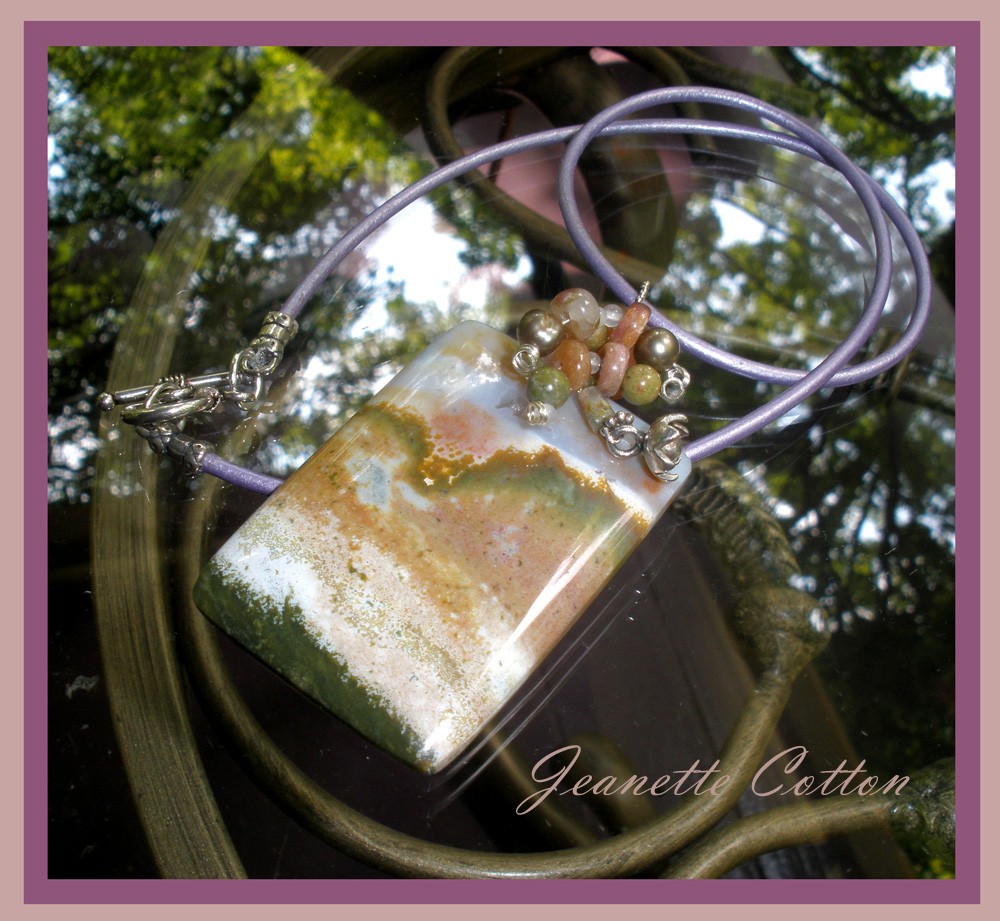
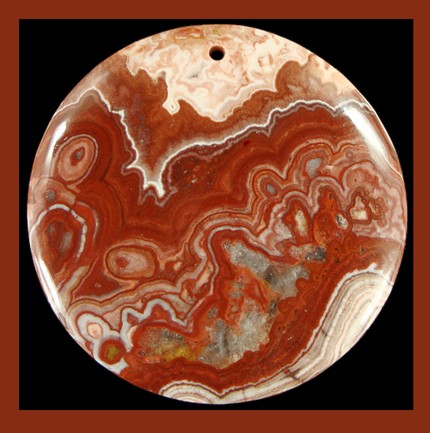
Products

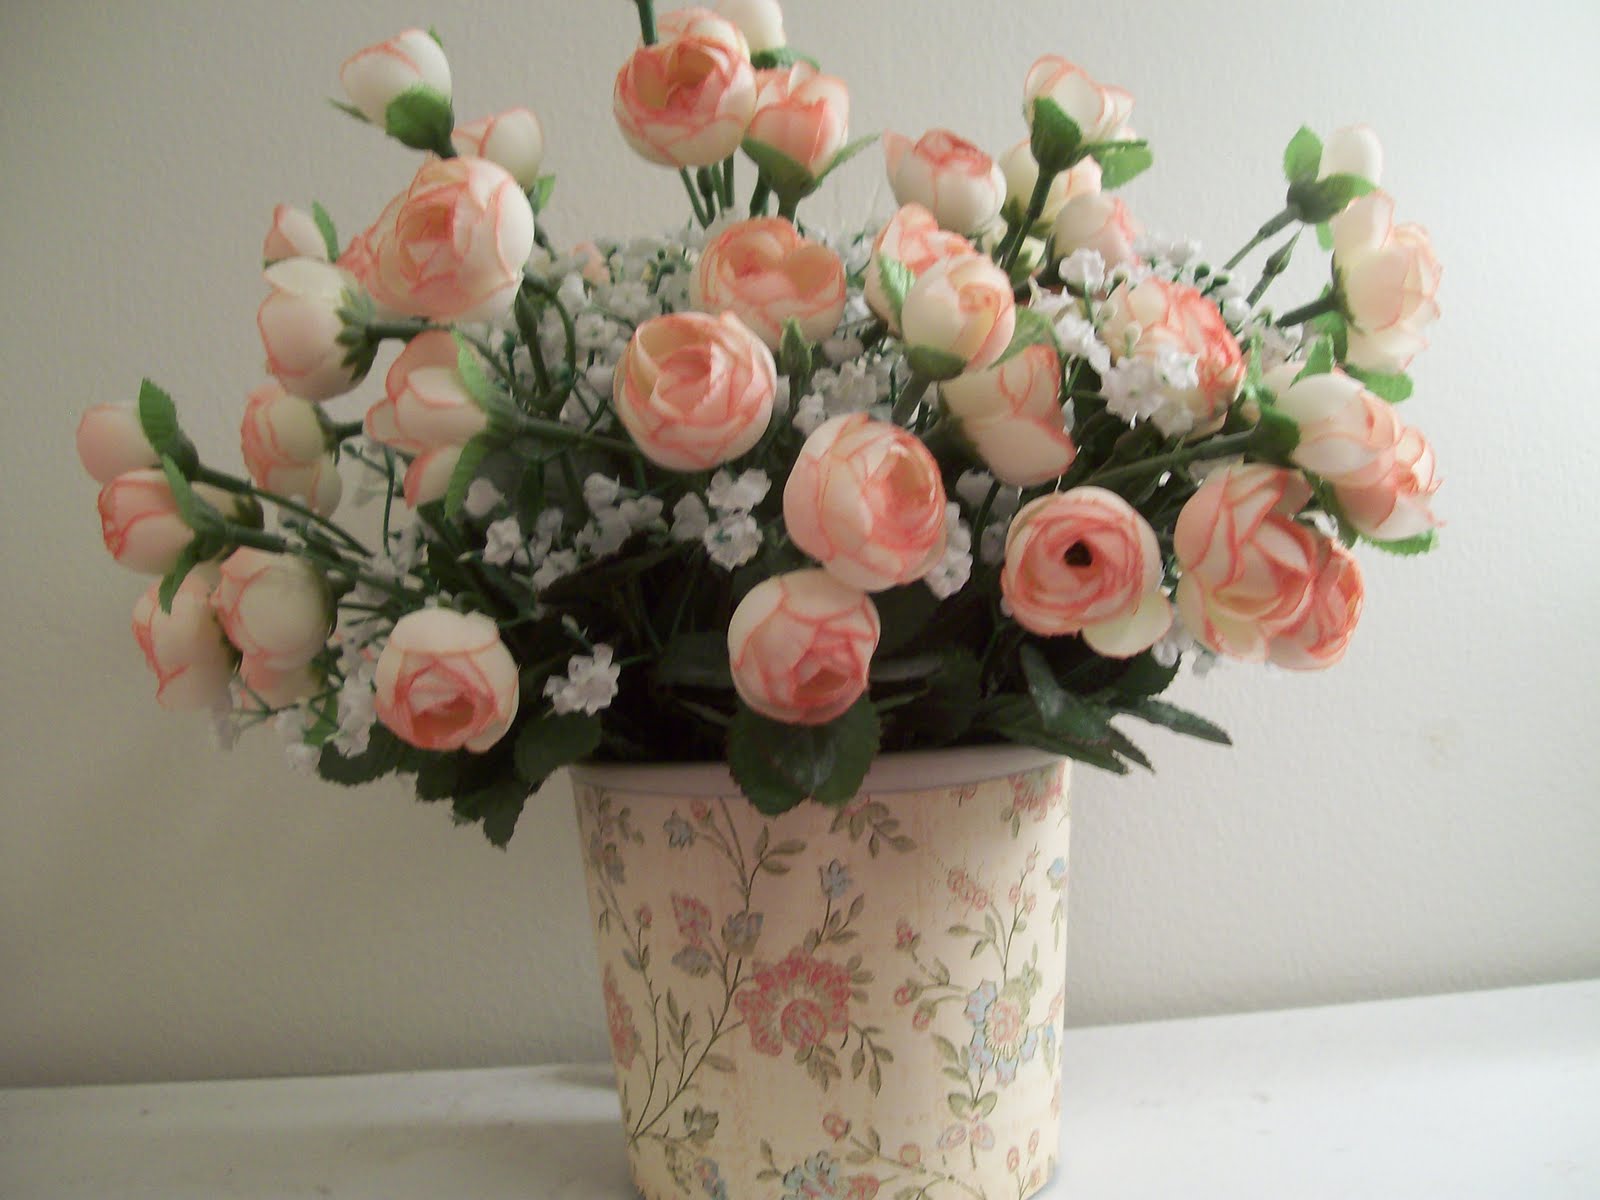
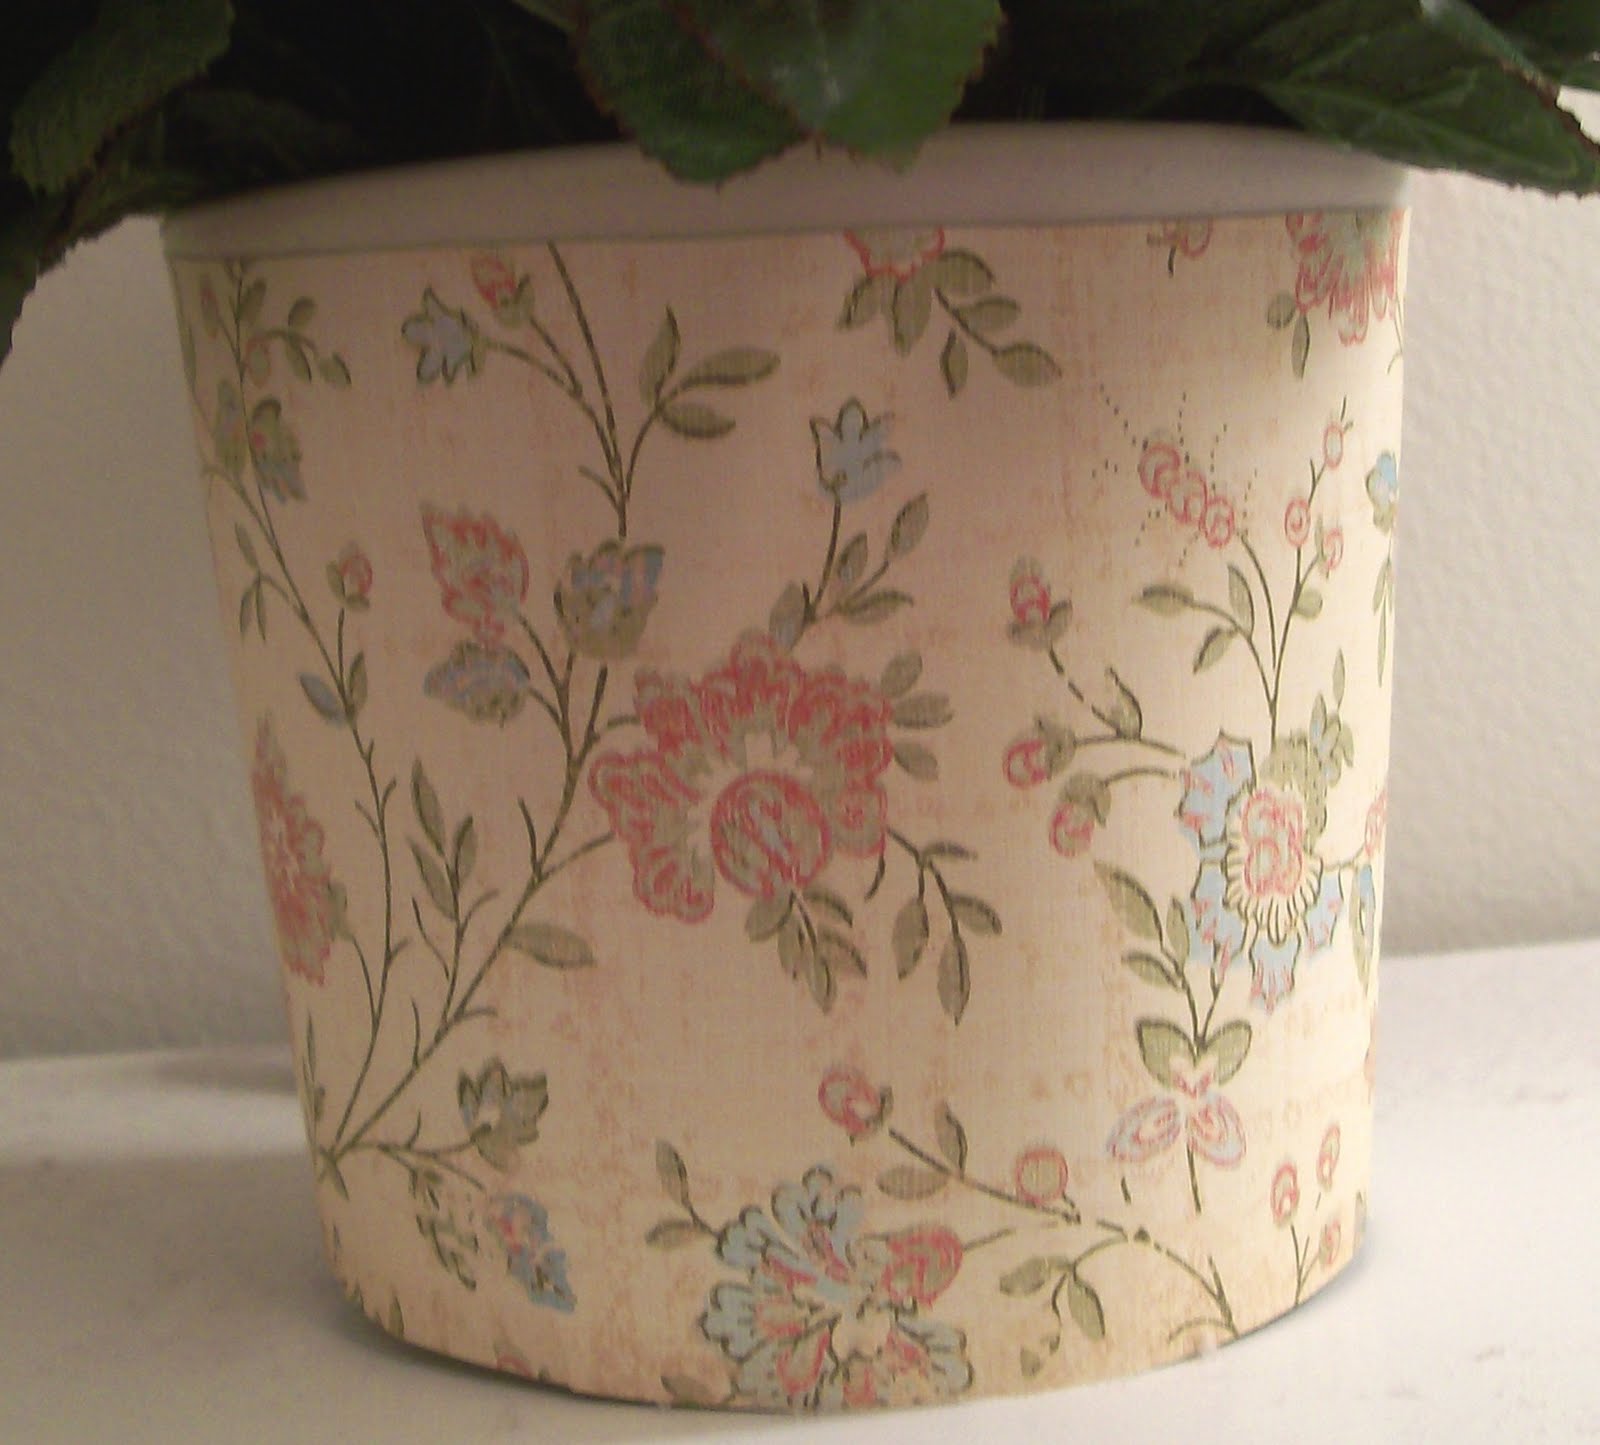
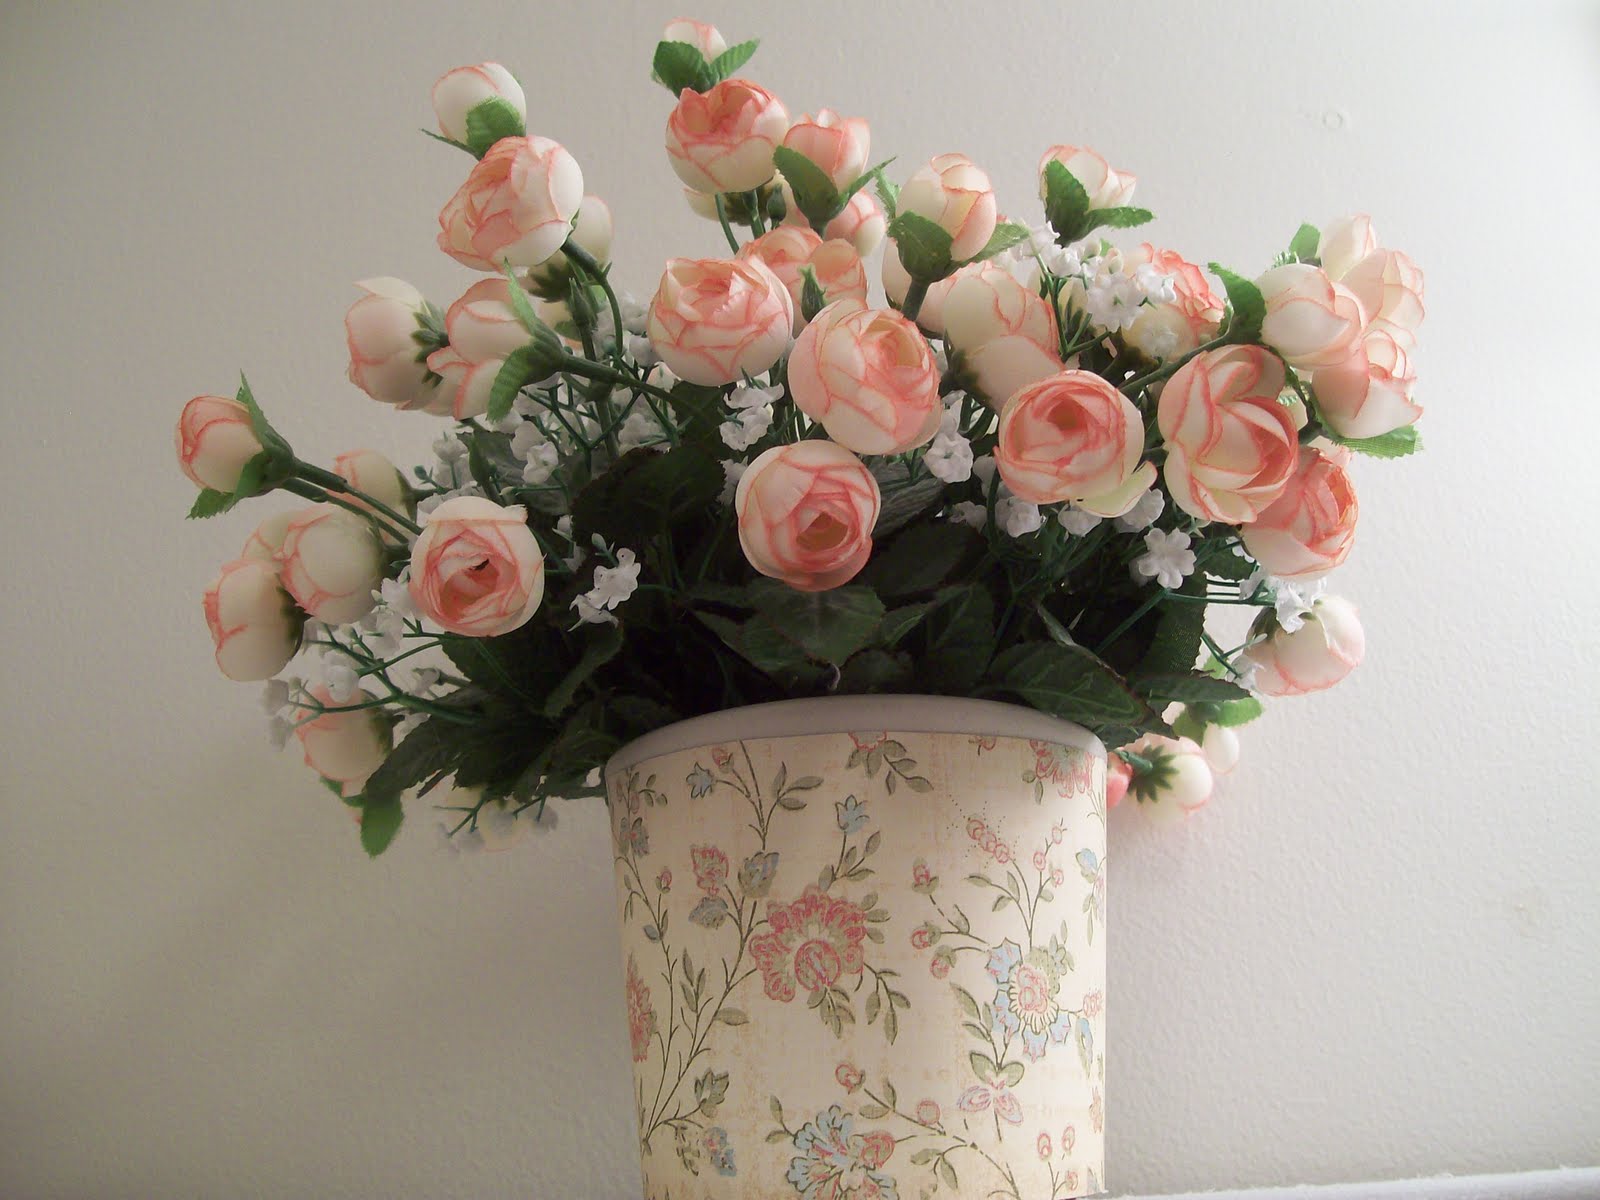
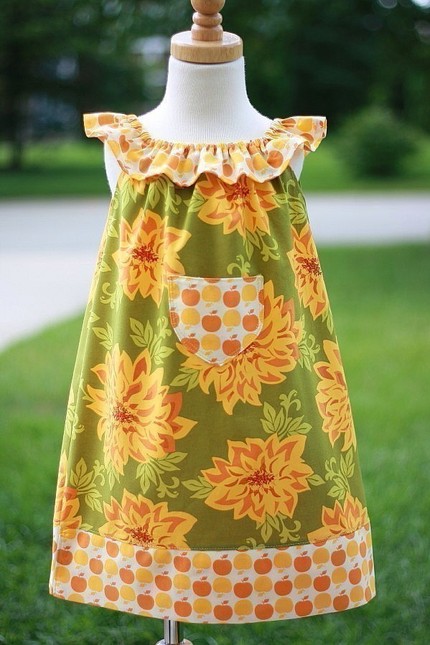
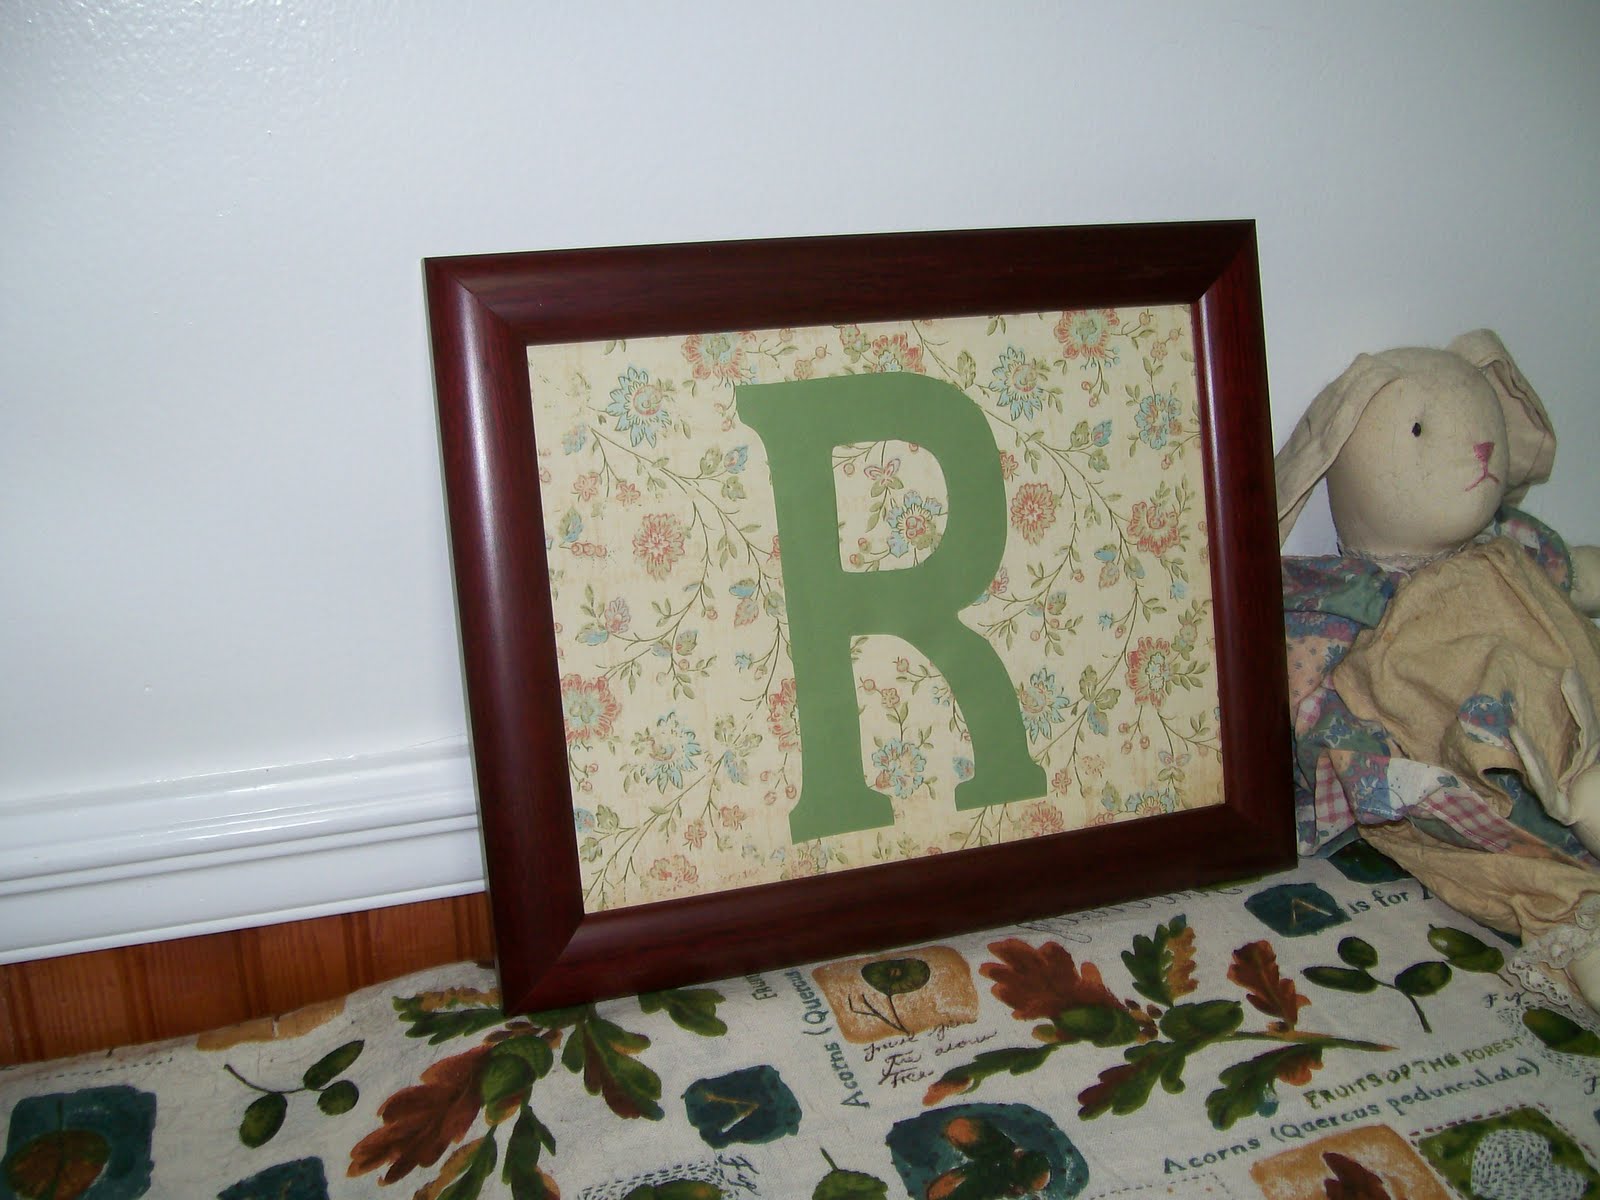
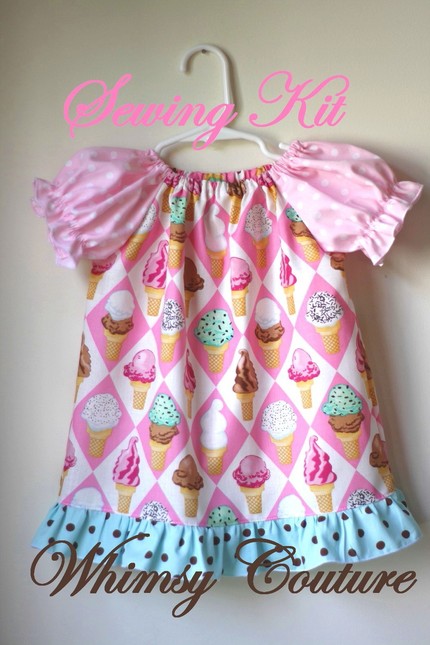
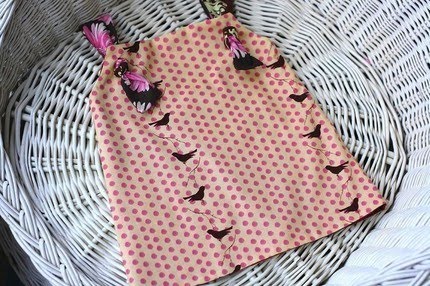
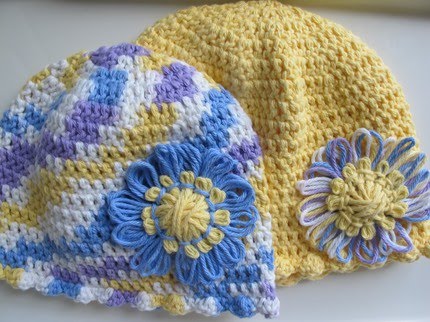
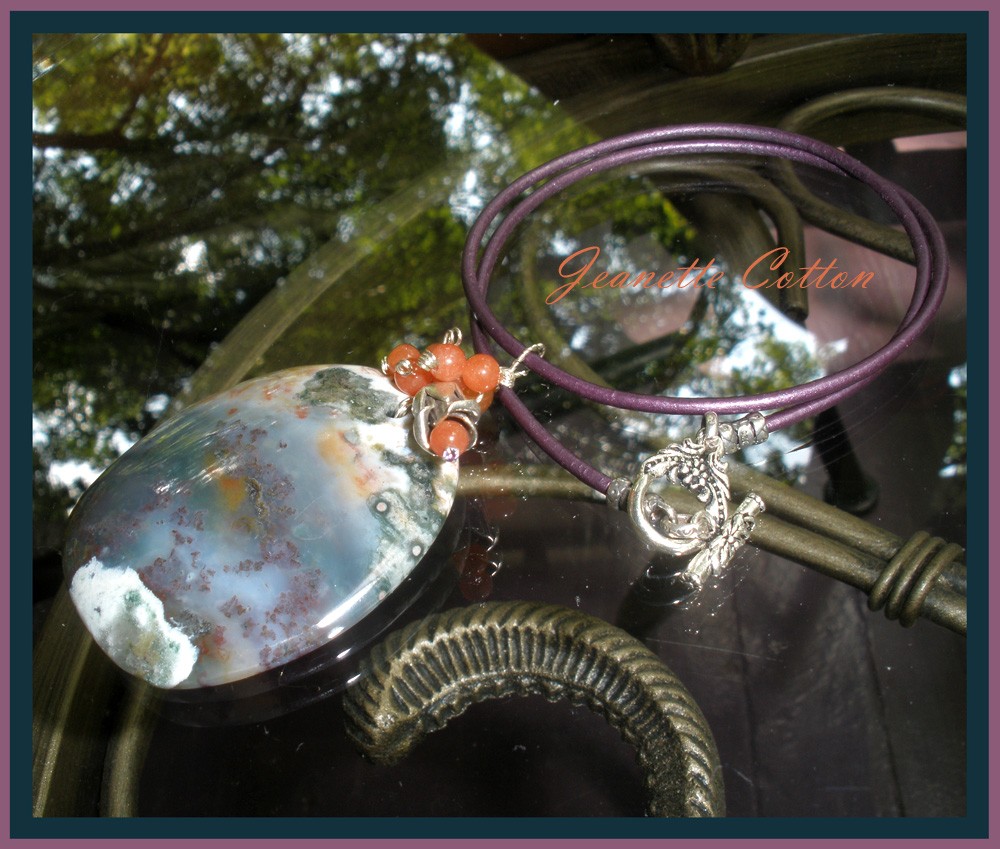
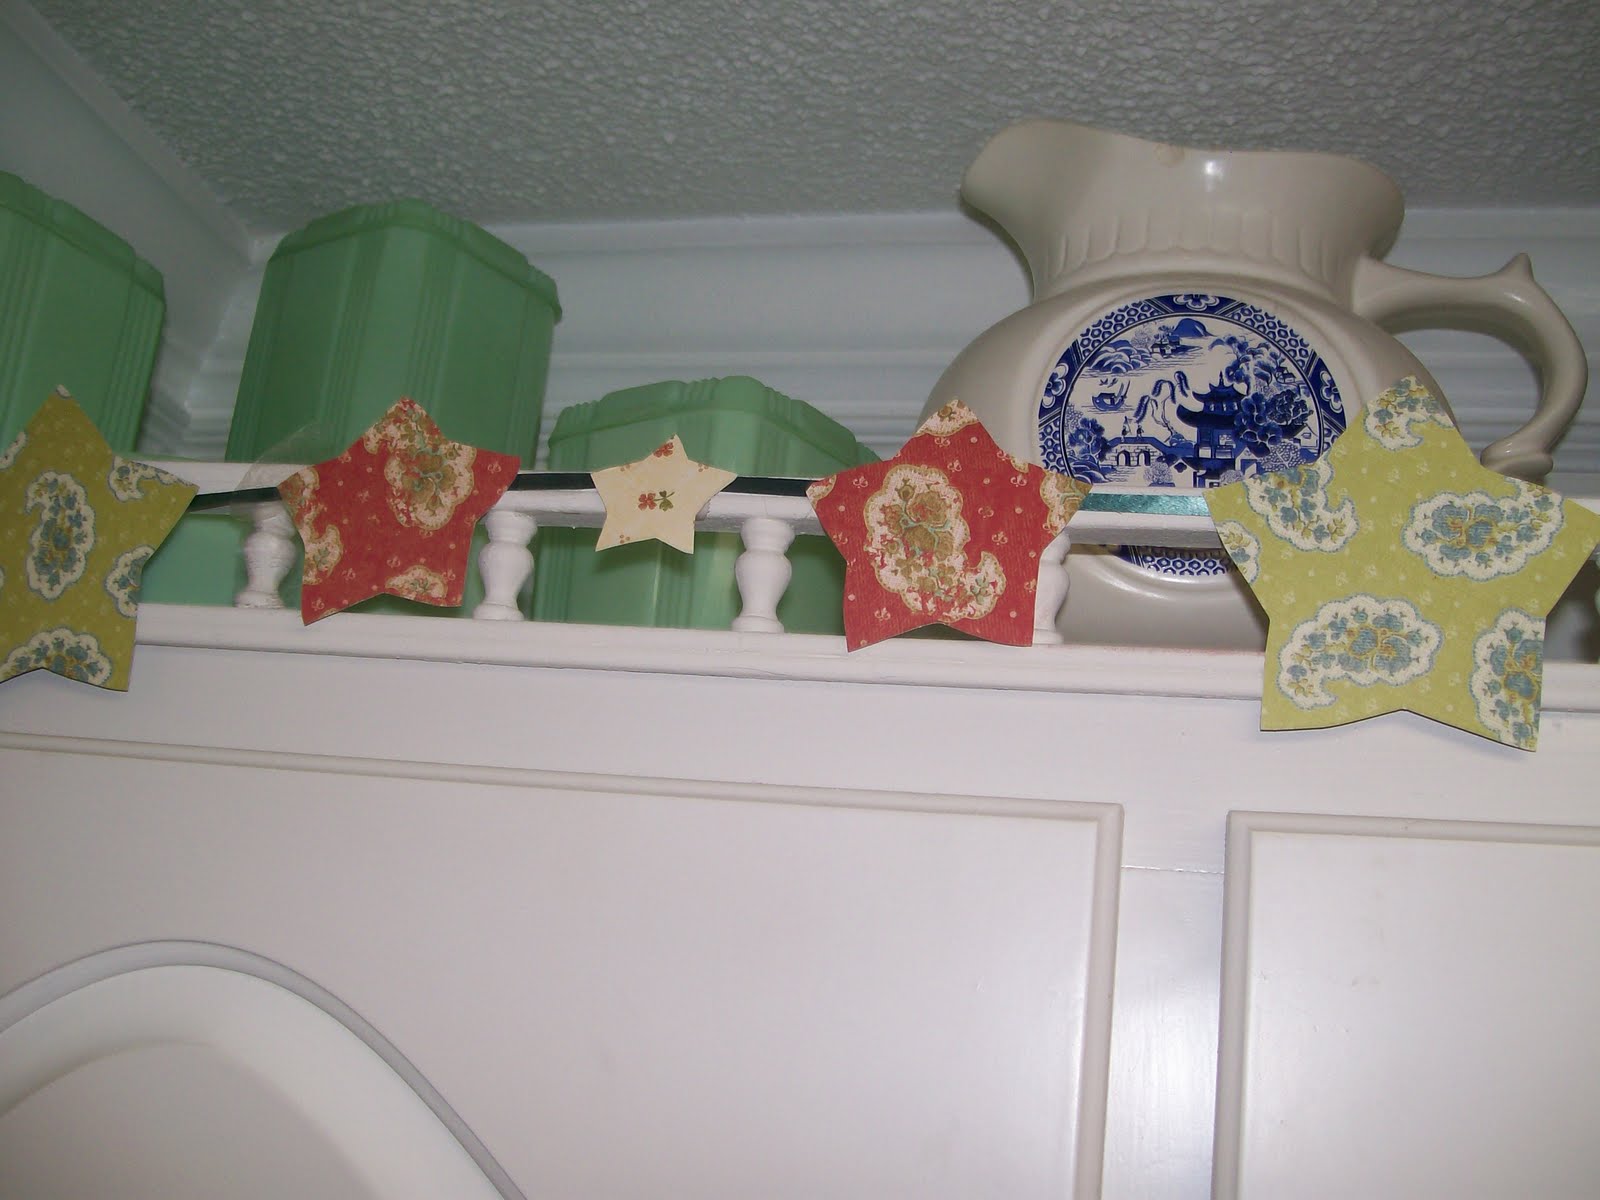
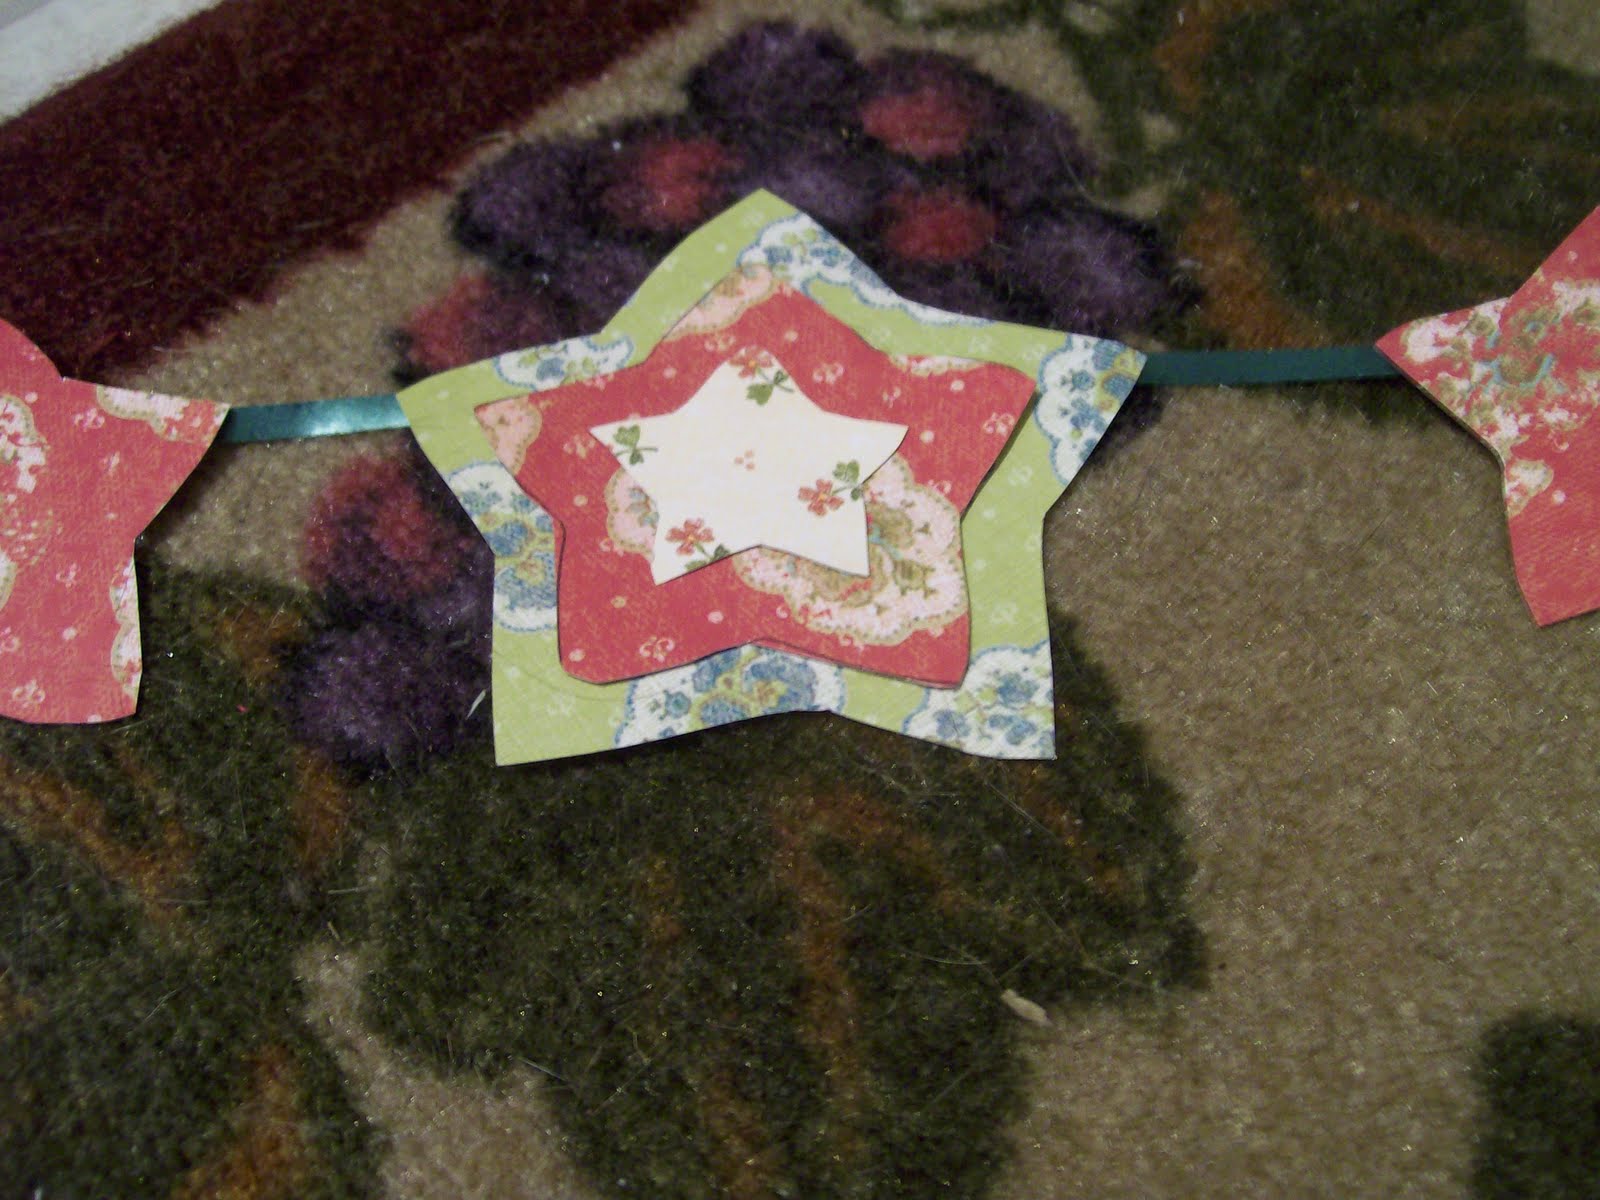
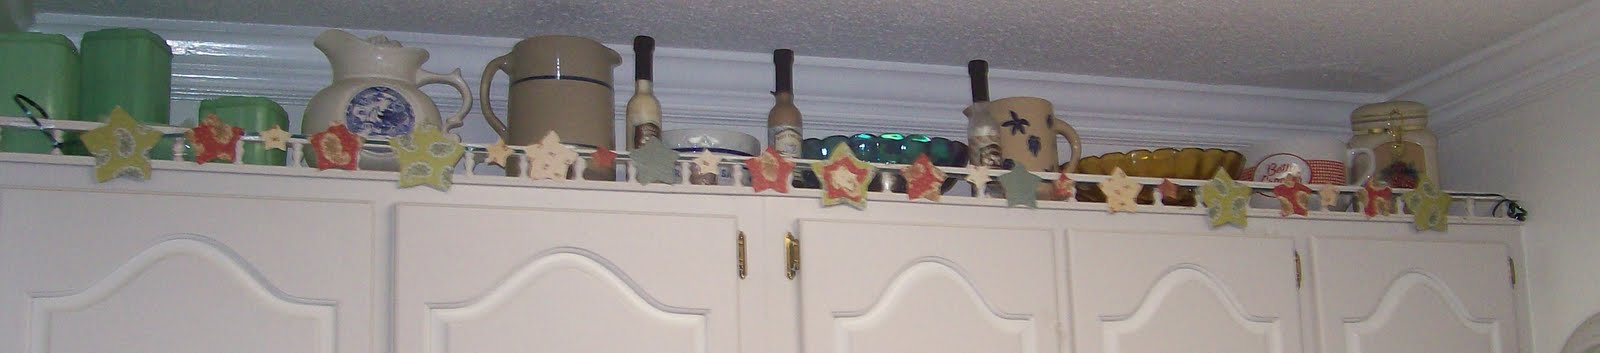
On Maryanne’s website you’ll also find a variety of creations that are premade and up for sale, or you can order a custom made item to fit your own personal style.

Some of my favorite items in her shop are her Scrappy Canvases.  These are beautifully made. They come in a variety of designs and are very stylish.  And the bright colors will really make your room pop. Another item that will add style and flair to your rooms is the Scrappy Clock.  Just imagine ordering a custom clock to match your child’s room decor.  Or perhaps you’d like something to brighten up your home office or some other room in your house.

And if you’re looking for a fun way to show off your photos, you’ll love Maryanne’s Scrappy Boxes!  The boxes currently available at her website are too cute for words.  And I’m sure a customized version would be a keepsake you’d cherish forever.

And for all you lovely ladies who like to scrapbook yourself, Maryanne also sells scrapbook layouts, and she offers the sweetest calendar scrapbooks for “1st Year of Marriage” and “Baby’s 1st Year.”  She even gives you the option to order these fully embellished!
For these and more adorable Scrappy products, or for more information on the Online Crops, please head over to Scrappy Gifts and take a look around.  You can also connect with Maryanne by liking Scrappy Gifts on Facebook or by following Scrappy Gifts on Twitter.

Photobucket

Disclosure:  Scrappy Gifts is a paid sponsor on Simply Sweet Home.  All companies and products are evaluated by me, and I only endorse products I believe in.  Product information is provided by the sponsor, but the opinions are my own.  If you’d like to advertise on Simply Sweet Home, please see my PR Page.

Flower Arrangement and Vase Revamp

I love the brightness and color that flowers add to a room.  A few months ago my mom and stepdad were cleaning out my step dad’s mom’s house. (His mother recently passed away.)  Among the possessions to be divided between the children, there were a lot of odds and ends that weren’t really worth anything and nobody really wanted.  So they either became trash or goodwill items.  The above flower arrangement was on her kitchen table.  My mom asked me if I wanted it, or if she should put it in Goodwill.
My stepdad looked up and said, “Throw that thing away.  You’ve been trying to give it away all week, and nobody wants it.”  Well, on that note, I decided I’d take it. Now here’s what it actually looked like originally:


The vase was actually quite cute. It just didn’t match the flowers.  Mom suggested  I take the fake flowers out and just use it as a vase or a container for something else.  But I  actually liked the flowers.  My solution? Mod Podge of course!

I simply took a little scrapbook paper, brushed on a little Mod Podge, wrapped it around the vase, and voila!  Flowers with a color coordinated vase!  I actually made it to match this Initial Art that I shared a few weeks ago. (But I didn’t stop there! Wait till you see the other items in my new colection!)


By the way, if you want to start on this project from scratch, simply find an old vase. (If you don’t have one around your house, you can always buy one at the thrift store or buy it new at the dollar store).  Then get some “florist foam.” (I’m using quotes because I don’t know if that’s what it’s called; that’s just what I call it!)  Alternatively you could use styrofoam. If you want to use the vase for real flowers you can order flowers online to switch up the look every once in a while.  Then just place it inside your vase, and then poke a bunch of flower stems in to it. Very easy!  Then decorate your vase as desired!

Photobucket

September Jewelry Special

Photobucket

I work on my etsy shop on a “very part time” basis.  I simply don’t have a lot of time or money to promote it, so I’ve decided the easiest thing to do is promote it here every now then. (And I’d be honored and thrilled if you would check it out!)
So today I’m posting about the September Special I just added.
This month all items in my shopped that are priced $5 and under are Buy One Get One Half Off OR Buy 2, Get One Free.
Right now the number of stock items in my shop is down, but I will be adding more this month. And some of them will be in the $5 range, so keep checking back!
I also relisted the Little Black Dress Bracelet. It’s just $10. And if you’d like to order it and the matching earrings, I will sell the earrings to you for just $2. (They are marked $5 in my shop.)
To take advantage of these deals, please only order the full priced items. (Do not add the discounted item to your cart!) Just make a note in the comments or send me a convo, letting me know which discounted item you would like. And I’ll take it from there!
If you’d like to check it out, here’s my SSC shop url:  http://jhrivers.etsy.com/
And if you like jewelry and handmade items, you can also follow me at my other blog Simply Sweet Creations.

Also, if you have a shop or blog that you’d like to promote here on Simply Sweet Home, I’d be happy  to work out a button swap!  Email me if you are interested!

-Jerri

Whimsy Couture Giveaway

A couple of weeks ago I introduced you to a place called Whimsy Couture, an etsy shop where you can find some adorable patterns for all kinds of children’s clothing and other items!  And this week I’m excited to bring you giveaway and reader discount from Whimsy Couture!
The patterns at Whimsy Couture are easy to use with hand written instructions and color photos, and they are made especially for moms with little time for sewing!  The patterns are whimsical and vintage inspired. And there’s a whole range of projects available! 
A few weeks ago I fell in love with the clothing patterns at Whimsy Couture, from the adorable dresses and jumpers to the peasant tops and pants!  And then this week I found this adorable Mommy & Me set!  Wouldn’t you love to make this for you and your little girl? Too cute!  And I was thinking it would be adorable to make one of these for your child’s doll as well.

Or perhaps you’d rather make a dress for your little girl. Whimsy Couture has dress patterns in a variety of styles.

Or maybe you’re like me, and you would just love to make this cute little bed for your cat babies!

Whatever project you have in mind, you are sure to find an adorable pattern for it at Whimsy Couture!

Reader Discount!  Buy 2 Patterns, Get 2 Free! Simply Sweet Home readers need to mention b2g2 when you check out and mention the free patterns! Free patterns must be of equal or lesser value than the two purchased ones.

Win it!  One Simply Sweet Home reader will win 3 sewing patterns of their choice from the Whimsy Couture shop. (Patterns will be delivered via email.) 

Giveaway is closed. Congrats to Dani at My Little Apricot.

-Jerri

Easy Initial Art

I know this project has been going around the blogosphere for a while, but I made this a couple of weeks ago and just had to share, as it goes right along with some upcoming decor posts I’m doing.
And who knows? New ladies are discovering the blogosphere every day, and there may very well be someone here who hasn’t seen this.
I love this initial art idea because it’s easy and quick. (For someone who doesn’t have a lot of patience for a longterm project, this is a real plus!)  And I also love it because this is a great personalized item that you could make for anyone, to match any decor.

What You Need:
a picture frame
scrapbook paper
letter stencil
scissors
pen
Mod Podge
paint brush
(The cat is optional.)

Directions:
Use a stencil and pencil to trace your letter onto the back of a sheet of scrapbook paper. By drawing on the back side of the paper, you can avoid having lines on your letter.  (Just don’t forget to draw the letter backwards, or else when you cut it out, it will come out wrong.)
Next, if necessary, cut your scrapbook paper to size so that it fits in the frame.  Now take your paint brush and brush a little Mod Podge on the make of your letter. (I used the matte kind.) Allow to dry a few minutes.  Then take your paint brush and add a light coat of Mod Podge over the entire piece of scrapbook paper.  (Be careful not to use too much, or your paper will wrinkle.)
After your paper is completely dry, place it in your frame, and you’re done!

I’m linking up at these fabulous linky parties.

-Jerri

Whimsy Couture

Calling all you crafty domestic goddesses out there!  Whimsy Couture, a fabulous etsy shop, offers easy to use, hand written sewing patterns with step by step instructions and colored pictures.  These patterns are perfect for busy moms to whip in a short time.  And you’ll love the variety of items you can make for your child from the patterns at Whimsy Couture.
Denise is the owner of this etsy shop.  Her style is vintage inspired and whimsical.  Among the items offered in her shop are patterns for dresses, tops, pants, skirts, aprons, bloomers, capes, and more.  She even has pattern for cute appliques for your projects.

Pattern styles include everything from the peasant style, to A-line jumpers, to pillow case tops, strappy tops and items with cute ruffles.  Whimsy Couture even offers you great savings through 3 Packs.

And if you don’t have a small child in your family, you should check out Whimsy Couture’s adorable pet bed patterns for the  4-legged, furry members of your family! So cute!

Check out Whimsy Couture  on etsy and pick up your patterns for these lovely creations and more.  You can also follow Denise through her blog Whimsy Couture and follow  Whimsy Couture on Facebook.

-Jerri
If you’d like to advertise on Simply Sweet Home, please see my PR page. Ad prices start as low as $6/mo.

Curtsay Designs

I’m pleased to introduce you to Curtsay Designs, my newest sponsor and home of adorable crochet hats and gifts.
The artist behind these sweet hats is wife and mom of two boys, Lindsay.  Lindsay started her etsy shop the same way a lot of stay-at-home moms do, “I spend a lot of time taking care of my boys, and wanted to find something that I could do for myself. I started getting creative and I love it. I love to create anything that makes my life as a mom easier and lovelier.”  Curtsay Designs also allows Lindsay to “add a little girlie frill” to her boy filled life, and she’d love to share that girlie frill with you!
Curtsay Designs now features many new items:

~The Curtsay Cloche
~The Curtsay Daisy
~The Curtsay Daisy Mini
~The Fedora
~ & The Newsie

All hats at Curtsay Designs are made with 100% cotton yarn and are made to order to specifically fit your child! The hats are high quality and come in a variety of bright and beautiful colors and many are embellished with the most adorable crochet flowers!

Curtsay Designs also carries several non-children’s items, including dish/bath scrubbies and cute clutch purses like the one below.

Please visit Curtsay Designs today, and pick up a cute hat for your child!  You can also follow Lindsay at her blog The Quiet Crafter.  

-Jerri
If you’d like to advertise on Simply Sweet Home, please see my PR Page for details. Prices start as low as $6/mo! 

Introducing Rock of Ages

I’m proud to introduce you to my newest sponsor, Rock of Ages,  home of beautiful and unique, one of a kind pendants, beads, and leather chokers.  
Jeanette Cotton is the artist behind these lovely pieces.  She carefully selects each stone and she’s developed a very eclectic and impressive line of pieces.
I was very intrigued by her description of the concept behind her work: “Since before the begining of all time the mother earth has been an impressive 8,000 mile rock! The pendants and stone beads I’m selling are her off-spring and through talented lapidarist eyes created into brillant pieces of art!”

When designing jewelry Jeanette draws on the colors in nature and paints with beads. She is not intimidated by color and shows that fearlessness in her work. She uses Tibetan silver from the Karen Hill Tribe, Bali silver, quality semi-precious stones, crystals, a variety of pearls, and beautiful handmade lamp beads.
Her eye for the obscure inspires her more unique pieces which include such rarities as dinosaur bone, mummy beads, and petrified coral, to name a few.
Jeanette has recently begun adding leather chokers to her shop. These come in beautiful custom colors and are made to size.  In the future she also hopes to add handmade earwire and other components for jewely making.
Looking through Jeanette’s shop, it’s obvious that she is a gifted artist with a real passion for her craft and a love of everything nature has to offer.  Go by Rock of Ages to see all of Jeanette’s beautiful creations!  You can also check out her other shop Painted Lady Designs. And keep up with her on her facebook page!

Sharing this post at some of these great parties!

-Jerri
If you’d like to advertise on Simply Sweet Home, please see my PR Page for details.

Summer Star Garland

You may remember the Easter Garland I posted on back in March.  I actually kept it up through spring, and then finally I decided I needed something new for summer.  So the other day I used the same concept behind the Easter Garland and made some star garland for the summer. 
I would have liked to have done this in red, white, and blue, but I didn’t have any  coordinating papers that I liked together, and I’ve decided I need to use some of the supplies I already have rather than going out and buying new stuff all the time, so I went with a red, green, and blue color scheme.

What You’ll Need:
Scrapbook paper
Ribbon
Scissors
Tape
Cookie Cutters
Pencil/Pen
Garland Tutorial:
-Use cookie cutters or stencils to trace shapes onto the back of scrapbook paper. You can use a single shape or multiple shapes. (I used 3 different size stars, and I used 4 different paper designs.)
-Next take your scissors and cut out the shapes. (I made 24 cut outs for a seven and a half foot string of garland last time and this time.)
-Cut off a line of ribbon. Make the ribbon as long as you like. I suggest cutting off at least a foot more than the intended length. (I made a 7 1/2 foot garland, but I actually cut about 8 1/2 foot of ribbon off. I used the extra length on each end to wrap it around the “edging” on the top of the cabinets.)
-Now attach the shapes to the ribbon. (I placed them about an inch to an inch and a half apart from each other.)
-There are a few different methods you can use for this. Liz from Hoosier Homemade  actually sewed the cutouts to the ribbon. I, however, am not a seamstress and decided to use a short cut method. I used tape to attach the shapes. I used two small pieces of tape on each shape (making a t or x with the tape on the back of each shape.) I used two pieces to make sure it was secured, and put them on there cross-ways so that the garland would be more flexible/movable. For this step you could also mod podge or a glue gun if you prefer. (I just used tape because it’s quicker, there’s no mess, and it would allow me to make adjustments if I needed to.)
-Then hang your garland and enjoy!

-Jerri
I am happy to link up my posts each week to some awesome Linky Parties.

Kitty Cat Treat Canister Tutorial

After seeing so many great mod podge projects last year, I finally starting trying it out this year.  So far I’ve only done a few projects, but I know they’ll be more to come soon.
For one of my first projects, I decided to make a treat container for my kitty cats. By placing the treats out on the counter, I figure it would save me a little cabinet space and also serve as a reminder to give the cats their treats. And I was right! Plus, I now have a cute container to go along side my canister set. (And it’s color coordinated. Yay!)
And even though Rebel and Dixie cannot read, they know exactly what’s inside!  I simply have to hold the canister up and give it a shake, and the excitement begins.  And since it generally means that they get treats more often, they kitties give this idea 2 paws up!

What You’ll Need:
An old container (I used an oatmeal canister, which can hold 2 pouches of the treats we buy, more if I took them out of the pounches, but I keep them in to maintain freshness.)
Scrapbook paper
Stickers
Mod Podge
Paint Brush
Ribbon (optional)
Instructions:  Choose two sheets of scrapbook paper that go well together.  Next lay your canister (or other container) down so that you can decide how much paper you’ll need.  I used 12×12 sheets.  And my container was 6 1/2 inches tall, so I made the strip of paper for the bottom about 4 inches tall., and the strip for the top about 2 1/2 inches tall.  Just be careful not to cut it too short.  (You can always trim some off or allow the papers to overlap if it’s too long, but if it’s too short, you’ll have to start over, use additional paper or trim.)
Before wrapping the paper around, make sure it will go all the way around.  My paper lacked about a fifth of an inch from going around all the way, so I had to mod podge a very thin strip of paper on first before wrapping the paper around.  (I put this towards to the back, but in fact it actually doesn’t look too bad.  However, it does blend in better with the plaid paper than with the solid.)
Apply a thin coat of mod podge to your paper with your paint brush.  Then wrap the paper carefully around the container.  (It doesn’t really matter which order, but I chose to mod podge the top piece first.  Smooth out any wrinkles or air bubbles.  Also be sure that the edges (seam) of the paper are well coated with the mod podge.  I used the tip of my brush to light press on the seams.  Allow mod podge to dry.
Next add your stickers.
Now wrap your ribbon or trim around the container for measuring purposes.  Cut off the amount your need.  Apply a coat of mod podge to the ribbon, and place the ribbon around the container.  Again smooth out any wrinkles, and make sure the ends of the ribbon are well attached.  All to dry.
Finally take your paint brush and apply a light coat of mod podge over all the surfaces of your container.  Allow to dry. And you’re done! 
Now place your treats inside, give it a rattle, and watch the pets go crazy!


-Jerri

—————————-
I’m posting a link to this post at:
Homemaker Mondays at 11th Heaven’s Homemade Haven
Tackle it Tuesday at 5 Minutes For Mom
It’s So Very Creative & It’s So Very Thrifty hosted by It’s So Very Cheri
Make it for Monday hosted by Cottage Instincts
Made it Mondays hosted by The Persimmon Perch
Making the World Cuter Monday hosted by Making the World Cuter
Make Your Monday hosted by Twice Remembered
Metamorphosis Monday hosted by Between Naps on the Porch
DIY Day at A Soft Place to Land
Market Yourself Monday is hosted by Sumos Sweet Stuff
Marketing Mondays and Sharing Ideas Wednesday is hosted by The Trendy Treehouse
What Your Working with Wednesday is hosted by Me and My Bucket
Show & Tell Wednesday is hosted by Blue Cricket Design
Tip Me Tuesday is hosted by Tip Junkie
Week End Review is hosted by Tator Tots & Jello
Star on Saturday is hosted by Craft-Werk
Penny Pinching Party is hosted by The Thrifty Home
Show & Tell Friday is hosted by Romantic Home
I’m Loving it Fridays is hosted by Tidy Mom