Guest Post and Giveaway for A Crafty Creative Christmas

ME MAKING DO

This week I’m participating in A Crafty Creative Christmas over at Me Making Do, and I’m excited to not only be guest posting but also to be sponsoring a giveaway!

pbox03
For my guest posting I’m sharing a tutorial on how to make these Christmas Pillow Boxes!

Photobucket
And I’m also giving away a pair of my 3-Bead Earrings! (Winner chooses color!!)  Go here to enter!


Photobucket

I’m linking up at Tidy Mom and these parties.

Holiday Gifts at AliLilly

All this month I’ve been bringing you some holiday gift ideas.  Today we’ve got a guest post from one of my fabulous sponsors and bloggy friends. It’s Ami from AliLilly.


Hello there Simply Sweet Home readers! I’m so excited to be a part of Jerri’s Holiday Shopping Guide! I am Ami. A Christ follower. A wife to the most amazing man, David. I am a mother to a beautiful lil 3 year old girl. I am living my dream of staying home and raising our   daughter. I love to make jewelry and other crafts.This is our story:

It all began after a five year struggle to get pregnant. Once I was pregnant I was put on bed rest for most of my pregnancy. Bored and out of TV shows to follow my sweet husband bought me several hemp jewelry making kits. I loved them. I had so much fun learning. After the first couple pieces I began adding my own influences instead of following the set directions. I must of made three pieces of jewelry for every family member and each friend I have.

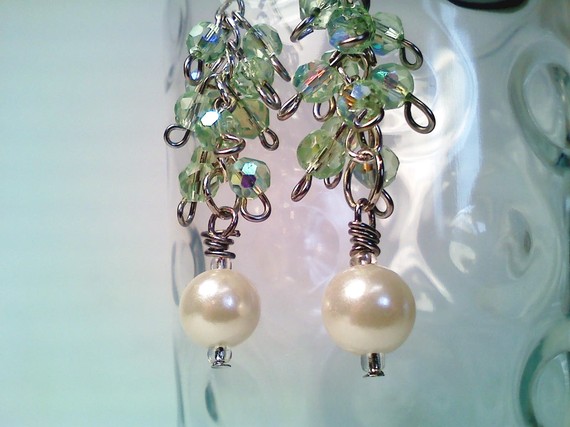
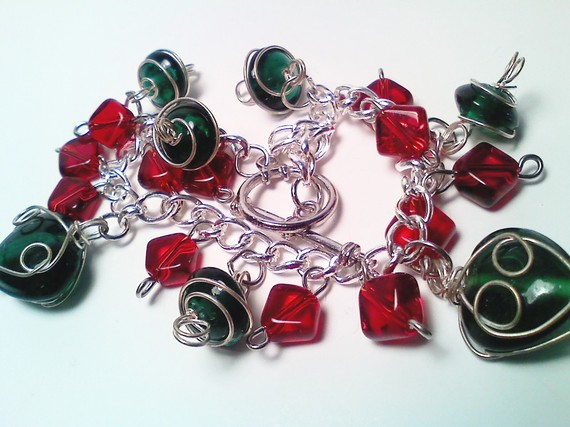
Now a little more than two years later I’ve opened an etsy shop and have expanded my jewelry making skills.


I love creating pieces and especially love making custom requested pieces. I hope my love for creating can be seen in my work.

Tea Green & Pearls Earrings {HERE}


Christmas Yarn Wreath {HERE}


Christmas Bracelet {HERE}


Rosette Trio Headband {HERE}


For the holidays I’m running a 25% off sale. Use the code BLESSED. This code is good until Dec 31st of this year.


Photobucket


Thanks Ami! Please check out Ami’s Etsy Shop and go take a look at her blog.

Also, follow on her Facebook and on Twitter.

Photobucket

Bauble Pops Recipe and Crazy for Cake Pops Review and Giveaway

Photo: Present Pops

If you’re in to the cake pop craze, you are going to love today’s review and giveaway!  It’s for the brand new book Crazy for Cake Pops!  And I’ve also got a super fun Christmas recipe for Bauble Pops! 

Cake pops are the hottest trend in baking and it’s easy to see why. With creative shapes and delightful flavors, they’re as fun to make as they are to eat. Crazy for Cake Pops teaches you the secrets for creating these mouthwatering mini treats like a professional baker. Packed with over 75 color photos, Crazy for Cake Pops leaves nothing to chance as it guides you step by step through each part of the process including baking, crumbling, shaping, frosting, and decorating.
My Thoughts: This is an awesome book!  There are so many fun ideas! It features cake pops for any and all occasions for the entire year: Christmas, Thanksgiving, Valentine’s Day, Easter, and Halloween!
There’s also a bunch of ideas for birthdays, baby showers, and other parties.
It’s also the perfect book regardless of your skill level. The book explains all the different equipment and ingredients you’ll need to create these fabulous creations.  Then it includes recipes for the different cake and frosting flavors featured in the book,  followed by step by step tutorials or each design.
And you’ll be so inspired by all the fun colored photos, you’ll want to get started right away creating your own cake pop creations!

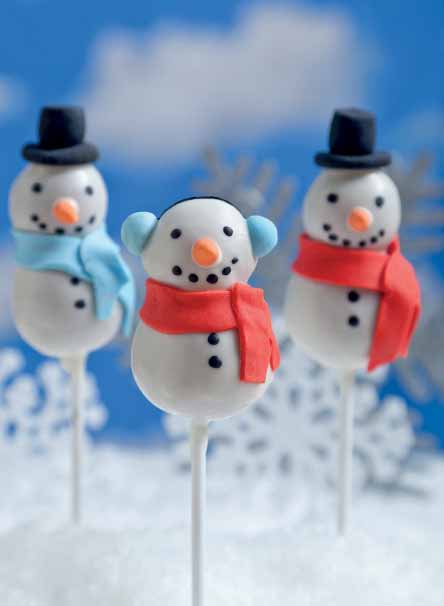
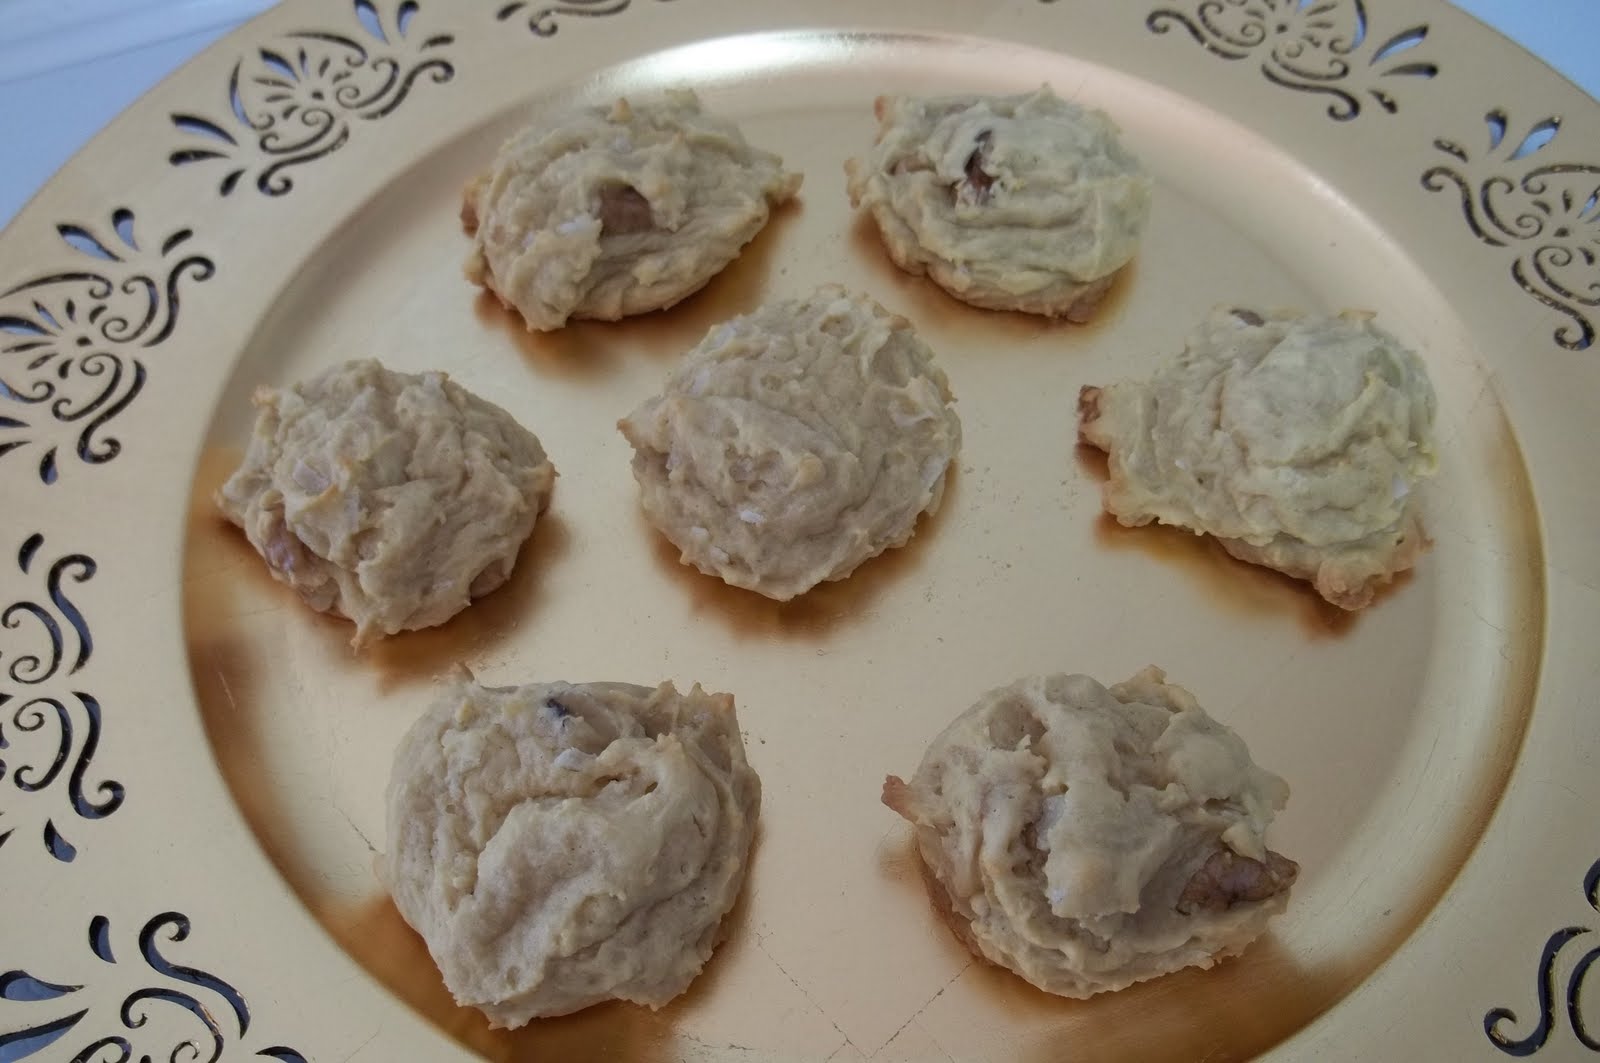
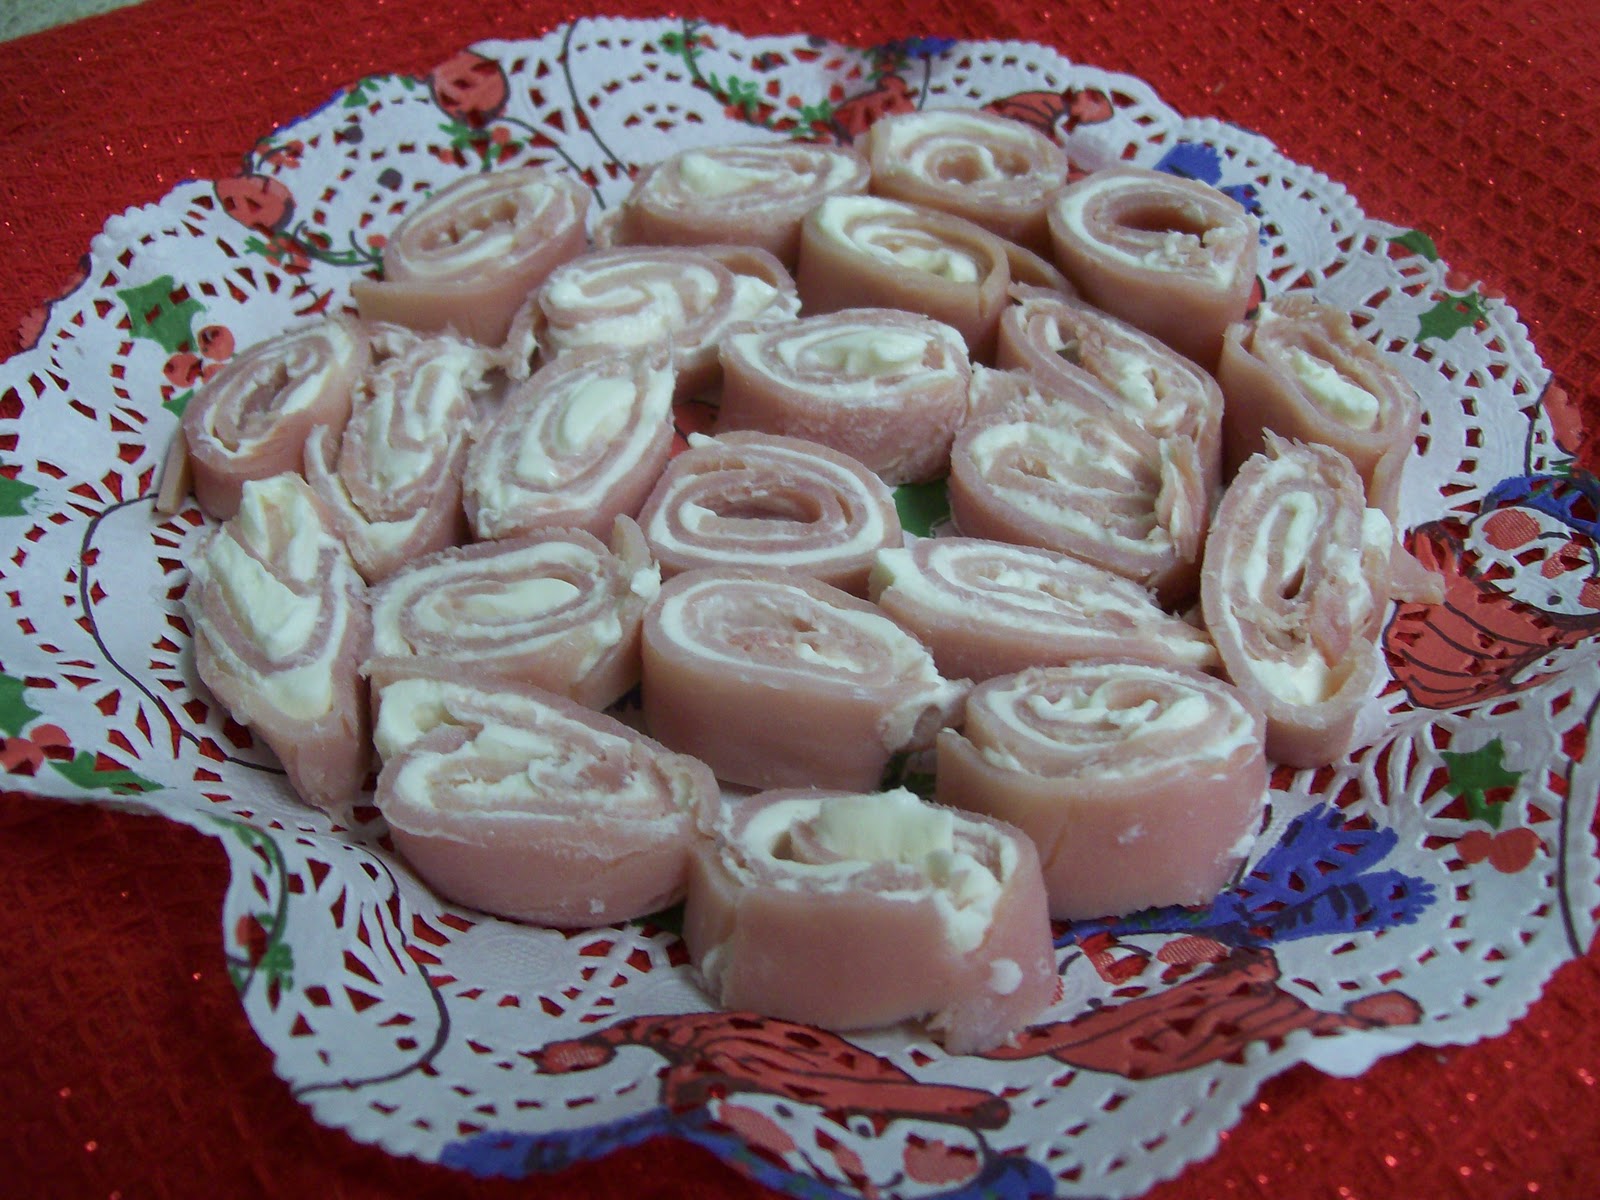
Recipe for Bauble Pops: 

Baubles are beautiful party decorations for any time of year. Make them sparkle with a little edible luster spray.

 Makes 20 pops

Ingredients 
20 medium cake balls, chilled
¼ (14-ounce) bag each green, blue, pink and yellow candy melts
40 grams (2½ tablespoons) white fondant, kneaded
1 can edible silver luster spray

Equipment 
4 disposable piping bags

Directions: 

Make tops of baubles in advance: Split the fondant into 20 pieces and roll into balls with your hands. Flatten the balls slightly and make a hole through the middle of each one using the end of a lollipop stick. Leave to harden for a few hours. 
Once hardened, spray with the silver luster spray. Leave to set overnight. 
Melt each color of candy separately. Working with 5 cake balls per color, dip the end of each lollipop stick ¾ inch deep into the candy and insert a stick into each cake ball. Leave to set. 
Dip each cake ball fully into the candy, shake off any excess and, while the candy is still wet, slide a bauble top down over the stick. Make sure the bauble top sticks firmly to the candy on the ball. Place on a sheet of parchment paper with the stick facing up. 
Working with 1 color of candy at a time, pour each color into a separate piping bag. Cut a small piece off the tip of each bag and pipe designs onto the cake pops. 
 Once the candy has set, spray the cake pops lightly with the silver luster spray.

Photo: Snowman Pops
Buy it! Check out Ulysses Press to find out how to order the book online.
Win it! One Simply Sweet Home reader will win a copy of Crazy for Cake Pops.

To enter, just use the Rafflecopter form below. Giveaway will be open through Dec 5.

Photobucket

Photobucket

I’m linking up at Tidy Mom and these parties.

Holiday Shopping with Scentsy

Photobucket
All this month I’m featuring products and places that should be on your gift giving list. Today I’d like to introduce you to Scentsy Consultant, and my good bloggy friend, Kassi.

Hello lovelies!

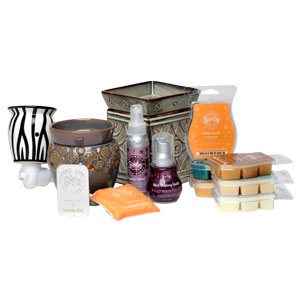
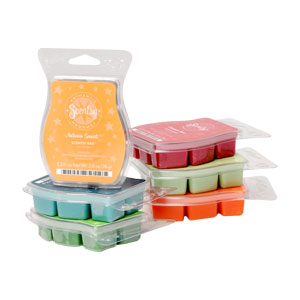
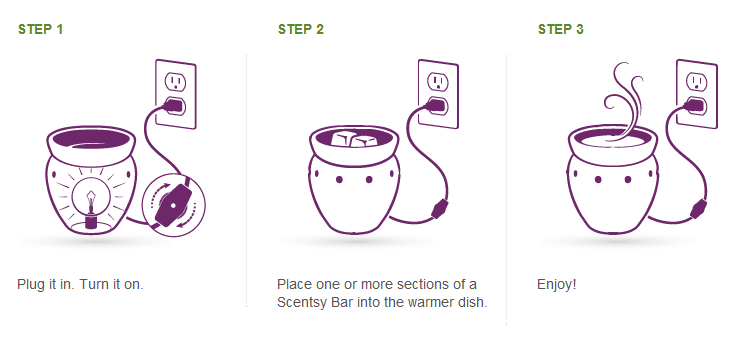
My name is Kassi and I have been a Scentsy Independent Consultant since May 2008!

Kassi Sells Scentsy

First, real quick thank you to Jerri for allowing me to share my love of Scentsy with you dolls this holiday season!

I started selling Scentsy while in college to make some extra money. Since then, it has truly been a huge blessing for me and for my family!!!I have a team of 10 AWESOME ladies that sell Scentsy in my downline…
And I get to PARTY for a living. 🙂
*Learn more about becoming a Scentsy Consultant here.

So what is Scentsy!?!
Simply put, Scentsy is a wickless candle system, a safe alternative to your traditional wicked, flame candles. Each Scentsy warmer is powered by electricity, using a light bulb to warm the amazingly scented Scentsy wax, filling your home with the delicious smells of vanilla, cinnamon, lavender… Your choice!

How exactly does Scentsy work?

There are three sizes of Scentsy Warmers to choose from.
Full-Size, Mid-Size and Plug Ins. 
We also offer Scent Circles, Room Sprays, Travel Tins, the choices and combinations for your Holiday gift giving are endless!

From decorating for the Holidays…


To brightening up a little ones day!


 Scentsy makes a perfect gift for everyone! 

Including yourself!!
  

We even offer Scentsy as a fine fragrance perfume!!
(Enchanted mist is MY favorite!)
To browse our vast collection of Scentsy products, please visit my website, here

You can also learn about specials, new products, etc at my Facebook page here

AND of course, if you have any questions or would like help with your order, 
please contact me here
*Place an order of $150 or more and receive FREE shipping, PLUS you’ll earn FREE Scentsy Products as a “Party Hostess”. Just ask me how! 😉
We ship ANYWHERE in the U.S. and Canada! 
We also recently expanded to the United Kingdom, Ireland, and Germany!!
So… There you have it!!! 
I would LOVE to be YOUR Scentsy Consultant! 🙂
If you’re interested in a Fall/Winter Catalog, let me know and I’ll get one sent to you ASAP!
By the way, I blog over at Truly Lovely if you’d like to stop by and say hi sometime!!!


Thanks Kassi!  I hope you will stop by Kassi’s Scentsy site for your holiday shopping! Also, check out her fabulous blog Truly Lovely and follow on  Twitter and Facebook.

Photobucket


Southern Brownie Pie

Come join Love the Pie with TidyMom  sponsored by Whirlpool and enter to win a new Whirlpool Range
With Thanksgiving right around the corner, it seemed like the perfect time to share this classic, Southern recipe.  This Southern Brownie Pie is yummy served warm or cold, and it’s sure to please everyone at your table.  My husband isn’t really a chocolate fan, and he doesn’t like pies at all, but he couldn’t get enough of this one!
By the way, come join Love the Pie with TidyMom sponsored by Cherokee USALe CreusetWiltonBags by Bloom and  Harvard Common Press.

Recipe for Southern Brownie Pie:

Ingredients:
1 14 oz. can of sweetened condensed milk
1/4 cup butter
1/2 cup unsweetened baking cocoa
3 eggs (beat lightly)
3 TBS plain flour
1 tsp vanilla flavoring
3/4 to 1 cup chopped nuts (optional)
1 pie crust (I used store bought)
Directions:First, make the pie crust. If you are not a good crust maker, you can use the frozen kind or the roll out kind. If using a frozen crust, let it thaw completely.
Get a medium sauce pan. Put the milk, butter, margarine, and cocoa in the pan. Turn the heat to low and slowly warm until everything is melted and mixed together. Stir occasionally so the mixture does not stick to the pan and scorch.Take the chocolate mixture off the heat.
Put a spoon of the chocolate mixture in with the eggs beaten in a small bowl. This helps adjust the temperature and keeps the eggs from curdling. Next, stir in the eggs, flour, vanilla.  Fold in nuts. (Chopped pecans or walnuts are good in pies; however, I left these out.)
Pour into pie shell. Bake at 350 degrees for 40 minutes in a 9 inch pie pan (50 minutes in smaller pan). The pie is done when the center is set.
Tips for Serving:  This is really good when it’s hot, but it’s also good served cold or at room temperature. After it cools down, to serve it hot again, place in the microwave for 15-20 seconds.  Top with ice cream or whipped topping and chocolate syrup for an extra sweet treat!

Photobucket

I’m linking up at Tidy Mom and these parties.

Coconut Pecan Cookies

Several weeks ago I shared these pudding cookies, which I first saw over at Chef in Training.  You know I love to make different versions and variations of the same recipe, so today I’ve got Coconut Pecan version to share with you!

Recipe for Coconut Pecan Cookies:

Ingredients: 

1 1/2 sticks butter (3/4 cup) 
3/4 cup brown sugar 
1/4 cup sugar1 
(3.4 oz) package instant coconut cream pudding
1 tsp coconut flavoring (or use vanilla if you don’t have coconut)
 2 eggs 
1 tsp baking soda 
2 1/4 cups flour
1/2 cup pecans
1 cup shredded coconut
Directions: Preheat oven to 350 F. Mix flour and baking soda together. Set aside.In a large bowl, cream butter and sugars together. Add in pudding package and beat until well blended. Add eggs and coconut flavoring. Add flour mixture slowly until well incorporated. Add chocolate chips or other add-in.Roll into 1 inch balls and place on greased baking sheet. Bake at 350 F for 8-12 minutes.

Photobucket

I’m linking up at Tidy Mom and these parties.

Ornament Shop Review

I got another mouse ornament to add to my collection! This cute ornament came from OrnamentShop.com. They offer ornaments in a variety of styles and themes, including Graduate Christmas Ornaments, Teacher Ornament, Graduate Christmas Ornaments,and Engagement Ornaments.  And if you’re celebrating Christmas in July on your blog, check out their blog for some great Christmas Ideas.
The ornament I received from OrnamentShop.com features an adorable mouse couple, sitting atop a candy cane.  It is made of polymer clay, which gives it a really whimsical look.
And it’s personalized! One each side of the mouse couple is a snowflake which I had our first names put on, and then hanging beneath the candy cane is a little holly berry adorned sign which I got our last name put on.  Very cute!
And here’s a few more personalized items that I really like at this site:
Meow Cat Ornament
Snowman Baby Girl Ornament
Snowman Couple Ornament
Gingerbread Family Ornament
Frog Family Ornament

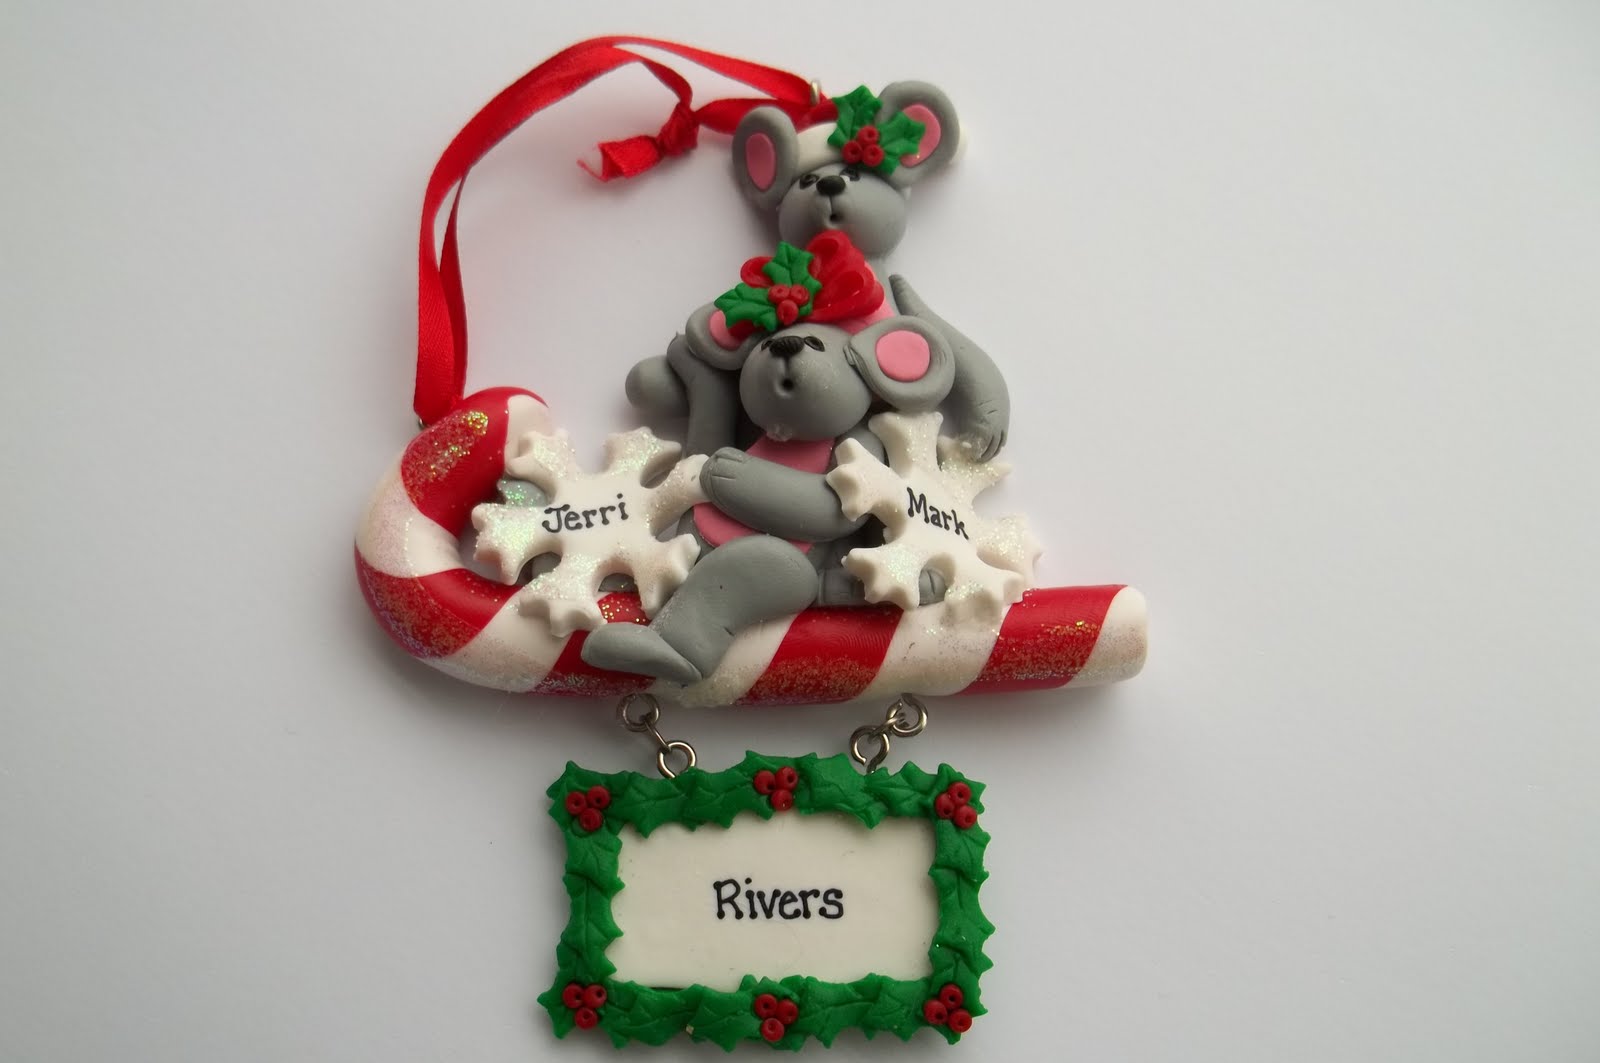
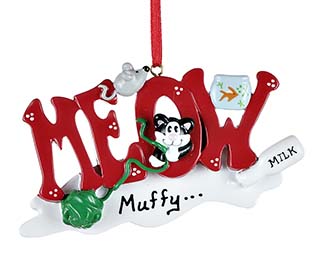
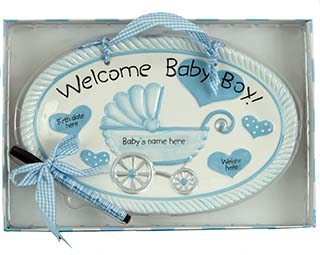
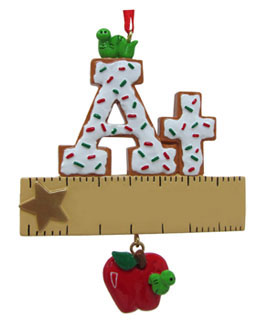
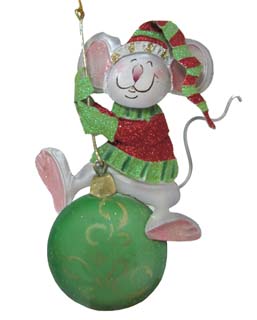
Check out Ornamentshop.com for these and more adorable ornaments!

Photobucket

Disclosure:  I received a free ornament for review purposes.  I was in no other way compensated for this post. The opinions are my own.

Shopping for Christmas Ornaments in April (and a Review)

I know it’s April, and a lot of people don’t even want to think about Christmas, but if you were back in December you know that I LOVE Christmas ornaments, especially my mouse ornaments. And I simply couldn’t pass up the opporunity to do a review for Christmas Ornmanents.com.
Actually spring and summertime is ideal Christmas Gift Shopping Time.  You can often get things on sale. And you can get all your shopping done online without the crowds and the stress.

 My mom and I both love to give ornaments as gifts, and this Christmasornaments.com has ornament gifts that would be ideal for any time of year. For example, they have wedding ornaments and  baby ornaments. These would really make for some great keepsake shower gifts!

And the site also has University and College Ornaments, which by the way, I was happy to find one for our team, The University of Alabama!

And I also was happy to find some cute teacher ornaments and graduation ornaments which would be really cute to give as gifts this May.

But as I said before, I love mice ornaments.  So I picked out the little cutie (below) to review!  He’s made of metal, which is perfect because I can’t have glass ornaments on my tree, due to my kitty cats (who are our resident tree eaters and occasional interior decorators—but not in a good way). 
I also love the vibrant colors in this ornament and just the cuteness of it. What mouse collector wouldn’t love a mouse sitting on a Christmas ball?  And I also like his size, which is just over 5 inches long and perfect for our tree.  He will definitely make a great addition to my collection.

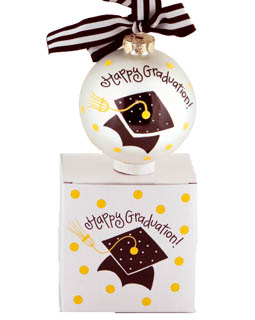
If like to shop for ornaments year round like I do, check out Christmasornaments.com!

Photobucket
Disclosure: I was given a free ornament for writing this review. I was not otherwise compensated. The opinions are my own.

Ham & Cheese Pinwheels

Hope you all had a lovely and joyous Christmas!  Now it’s time to move on to 2011!  For New Year’s Eve, I’ve always enjoyed having appetizers to snack on throughout the evening.  So this week, I’m sharing what is, perhaps, the easiest appetizer ever!
These ham & cheese pinwheels are a quick fix, and they’ll look great next to your hot dips, hot wings, and veggie trays. Enjoy!
Recipe for Ham & Cheese Pinwheels
1 block cream cheese
several slices of ham
Directions: Place your cream cheese in the microwave for a few seconds to soften.  Spread onto ham slice with a knife.  (I use the thick slices that are rectangle shaped.)  Roll up the ham slice. Repeat until you’ve used all the cream cheese.  Chill in the refrigerator for about 20 minutes.  Then take a sharp knife and cut your ham rolls into pin wheels.  Place on a tray and you’re ready to serve!
Tips:
For larger (wider) pinwheels, spread the cream cheese on the ham.  Then stack 2 or 3 ham & cheese slices together before rolling.  Chill & then cut.
To add extra color and flavor to your pinwheels you may consider adding one or two of the following to your cream cheese spread:  shredded cheddar cheese, chives, pickle relish, red or green pepper, tomato, or even a colorful spice like basil or paprika.
Do you have an easy appetizer or snack that you like to make for the holidays? I’d love to hear about it in the comments!

Linking up this week to these parties.

Photobucket

Friday Favorites – Week 43

Photobucket

Hi everyone!  Thanks so much for taking the time out of your busy holiday schedule to link up here!
Hope you enjoy this week’s featured ideas!  Also, while you’re here, you may want to check out my posts from earlier in the week.  I’ve featured a ton of fun and festive ideas that were linked up at the Holly Bloggy last week.  (By the way, the Holly Bloggy Giveaway Winners will be announced next week, so stay tuned!)
And speaking of giveaways, I launched a very special Holiday Giveaway  this week from Crisco with over $100 in baking supplies for your kitchen! Very cool!
I hope you all have a Merry Christmas!
Gift Card Box from Kim Castillon

Twine Wrapped Christmas Trees from Trendy Pockets
Vintage Santa Vignette from Karie’s Chic Creations

Homemade Stockings from My Crazy Simple Life

Christmas Flower Wreath from Permanent Posies

I can’t wait to see your posts! Link up below!

Photobucket