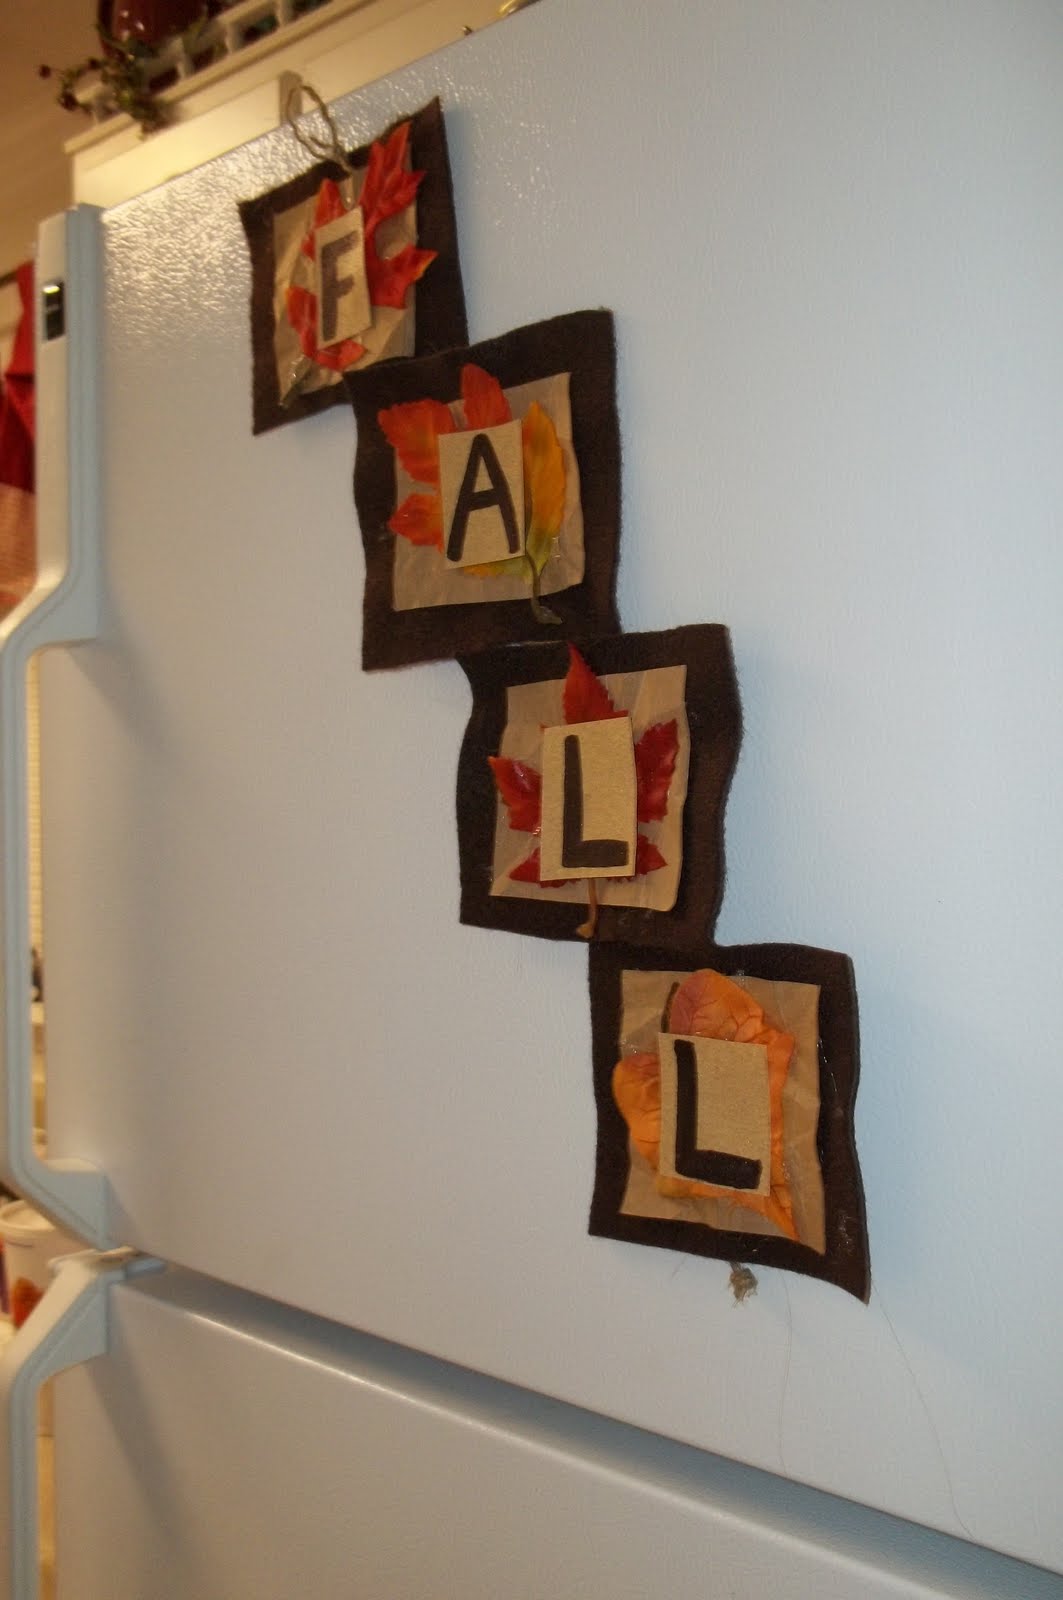
Fall weather is finally in the air around our house! It really makes me crave the tastes of fall and all those great Thanksgiving classics!
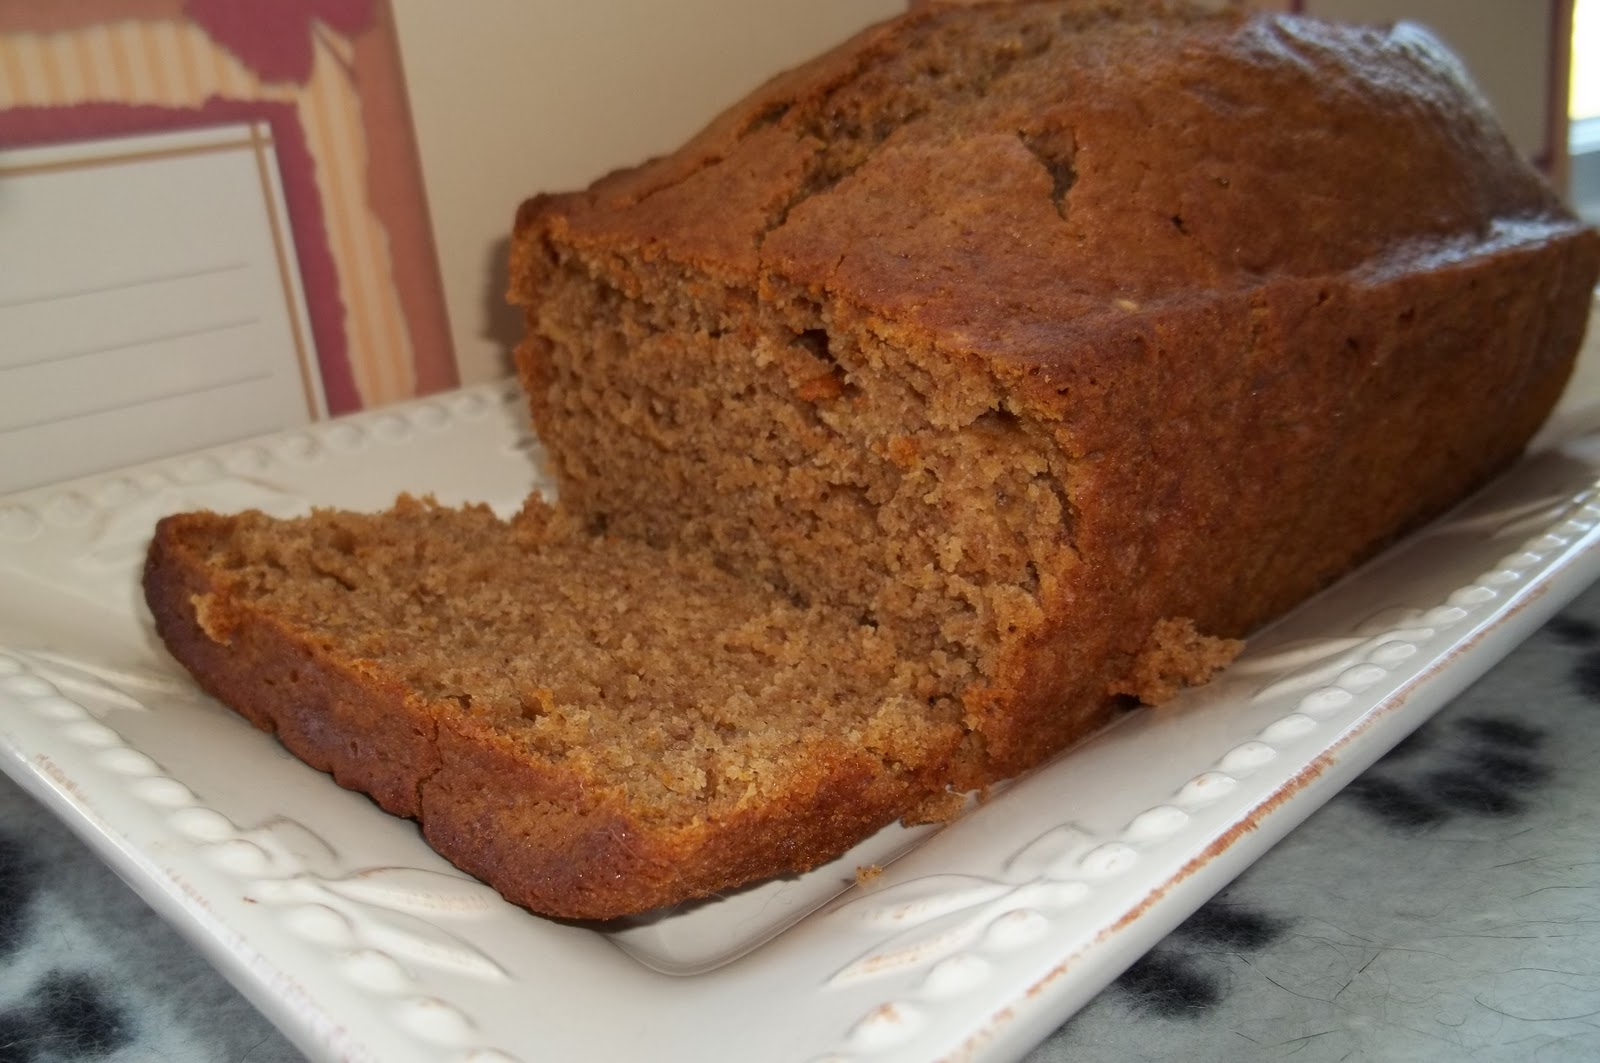
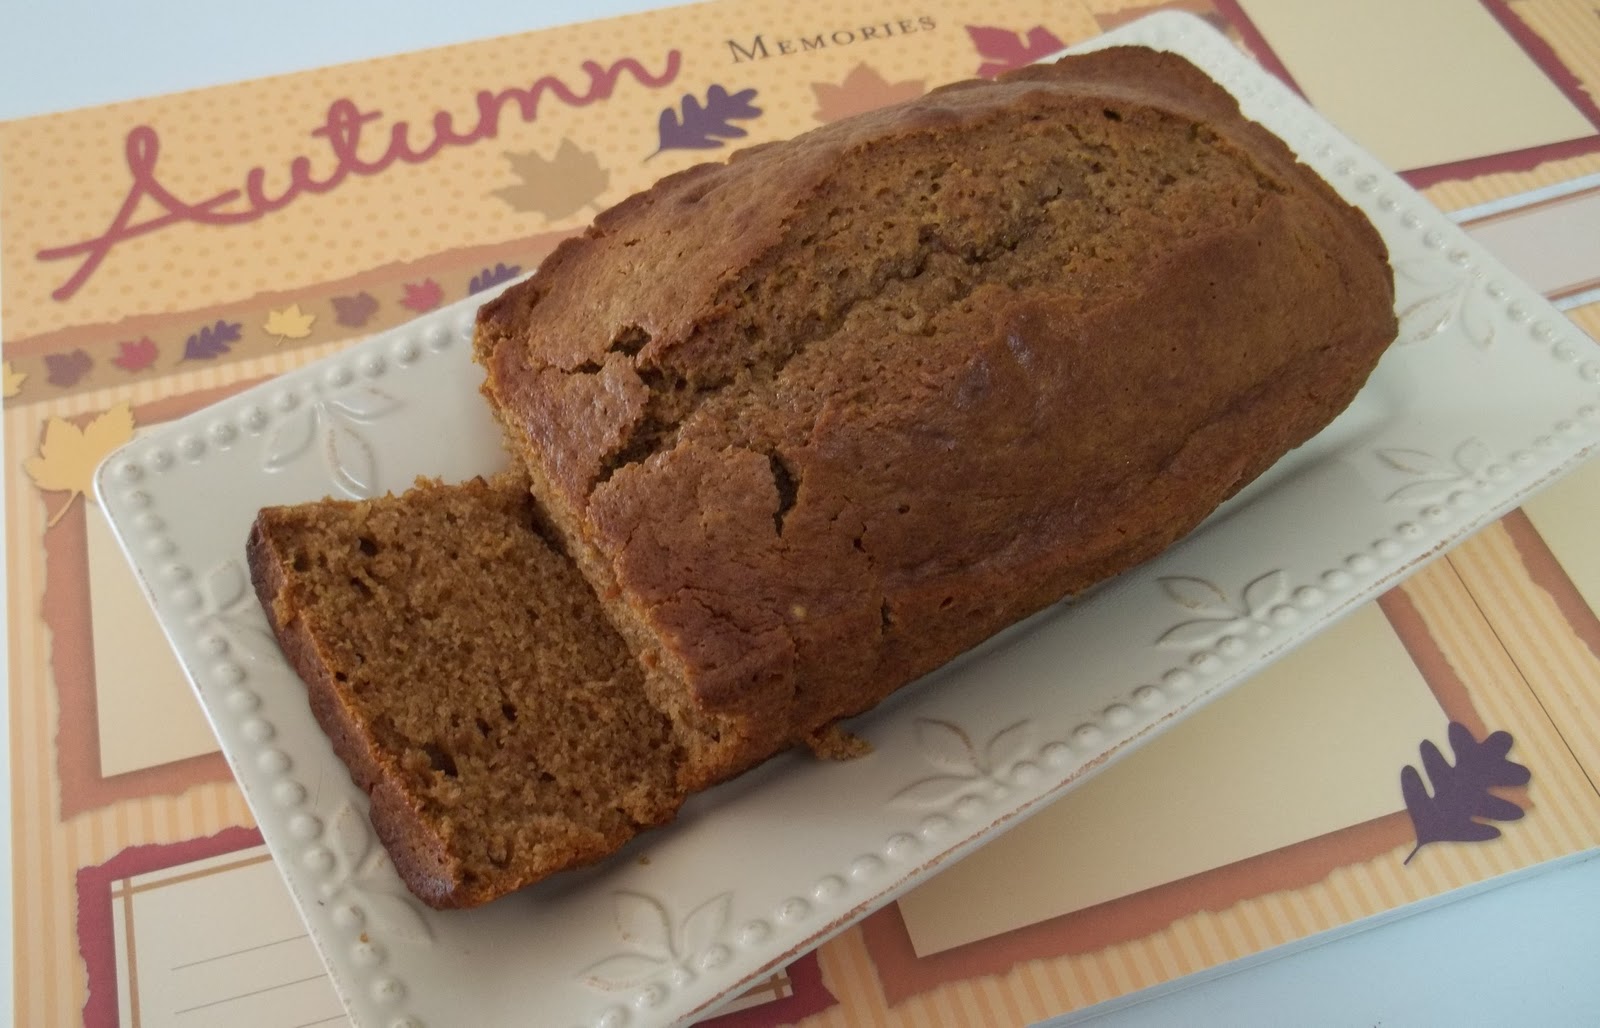
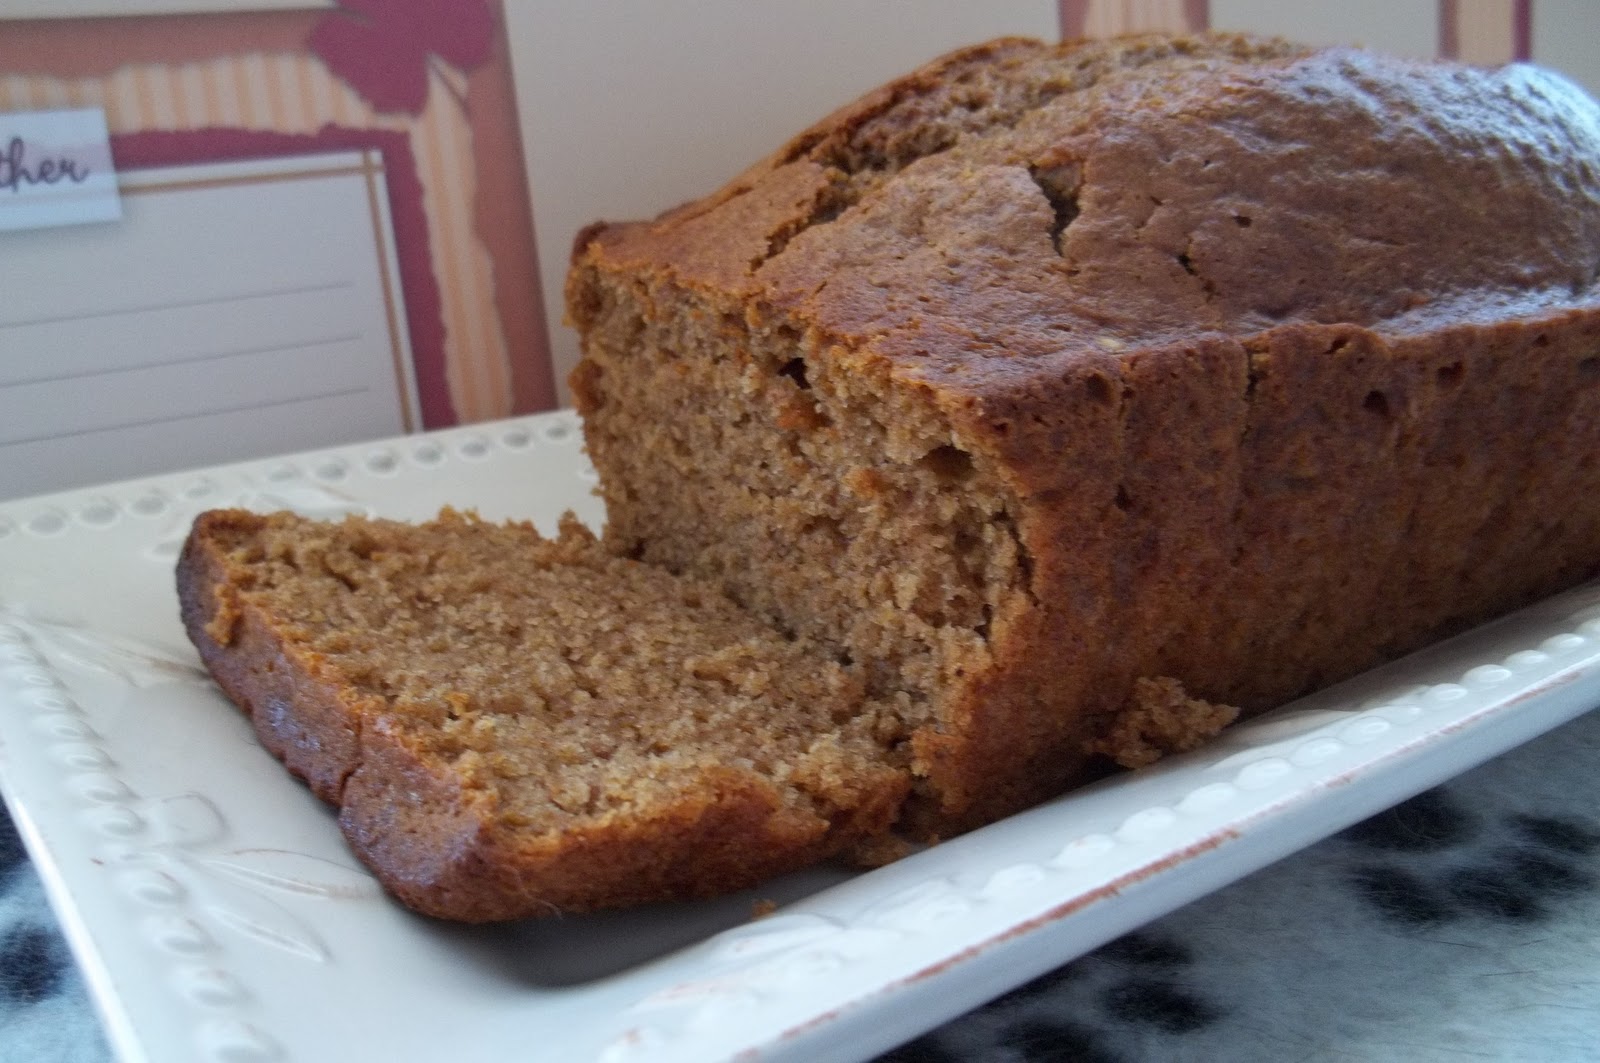
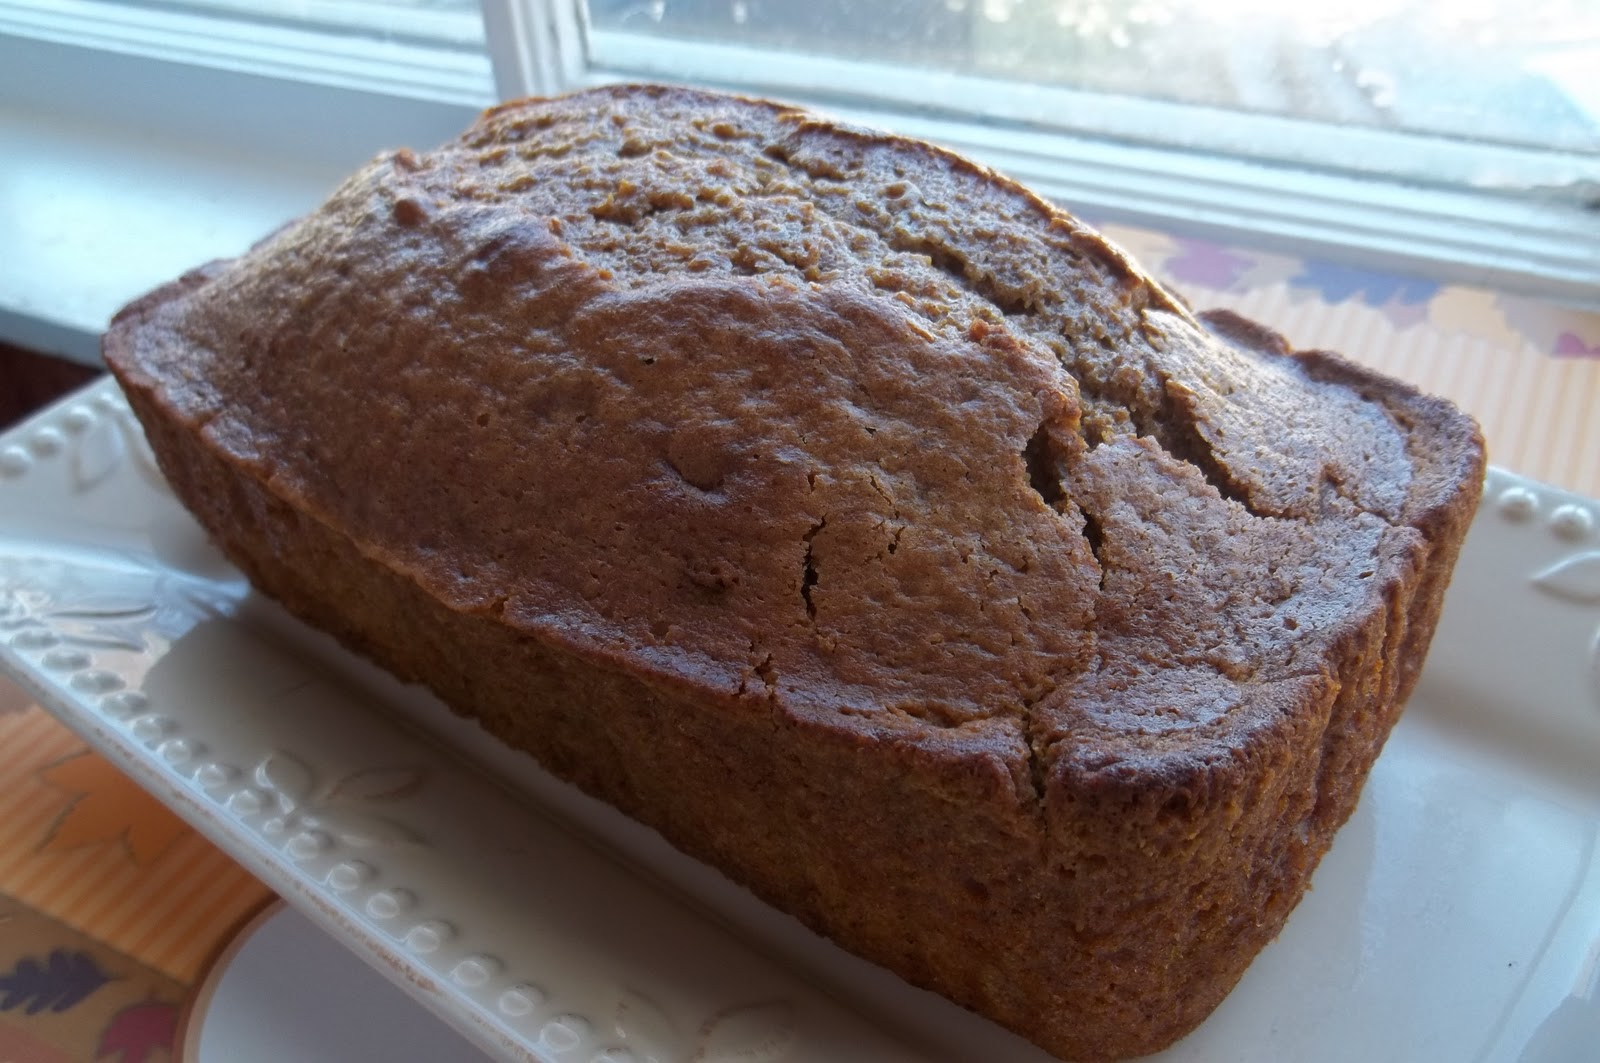
Today I’m sharing a little taste of fall. I made a little tray of fall goodies for my husband to carry to work last week, and the Pumpkin Bread was a very popular treat. Hope you enjoy!

Recipe for Pumpkin Bread:
1 1/2 cups sugar
2 eggs, slightly beaten
1/2 cup oil
1 cup pumpkin
1 3/4 cups flour
1 tsp baking soda
1/4 tsp baking powder
1 tsp salt
1/2 tsp cinnamon
1/2 tsp. cloves
1/2 tsp nutmeg
1/4 tsp allspice
1/3 cup water
1/2 cup nuts (optional)
Directions: Mix sugar, eggs, oil, and pumpkin in a bowl. Add dry ingredients and water in the order listed above. Mix well. Stir in nuts (if using). Pour into a greased and floured loaf pan and bake at 350 degrees for 1 hour or longer if needed. Makes one loaf.
Tip: For a sweet dessert bread, top with a little cream cheese frosting. Yum!


