Easy Holiday Food Ideas

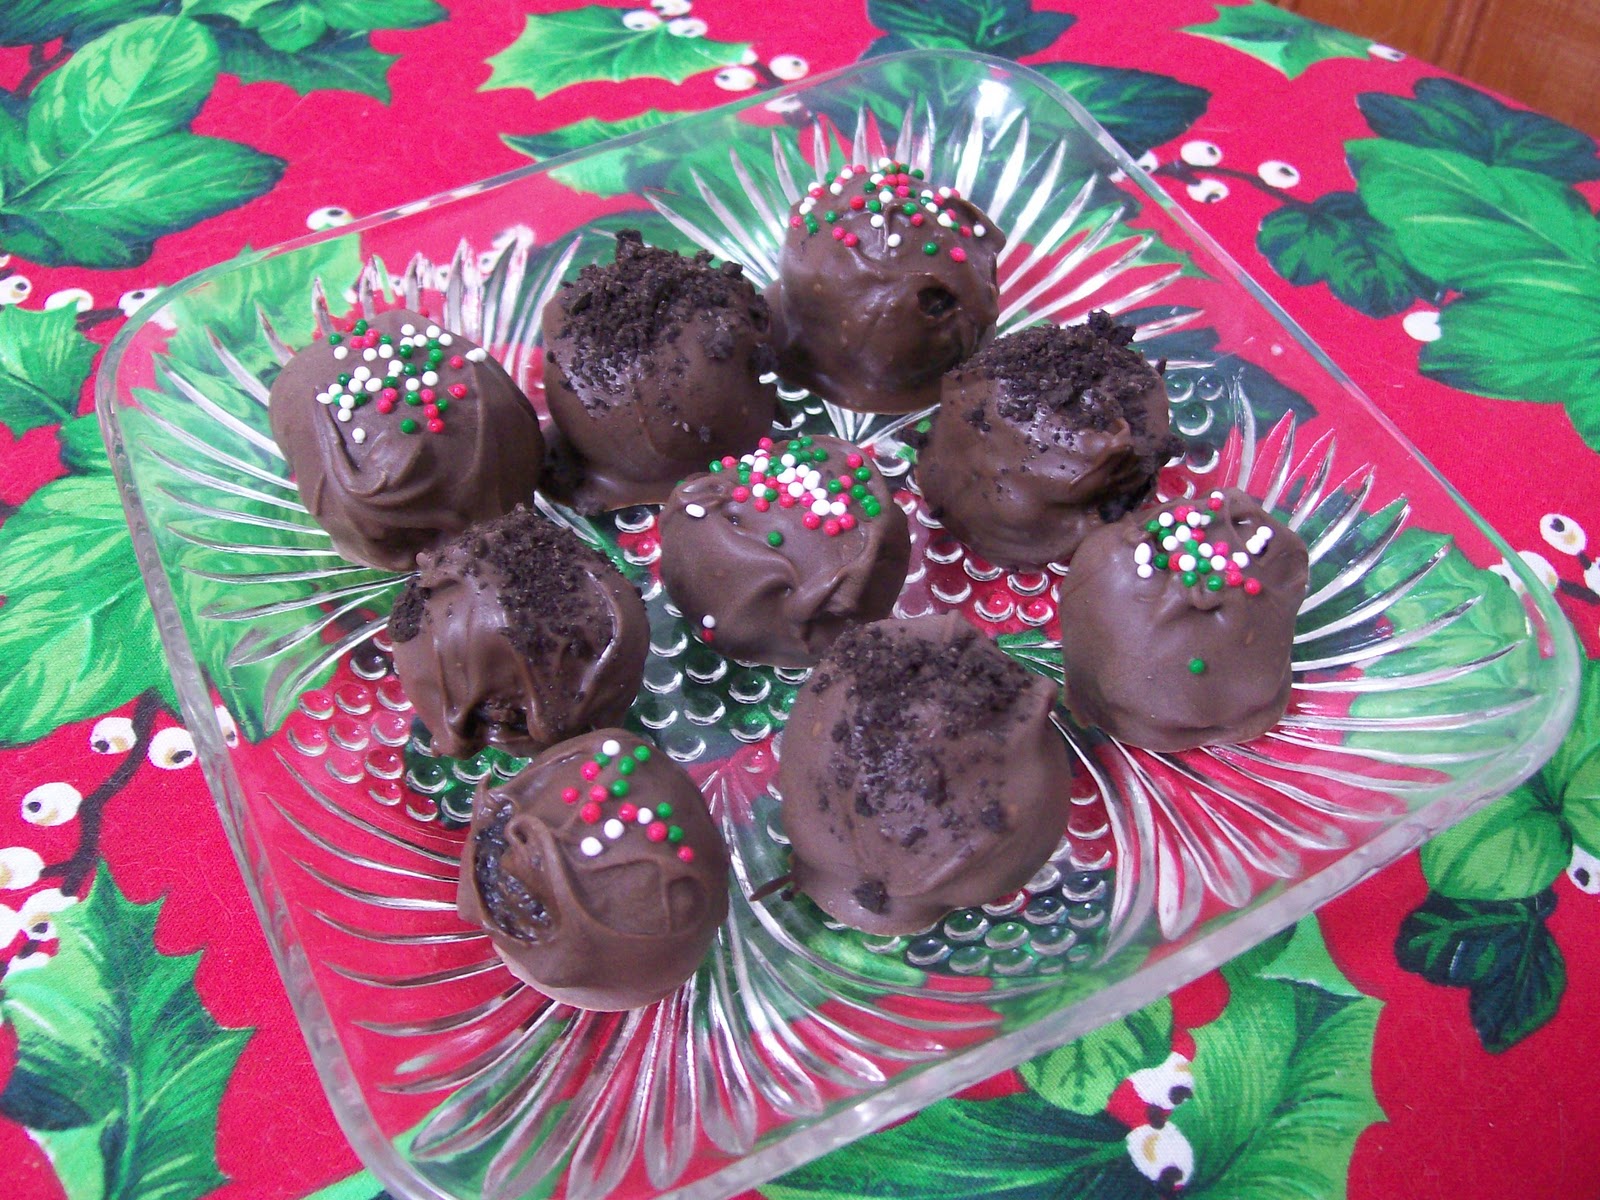
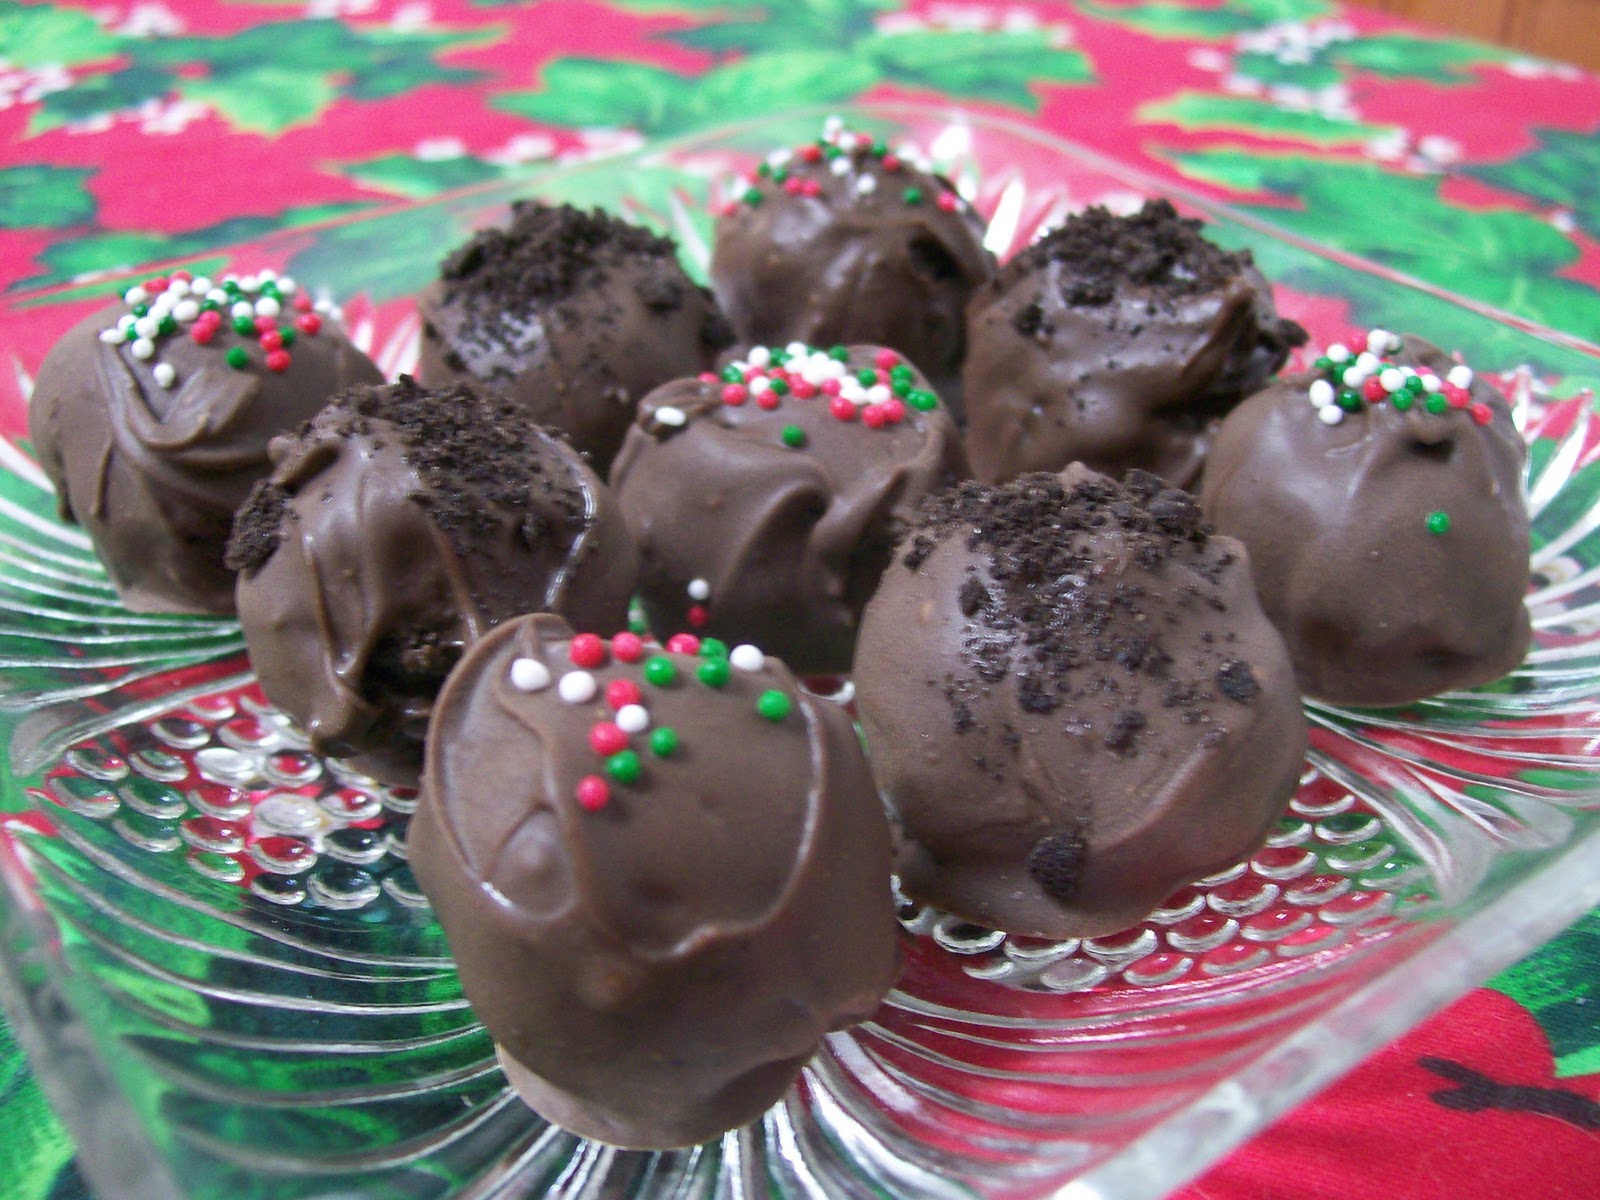
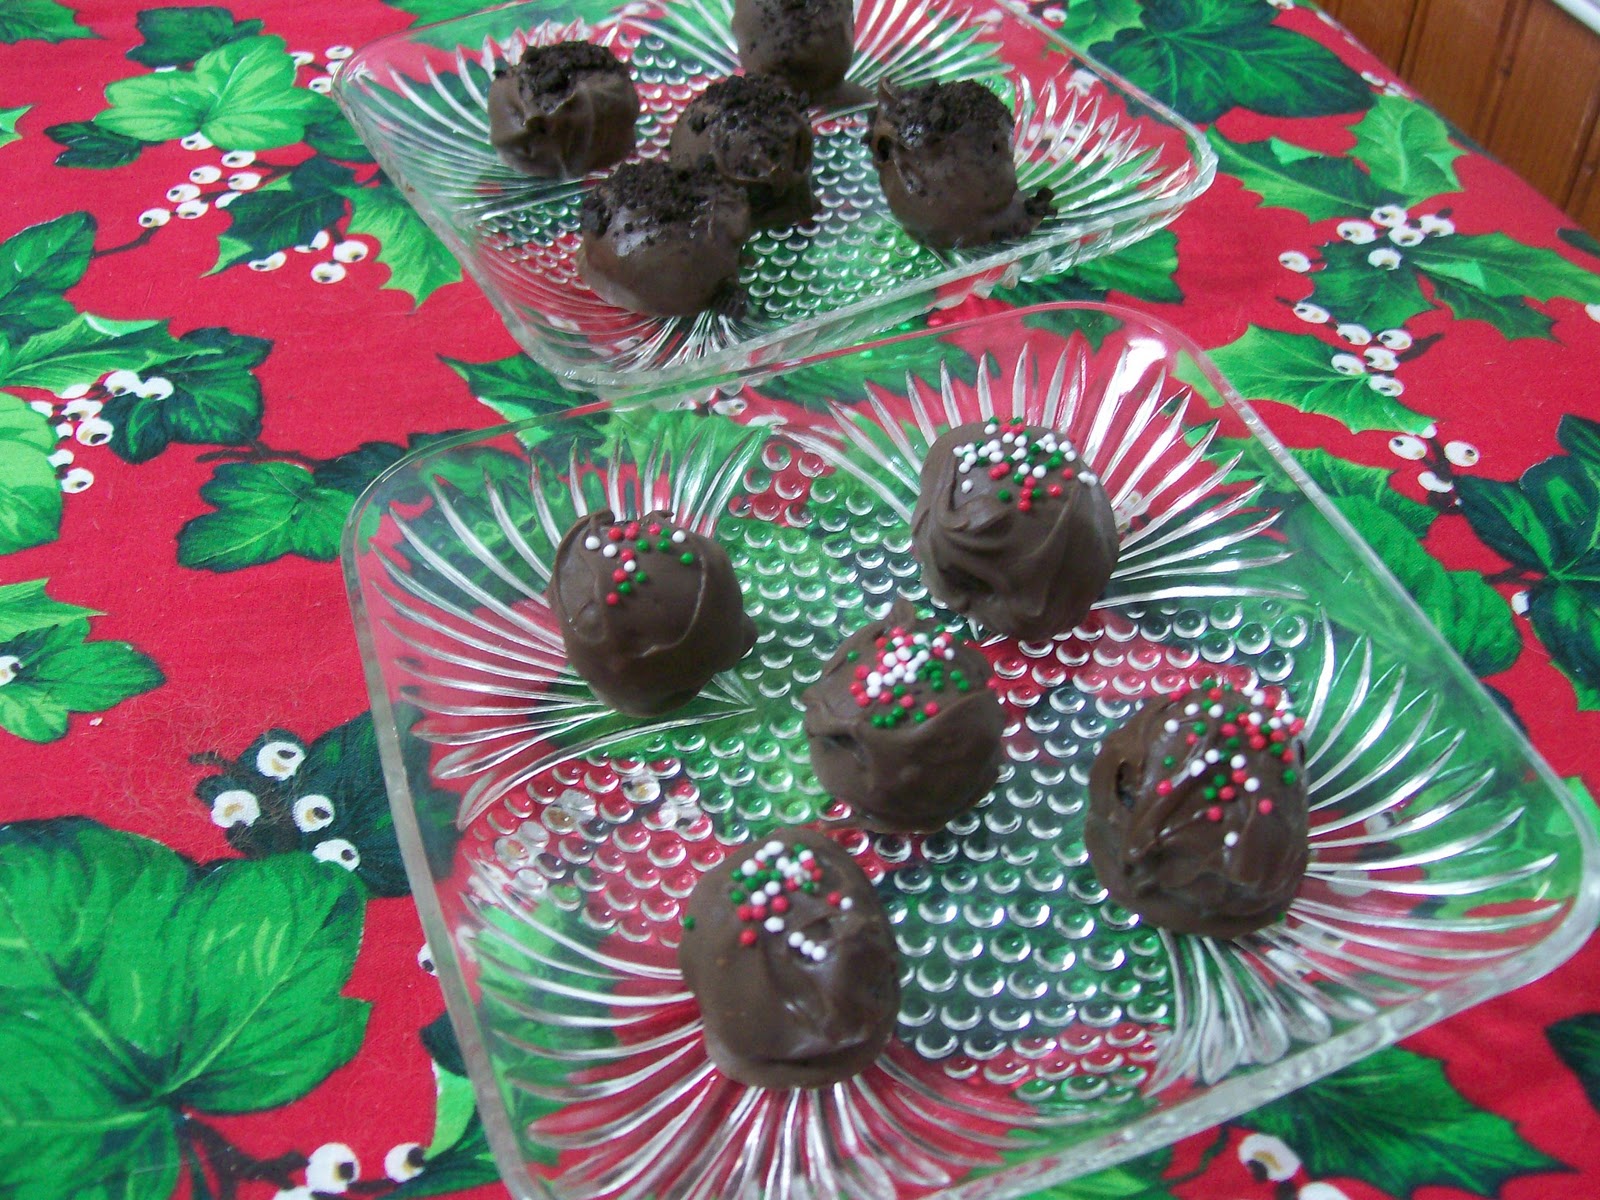
If you still need some last minute ideas for your Christmas holiday menu, you’ve come to the right place.  Today I’m sharing some of our favorite holiday appetizers and sweets!


Photobucket

1. Black Bean Spirals
2. Black Bean Spirals
3. Ham & Cheese Pinwheels
4.  Sausage Balls


Photobucket

Photobucket

I’m linking up at Tidy Mom and these parties.

Friday Favorites Party – Holly Bloggy Christmas Edition and Amy Cornwell Giveaway

hbcbuttonPhotobucket
 

Hello everyone! Welcome to the Holly Bloggy Christmas Edition of Friday Favorites! In case you’re new here, Friday Favorites is my weekly linky party where you can link up your recipes, crafts, decor, and other projects.
Anything goes really!  But today for the Holly Bloggy Christmas edition, I’m asking everyone to only link up your Christmas and holiday ideas!  And since it’s a special edition, I’ve also got some extra features and a giveaway to share with you, so let’s get rolling!

We had so many fun Christmas projects last week!  Here’s just a few:

Photobucket
1. Gingerbread House Decorating Party from Giggles Galore
2. Candy Trees from My Heart’s Desire
3. Rolled Paper Christmas Tree from Adventures of a DIY Mom
4. Light Bulb Penguins from Lady with the Red Rocker

And as always, we had some delicious looking recipes!

Photobucket
5. Red and White Christmas Pinwheels from Bouffee Bambini
6. Linzer Cookies from Cooking with K
7. Dark Chocolate Pretzel Fudge from The Kitchen is My Playground
8. Holly Cupcakes from The Seven Year Cottage


Giveaway!
Photobucket

For today’s party we’ve also got an awesome giveaway from Amy Cornwell.  Amy Cornwell is a fabulous designer of Handstamped jewelry!

Photobucket
Amy’s one-of-a-kind creations are made from fine materials such as sterling silver, gold-filled, gemstones, freshwater pearls and Swarovski crystals, and they come have a variety of designs and font styles available to fit your unique style.

Photobucket

I absolutely love personalized family (mom) jewelry.  One of my favorite items in the shop is the My Heart is Full Necklace.  I just love the finely polished heart in the center, and it looks wonderful with the names wrapped around.

Photobucket
And I also love this Captured Necklace!

Photobucket
Amy Cornwell also has a great selection of add-ons, including charms, Swarovski Crystals, Pearls, and a selection of personalized charms and tags to help you create the perfect necklace or bracelet for yourself or the person on your gift giving list!

Photobucket

Connect: Follow Amy Cornwell on her blog and on Facebook and Twitter.

Buy it! Check out Amy Cornwell and place an order today!

Win it!  One Simply Sweet Home reader will win a $25 gift certificate from Amy Cornwell!

How to Enter: please use the Rafflecopter below. (This may take a few seconds to load.)

a Rafflecopter giveaway


Linky Party!
Link up your Christmas and holiday posts below!


(And if you’re just joining us, there’s still time to link up at the other Holly Bloggy Christmas Parties at Tatertots and JelloChef in TrainingJust Sew Sassy, and The Shabby Creek Cottage.)

Photobucket

My Christmas Home Tour

Photobucket

Only 2 days for Holly Bloggy Christmas!  On Wednesday we shared Christmas Crafts at Just Sew Sassy, and for day 4 we are sharing our Christmas Decor at Shabby Creek Cottage. And then on Friday I’ll be hosting a Christmas Edition of my Friday Favorites Party!

For my decor, I like things that are bright and colorful, and I like to create an elaborate display using simple and inexpensive things like Christmas Balls and Cone Trees from the Dollar Tree, as well as Christmas Wreaths and arrangements.


Photobucket

The center of the display consists of a ball wreath and some rainbow garland.  Then the shelf is covered is some snowflake fabric, and on top of it is a “colored mirror tree,” two glasses of colored balls, and two green-sequin trees, and more rainbow garland.


Photobucket 

Besides the wreath, one of my favorite parts of this display are the vintage trees on each side.  My mom gave me these a while back, and as much as I liked them, I had no idea what I’d do with them.  But as I started working on my display, I knew these balls would be a perfect addition to these little trees and the display!
Photobucket

Each year I hang our stockings from my display case in our living room.  As you can see we have a couple of “Good Cats” for Santa to visit!
And then each year I’ve done something different to the top.  This year I added a green runner, some red and gold trees (all were dollar store finds), and a flower arrangement. And the red and white “garland” up top is actually two garland-candy canes!
Moving on to the kitchen…I have to admit I really didn’t do much in the kitchen this year, and I definitely didn’t do anything new, so I’m going to cheat a little bit, and just share a few of my photos from last year,since it’s the same stuff.
Everyone always seems to love my little kitchen tree filled with cute little utensils. It’s probably the most unique part of my tour each year!
And once again this year, I added my little Christmas countdown and some cute cards to the fridge.
And here’s the dining rom table.  We have a bright, fun, vinyl table cloth featuring snowmen, and then for the center piece I have an array of items:

Photobucket

And finally here’s our tree featuring a combination of Mouse ornaments,  Candy Ornaments, and a rainbow of colors!
Hope you enjoyed my tour!!  Please come back here and link up all your Christmas ideas for Friday Favorites.
hbcbutton
 Photobucket
Disclosure: I am sharing my holiday home decor and cleaning tips for the chance to win prizes from The SITS Girls and Great Cleaners.

I’m linking up at Tidy Mom and these parties.

Christmas Pillow Box Tutorial

Photobucket

On Tuesday we shared our Christmas Recipes with Nikki at Chef in Training. And on Wednesday, Day 3, of our Holly Bloggy Christmas Event we are sharing Christmas crafts over at Just Sew Sassy!  The craft party also includes a great giveaway from AliLilly, so head on over there and link up your posts!

I have to admit that I’ve had almost no time for making anything lately. But hopefully I’ll have a little more creative time in the next couple of weeks.  But today for the party, I’ve got some Christmas favor boxes (or pillow boxes) to share with you.  

These are really great to put candies like peppermints or Hershey Kisses in.  Just place them in a basket and hand them out as your party guests leave.  Or place them on the table next to each person’s place.  And depending on what size you use, they’re also great for children’s party favors, grab bags, and small gifts. I’ve also used these to put my handmade jewelry in!

pbox03

Pillow Box Tutorial: 
What You Need:
Card Stock
Wrapping Paper
Glue Stick
Tape
Scissors
Directions:  First choose some festive wrapping papers. For small boxes, paper with smaller patterns works best. 
Take a piece of wrapping paper, and use glue stick to cover a piece of card stock with the paper. (If you’d like the insides of your boxes to have designs too, you can add paper to each side, but that’s not necessary.) Now you’ve got some festive material for your pillow boxes!
If you have a Cricut or Silhouette machine, you can easily cut out your pillow boxes using that.  But if you’re like me, and you don’t have one, then you’ll have to cut these out by hand.
To do this, you’ll need a template like this:

pillowtemplate

You can find a printable version here.  Or you can go to Google, and just search for “Pillow Box Template,” and you’ll find others.
After you print out your template, cut it out, and then use it to trace the pillow box on to the plain side of the cardstock. (Don’t worry about tracing the fold lines)
After you’ve got the pillow box cut out, fold it long ways (like a book), down the middle, as shown below:

flatpillowbox
Photo Credit

At this point I used tape to make a seam from the two sides.

pbox02

Next just fold in the flaps on each end, and you’ve got a pillow box!  You can also add names tags, bows, or other embellishments if you have to fancy it up!

pbox01


Photobucket

hbcbutton

If you’re just now joining us there’s still plenty of time to link up at Monday and Tuesday’s parties!

And you can also join the Christmas Decor Party on Thursday at The Shabby Creek Cottage, featuring a giveaway from Good Neighbors Candle Co.

And on Friday I’ll be hosting a special Holly Bloggy Christmas Edition of my Friday Favorites event here at  Simply Sweet Home with a giveaway from Amy Cornwell.


Photobucket

I’m linking up at Tidy Mom and these parties.

Christmas Ball Wreath and Display


Photobucket

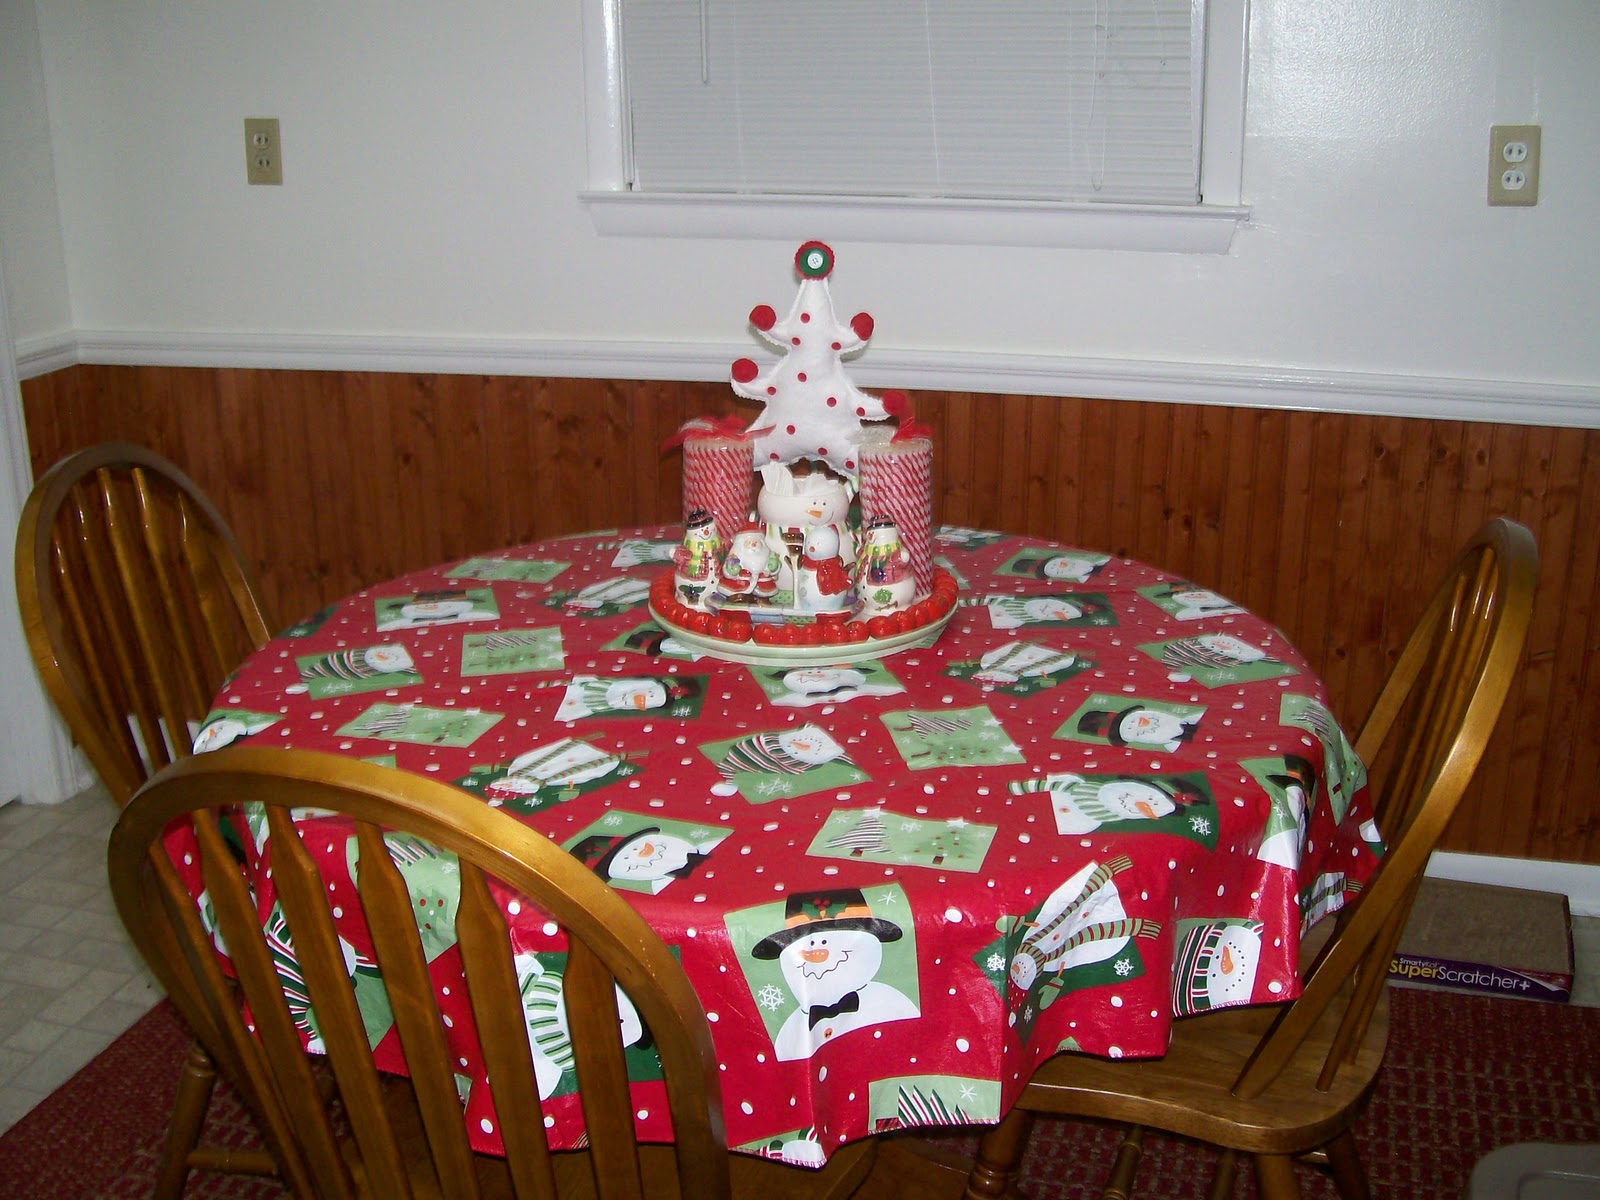
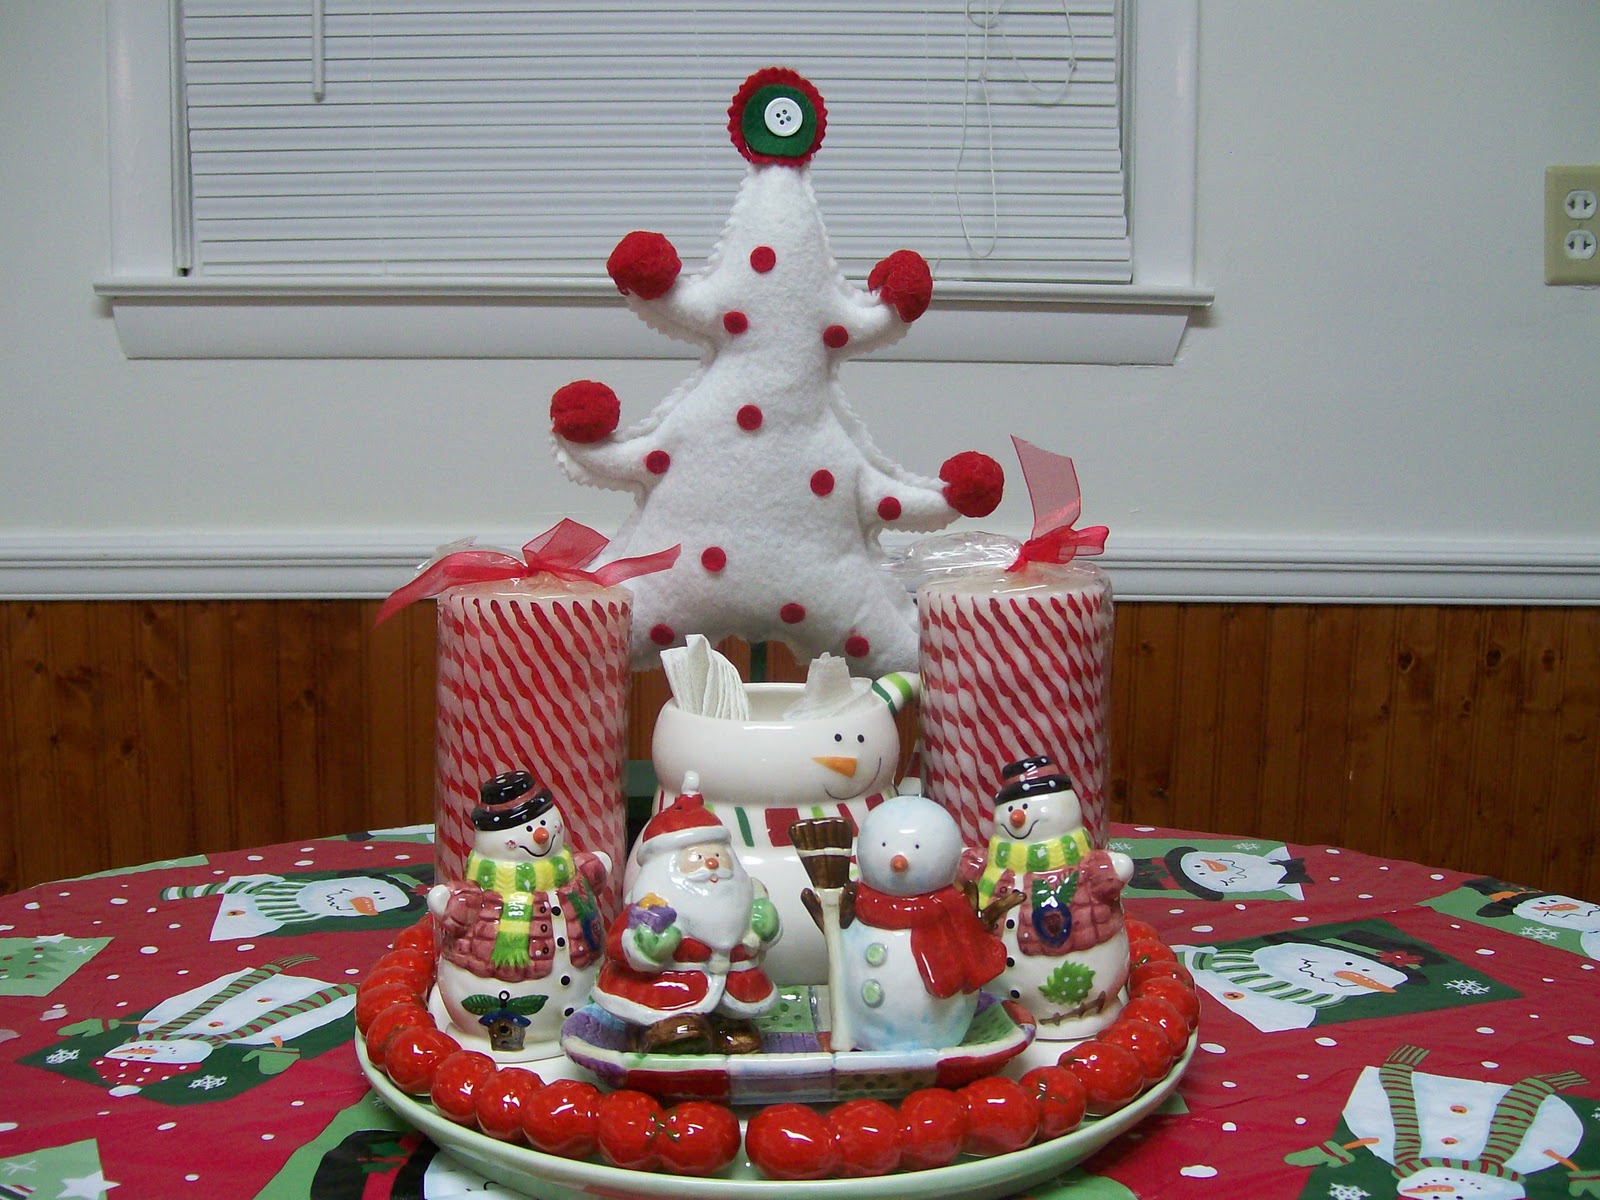
The last couple of years I’ve been in love with everyone’s ball wreaths! I considered making my own, but when I saw this one at Target for just $20, I decided to just buy it.

Photobucket

To be honest, I’m sure if I’d try to make my own, it wouldn’t have come out nearly as nice.  And I know I would have spent more than $20 just on the balls alone!


And I’m so excited to show you how I decided to use it!

Photobucket

I already had a wreath that lights up to go on the front door, so I decided to hang this one in our living room over our new entertainment center.  It made the perfect center piece for what I’m calling my “Rainbow Christmas Display.”

Photobucket

So what do you think?  I’m sure it may be a little bright for some, but all the colors and shine make me happy!

Photobucket

  Photobucket

I’m linking up at Tidy Mom and these parties.

The Black Shard – Book Review

If you’ve followed my blog for a while you may remember the book review I did last year for The Magic Warble, the fun fantasy novel by Victoria Simcox that follows in the tradition of books like The Chronicles of Narnia by C.S. Lewis.
This holiday season Simcox is back with a new book The Black Shard, the sequel to The Magic Warble!

My husband and I just love fantasy books for young adults and children, so we were really excited last year when we had the chance to read The Magic Warble, and I was thrilled when Victoria contacted me about reviewing The Black Shard.
The Black Shard, Victoria Simcox’s fast-paced, intricately woven sequel to The Magic Warble, takes Kristina Kingsly and her schoolmates back to Bernovem … and into a thrilling, often dangerous adventure.
Kristina’s stay at summer horse camp is horrible to say the least, and it’s all because Hester and Davina are there as well, making her life miserable. When Hester’s cruel prank goes terribly wrong, it’s actually what sends the three girls back to the magical land of Bernovem. In Bernovem, Kristina is very excited to see her former friend, Prince Werrien. When he invites her to sail with him on his ship to his homeland Tezerel, putting it simply, Kristina can’t refuse.
 Reunited with her gnome, dwarf, animal, fairy friends … and best of all, Werrien, things seem like they couldn’t get any better for Kristina. But when Werrien becomes fascinated with an unusual seeing stone, the “Black Shard”, Kristina is haunted by a ghostlike old hag. Struggling against suspicion, guilt, illness, and ultimately the one who wants to possess her soul, Kristina will see it’s in her weakest moment that she will encounter more strength than she has ever known.
If you and your children are fans of Harry Potter and Narnia, you’ll love Simcox’s books!  You’ll fall in love with Kristina and the rest of this fun cast of characters, and you’ll wish that you could take a trip to Bernovem!
Buy it! Be sure to include The Black Shard on your Christmas gift giving list this year!  And if you haven’t read the first book in the series, The Magic Warble, add it to your list as well!


Photobucket
Photobucket

I’m linking up at Tidy Mom and these parties.

Caribou Coffee Review and Giveaway

With the cold fall and winter weather comes cravings for rich, hot beverages like coffee and hot chocolate.  This holiday season Caribou Coffee brings you the most delicious holiday coffees and drinks.  Take a break out of your Christmas shopping for a nice hot cup of joe.  Or go by and purchase a holiday sampler or gift pack for the coffee lover on your list!

Visit Caribou Coffee online to see all of their great samplers and holiday gift options, including candy, ornaments, coffee tumblers and more!  Also, check out Caribou Coffee on Facebook for holiday coupons and offers!
Caribou Coffee is also Making it Merry this holiday season with the launch of its Sweater Maker Facebook App, which allows consumers to dress their Facebook photos in festive holiday sweaters and share them through various social networks. www.merrysweater.com 
 For every sweater that’s virtually knitted on Caribou Coffee’s Sweater Maker Facebook App, a real one will be donated to someone in need.
I received a fun Holiday gift pack from Caribou Coffee (pictured below).  Not only are their items fun, festive, and well made, but they’ve got an incredible Reindeer Blend for the holidays!

Here’s the description from their website: Our holiday favorite returns! This year’s 100% Rainforest Alliance certified Reindeer Blend brings together coffees from Central America combined with heavy-bodied and syrupy-rich flavors from the Indonesian archipelago – including a rare, two-year-aged Sumatra that gives a hint of caramel and a dash of spice.


Giveaway! One Simply Sweet Home reader will win a Caribou Coffee Holiday Gift Pack, which includes:

  • One bag of Reindeer  Blend
  • One 24 oz Snowflake Coffee Cup with lid and straw
  • A Snowflake Knit Coffee Sleeve.
  • 2011 Knit Mittens Christmas Ornament.
  • A $43 value!
To enter, use the Rafflecopter form below! Giveaway will be open for one week.

Photobucket

I’m linking up at Tidy Mom and these parties.

Chocolate Covered Caramel Popcorn – 2 Ways


When I was kid we used to get those giant popcorn tins every Christmas! Those are still around today, but now we also have a whole host of gourmet popcorns to choose from for holiday parties and gift giving.
Today I’m going to show you  how easy it is to make your own gourmet popcorn at home using 2 different methods!  Not only will it make a fabulous homemade gift, but it’s also a lot cheaper than a lot of the gourmet gifts on the market!

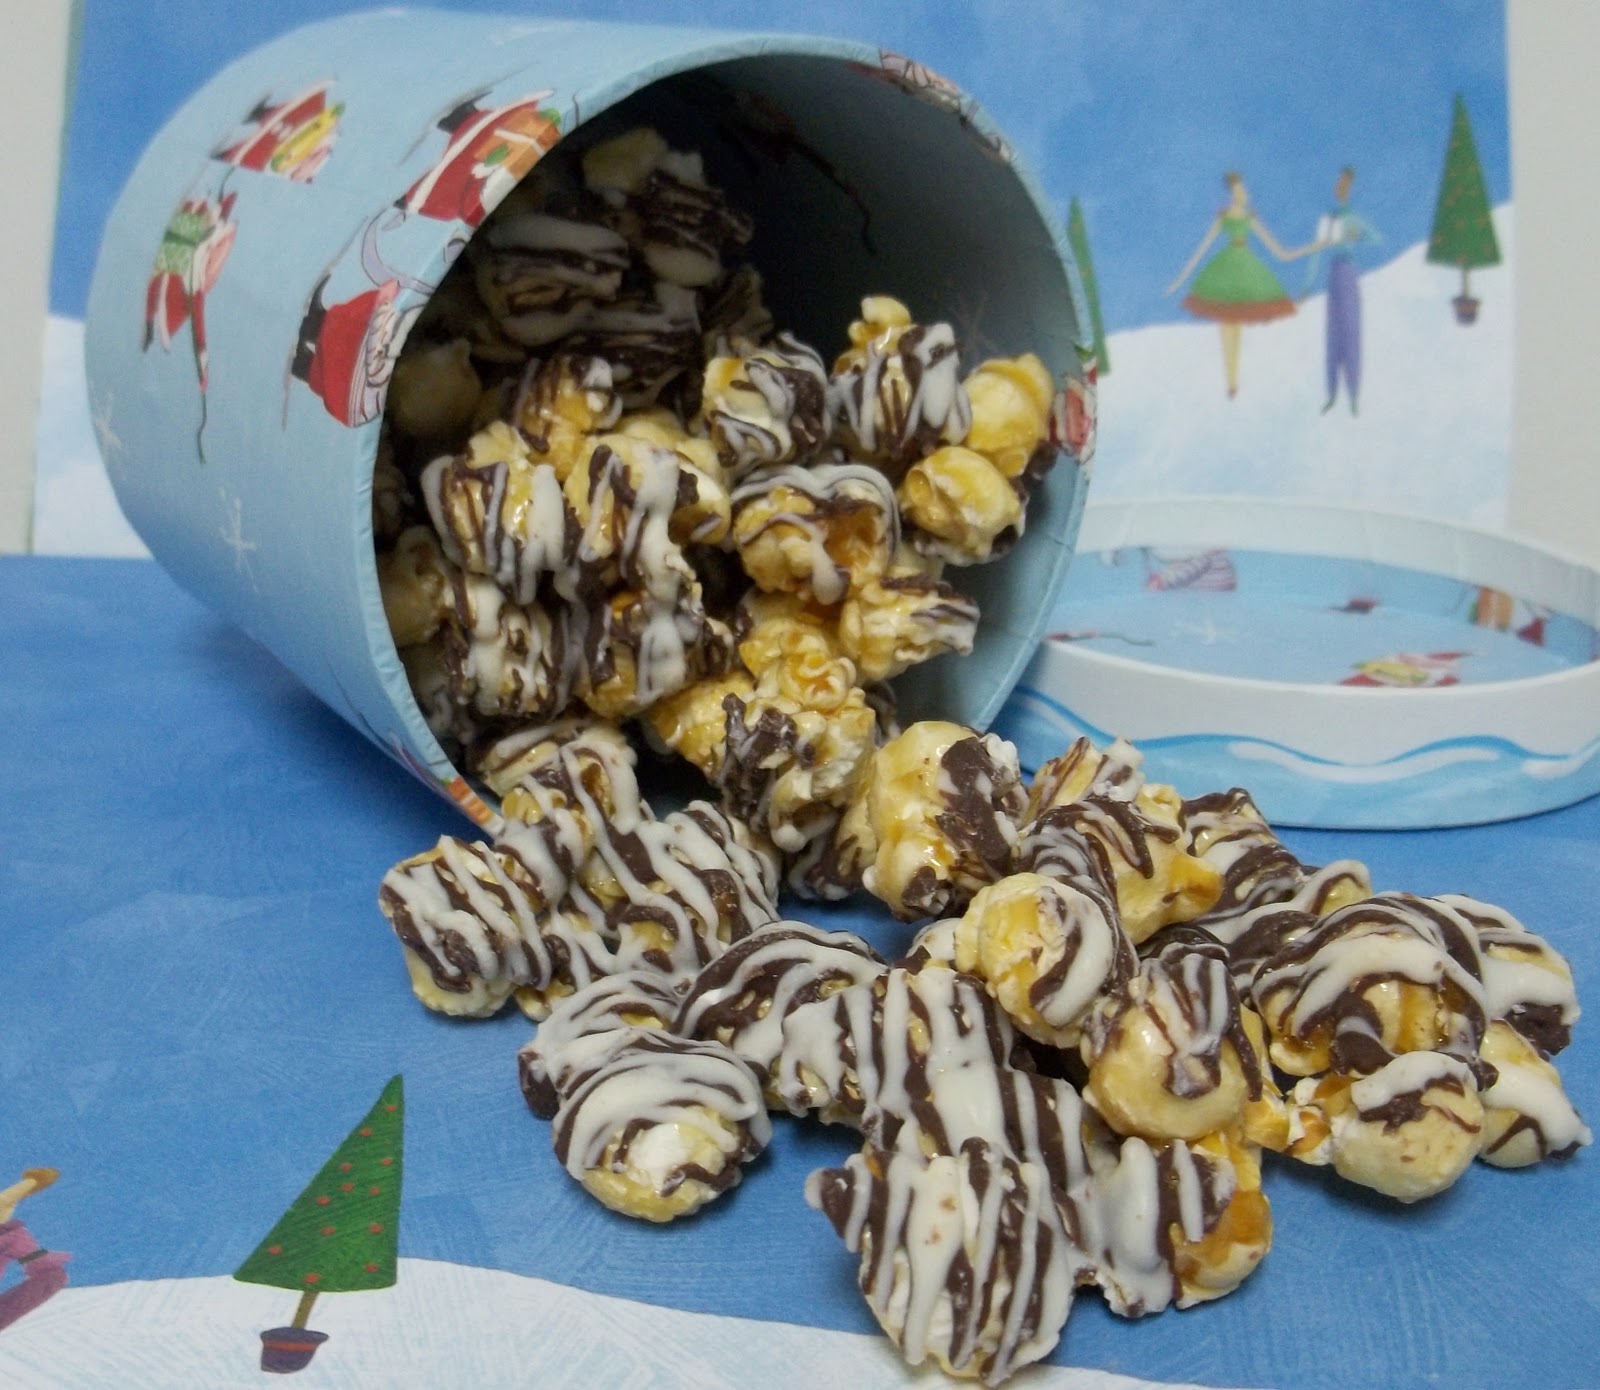
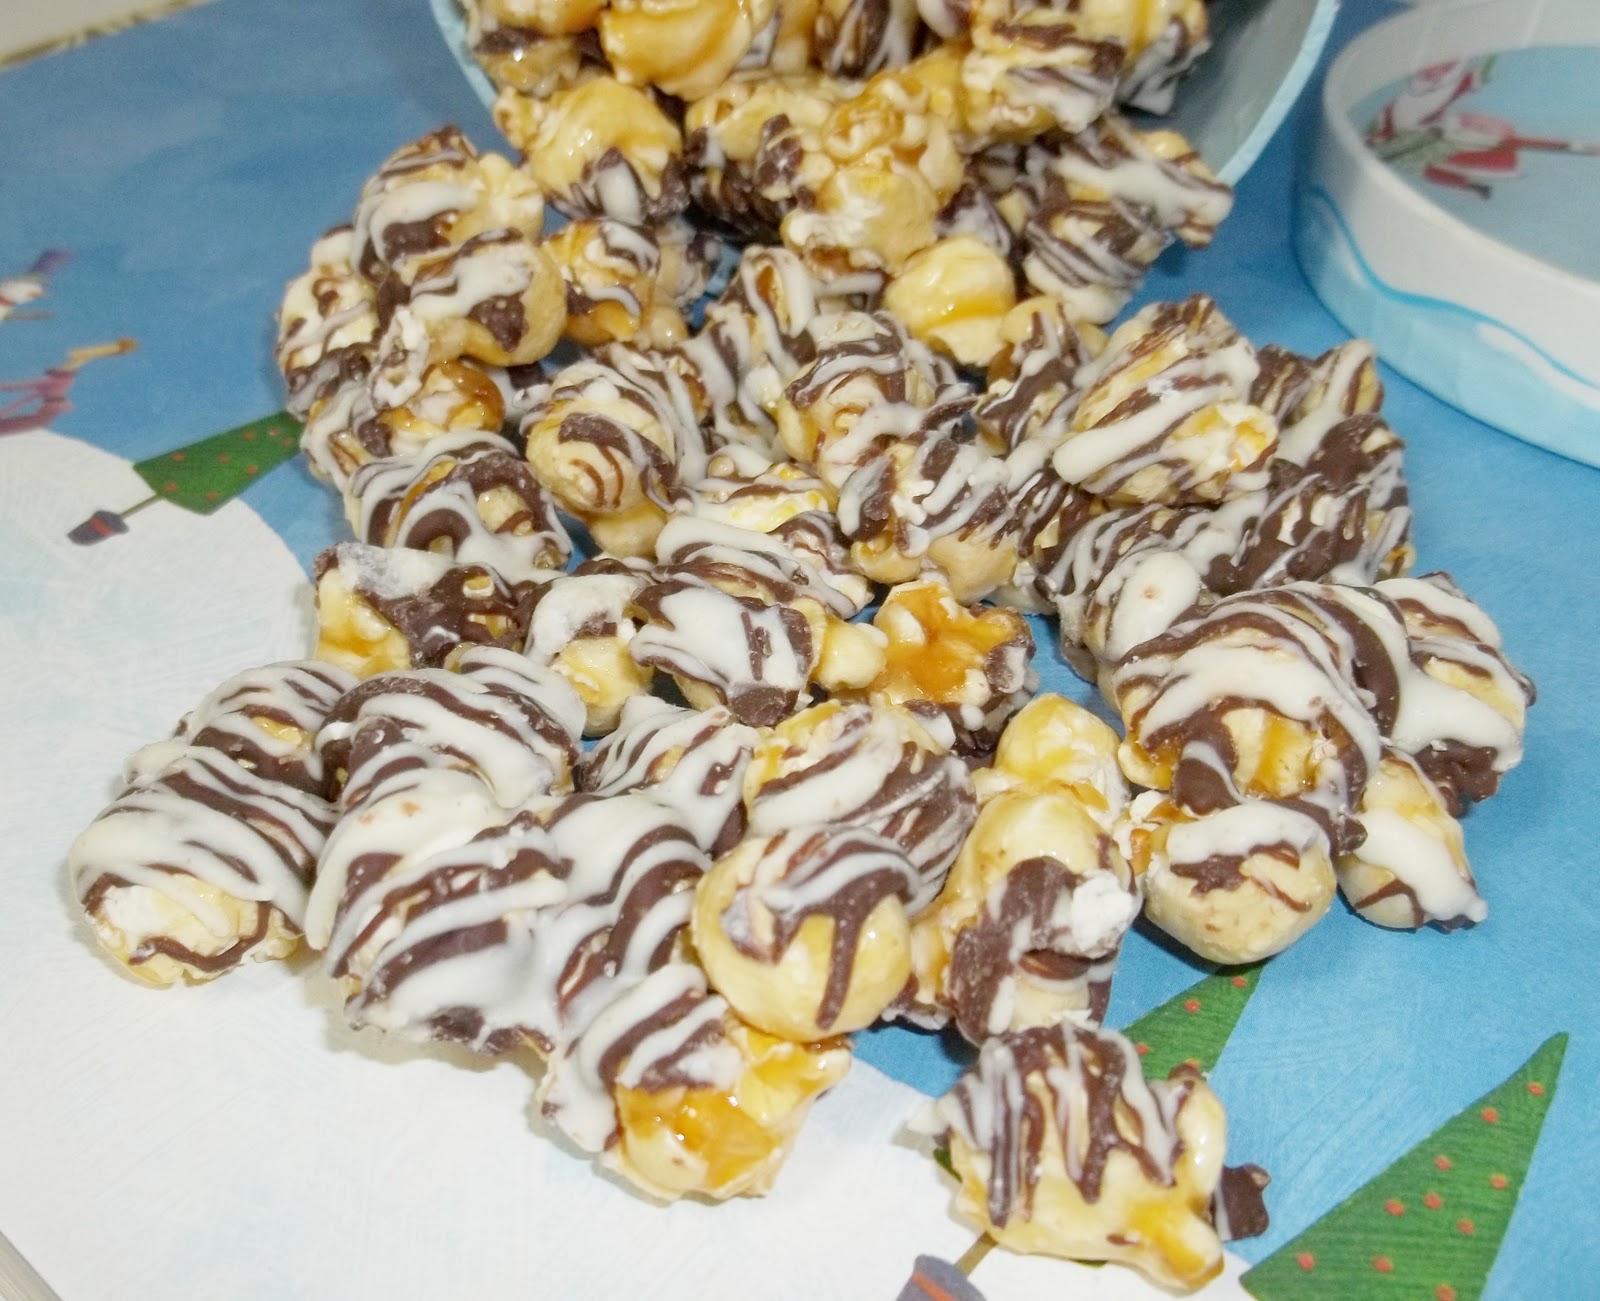
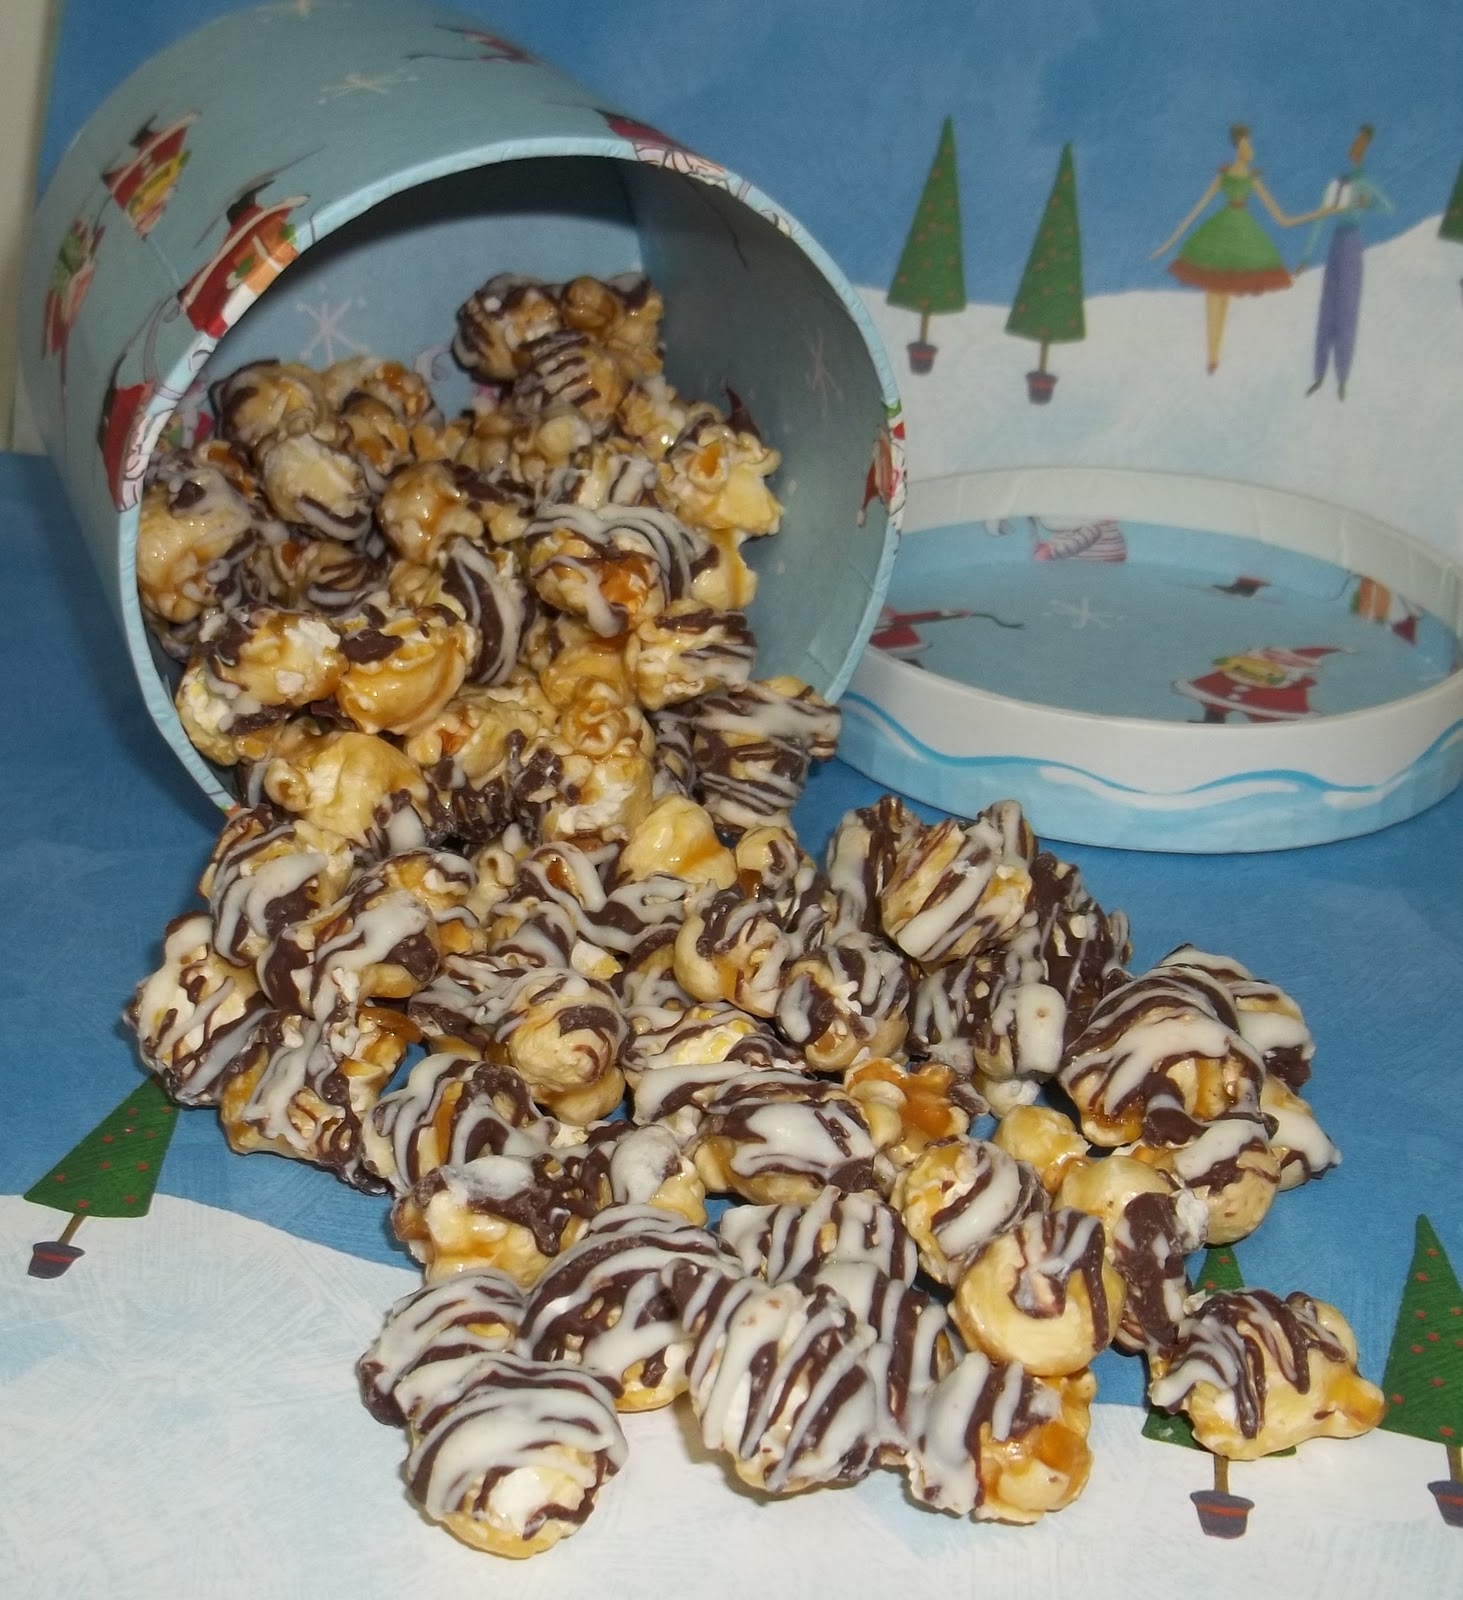
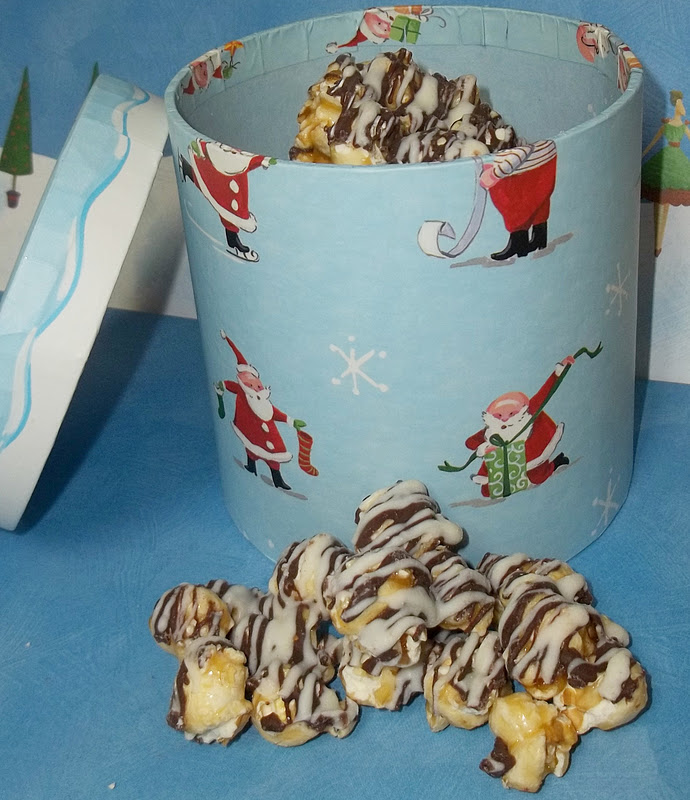
Recipe for Chocolate Covered Caramel Popcorn – Method 1

Ingredients:
3 quarts lightly salted popped popcorn
1 cup light brown sugar, firmly packed
1/2 cup sweet unsalted butter (USE REAL BUTTER)
1/4 cup light corn syrup
1/2 cup peanuts (optional)
1/2 teaspoon baking soda
1 lb dipping chocolate or 1 bag of chocolate chips

(If using two kinds of chocolate like I did here, use half a pound of each, or 2 – 1/2 bags of chocolate chips.  Be sure to have extra chocolate on hand in case you need more.)

Directions: Preheat oven to 200 degrees.  Place the popped corn in two 9×13 baking pans. (Must be deep enough to stir popcorn)
To make caramel, melt butter in a very large saucepan.  Add brown sugar and corn syrup. Stir CONSTANTLY to prevent sticking and scorching. Bring to a boil and boil for 5 minutes.  Add peanuts (if desired).  Add soda (will foam up, so be sure to keep stirring).
Pour caramel over popcorn and mix well.
Bake popcorn one hour, stirring every 10-15 minutes.Remove from oven and cool completely.
You’ll have to stir it every once in a while so it doesn’t stick together.Next line some cookie sheets with parchment paper. Pour popcorn out onto the cookie sheets.
Meltchocolate per package directions.  I always use the microwave, stirring every 15-20 seconds to prevent scorching.  (Again, you may want to melt more chocolate than the recipe calls for to make sure you have enough.)
Once the chocolate is melted, drizzle over the popcorn.  Store at room temperature or refrigerate.
Recipe for Chocolate Covered Caramel Popcorn – Method 2

Ingredients:
3-4 boxes of Crunch N’ Munch
1 lb dipping chocolate or 1 bag of chocolate chips

(Again, if using two kinds of chocolate like I did here, use half a pound of each, or 2 – 1/2 bags of chocolate chips.  Be sure to have extra chocolate on hand in case you need more.)

Directions: Pour the Crunch N’ Munch out on to cookie sheets lined with parchment paper. 

Melt chocolate according to package instructions.  (I use the microwave, stirring every 15-20 seconds to prevent scorching.)
Drizzle chocolate on to popcorn.


Photobucket

I’m linking up at Tidy Mom and these parties.

Scentsicles Review

As you deck the halls this holiday season, how would you like like to add a little old timey Christmas scent? Scentsicles allows you to do just that!

Scentsicle Scented Ornaments are an under-the-radarChristmas secret that instantly bring the joy of Christmas into your home withauthentic seasonal fragrance and keeps it there for the entire Yuletide season.ScentSicles can be hung from treeboughs, tucked into wreaths and garlands, or discreetly hidden throughout thehome to provide the nostalgic scent of fresh-cut Christmas trees or the welcomingaroma of cinnamon. 
I really love the versatility of this product. You can hang them from your tree or tuck them in to other decor.  I added mine to a wreath that’s hanging in my living room.  Not only do they give your room a nice scent, reminiscent of a fresh-cut Christmas tree, but they blend in great with your green garlands, trees, and wreaths! 

Additional ways to use ScentSicles as your secret for a joyful Christmas include:
· Attach a 6 pack as an add-on for those extra special gift recipients
· Hide Scented Ornaments in the hall closet so guests experience a waft of fragrance when you open and close the door
· Give them as a thoughtful and appropriate present to hair stylists, mail carriers, and teachers
· Hide one or two Scentsicles under your car seat for a driving experience that puts you in the holiday spirit
· Bring a little holiday cheer to your workspace. Just place one or two scented ornaments in your office plant
· It also makes a great hostess gift
 

The new Christmas Scents include Fresh-Cut Fir, Fresh-Cut Spruce, Fresh-Cut Pine, and Cinnamon Stick.
ScentSicles are availableseasonally at Walmart, Bed Bath & Beyond, Lowes, Michaels, Cracker Barrel,Office Depot, Frontgate catalogs, AAFES, Meijer, Hallmark and select Home Depotstores nationwide, as well as year round at ScentSicles.comand Amazon.com.  Suggested retail price for a pack of 6 sticks:$6.99.

Photobucket


Oreo Balls

One of my favorite things about the holiday season is the food, especially the sweets!  Today I’ve got a really yummy treat that’s perfect for parties and gift giving.  I first made these Oreo Balls last Christmas, and I can’t wait to make them again!  I know your family will love them too.  And guess what? They are SUPER easy to make!

Recipe for Oreo Balls:

Ingredients:
1 (16 oz) package Oreos
1 (8 oz) cream cheese
1 package almond bark
sprinkles (optional)
wax paper
Directions:  Crush the oreos. You can do this using a food processor or blender.  Or you can place them  in a plastic bag and crush them with a rolling pin.  Place in a bowl and add softened cream cheese.  Stir until well combined.  Chill in the refrigerator for half an or until the mixture is of a good consistency for rolling into balls.  Next scoop out the balls; you can use a cookie scoop, a spoon, or even your hands.  Roll into balls. (1 inch wide is a good size.)  Next chill in the freezer.
Now take your almond bark and melt it in the microwave.  I’d start with just half the package.  Stop the microwave and stir every 15 to 20 seconds to prevent scorching. It usually takes about a minute for the almond bark to melt in my microwave.
After the almond bark is melted, dip your balls.  I place the balls on a candy dipper for this, but you could also use a spoon, or you can stick each ball with a toothpick before freezing for easy dipping.  If the almond bark starts to harden in the bowl, microwave for an additional 15 seconds. Place your balls on wax paper.
The balls are great plain but if you wish to decorate them,  garnish with candy sprinkles or extra Oreo crumbs immediately after dipping  (before almond bark hardens).  Another way to decorate these is to drizzle them with another color almond bark. (If dipping in the brown, come back and drizzle them with the white and vice versa.)

Photobucket

I’m linking up at Tidy Mom and these parties.