Disclosure: This shop has been compensated by Collective Bias, Inc. and its advertiser. All opinions are mine alone. #BringingInnovation #CollectiveBias
Do you strive to make a difference in the environment? Energizer® is currently leading the way in energy efficiency and a greener tomorrow with their Energizer® EcoAdvanced™ batteries.
Energizer® EcoAdvanced™ is a breakthrough in creating value for recycled battery materials – which until today had little use or economic value. These new AA and AAA batteries are made from 4% recycled batteries and are their highest performing, most responsible alkaline batteries. And by using longer lasting and reliable batteries, consumers use fewer batteries, create less waste and have less impact on the planet!
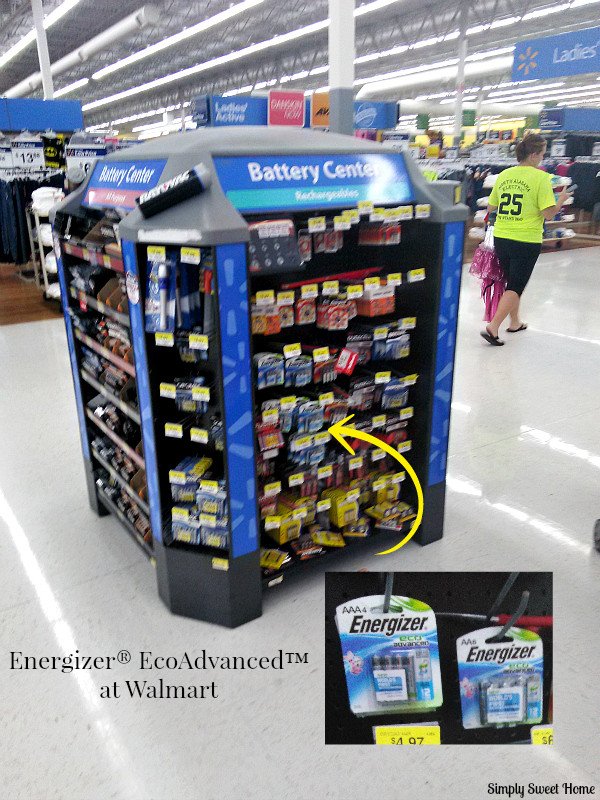
You can find Energizer® EcoAdvanced™ at a number of retailers, including Walmart. I always find my batteries near the front of our Walmart, near the registers. They always have a huge display like the one shown above.
I believe you don’t have to go “all out green” in order to make a difference in your environment. Everyone can make a few small and simple changes to make a difference. For example, we purchase the Energizer® EcoAdvanced™ batteries! We also recycle, and we try to buy energy saving light bulbs and other items.
And whenever possible, we always try to re-sell, give away, or repurpose items we are no longer using.
We recently took down our porch light. Our front porch had a motion sensor light that was often unreliable. (Sometimes it wouldn’t come on / stay on, etc.)
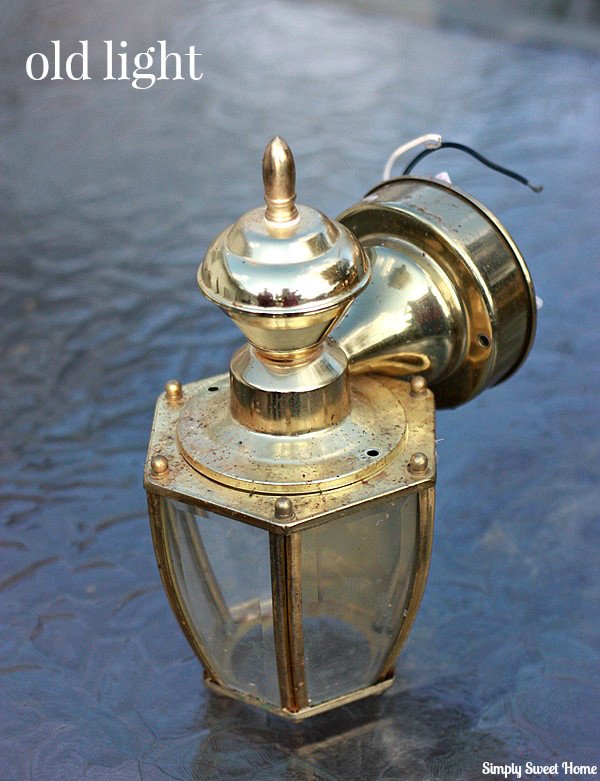
So my husband and I decided to go back to a regular light and also get something that looks a little nicer, so we replaced our fixture with the light shown below. Doesn’t it look great?
After putting up the new light, I debated about what to do with the old one. I hate to throw things away, and my husband said he wouldn’t even want to sell the old light to someone in a yard sale, so I decided to repurpose it.
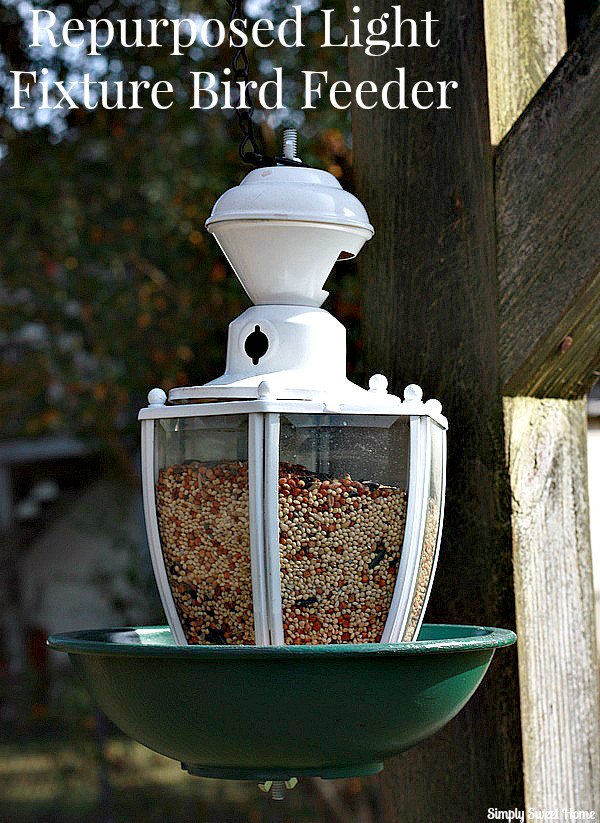
We took the fixture apart, added a bowl, and voila, we made a bird feeder!
Today’s tutorial will take you through the basic steps of how we made this bird feeder. Although you probably don’t have the same fixture we do, I think the basic materials and steps could easily be applied to similar lighting fixtures and lanterns, etc.
What You Need:
Tools:
Drill with drill bits
Dremel with cut-off wheel or other cutting tool
Materials:
Light fixture
Bowl or Plate
Spray Paint
All-thread Rod
Wing Nuts
Washers
Flat Nuts
Bird Feeder Hanging Chain or Strong String.
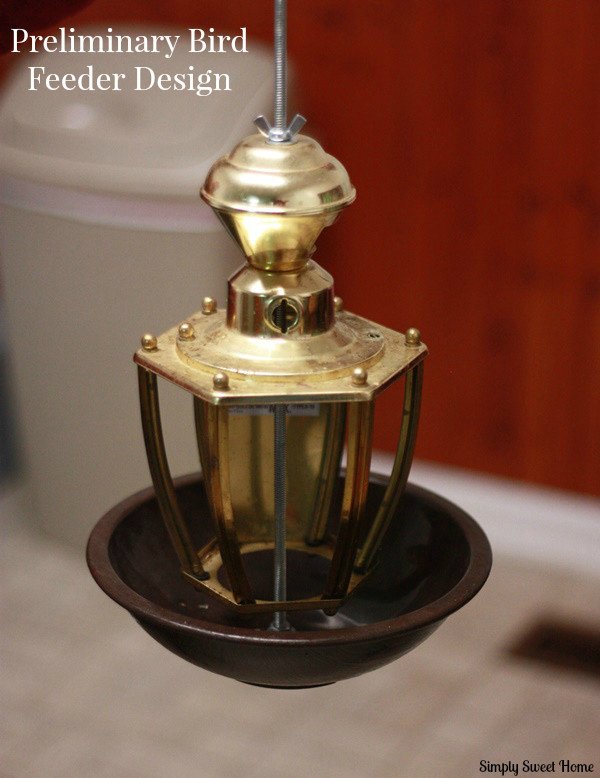
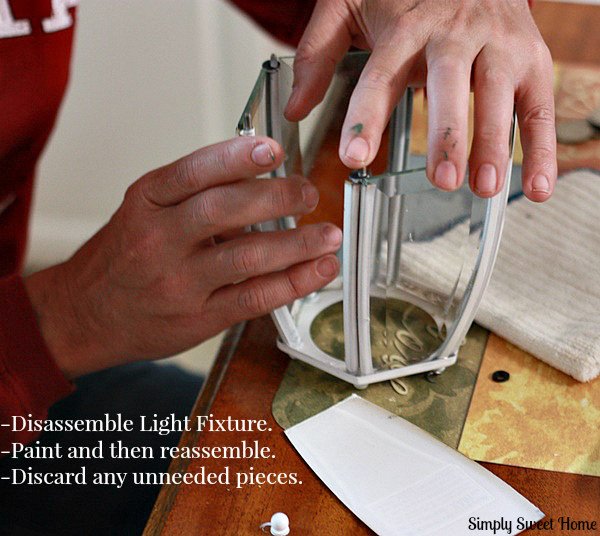
I took the above picture just to show you the basic unpainted version. As you can see, we’ve removed the glass panes from the light. (These will be put back on at the end. We only removed them for painting purposes.)
You also need to get rid of any electrical components, including the wall mount. Basically you just need the outer shell of the light fixture. (And if you did have an old lantern sitting around somewhere, that would work great!)
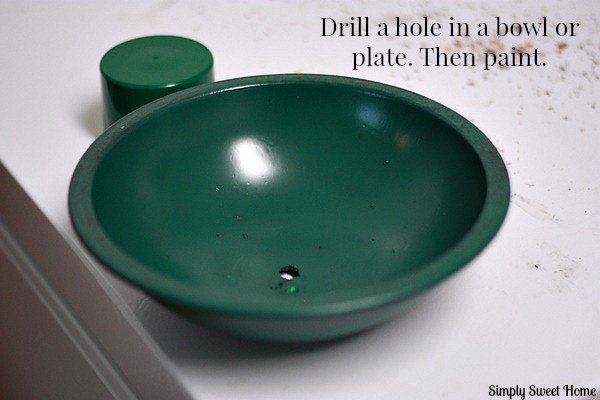
Then you need to drill a hole in the plate or bowl you will be using. We used a basic plastic salad bowl. Plates can work well too, as long as they have a lip that’s high enough to accommodate the bird seed. You should also obviously choose a bowl or plate that will not crack or shatter once it is drilled in to.
When drilling the hole, it should be big enough to to fit your all-thread through. We used a rod with a 1/4 inch diameter, and we chose this size, because the top of our light fixture already had a 1/4 inch hole. (The all thread can be found at your local hardware store. It’s usually in and around the nuts & bolts section.)
After drilling the hole, you are free to paint the bowl or plate. Or if you have a nice bowl, just leave it as is.
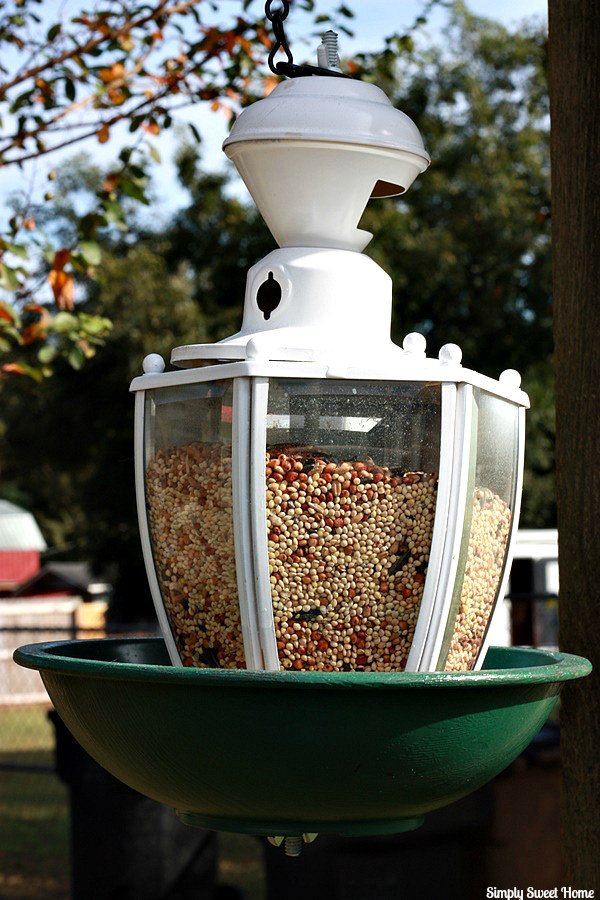
To assemble the bird feeder, put a wing nut upside down on the all-thread road, about a foot up the rod. Then place a washer on the rod. Take the all-thread rod and run it completely through the light fixture, through the holes that already exist in the fixture, as shown above. (If you use a lantern or something else, then you would need to drill your own hole at the top.)
Then place washer and a flat nut or a wing nut on the inside of the fixture, to hold it in place.
Then thread another flat nut about 3 to 4 inches on the all-thread. (This nut will go inside the bowl, once you attach it.)
Once you have the all-thread securely attached to the fixture, you are free to paint it. We used a basic white spray paint. Let paint dry. Then reinstall glass, and attach bowl at the bottom, using the nut that’s already on the all-thread, and then adding another washer and wingnut underneath the bowl.
You should then adjust the bowl or fixture up or down to make sure the seed will spill in to the bowl. After this is complete, you should cut off the excess all-thread rod. We used a Dremel with a cut-off wheel. (You can also use a torch, bolt cutter, or other cutting tool.)
Now you’re ready to install your new bird feeder. At this point, just turn the bird feeder over to pour the birdseed inside globe of the light fixture, and when you turn it back upright, the seed will spill in to the bowl underneath. As the birds eat, more seed will spill in to the bowl.
Finally, you should hang the feeder using bird feeder hanging chain or a very strong string.
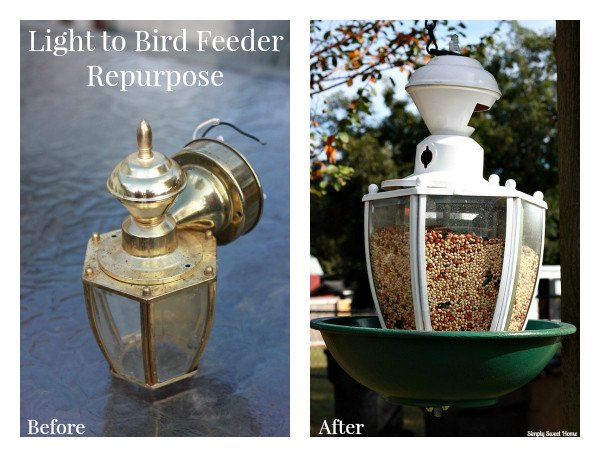
Here’s my before & after shots!
Do you love to recycle and repurpose? I’d love to see your ideas! Share your thoughts and link your post in the comments, or share a repurposing post at my Friday Favorites linky party!
And don’t forget to look for Energizer® EcoAdvanced™ batteries!






I think we actually have an old light like that laying around the garage somewhere. We never know what to do with those things so we tend to just store them. Turning it into a bird feeder is a great idea. #client
What a creative way to recycle an old light! LOVE!! Thank you so much for sharing at the Wonderful Wednesday Blog Hop!