I always love decorating for holidays throughout the year, but I don’t always have a big budget to spend to spend on items I’ll only be using a few a weeks. Luckily I’ve been able to score a lot of great items at the dollar stores and thrift stores, and I’m always able to find really cute printable art online, and when I can’t find anything I like, sites like GraphicStock and PicMonkey help me to make my own.
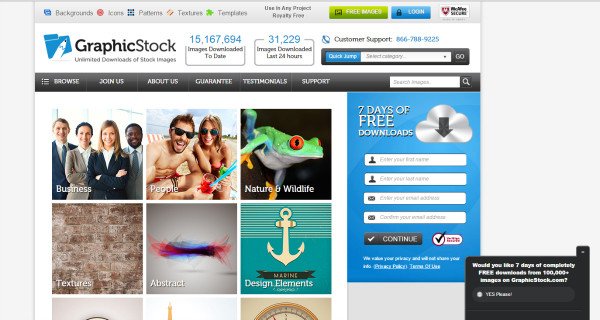
GraphicStock is a website which offers over 250000 graphics, vectors, icons, buttons, images, and more! These can be used for home and party decor, invitations, stationary, greetings cards, and banners, as well as media for businesses and organizations, such as a logo, business cards, flyers, letterheads, and more! And you can also use the images to create your own custom graphics for blog posts and general web design.
And with so many images to offer, you can find an image, vector, or icon for any project and to fit virtually any style you are looking for. Today I’m sharing a printable that I made using an image from GraphicStock. You can download it here for FREE and then frame it. It will look great on your wall or mantel!
This project was very easy to make! Check out the brief tutorial below:
First visit GraphicStock and download images you want to use in your project.
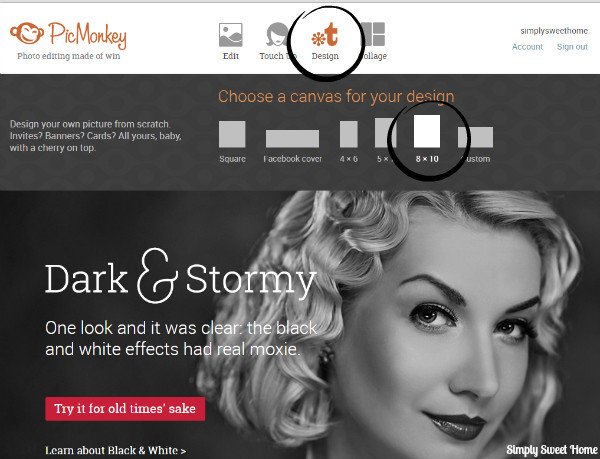
Visit PicMoney or other design application that you use. Choose the design tab and a size. For this project, I used the 8×10 size so the artwork could be printed and framed.
After you choose your size, your canvas will be pulled up, and you can choose a background color. I always check the “Transparent” box. Because this particular artwork is printed out in landscape style rather than portrait style, at this point, I rotated the canvas 90 degrees.
Next I uploaded the FREE image I downloaded from GraphicStock (in this case, the flag image).
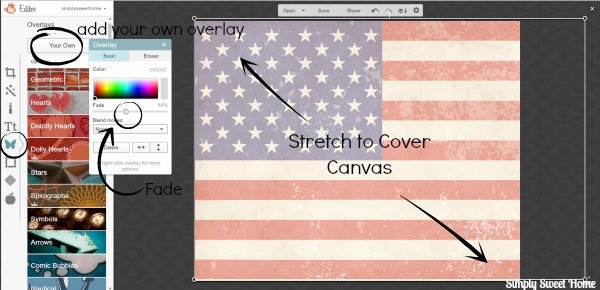
To upload it on Picmonkey, you click the butterfly (as shown above). Then you click “Your Own.” This will bring up the box where you can select your file to upload.
Once your file appears on the screen, you can use your mouse to stretch your overlay to cover the canvas. At this point, you can customize the overlay. You can flip it, turn it upside down, or change the color. In this case, I used the “Fade” option. Use the slider to “fade” the image; this will lighten it, creating a canvas that you can put other or other graphics on top of.
 Next find the “Combine all image elements” button at the top of the screen. This will “affix” the image to the canvas, making it easier for you to add and move around other elements without accidentally moving your background image.
Keep in mind, this does not save your project. It basically just “glues down” whatever work you’ve done up to this point. And once you’ve hit the button, you won’t be able to hit the back button or make changes to anything that was done before you hit the “combine” button.
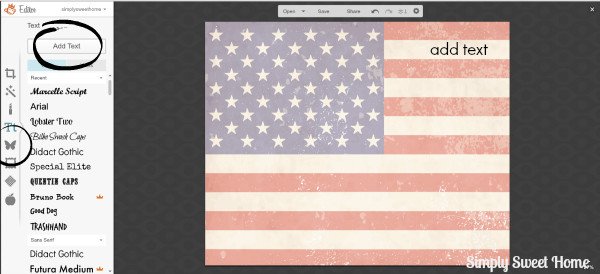
Next you can other overlays and text. Now just let your creative juices run wild!
GraphicStock is a great source for images to use as backgrounds and overlays in your graphic design projects.
Free Trial! Here’s your chance to try GraphicStock for FREE! Right now you can sign up for a free trial and gain access to their over 250000 graphics, vectors, icons, buttons, images, and more! Sign up here! (Don’t forget to cancel your membership at the end of the 7 days to avoid any charges.)
Discount! Right now you can get a One-Year Membership for the discounted price of $99. (It’s normally $588!)
Giveaway! One Simply Sweet Home reader will win a One-Year Membership to GraphicStock.
To enter, sign up for a Free 7 Day Trial or a $99 membership. Then leave a comment here telling me you’ve done so.
For additional entries, please share this giveaway.
Giveaway ends July 6.
Enter now, and start having fun designing!






I signed up! I am loving all of the cute graphics they have!