This shop has been compensated by Collective Bias, Inc. and its advertiser. All opinions are mine alone. #UltimateLitter #CollectiveBias

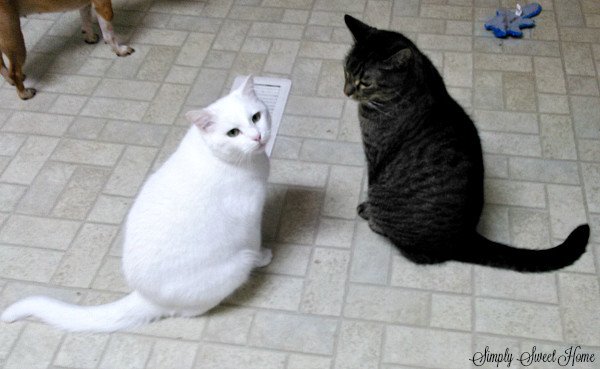
Today we have another fun post starring the Simply Sweet Home Cats! Yay! Anyone who knows me knows that I LOVE my baby cats and would do anything for them. And I have to say, I think I’m very lucky to have a couple of really good-natured and well behaved cats! But like all relationships, a relationship between a cat mommy and her cats can get quite interesting! For example, my sweet Sugar cat likes to cuddle, but only on her terms, and she will give you a very small love bite when she’s ready to stop. Meanwhile, Rebels love to lounge around, and he often chooses to make clothing, backpacks, purses, and anything that’s new his bed (and every now & then he likes to scratch on things)!

But luckily, one problem we don’t have at our house of cats is a litter box problem! I’ve had Rebel since he was two months old, and his biological cat mommy Molly trained him well in the art of litter box usage! As I brought Sugar home, I didn’t know what to expect with her. She just showed up at my dad’s house out in the country one day. He kept her for a few months as an outside cat, and then I decided to steal her away! I was happy to find on day one that she knew the purpose of the litter box!
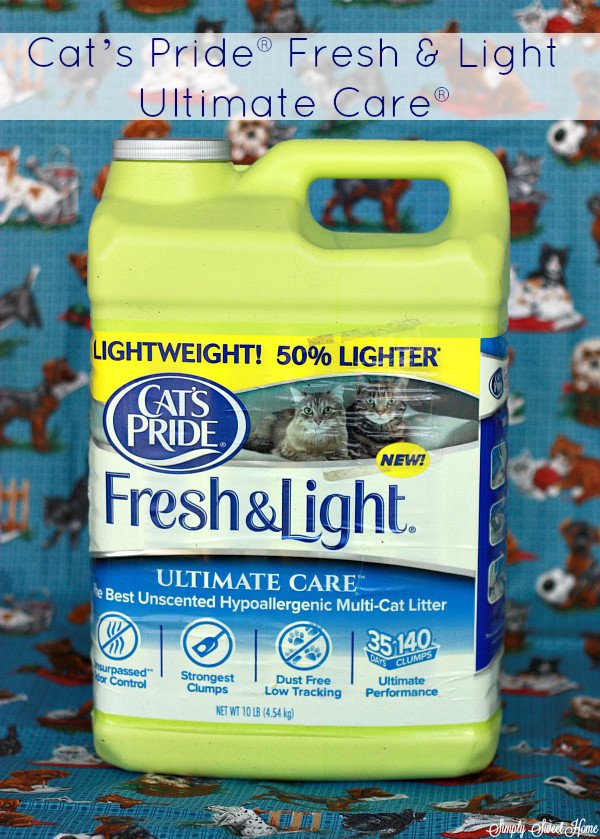
But we still need to fill that litter box with some good litter, and that is where Cat’s Pride® Fresh & Light Ultimate Care® comes into play!

Cat’s Pride® has over 50 years of experience and expertise in creating cat litter, and they are a proud to partner of the American Humane Association and the Jason Debus Heigl Foundation™ to help end the needless suffering of animals. The Fresh & Light Ultimate Care product has a natural, all clay formula and is mined in the US. The litter is also 50% lighter (based on laboratory tests of equal volumes of leading conventional sodium bentonite-based cat litters).
Fresh & Light Ultimate Care also features low dust and tracking. It produces strong clumps, and features 10+ day odor control & powerful absorption, with one jug yielding 140 clumps. That’s 35 days of use for the average cat! (This information is based on laboratory testing, when used as directed)

Fresh & Light Ultimate Care can be found at Walmart in the pet department. Look for it alongside dry cat food and litter products.

Apart from making sure your cats are litter trained, I believe one of the primary concerns of cat owners is making sure their cats do not scratch on the furniture. To prevent this from happening, you need a good cat scratcher. Unfortunately, most scratch posts are too small for full grown cats, and good quality cat trees can be quite expensive. So today I’m going to show you how we made our own!
Rebel loves sisal rope scratchers, while Sugar prefers carpet scratchers, so we created a combination of the two. We were also sure to make it very large to accommodate Rebel, who is a long cat and tends to reach up high when scratching. But if you wish to follow our tutorial, you can easily modify this design to make the scratcher smaller (details are included in the tutorial). And you can also use the tutorial to make a scratcher with just carpet or just sisal rope.

Tools Needed: Scissors, Drill, saw and a Hammer
Materials Needed:
4″ x 4″ post (2 feet to 4 feet tall)
2′ x 2′ 1″ board
rug (we used a 3′ x 4′)
4 – 90 degree angle brackets
nails (small, 1 inch nails will work)
small and large screws
sisal rope

To make your handmade cat scratcher, you need to start with a base. For this, we used a 2′ x 2′ x 1″ board and we covered it with a piece of carpet. The board can be purchased at a hardware or home improvement store for about $5. (If you’re building a short scratcher, 2 feet tall or shorter, you can buy a 1′ x 1′ x 1″ board for the base instead.)
We used a piece of carpet that we already had. It actually came from Walmart and was about $20. A 3′ x 4′ carpet is big enough for you cover your base and have enough left over to use on your post.
First you need to place the board down on the carpet. You will need a few inches of carpet on either side of the board in order to properly wrap and cover it. Do a little “test wrapping” first, and then use your scissors to cut off the piece of carpet you don’t need. Wrap the carpet around the edges of the board (as shown in the photo), and use your hammer to nail the carpet to board. You’ll need several nails for each side to ensure that the carpet will stay secure on the base.

Now move on to your post. For our post, we used 4″ x 4″ post, and we started with a piece that was 8 feet tall and used a saw to cut it down to about 4 feet tall. (If you want a smaller post for a kitten or small cat, then you will need a post that is 2 feet tall.)
After you have your post, you should take the rest of your carpet and wrap it around your post. First be sure to position the carpet where you need it. (We placed ours in the middle of the post, leaving a little bit of wood uncovered on the top and bottom.)
Use a drill to screw the carpet to post. Screws should be placed very close to the edge of the carpet, and you’ll need several to properly secure the carpet to the post. Then wrap the rest of the carpet around the post. Use your scissors to cut off any excess carpet, making sure that the post is completely covered. Use your drill to screw the other end of the carpet to the post.

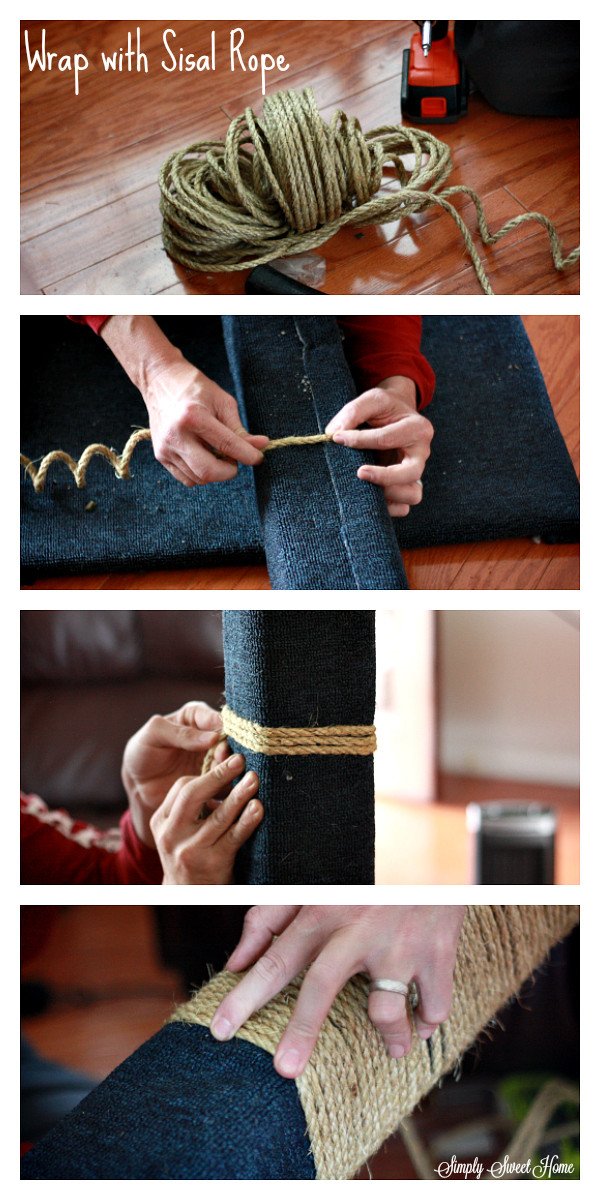
Next cover your post with sisal rope. I got a 100 feet bundle of this for about $11. We only covered about a 1 foot tall area of the post, but we had a lot of rope left over. (I’d say we could have had at least 2 feet of the post covered in sisal rope.)
To attach rope, you just need to take the end of the rope and use a hammer and a small nail to attach it to the post. Then do a lot of wrapping, making sure you keep the rope pulled relatively tight Once your done wrapping, cut off any extra rope you don’t need. Then use another small nail to attach the end of the rope.
Once your post is covered you are ready to attach it to your base!

Using a drill and small screws, attach a 90 degree angle bracket to each side of of your post (at the very bottom and in the center of each side.) After you have a bracket attached to each side, stand the post up on the base, and screw the angle brackets to the base. (For this, you should have one person drilling and on person holding the post, if you are using a tall tree.)

Sweepstakes: Enter to WIN 1 $500 Walmart Gift Card or 1 of 2 $250 Walmart Gift Cards in the #UltimateLitter Sweepstakes!
No Purchase Necessary. The #UltimateLitter Sweepstakes begins on 3/15/16 at 12:00 A.M. ET and ends on 4/25/16 at 11:59:59 PM ET. Legal residents of the 50 US/DC only, 18+. Void where prohibited. For Official Rules, click below.
Cat’s Pride Fresh & Light Ultimate Care Cat Litter
Do you love your furbabies too? I’d love to hear how you show your cats that you care!


I wish they had this when I had my cats,I could’ve really used this.I like that this is an unscented hypoallergenic multi-cat litter.The diy cat scratcher would’ve been nice to do and save money
Your cat scratcher looks every bit as good as store-bought. Nice job!
I have 3 cats whon are all very good about using the litter box. We made a scratching post out of two of our vertical beams in the den. We just wrapped remnant rugs around the beams that we got for free at the rug store. we have used this for years.
My one recommendation would be to use carpet unlike what you have in your house. Otherwise they seem to think it’s ok to go after all of that type of carpeting. NOT that I would know of course. 🙂
Great DIY project.
This looks so much fun for a cat. We used to have cats before we had kids. I hope to get one back again.
Great idea
That is a nice cat scratcher! I need to make one for my MIL. She would love that. Great Job!
This a great DIY project! Thanks for the tip!
I love the cat scratcher idea!!! I have never personally tried Cat’s Pride, but I think I’ll look into it for my own kitty 🙂
Thanks for the chance to win!!