Disclosure: This shop has been compensated by Collective Bias, Inc. and its advertiser. All opinions are mine alone. #DIYOilChange #CollectiveBias
Are you a DIYer? Do you hate to call a repair man? Around our house, my husband is Mr. Fix It, and he’s very good at everything he does. If anything needs to be built or fixed, I almost always rely on him to do it!
Last week we tackled a DIY oil change. As you probably know, regular oil changes are a very important part of vehicle maintenance. Getting your oil changed ever 3 months or every 3000 miles helps to ensure optimal vehicle performance, extended engine life, and better gas mileage.
But what are the benefits of a DIY oil change versus an oil change you’d get from an auto mechanic? For one thing, by doing it yourself, you can see exactly how much oil is going in your car. This will allow you to use just as much oil as you need and prevent you from overpaying for oil that is not used.
Secondly, you have more quality control when you do your own oil change. Auto mechanics often use the cheapest oil and oil filters available. By doing it yourself, you can choose a name brand filter you trust and your favorite brand of high quality oil.
Today I’ll be sharing a tutorial on how to do your own DIY oil change at home, so that you can experience these benefits for yourself!
Note: Please use standard safety procedures when changing your oil. You should always refer to your own car’s manual before changing your oil.
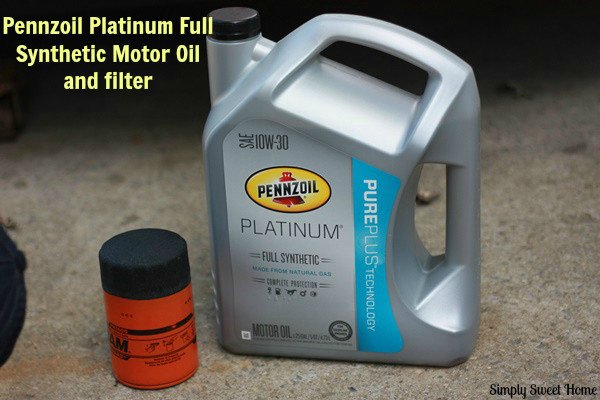
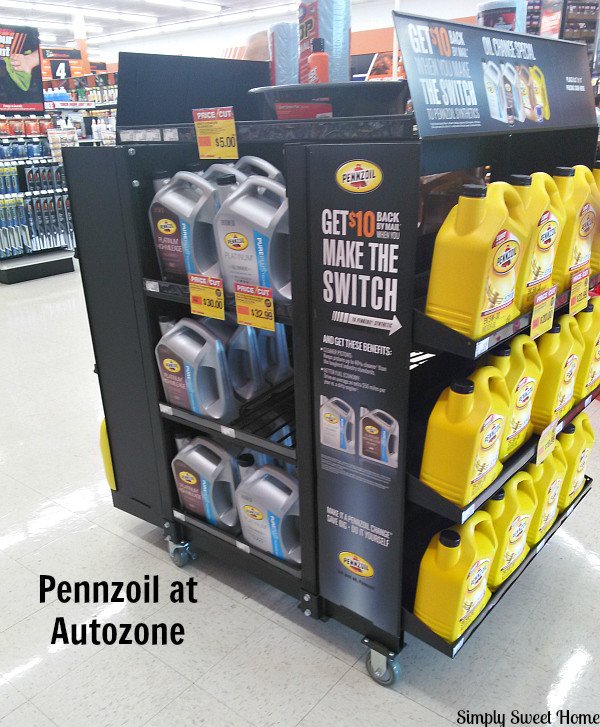
Visit your local AutoZone or other retailer to pick up your oil and filter. I found my Pennzoil Platinum full synthetic motor oil on a special display at the front of the store, and they also had more product on their back wall. You’ll need to refer to your car’s manual to find out how much oil you need to buy.
Other materials you’ll need include a jack stands and jack or ramps, as well as a filter, wrench, oil filter wrench, funnel, large pan to drain old oil in, and rags. Again, you should consult your manual to get the proper tools to fit your car. You should be able to find these all of these things at AutoZone if you do not already have them.
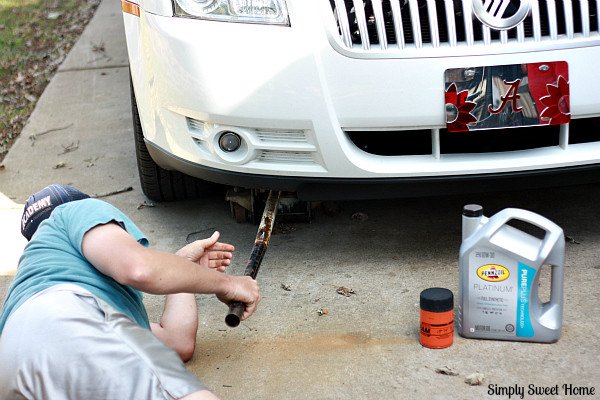
Secure backwheels, so car will not roll back. Put on the emergency brake. Then jack car up to a comfortable level, one that allows you to get underneath the car and work, and let it rest on jack stands, or drive the car up on ramps. You should never use a jack alone, without the jack stands, because the jack could fail.
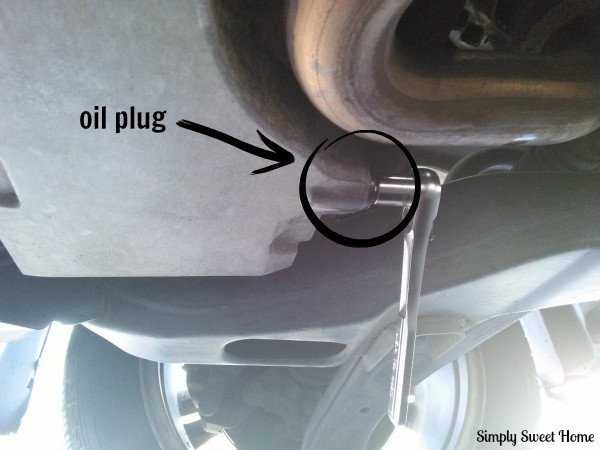
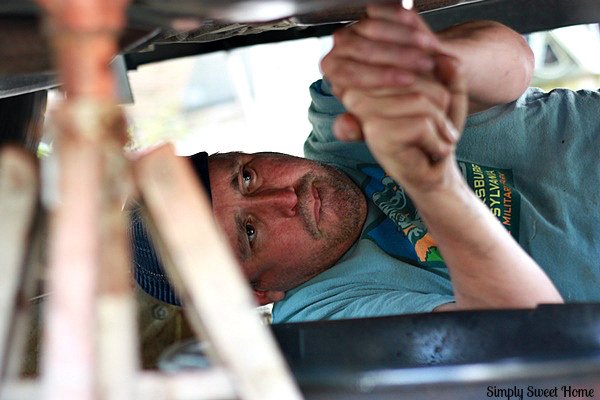
Get under car and locate oil plug on the bottom of the oil pan. Then place a pan on the ground underneath the oil plug to catch old oil. Next loosen oil plug with wrench (by turning it counter clockwise). Once the plug is loosened, use your hand to loosen it all the way out and remove.
Make sure your pan is properly positioned, so that it will catch the oil when it comes out and not spill on the ground.
When you first remove the cap, it will gush, before it slowly retreats.
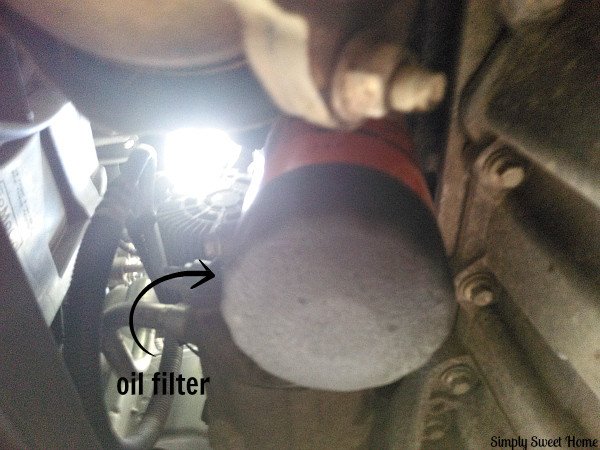
As oil is draining, locate oil filter. Remove oil filter with oil filter wrench. (Some filters may also be loosened by hand, if you do not have an oil filter wrench.) Being careful not to spill oil out of the oil filter, dump it in to the pan you already have on the ground. Then wipe off the old filter and place it in a bag to throw away or recycle.
After all the oil is drained, replace the old oil filter with a new one. To do this, find the seal on the new oil filter and rub a little baring grease or oil on the seal and then install and tighten by hand. (If you’re not strong enough to tighten it by hand, you’ll need an oil filter wrench, but do not over tighten. It should be turned until you find resistance and then about a half turn past this.)
Then replace the oil plug. Do this by first screwing it with your hand, and then tighten it clockwise with a wrench. This should be VERY tight! You’re now finished working under the car, and can remove the pan with the old oil. (Be careful not to spill it.)
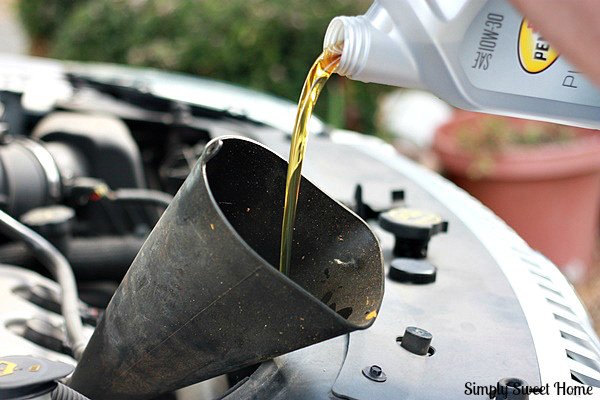
Next let the car down off of the jack stands or ramps. Locate the oil fill cap under the hood. Remove oil fill cap. Place funnel in the hole.
Pour the appropriate amount of oil in to your funnel, per manufacturer specifications. Again, be careful not to spill the oil. As you pour the oil, you should look underneath the car to make sure you have no leaks.
Then find your oil check stick (dip stick). Remove once and wipe off with rag. Then replace dip stick. Then pull it out a second time to check it. You should look closely to see that the oil level is on the top fill line. (If it is not to the fill line, you should add more oil, and if you’ve overfilled, you need to drain some of the oil. Overfilling your oil will cause the car to smoke.)
Replace oil fill cap and close hood. Pour your old oil in to a proper receptacle and take it to a disposal center. And you’re ready to drive!
For more information, take a look at this video featuring 5 Top Oil Changing Tips:
Do you change your oil at home? What other auto maintenance tasks do you take on?






I’ve never changed my own oil, but I’m totally tempted to give it a shot now! Thanks for sharing! #client